
Console settings
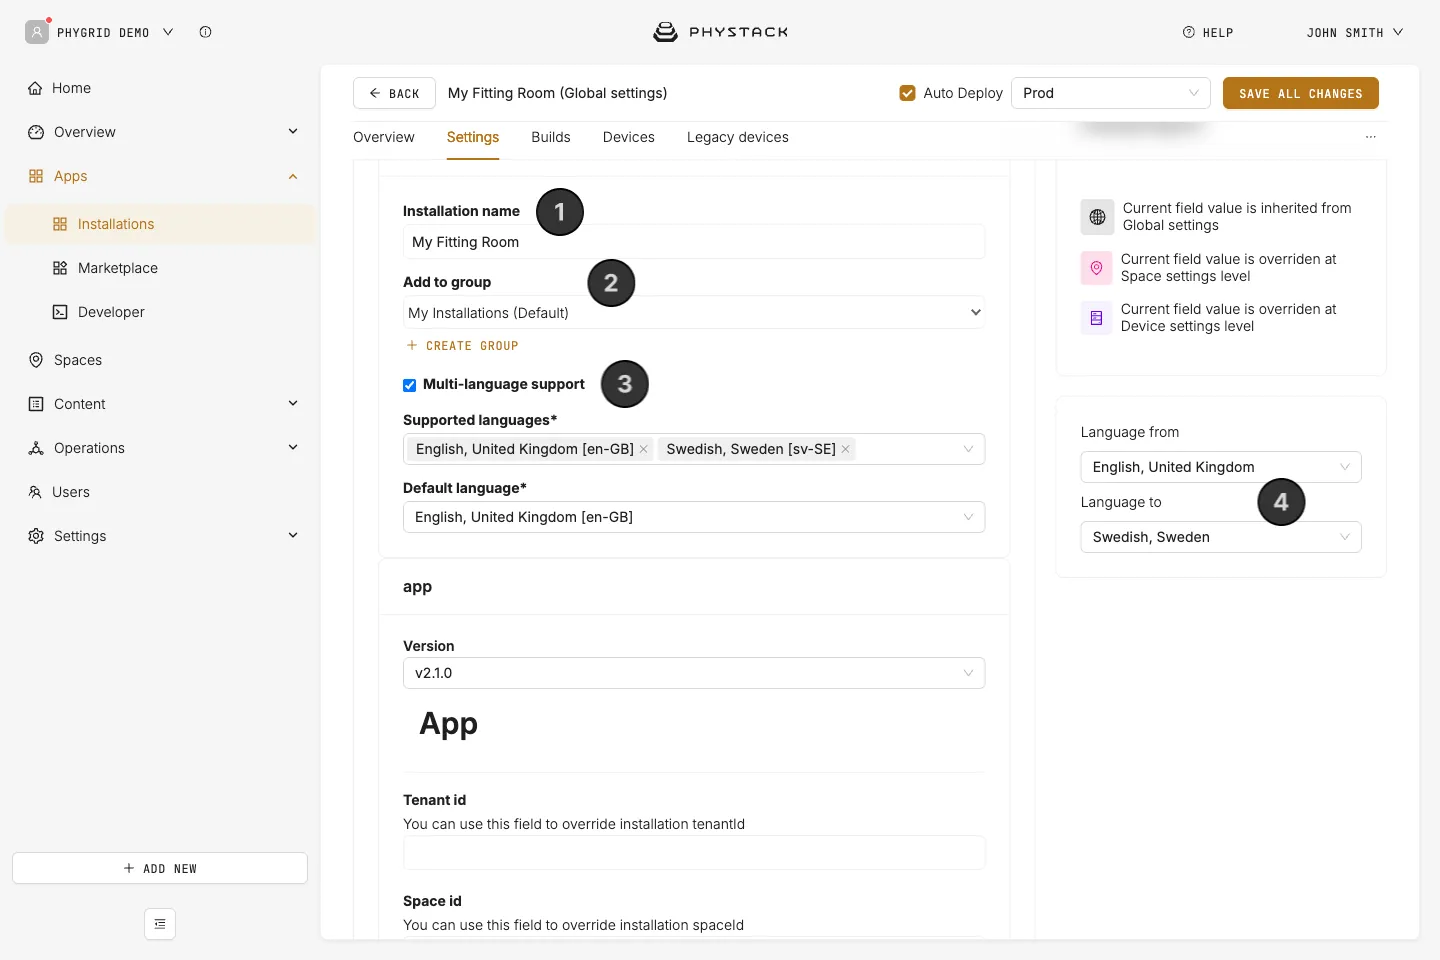
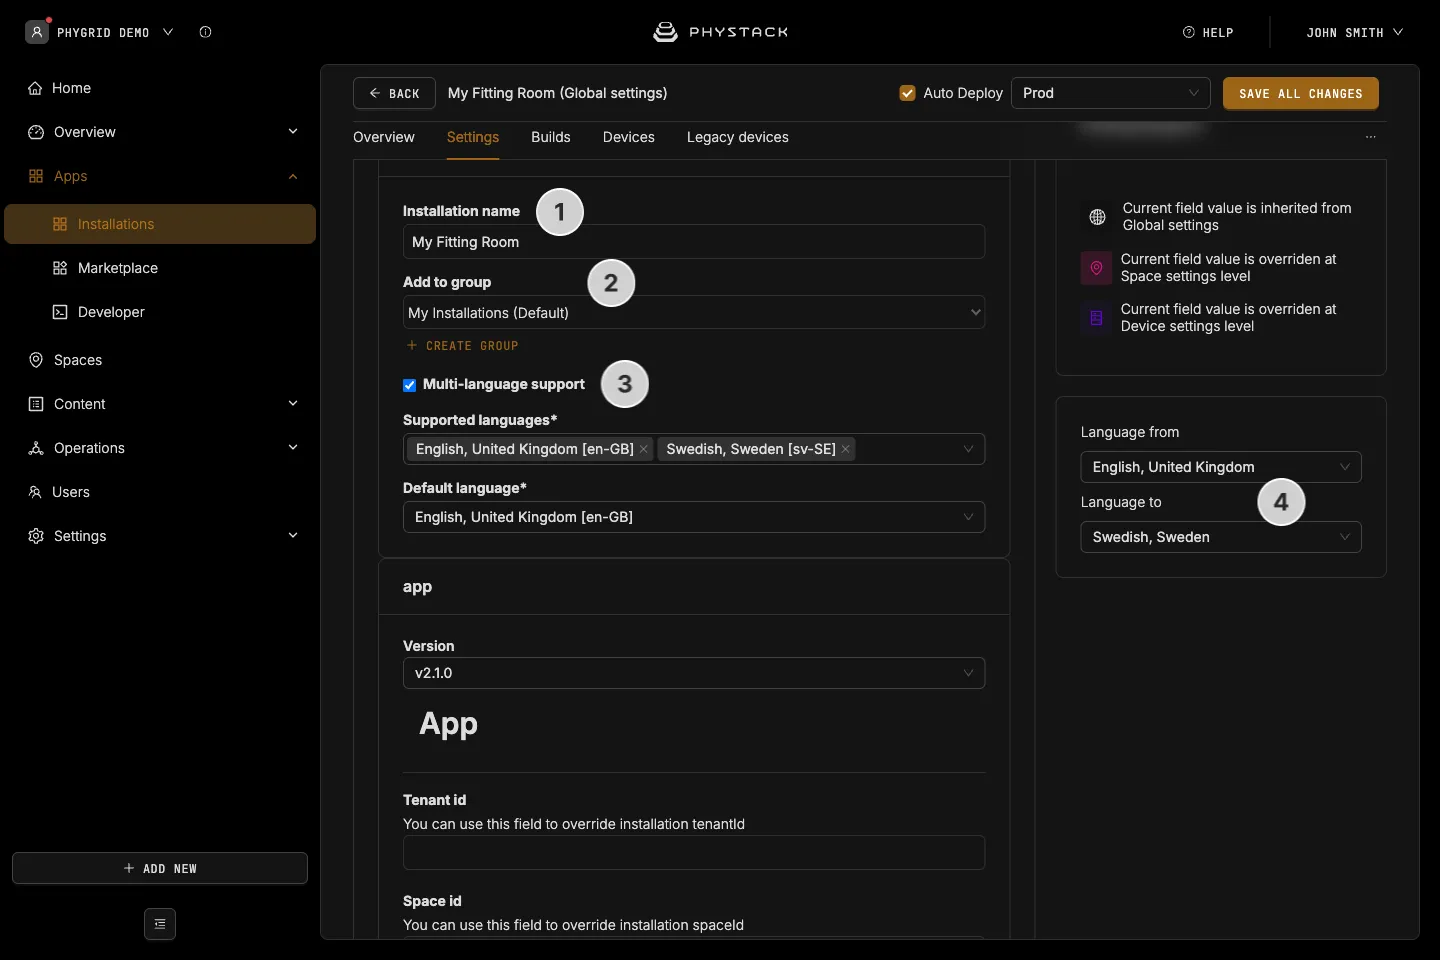
- Installation name: Edit the installation name that will be displayed in Apps → Installations
- Add to group: Change the installation group it belongs to and will be shown in Apps → Installations
- Multi-language support: If selected, you can enter texts in more than one language. This applies to multi-language text fields such as the “Bring to me” label, modal titles and messages, and recommendation tab descriptions (see Glossary)
- Supported languages: The languages the app texts can be entered in. Required when Multi-language support is on
- Default language: The app’s main language. It is also the language the app uses for product data. Required when Multi-language support is on
- Language from / Language to: The card next to the form that sets which language you edit. Texts are entered in the Language to language, with the Language from text shown for reference
App settings
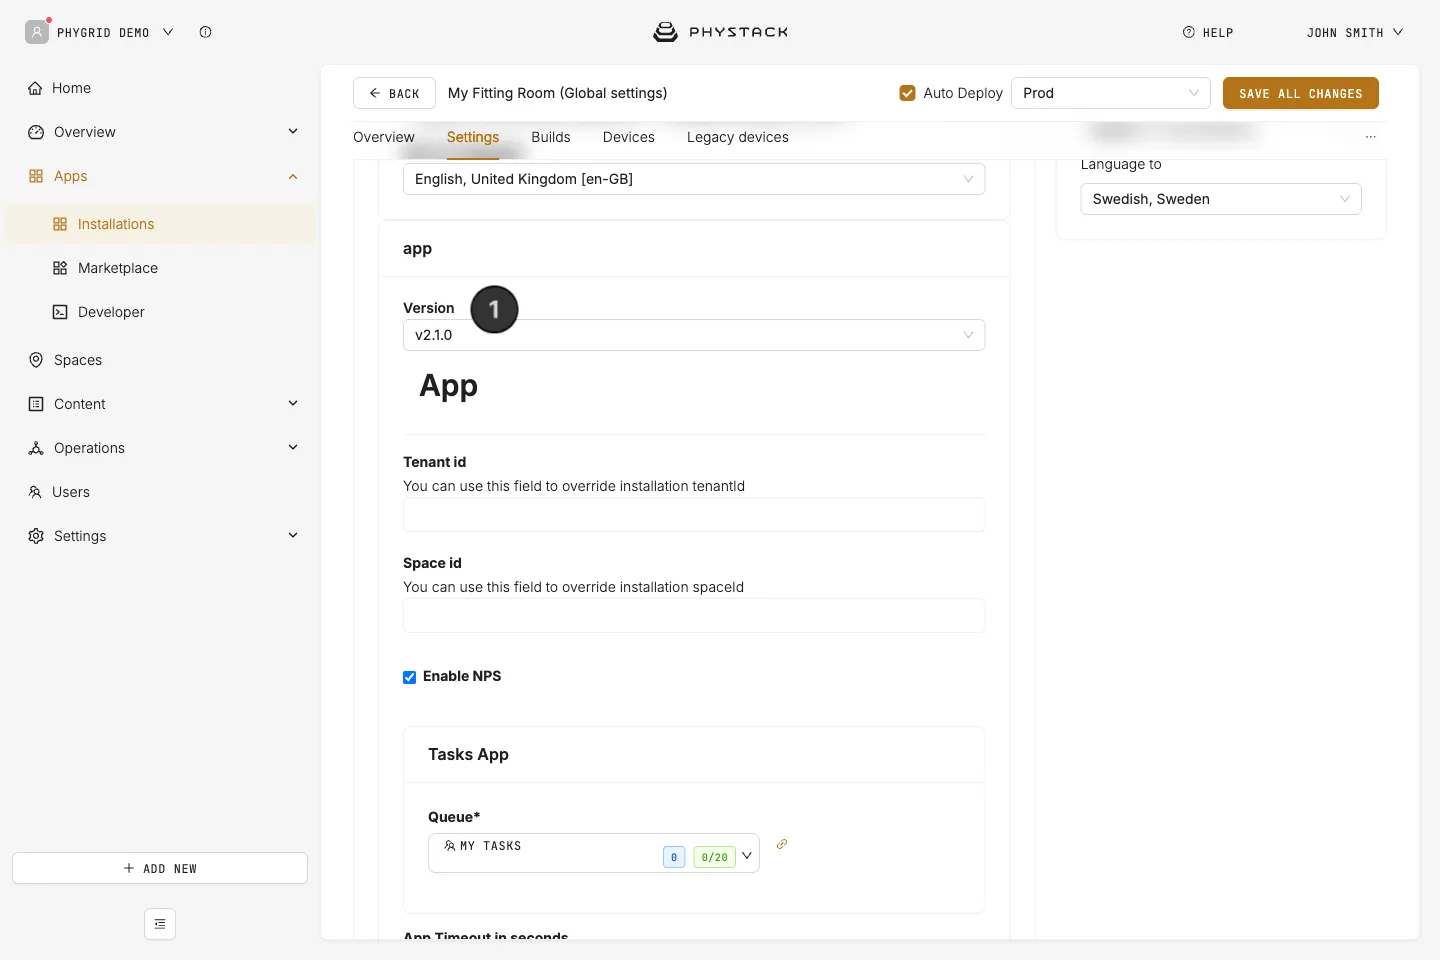
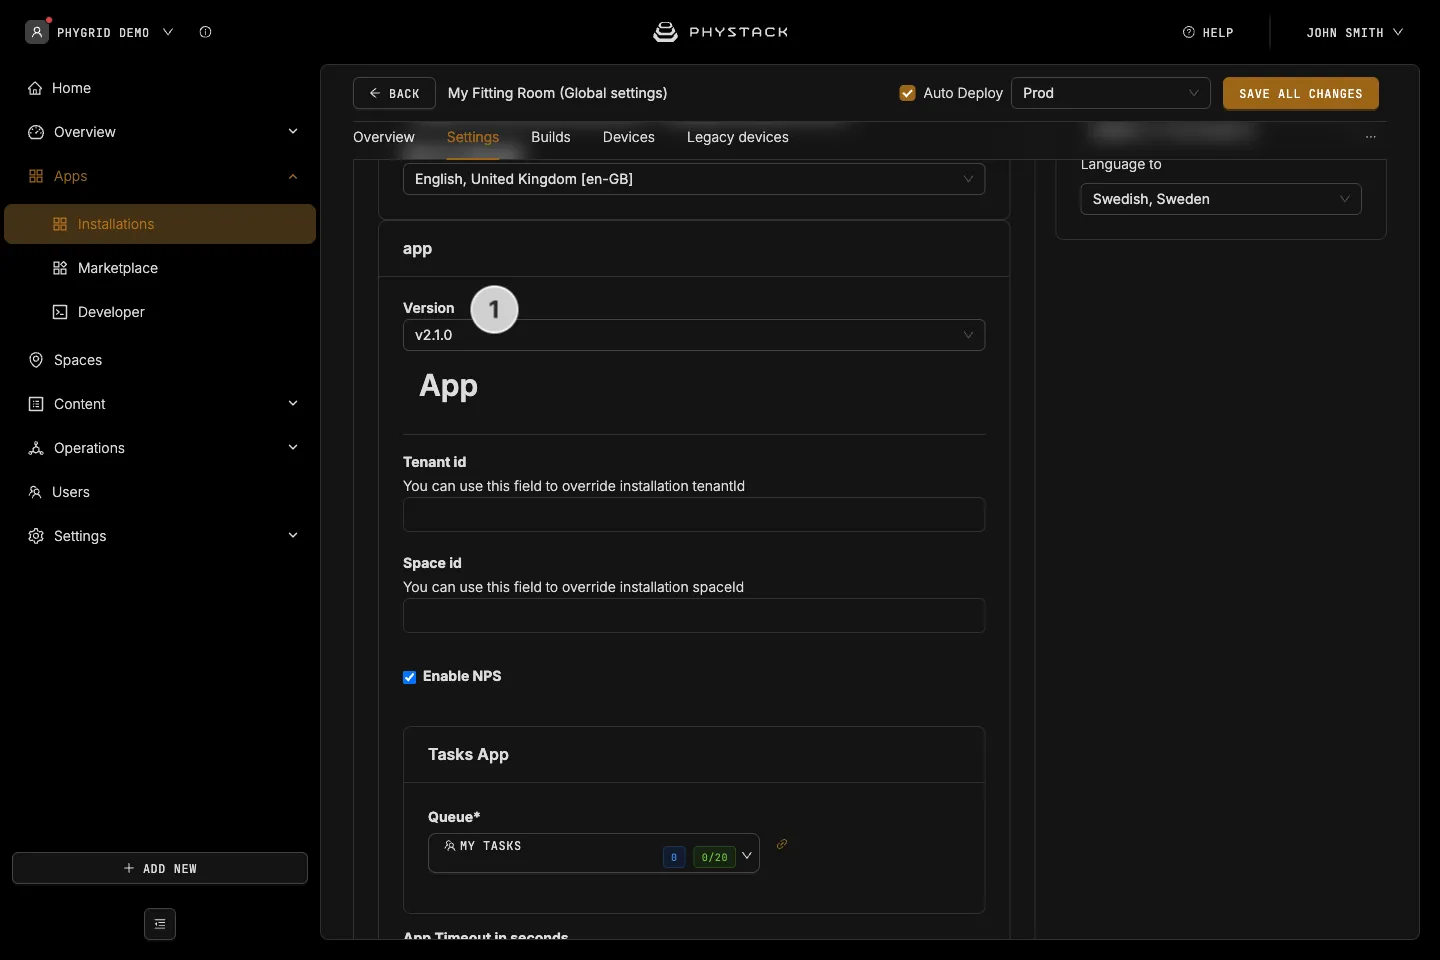
Changing the app version can add or remove certain options related to the specific version.
- Version: Select a specific app version for your installation
General
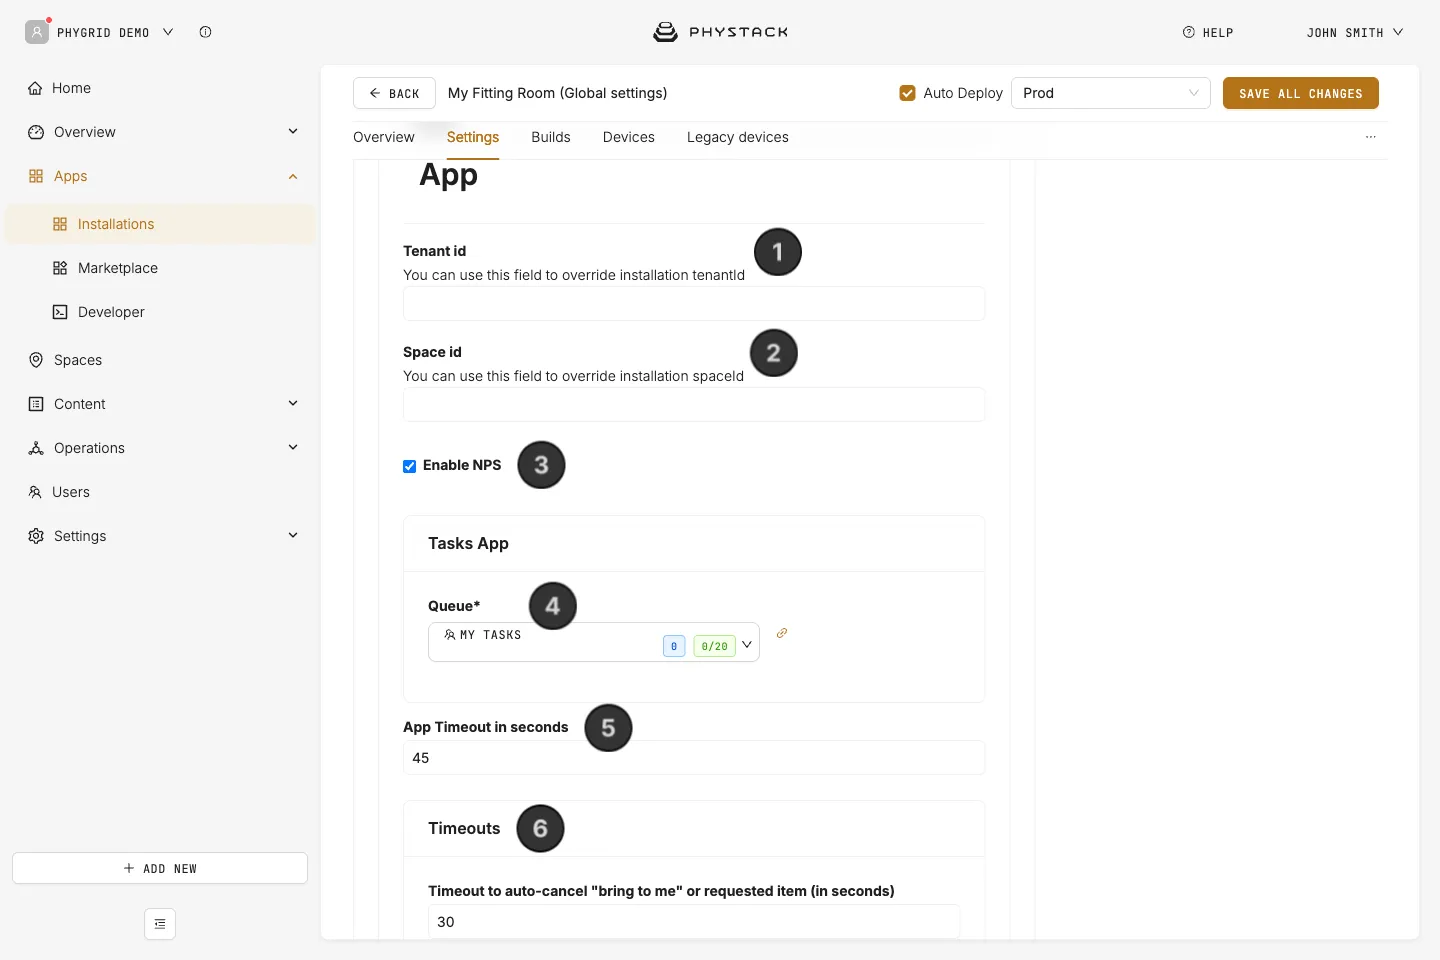
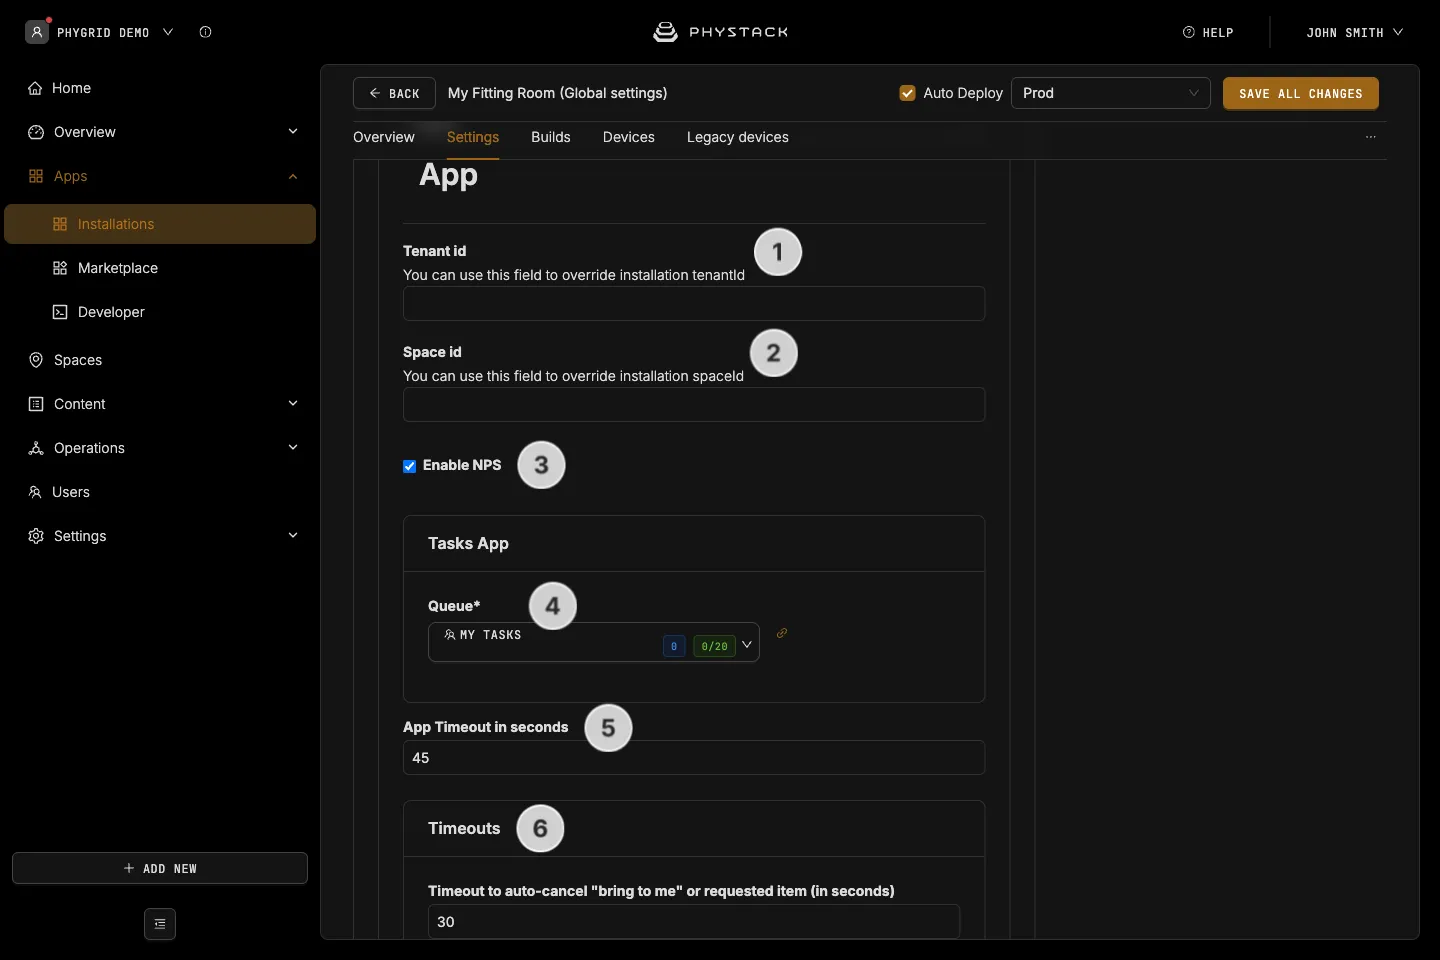
- Tenant id: Override the installation’s default tenant ID. Leave empty to use the tenant the installation belongs to
- Space id: Override the installation’s default space ID. Leave empty to use the space the installation belongs to
- Enable NPS: If selected, customers are shown an NPS feedback prompt at the end of their session. Default on
- Tasks App → Queue: The queue of the Tasks installation that staff requests (e.g. “Bring to me” requests, calls for help) are sent to. Required
- App Timeout in seconds: Idle timeout in seconds before the screen returns to the idle state when no RFID activity is detected. Default 45
- Timeout to auto-cancel “bring to me” or requested item (in seconds): Number of seconds a request can wait for staff to take it. If no staff member taps Prepare in Tasks in that time, the request is cancelled. Default 30
Product type filtering
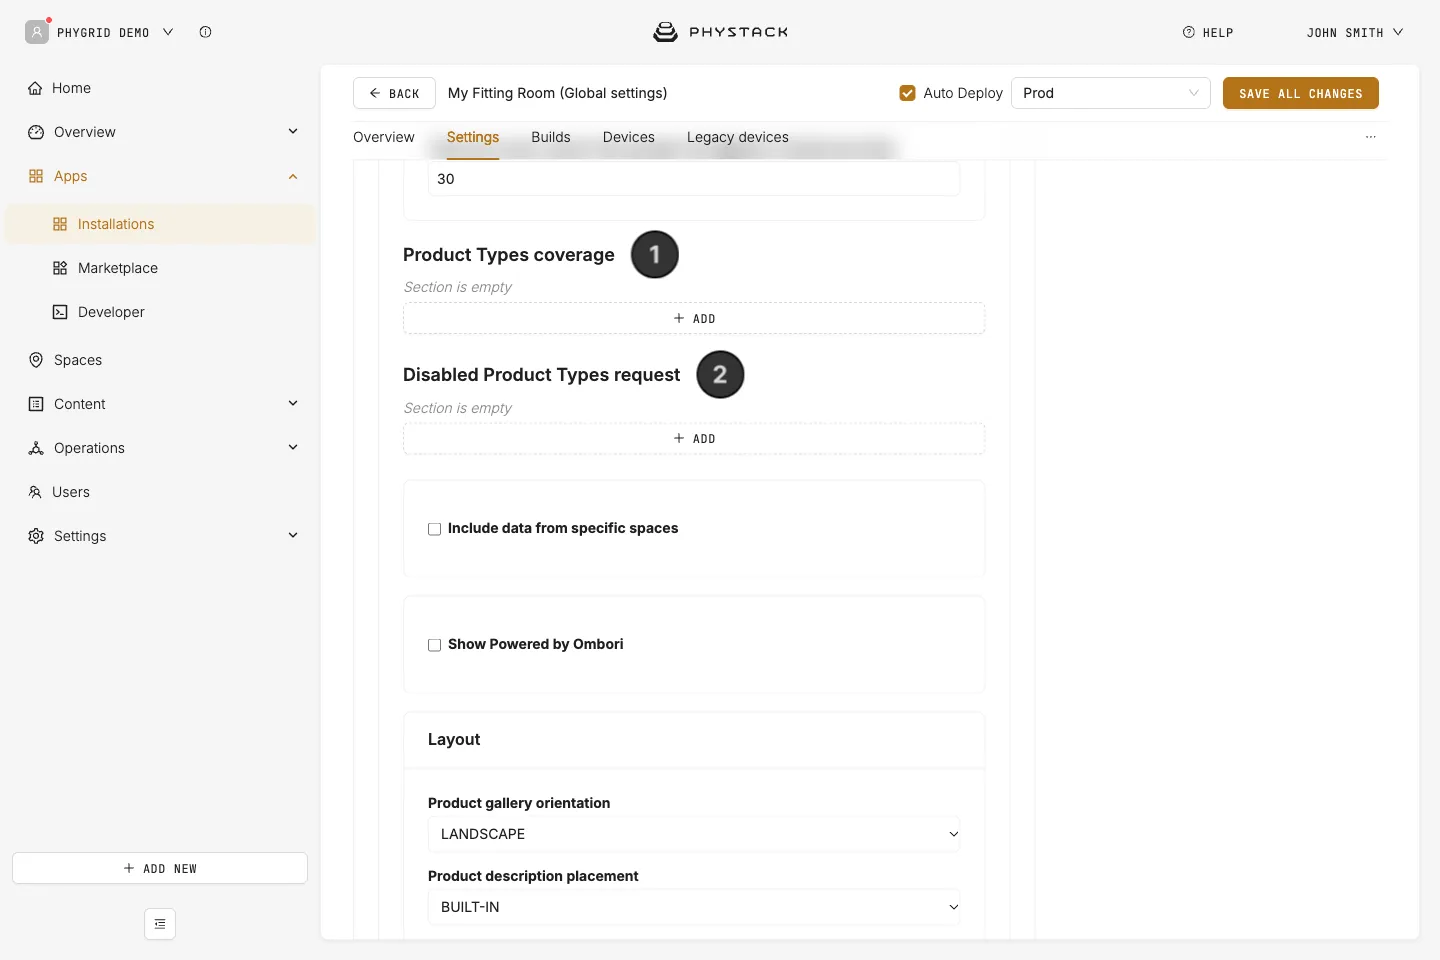
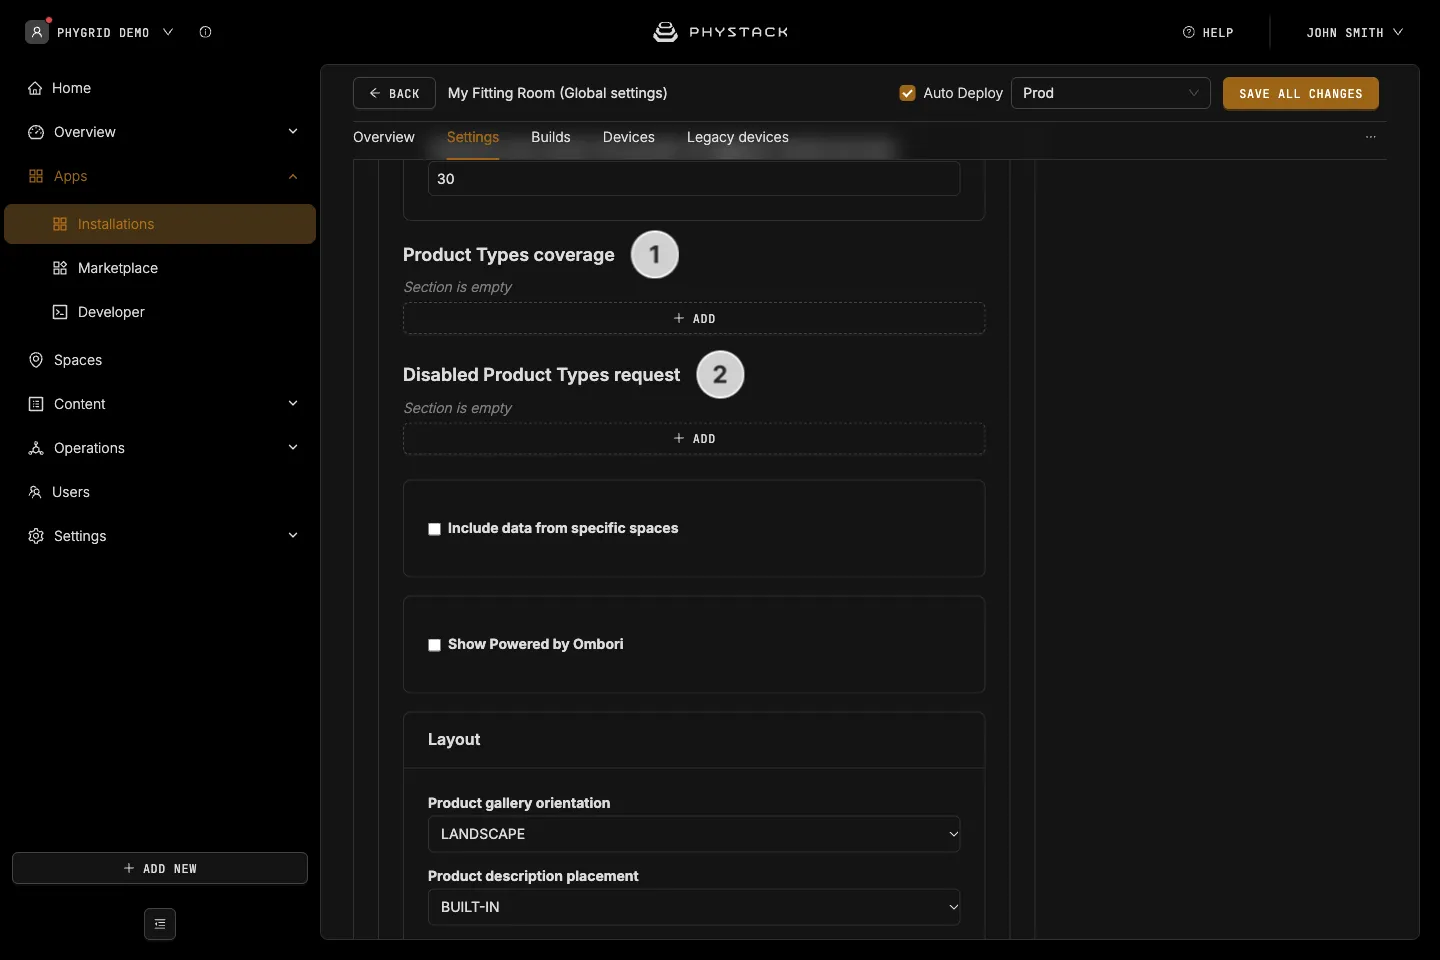
- Product Types coverage: Product type IDs to include in this installation. Click Add and enter the IDs in Product type ID (comma separated). Sub-children product types are included automatically. If left empty, all product types are returned
- Disabled Product Types request: Product type IDs that cannot be requested (i.e. “Bring to me” is disabled for them), added the same way. Sub-children product types are also disabled
Additional spaces
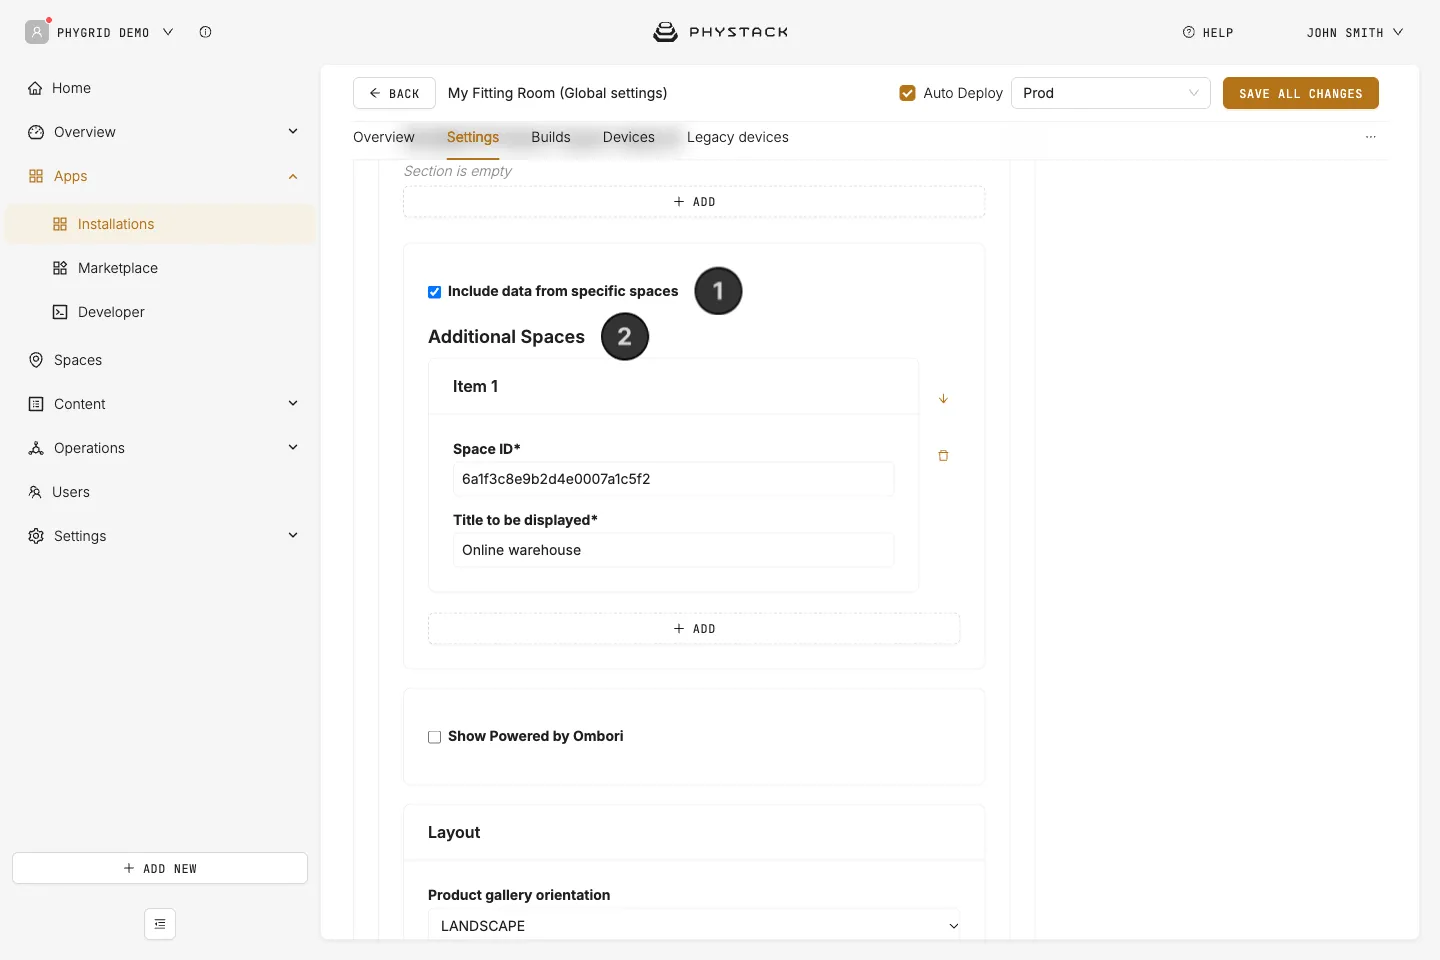
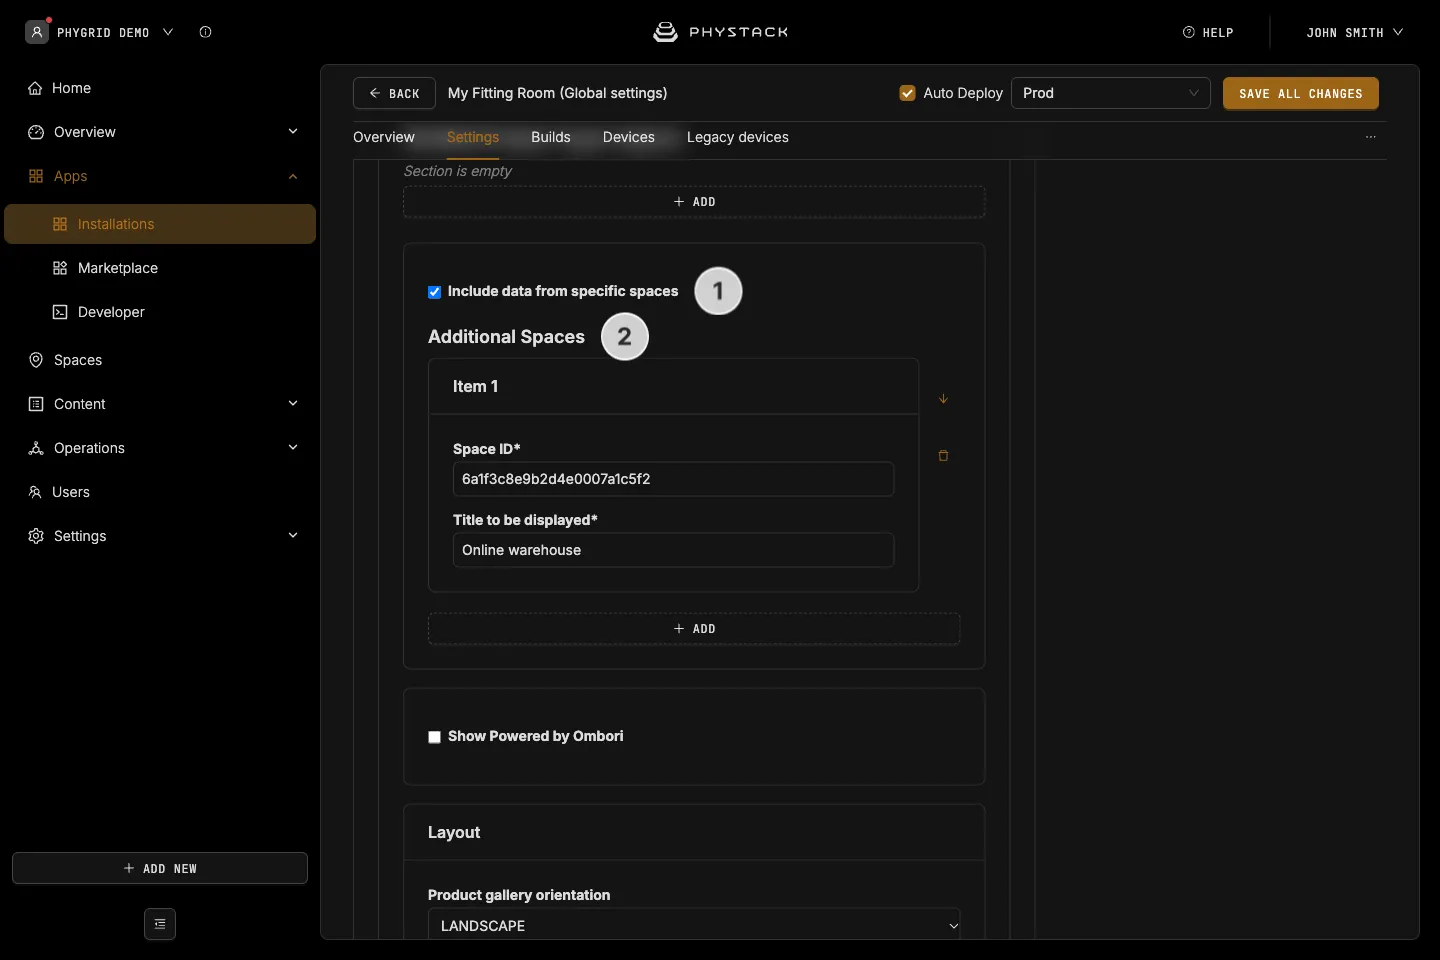
- Include data from specific spaces: If selected, the app fetches product data from one or more additional spaces in addition to the installation’s own space
- Additional Spaces: When enabled, define each additional space as a row with a Space ID and a customer-facing label. Used for cross-space product lookups (e.g. inventory pulled from a warehouse space)
Powered by Ombori
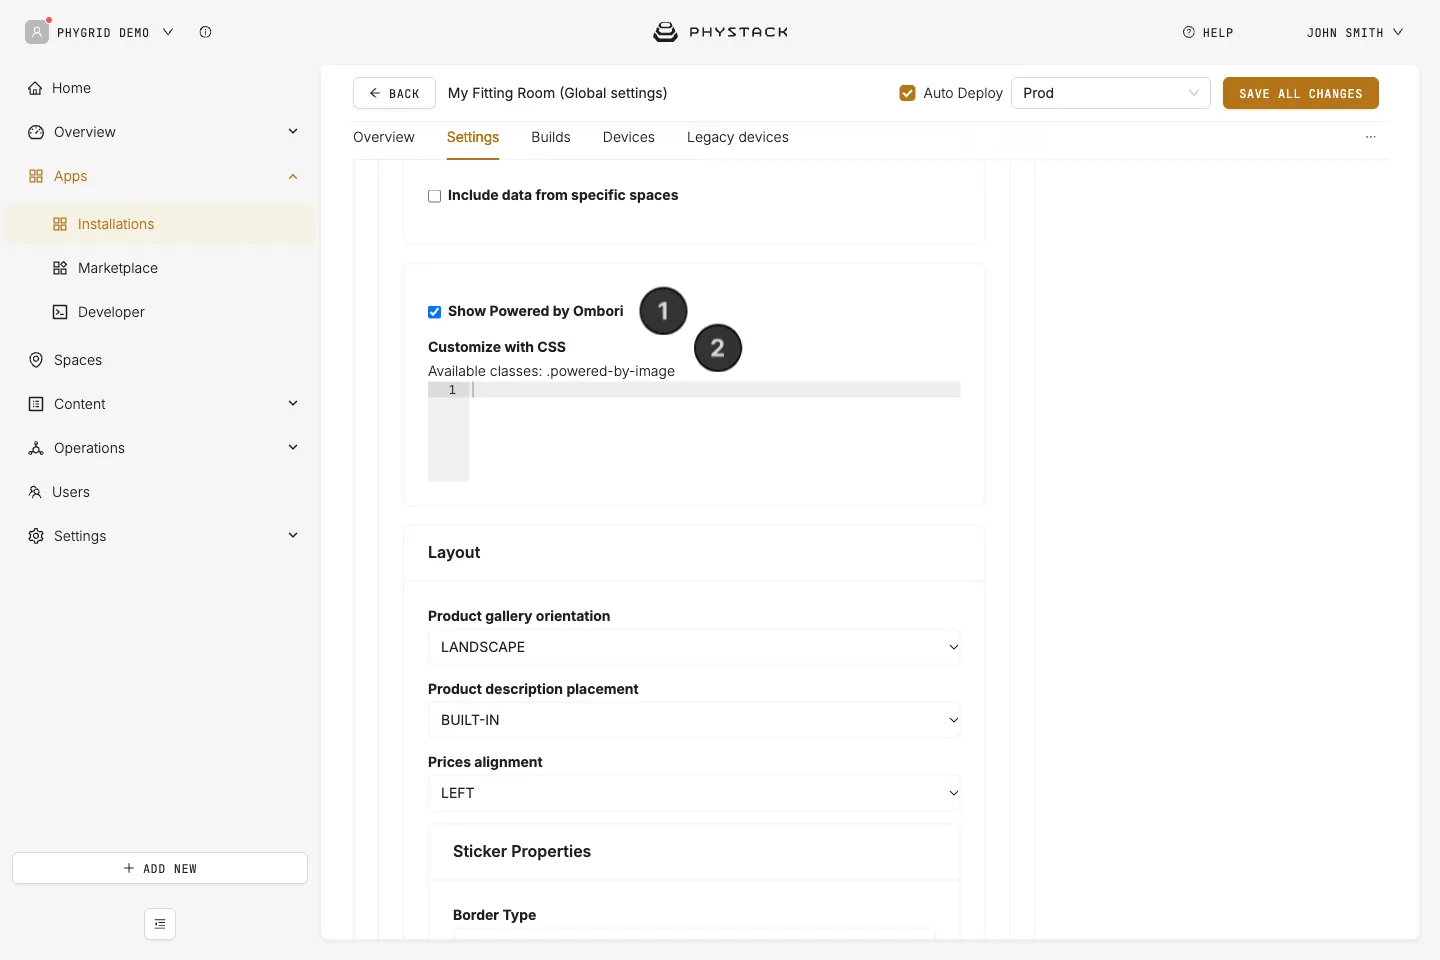
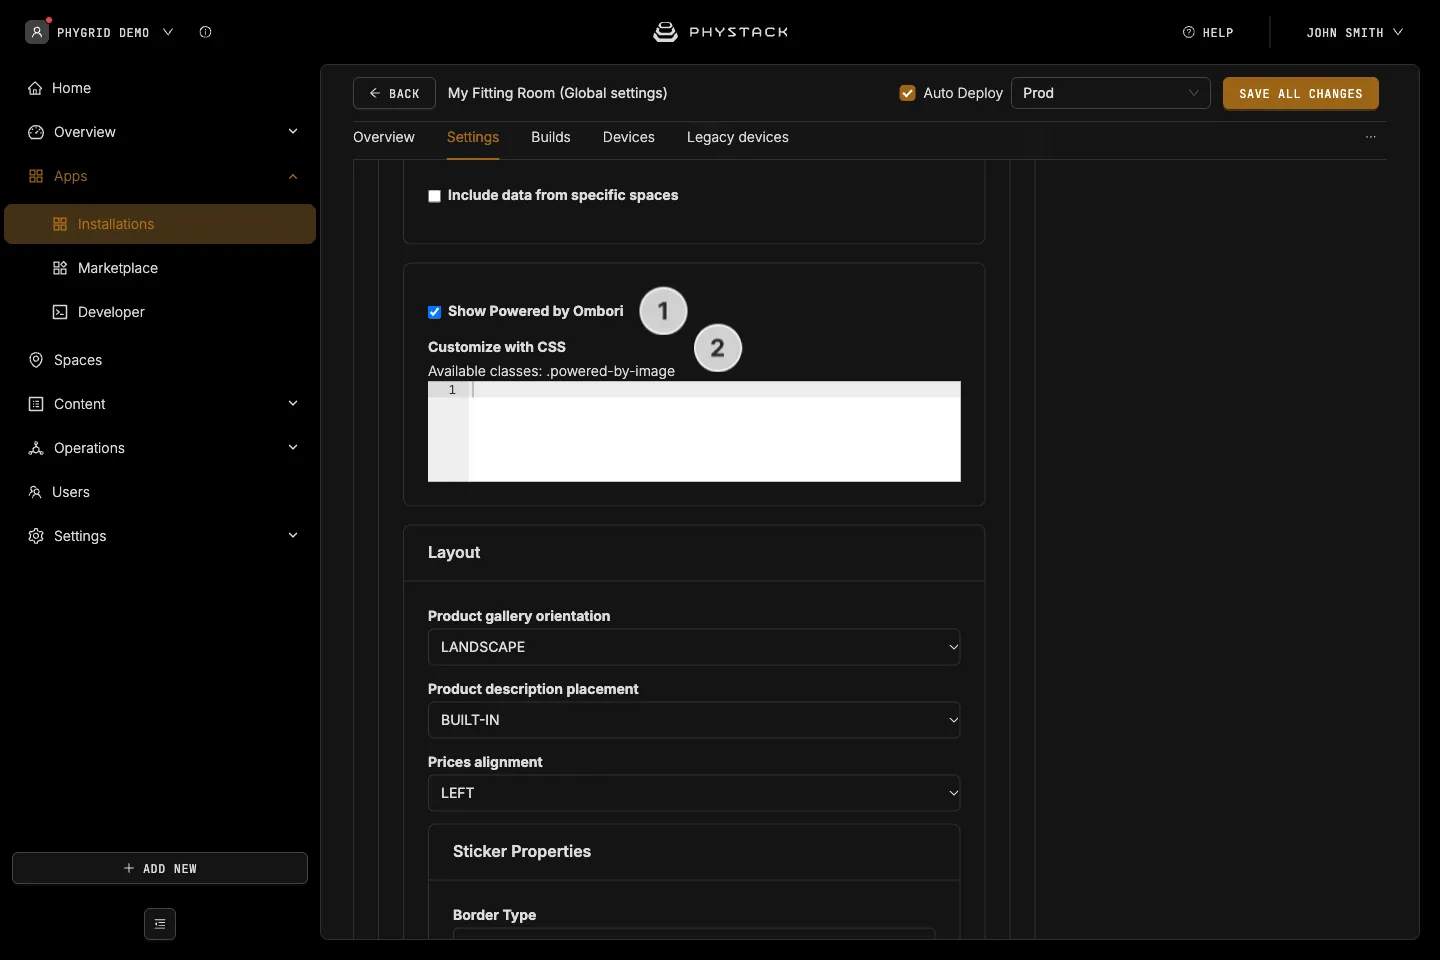
- Show Powered by Ombori: If selected, a “Powered by Ombori” badge is displayed in the app
- Customize with CSS: Custom CSS targeting the
.powered-by-imageclass. Only available when the badge is enabled
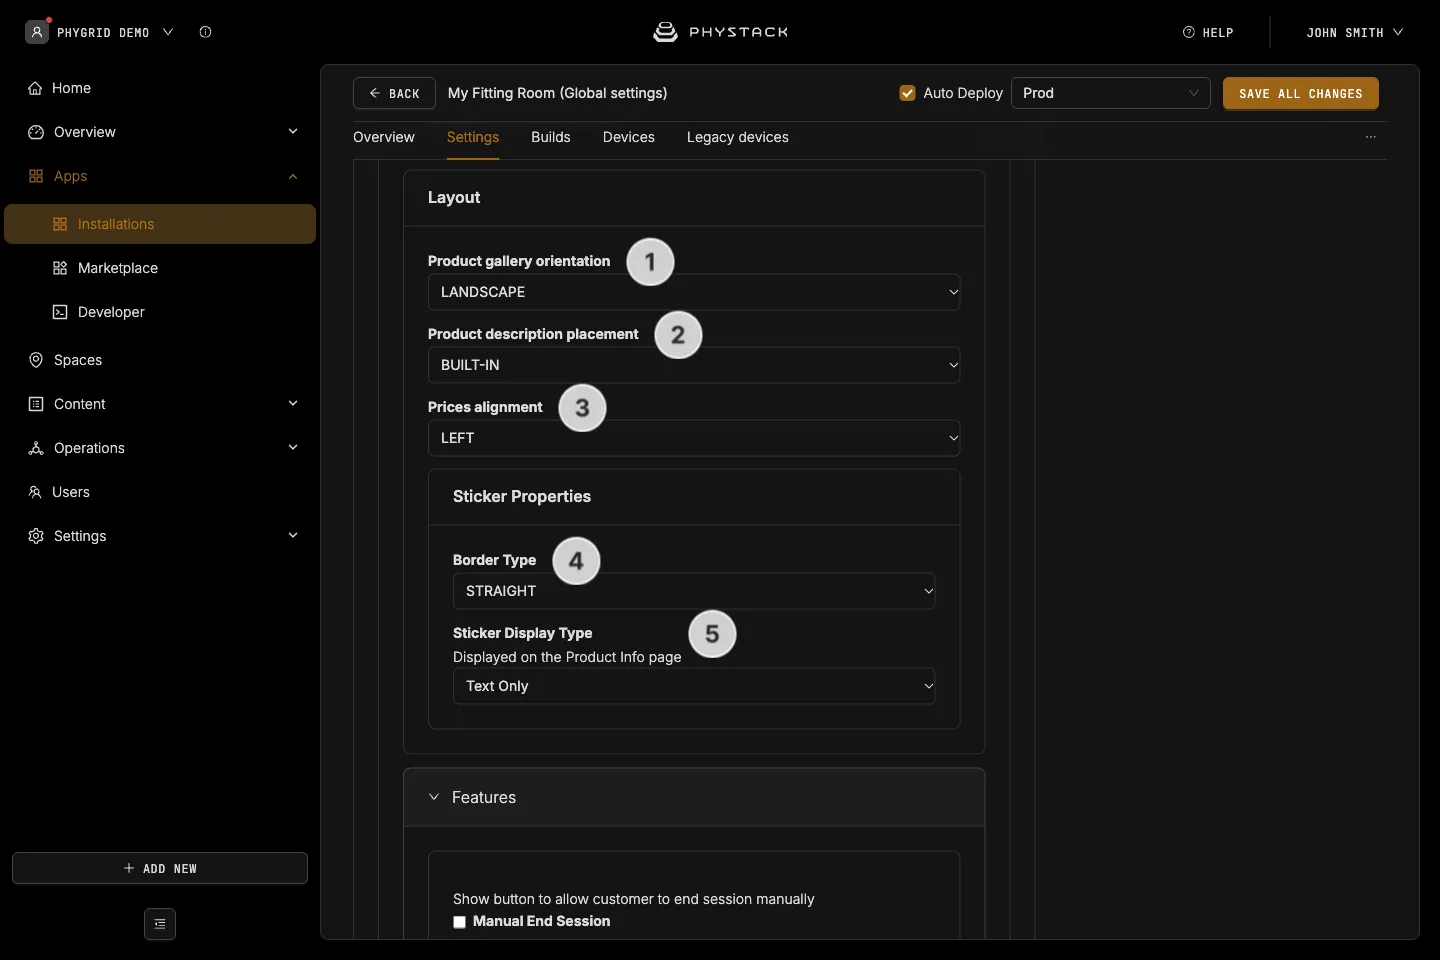
Layout
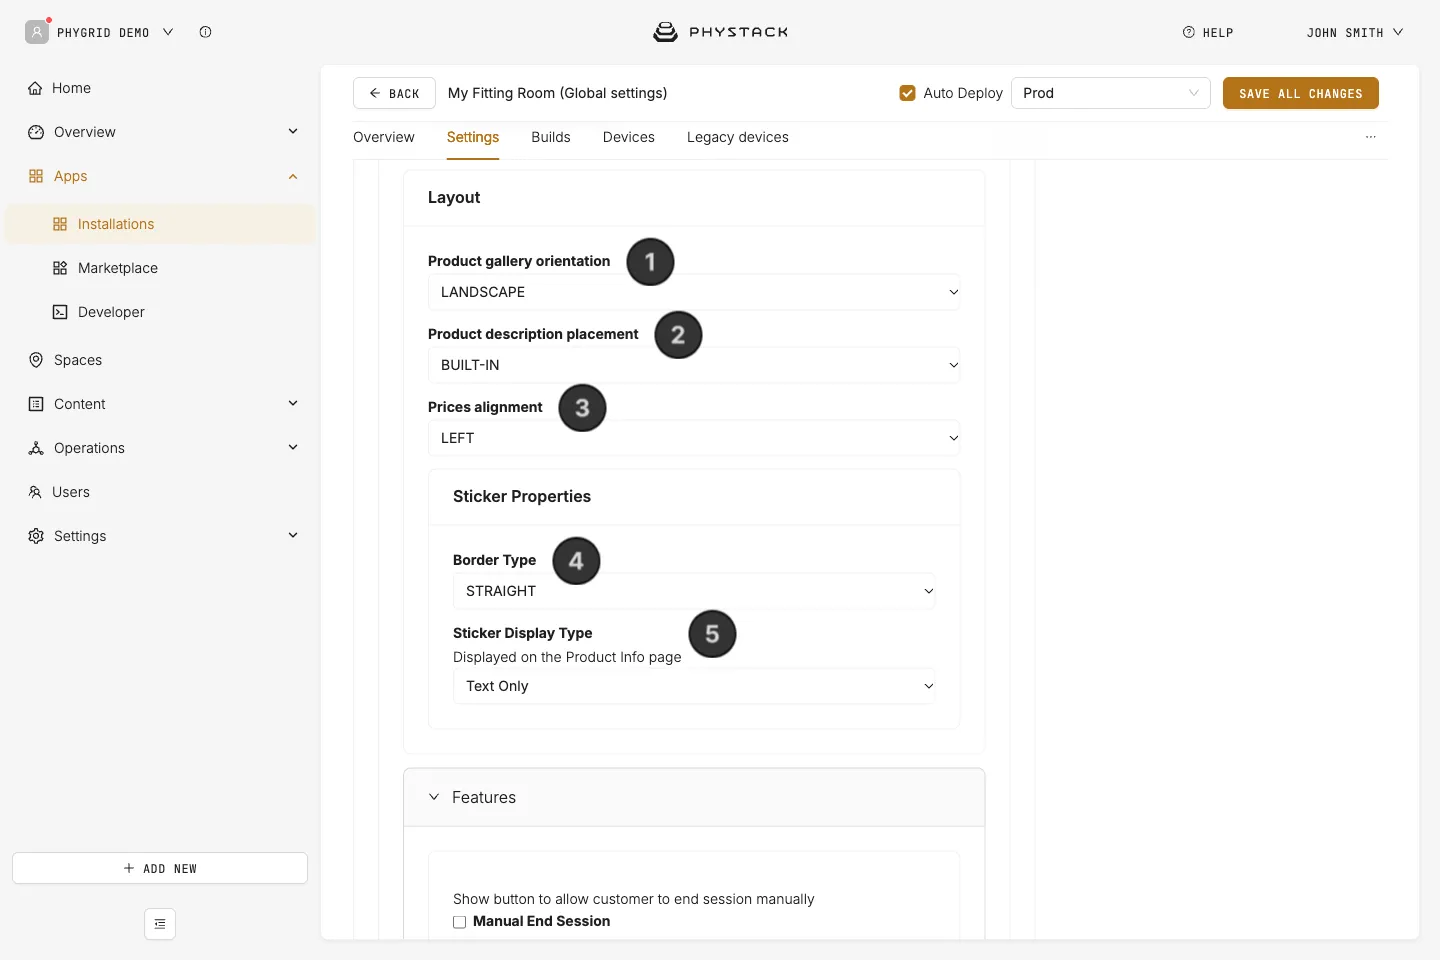
- Product gallery orientation: Not used by the current app version
- Product description placement: Not used by the current app version
- Prices alignment: Choose whether prices are aligned to the LEFT or RIGHT of their container. Default LEFT
- Sticker Properties → Border Type: Choose ROUNDED or STRAIGHT corners for the product sticker / label. Default STRAIGHT
- Sticker Properties → Sticker Display Type: How the sticker appears on the product info page. Text Only shows the sticker as a separate text element; Beside Price places it next to the price. Default Text Only
Features
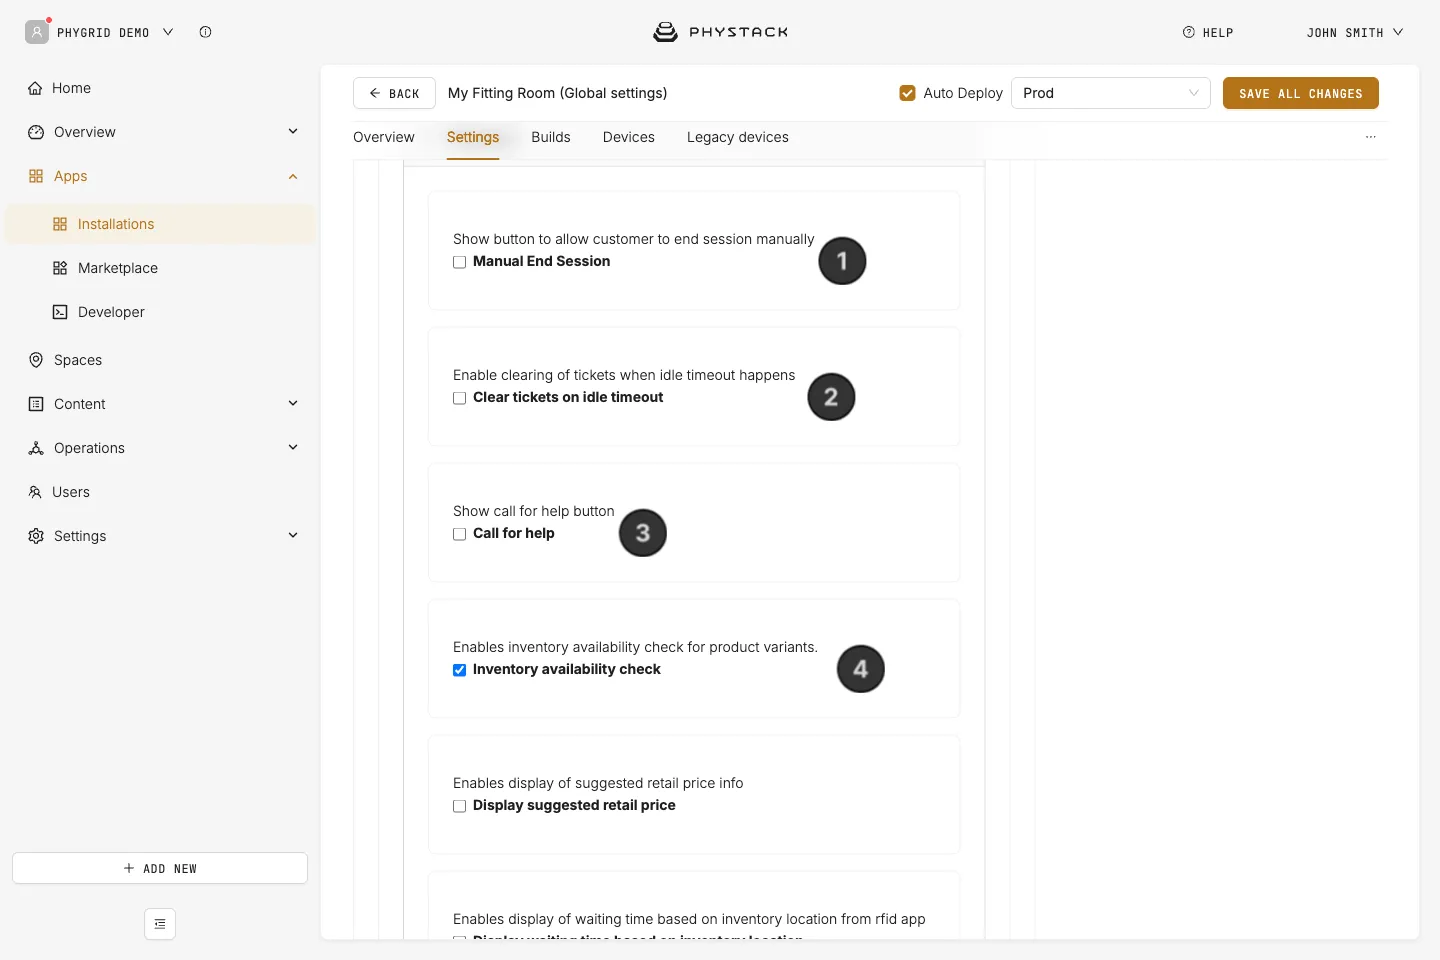
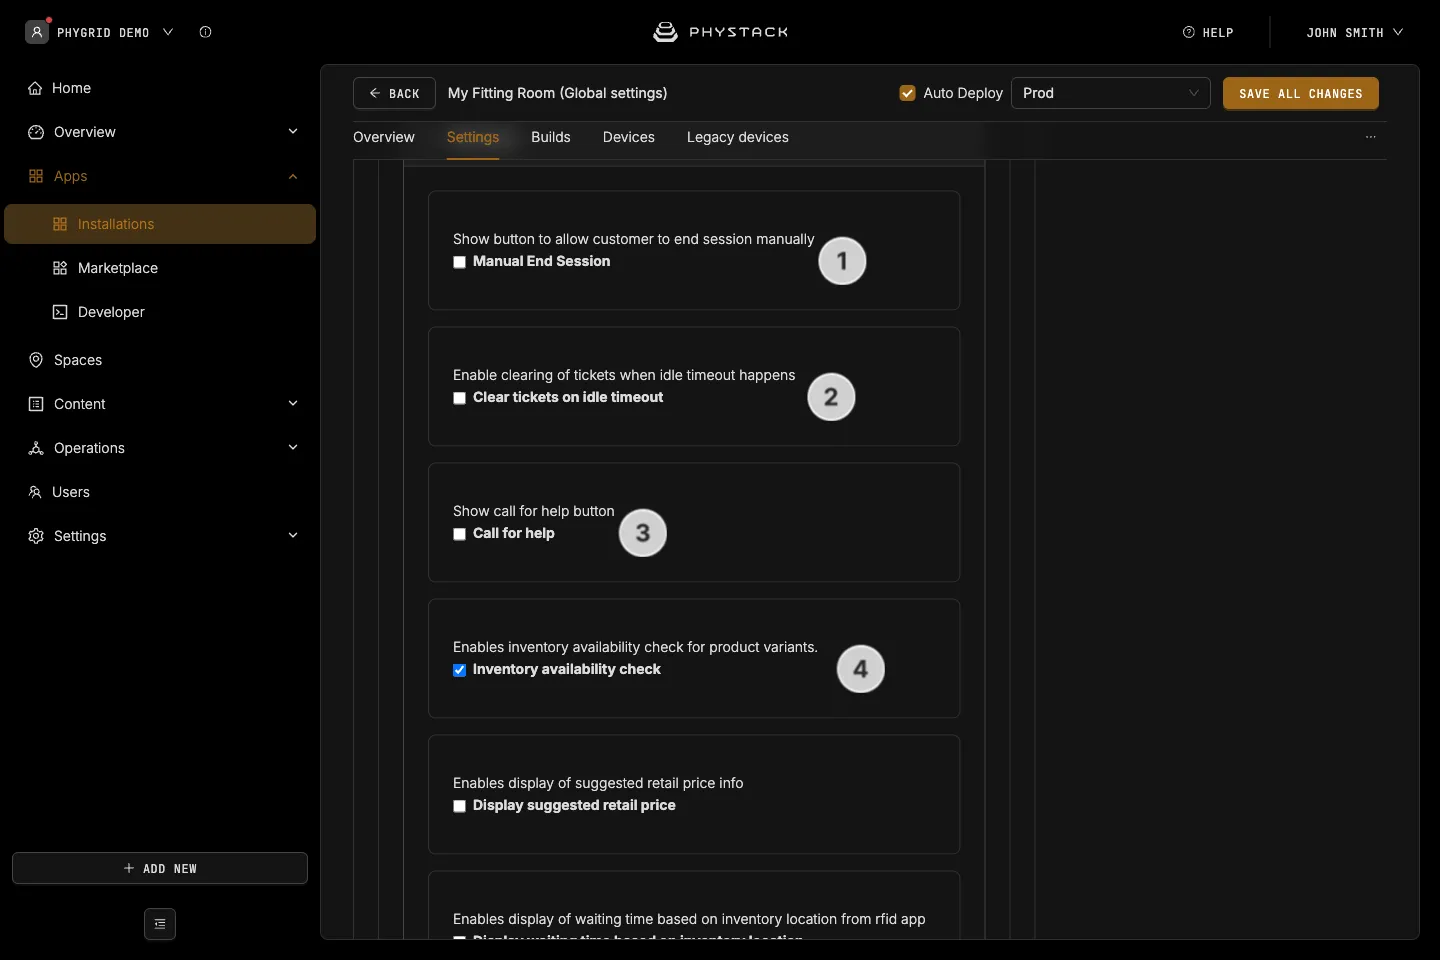
- Manual End Session: If selected, a button is shown that lets the customer end the session manually instead of waiting for the idle timeout
- Clear tickets on idle timeout: If selected, any open “Bring to me” tickets are cleared when the app returns to idle. If not selected, tickets remain pending across sessions
- Call for help: If selected, a “Call for help” button is shown that creates a staff ticket in the connected Tasks installation
- Inventory availability check: If selected, the app checks variant inventory before showing it as available. Default on
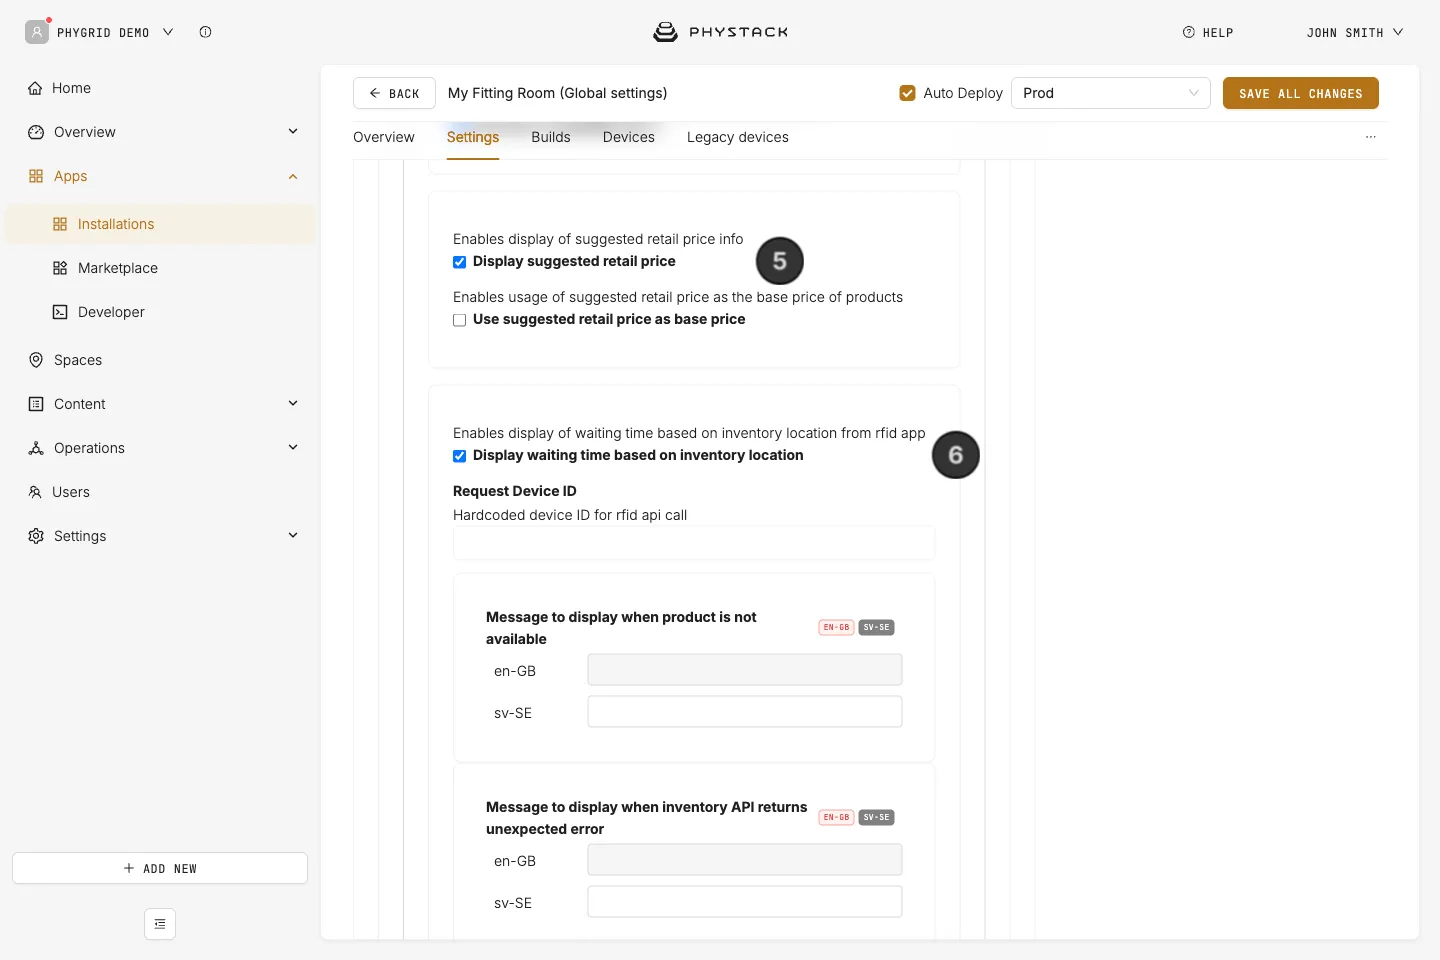
- Display suggested retail price: If selected, the suggested retail price is displayed alongside the product price. Default off
- Use suggested retail price as base price: Only available when the suggested retail price is enabled. If selected, the suggested retail price is shown as the main (base) price rather than alongside it
- Display waiting time based on inventory location: If selected, the “Bring to me” dialog checks where the requested item is stocked and shows a waiting time message before the customer sends the request. Default off
- Request Device ID: The device ID used for the inventory location lookup
- Message to display when product is not available: Shown when the item can’t be requested
- Message to display when inventory API returns unexpected error: Shown when the inventory lookup fails
- Front office waiting time label: Shown when the item is available on the shop floor (front of house). Required
- Enable request for items found on back office only: If selected, customers can also request items that are only in the back office (back of house)
- Back office waiting time label: Shown for items found only in the back office. Required when back office requests are enabled
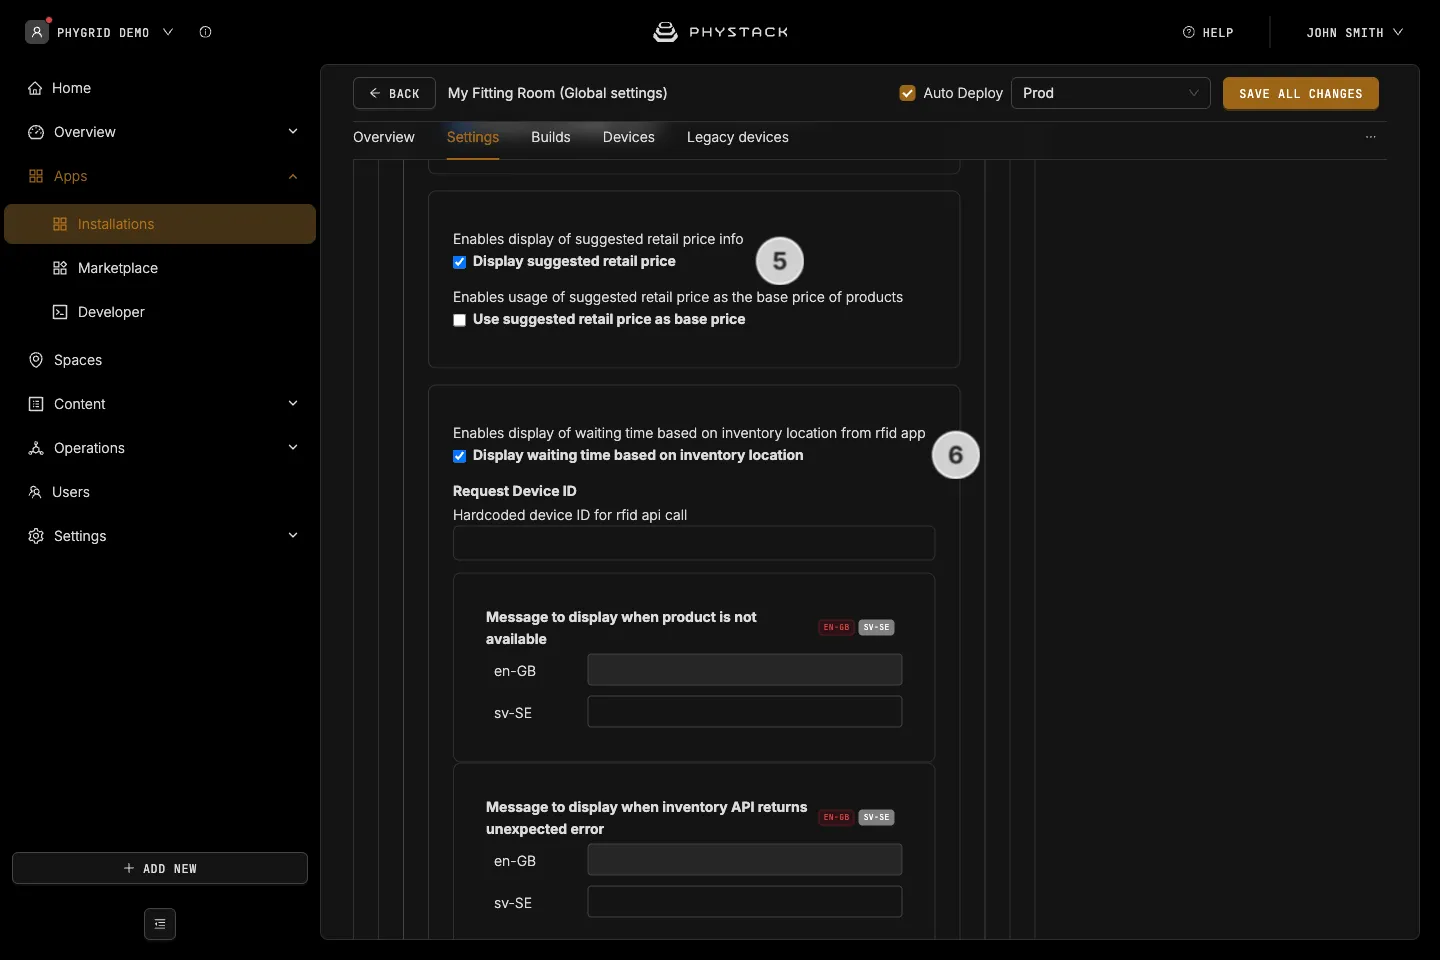
Idle
- Splash Media: Image or video shown on the idle screen when no products have been brought into the fitting room. Supported formats: PNG, JPEG, SVG, GIF, MP4, WebM
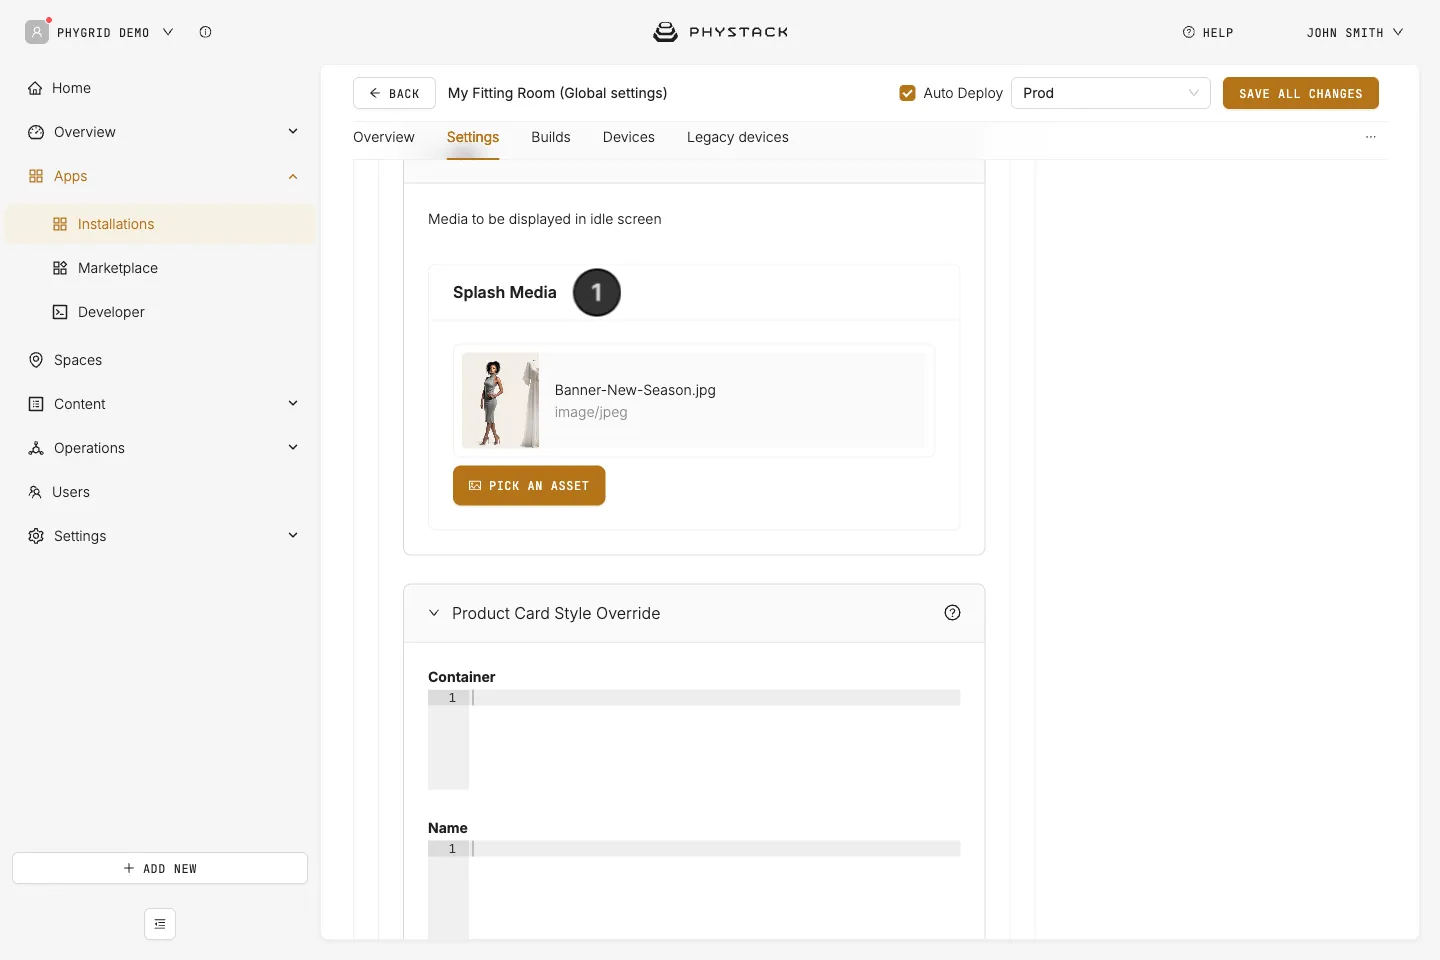
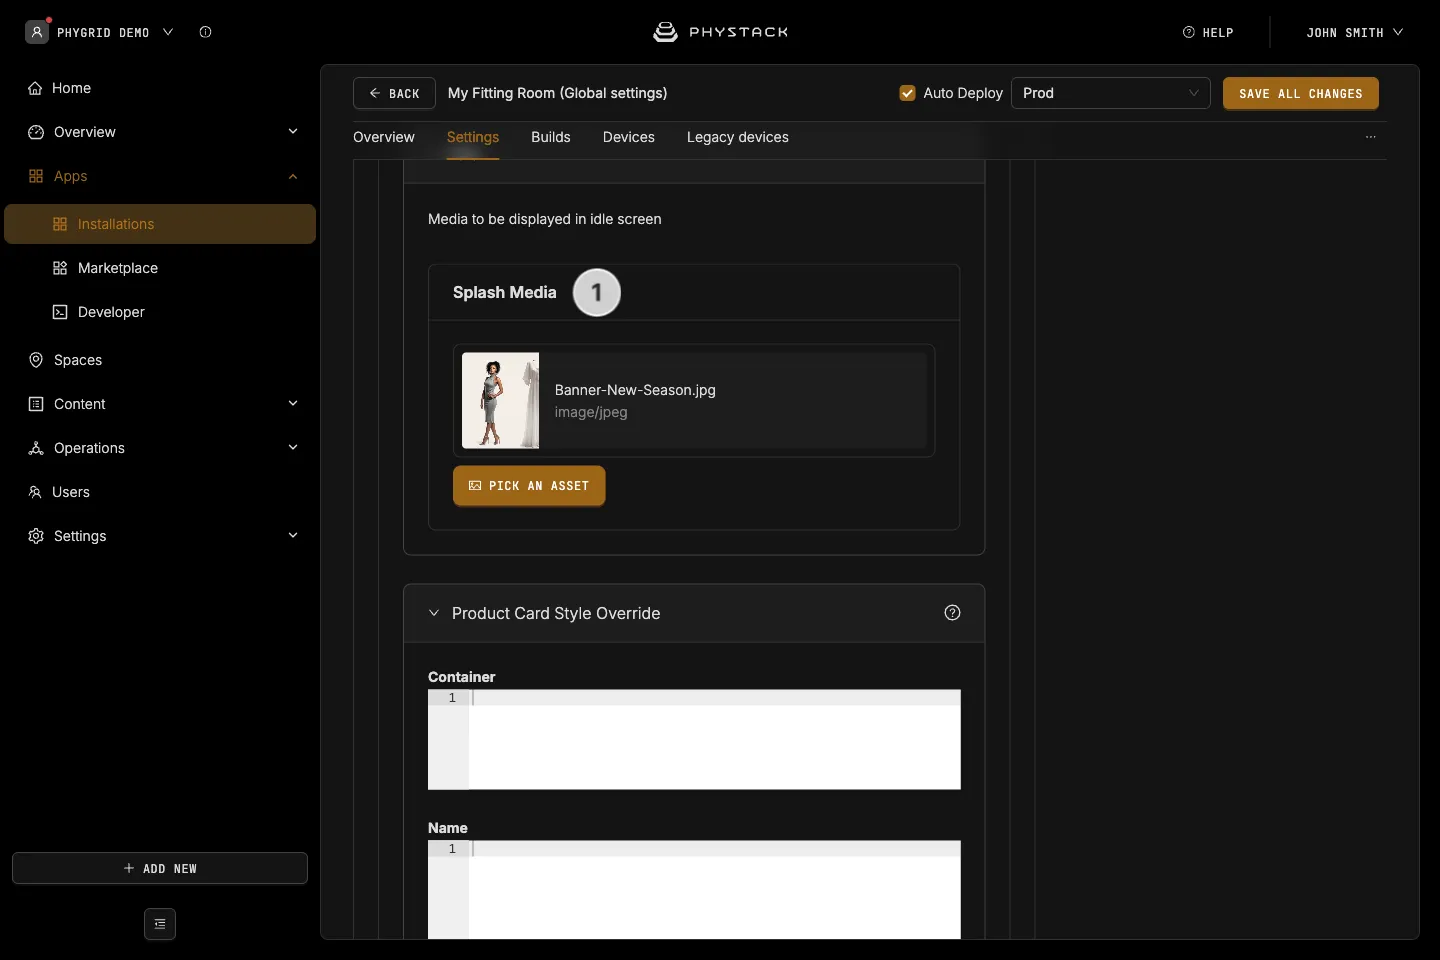
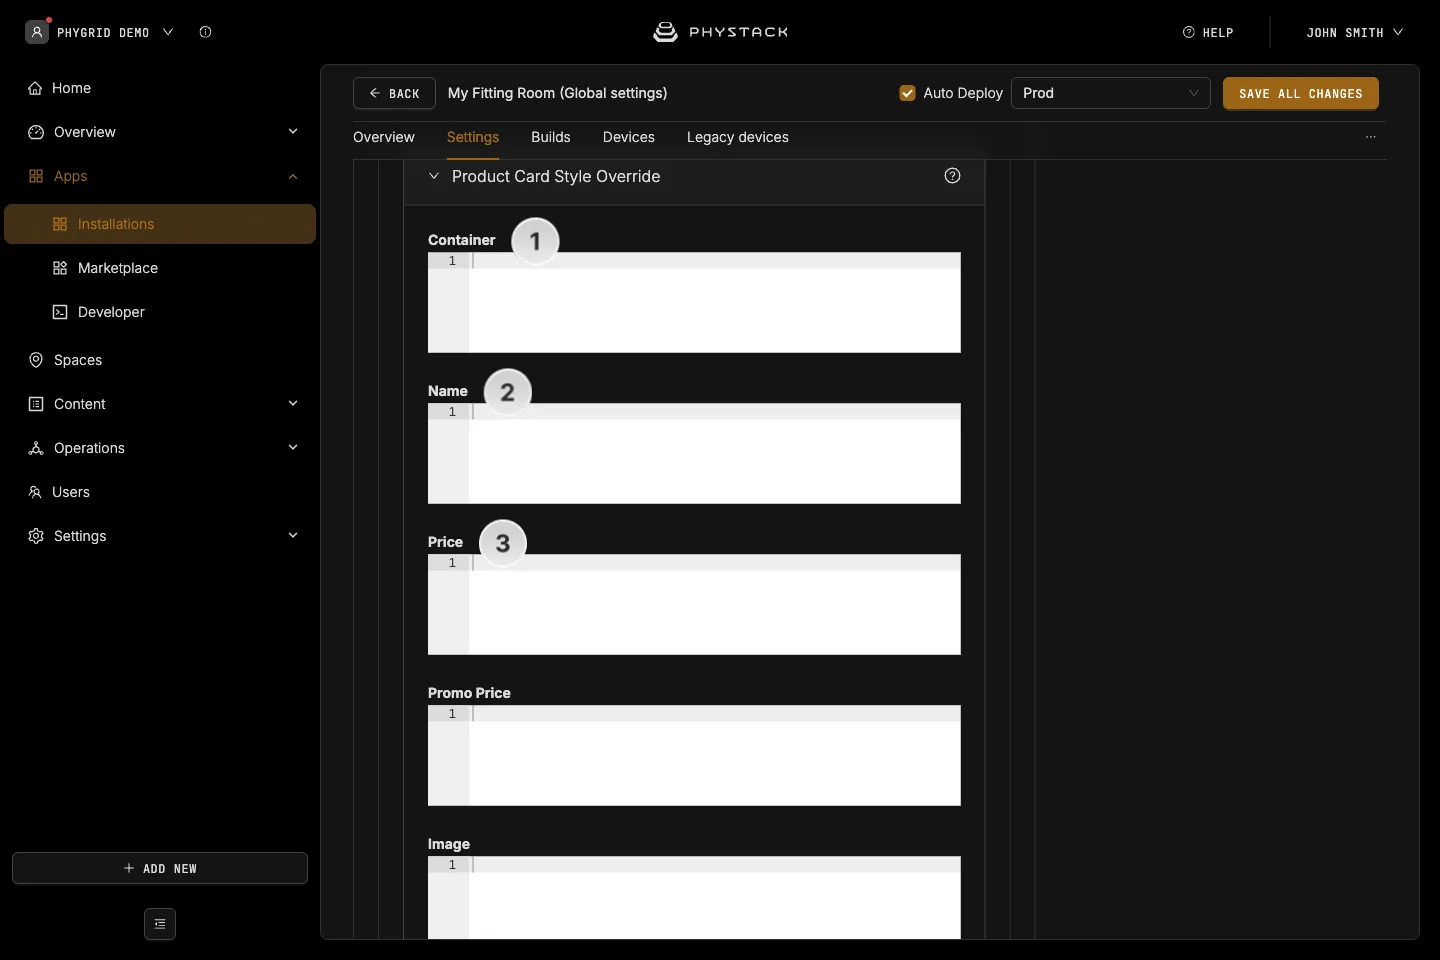
Product card style override
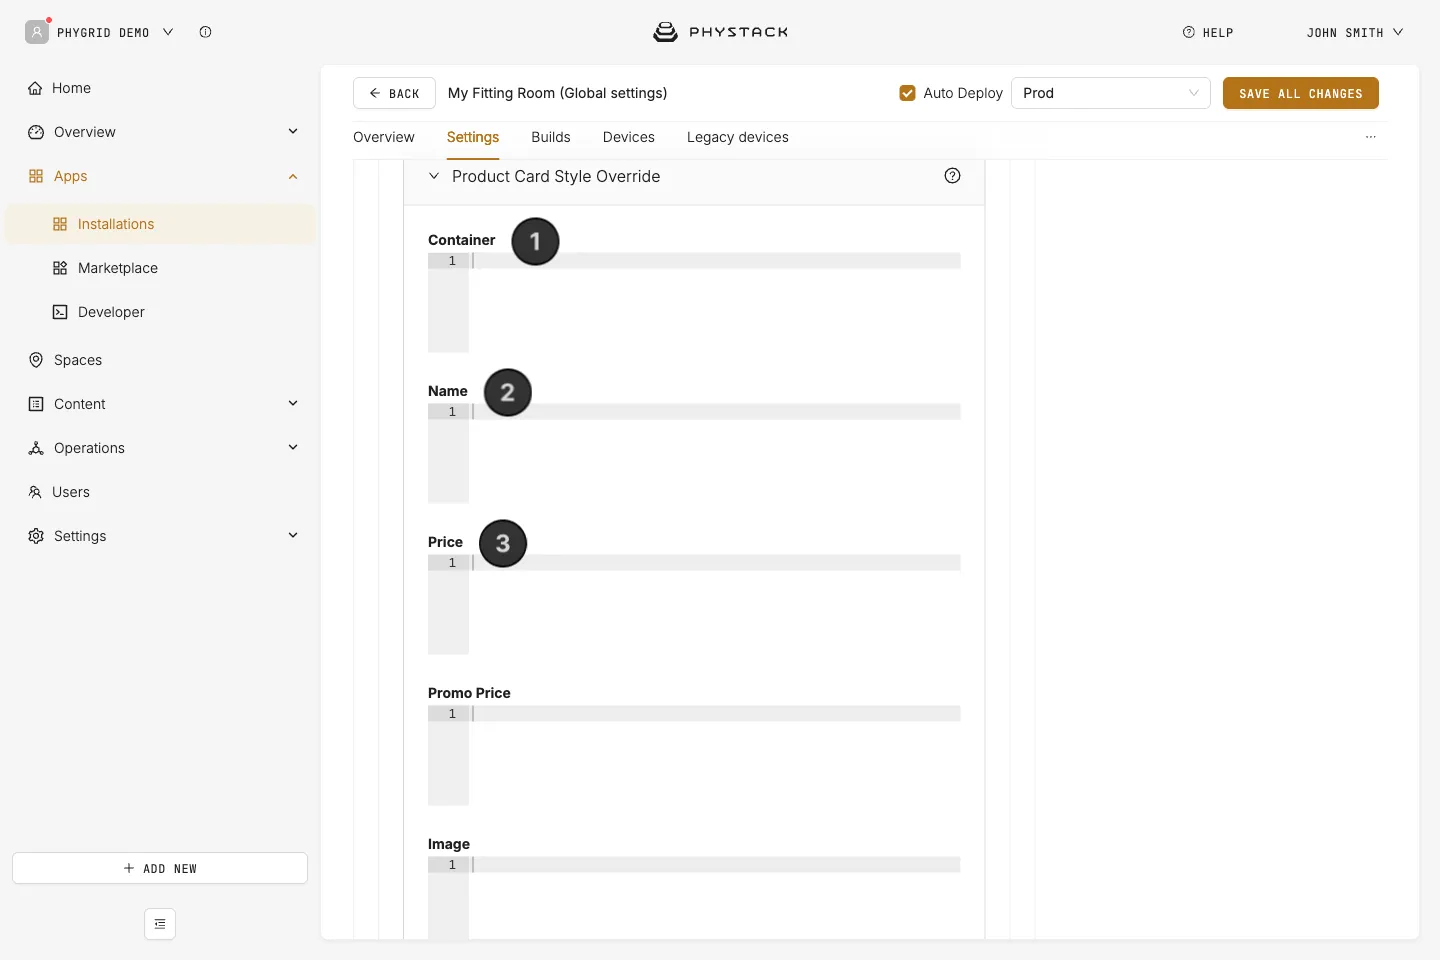
Override the default styles of the product card via CSS. Each field below accepts custom CSS that targets the corresponding part of the card.
- Container: Custom CSS for the product card container
- Name: Custom CSS for the product name
- Price: Custom CSS for the regular price
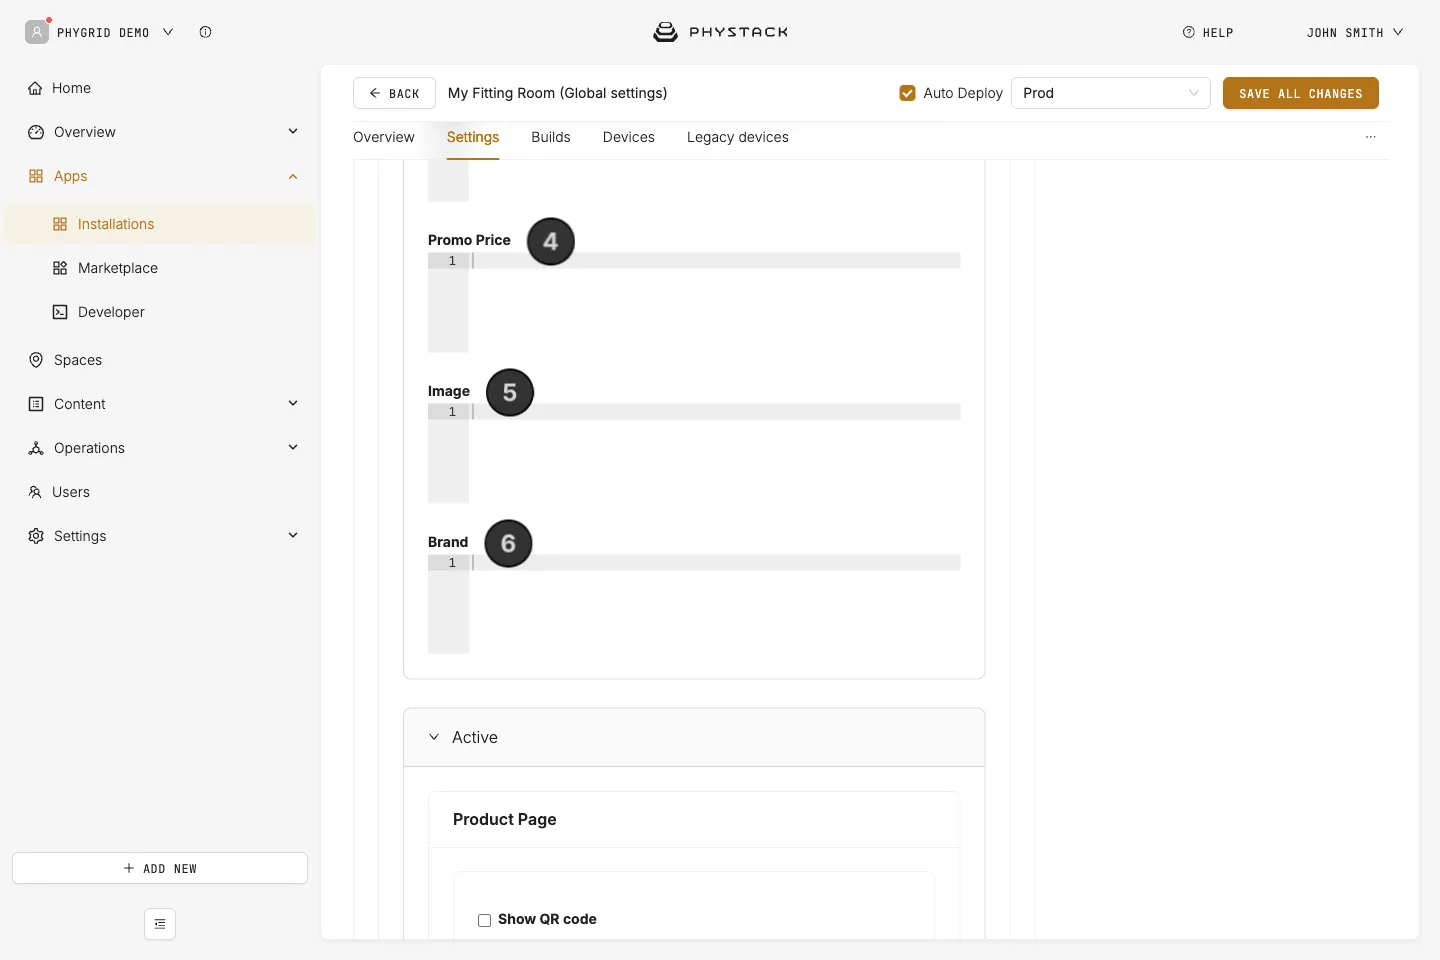
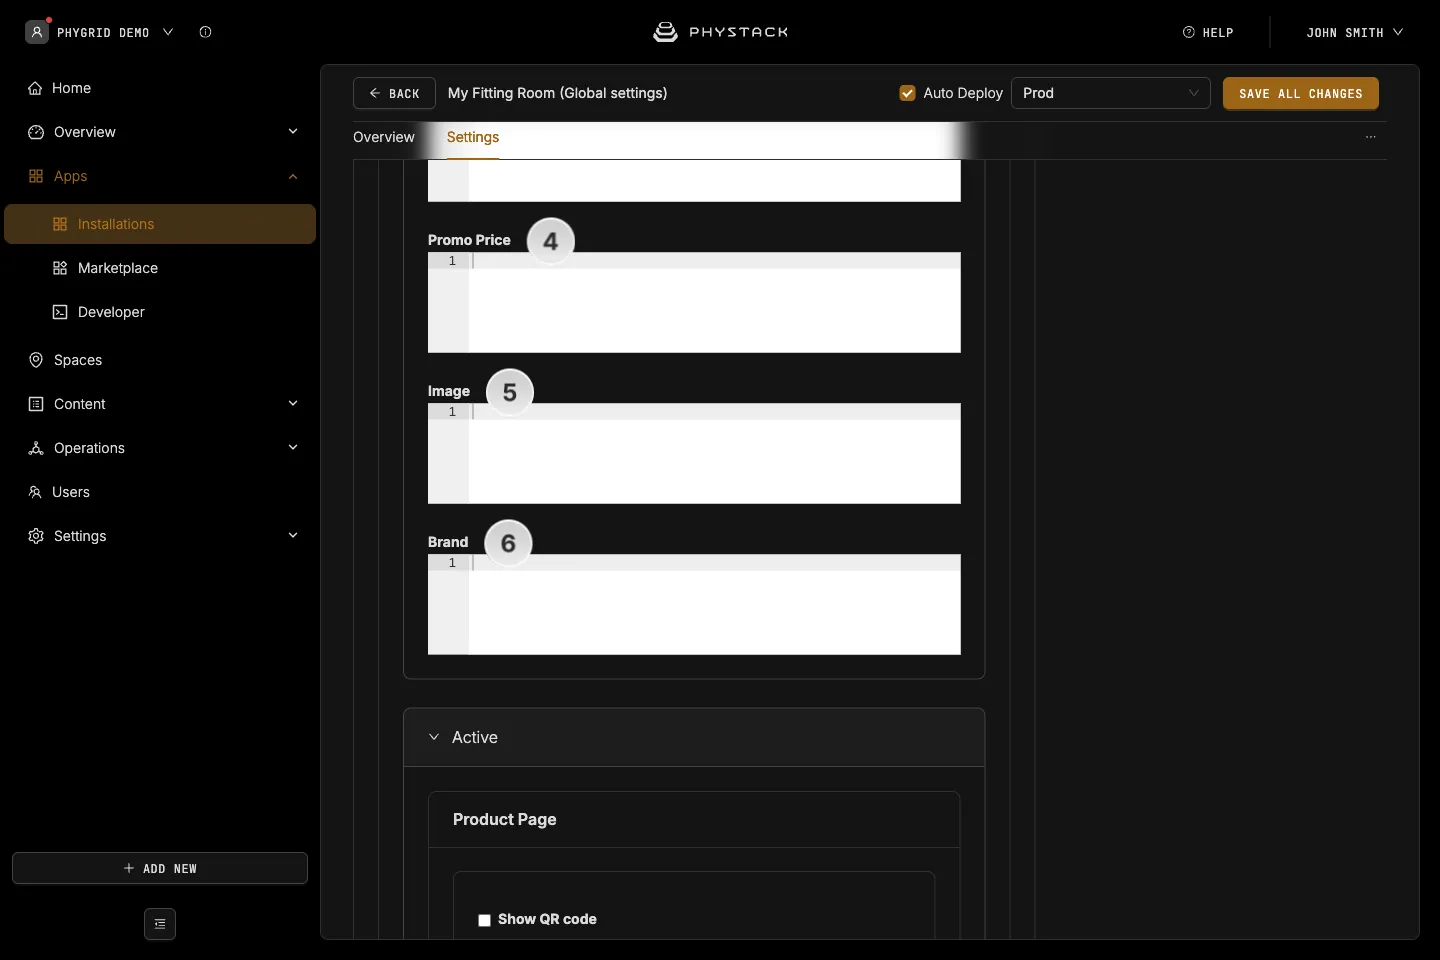
- Promo Price: Custom CSS for the promotional / discounted price
- Image: Custom CSS for the product image
- Brand: Custom CSS for the brand label
Product Page
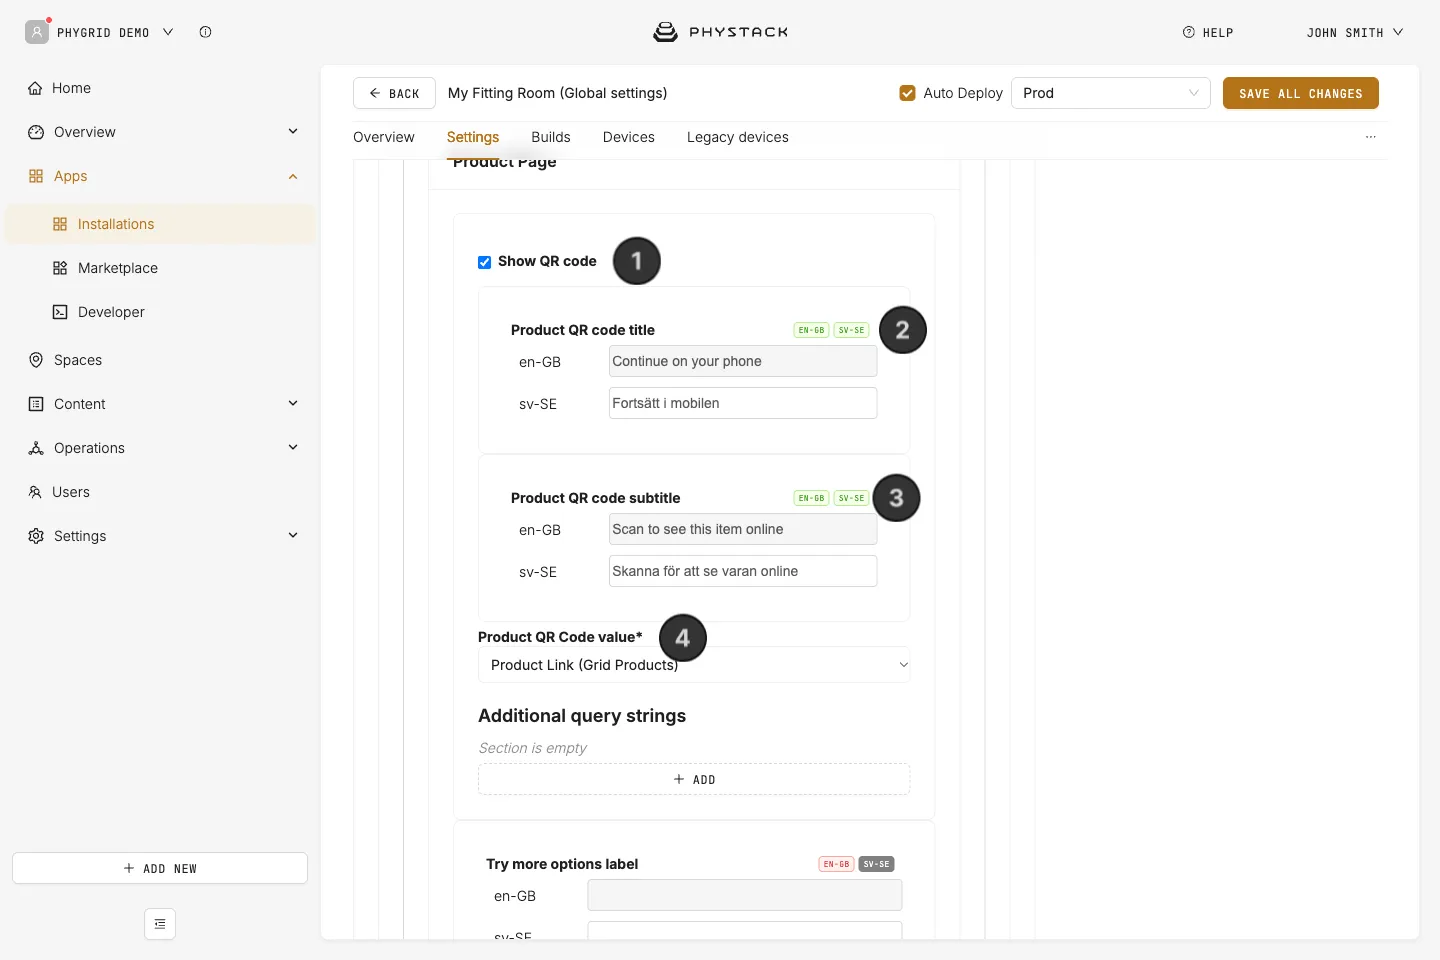
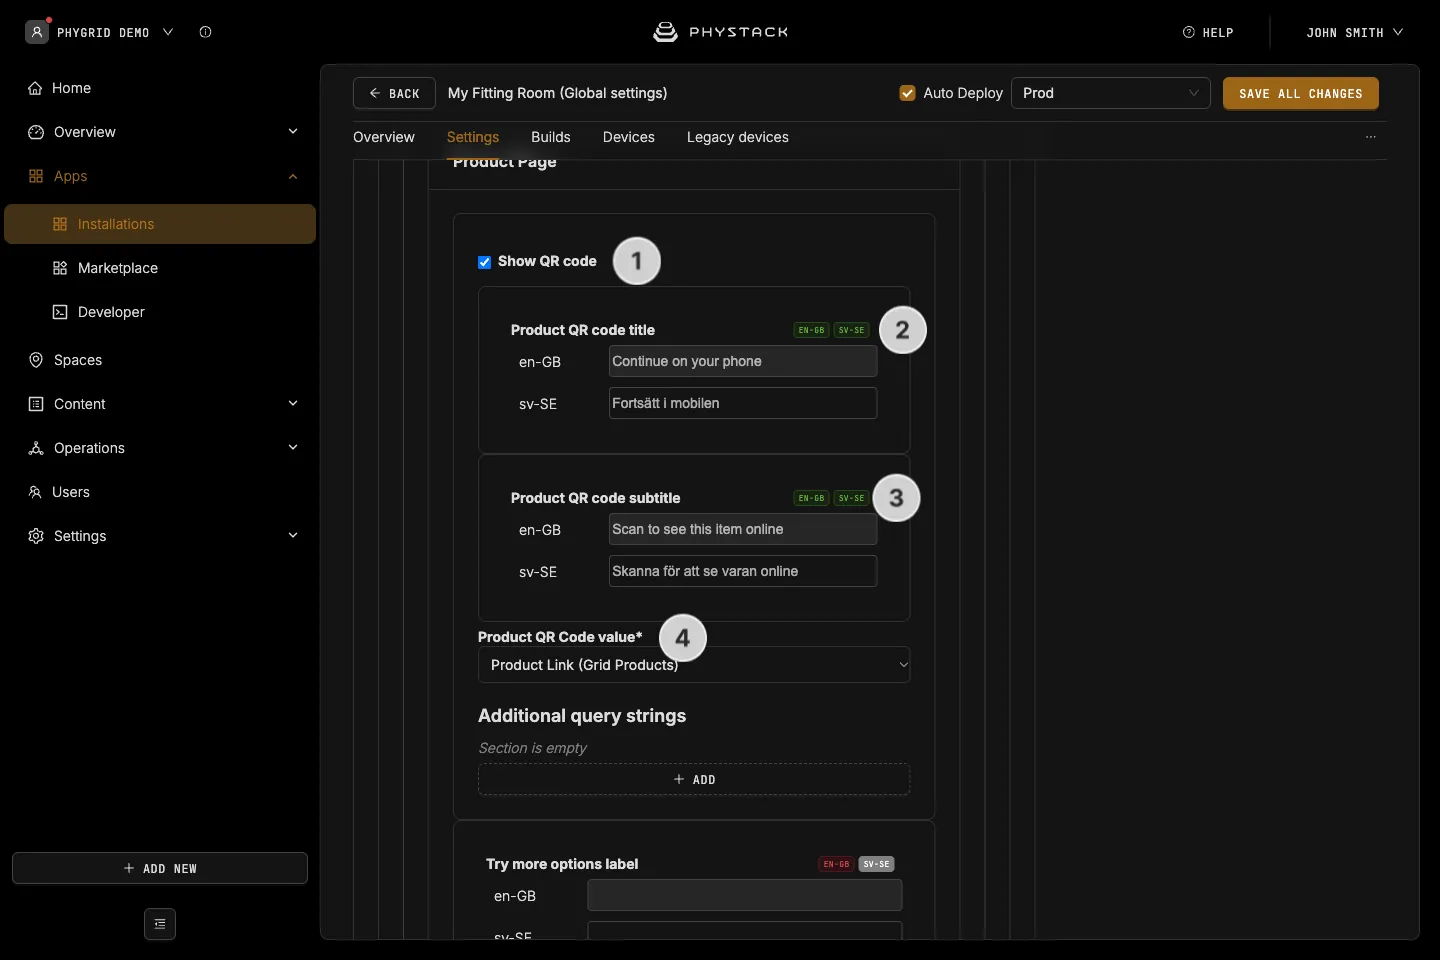
- Show QR code: If selected, a QR code is displayed on the product page that customers can scan with their phone
- Product QR code title: Multi-language headline shown next to the QR code
- Product QR code subtitle: Multi-language secondary text shown next to the QR code
- Product QR Code value: Choose the link encoded into the QR code:
- Product Link (Grid Products): Use the per-variant
productLinkfield configured in Grid Products - Fixed Link: Use a single static URL configured below
- Product Link (Grid Products): Use the per-variant
- Additional query strings: Only available with Product Link. Define key/value pairs that will be appended to the product link as query parameters
- Link value in the QR code: Only available with Fixed Link. The static URL encoded into the QR code
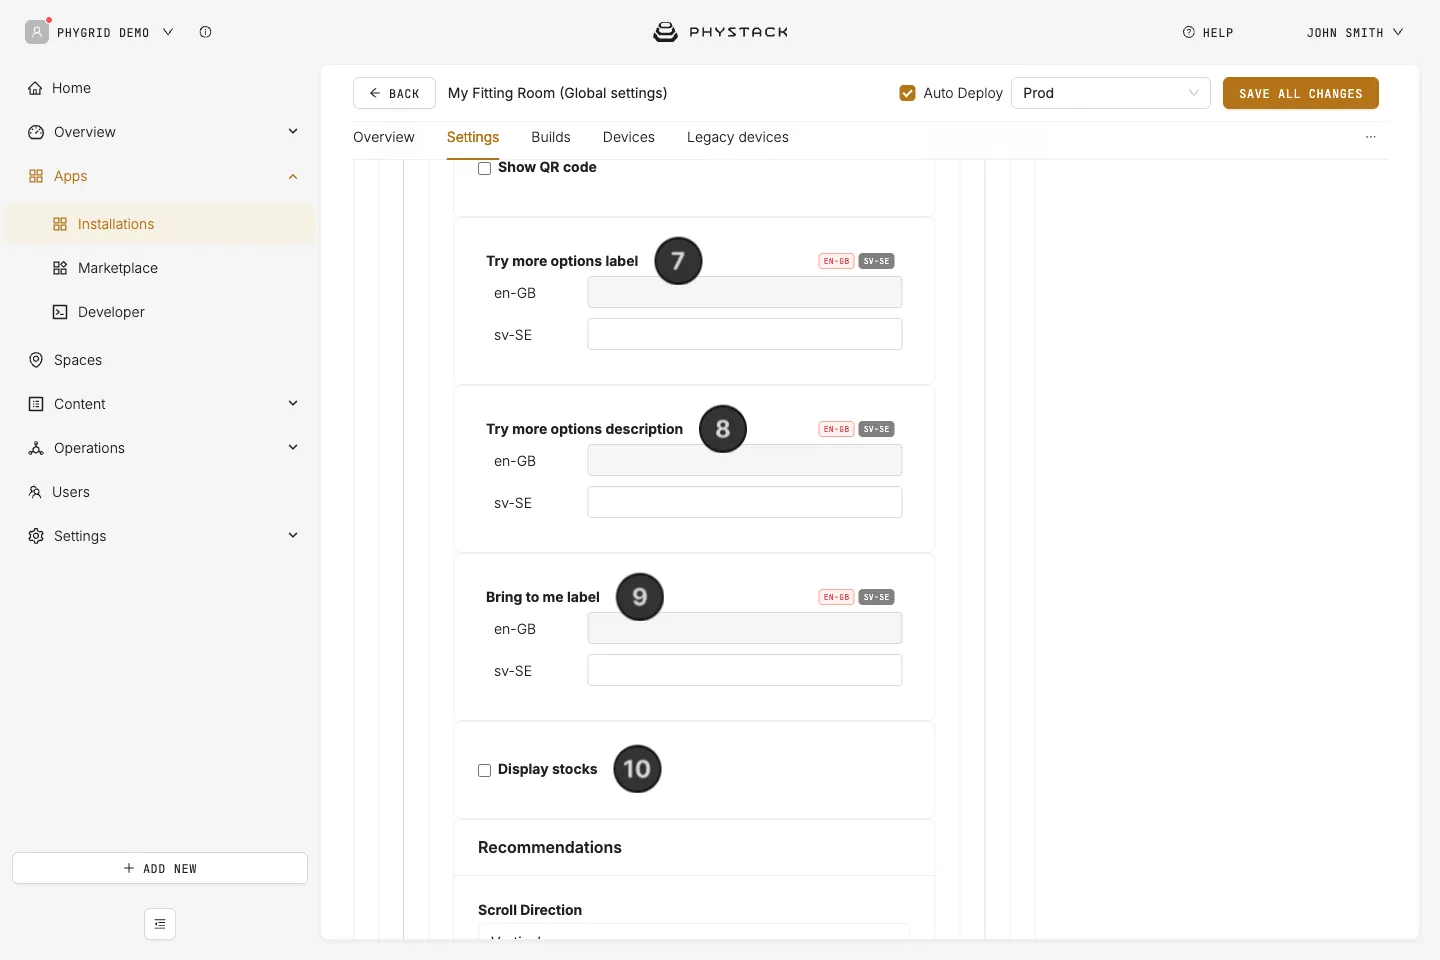
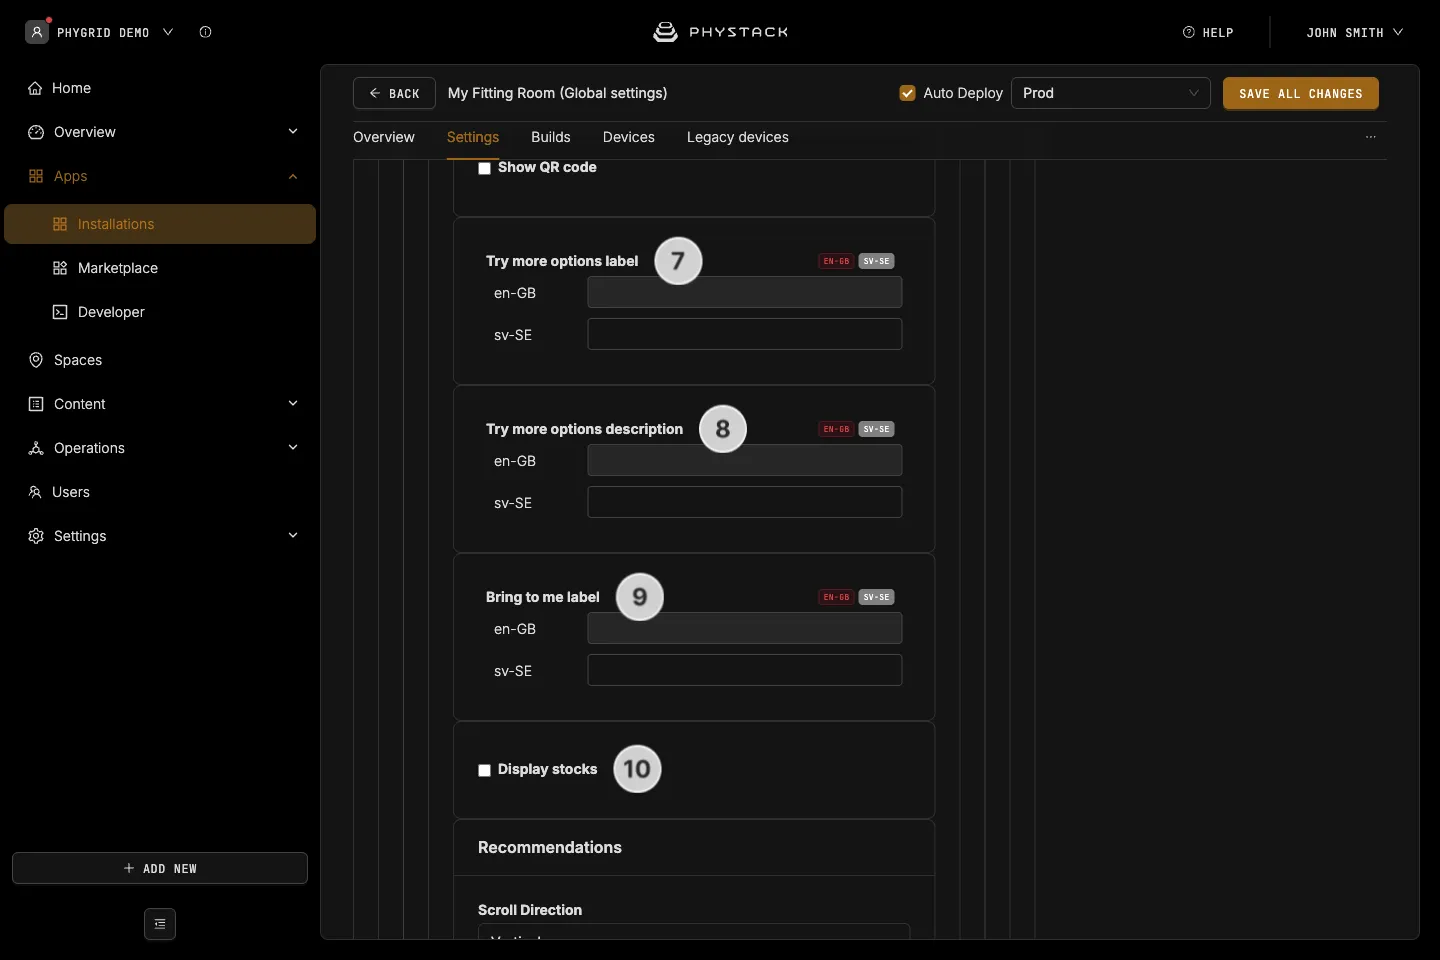
- Try more options label: Multi-language label shown above the variant selector (“size and color”) section
- Try more options description: Multi-language description shown alongside the variant selector
- Bring to me label: Multi-language label for the “Bring to me” CTA button used to request items from staff
- Display stocks: If selected, real-time stock counts are displayed for each variant
Recommendations
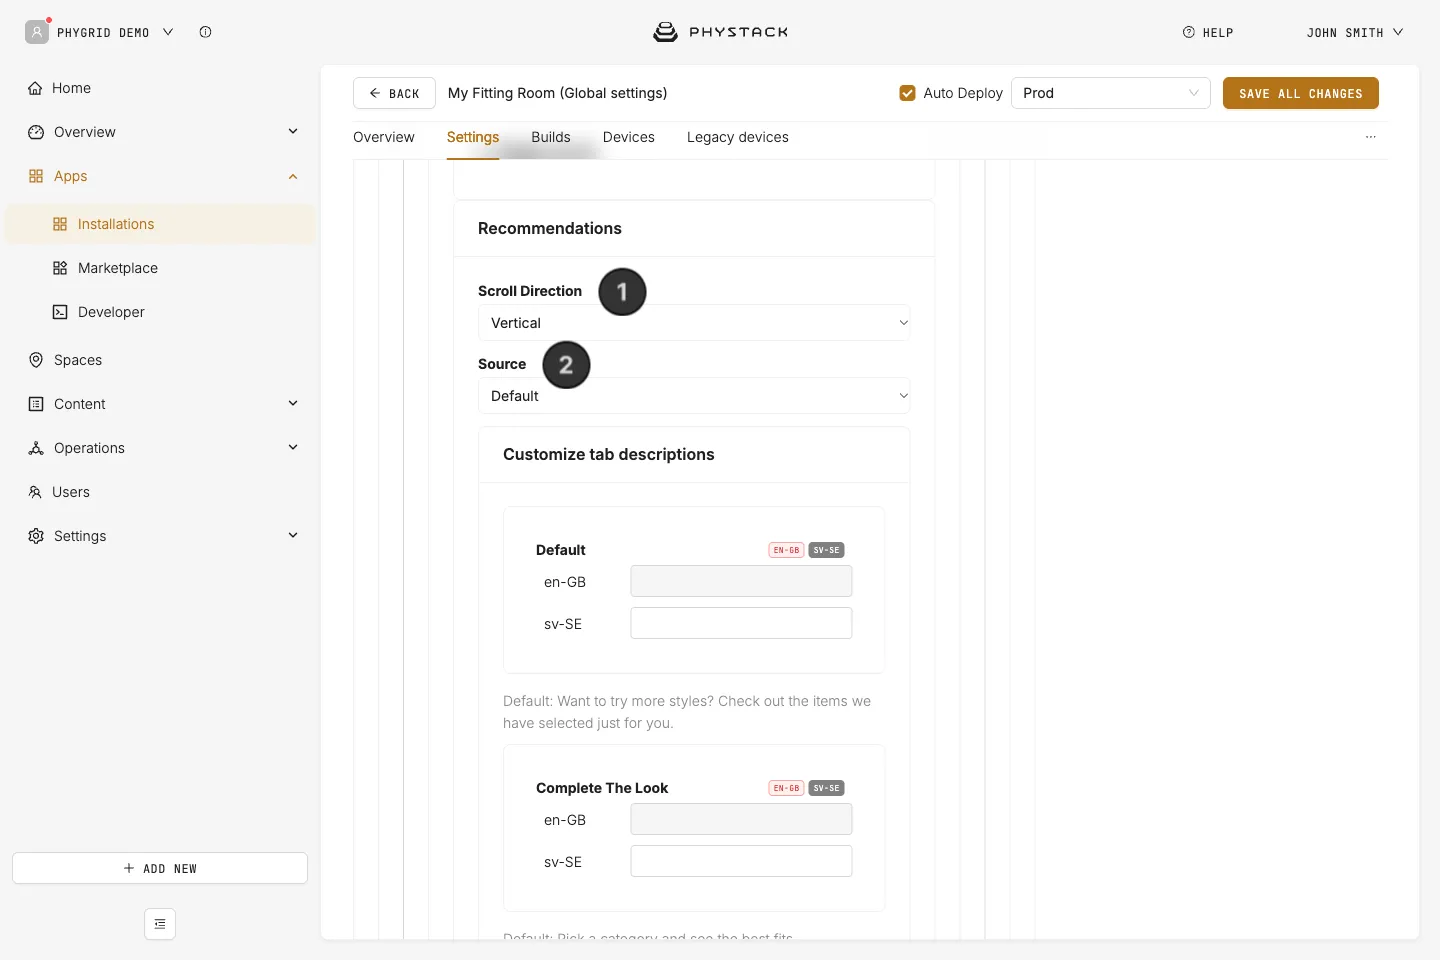
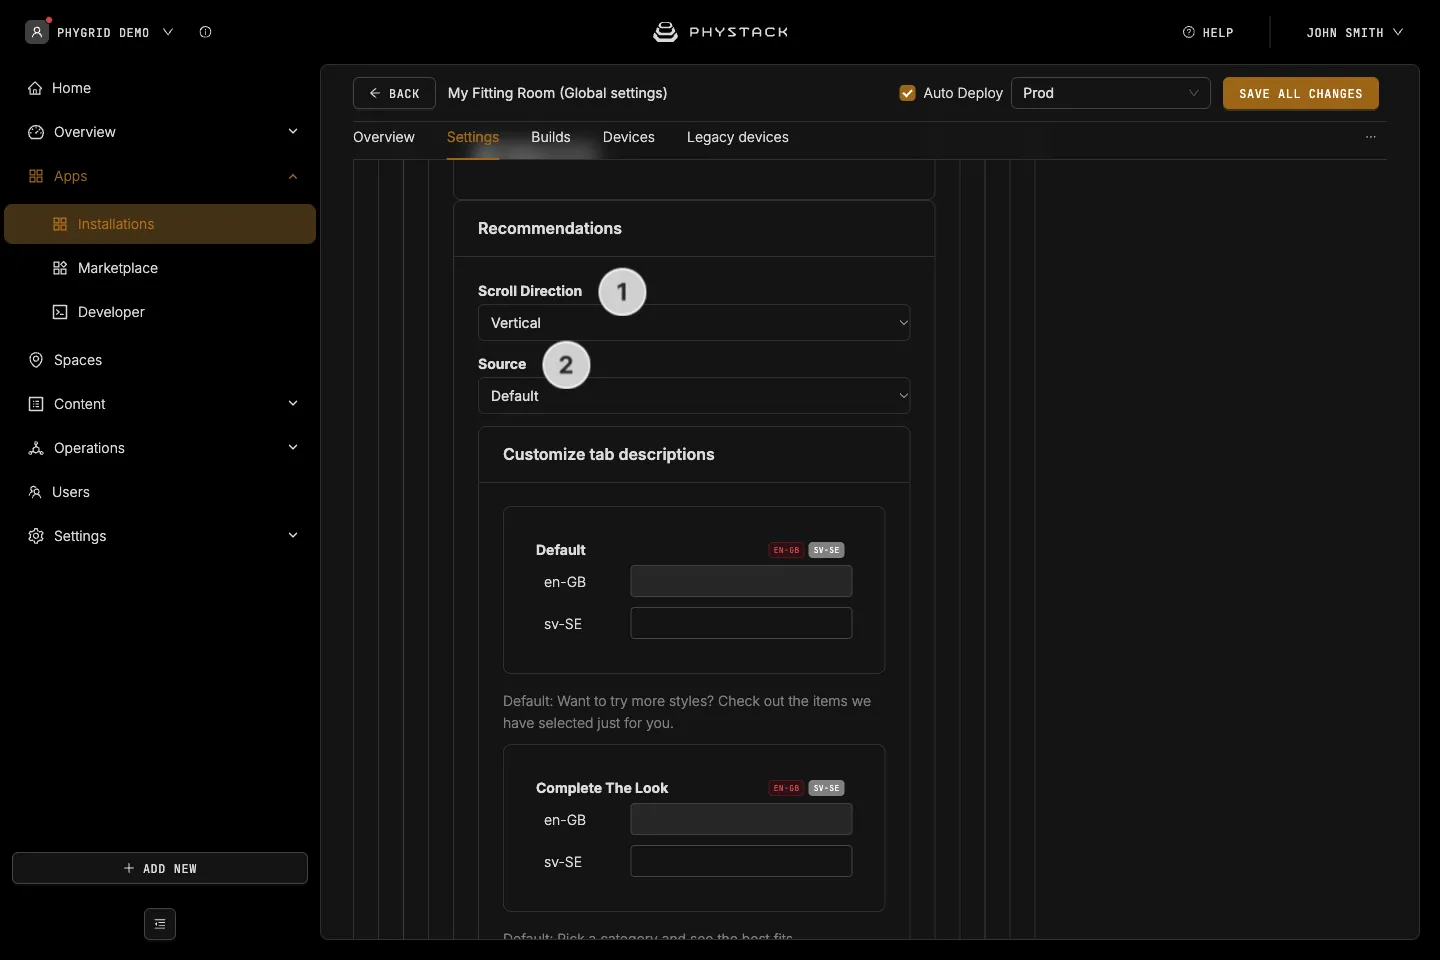
- Scroll Direction: Not used by the current app version
- Source: Choose the recommendation provider:
- Default: Use Grid Products’ built-in recommendations
- Streamoid: Use the Streamoid recommendation engine
- Streamoid Refresh Token: Required when Source is set to Streamoid. The refresh token used to authenticate with the Streamoid API
- Inclusion: Required when Source is set to Streamoid. Choose which recommendation tabs to include:
- Similar Items and Complete the Look
- Similar Items
- Complete the Look
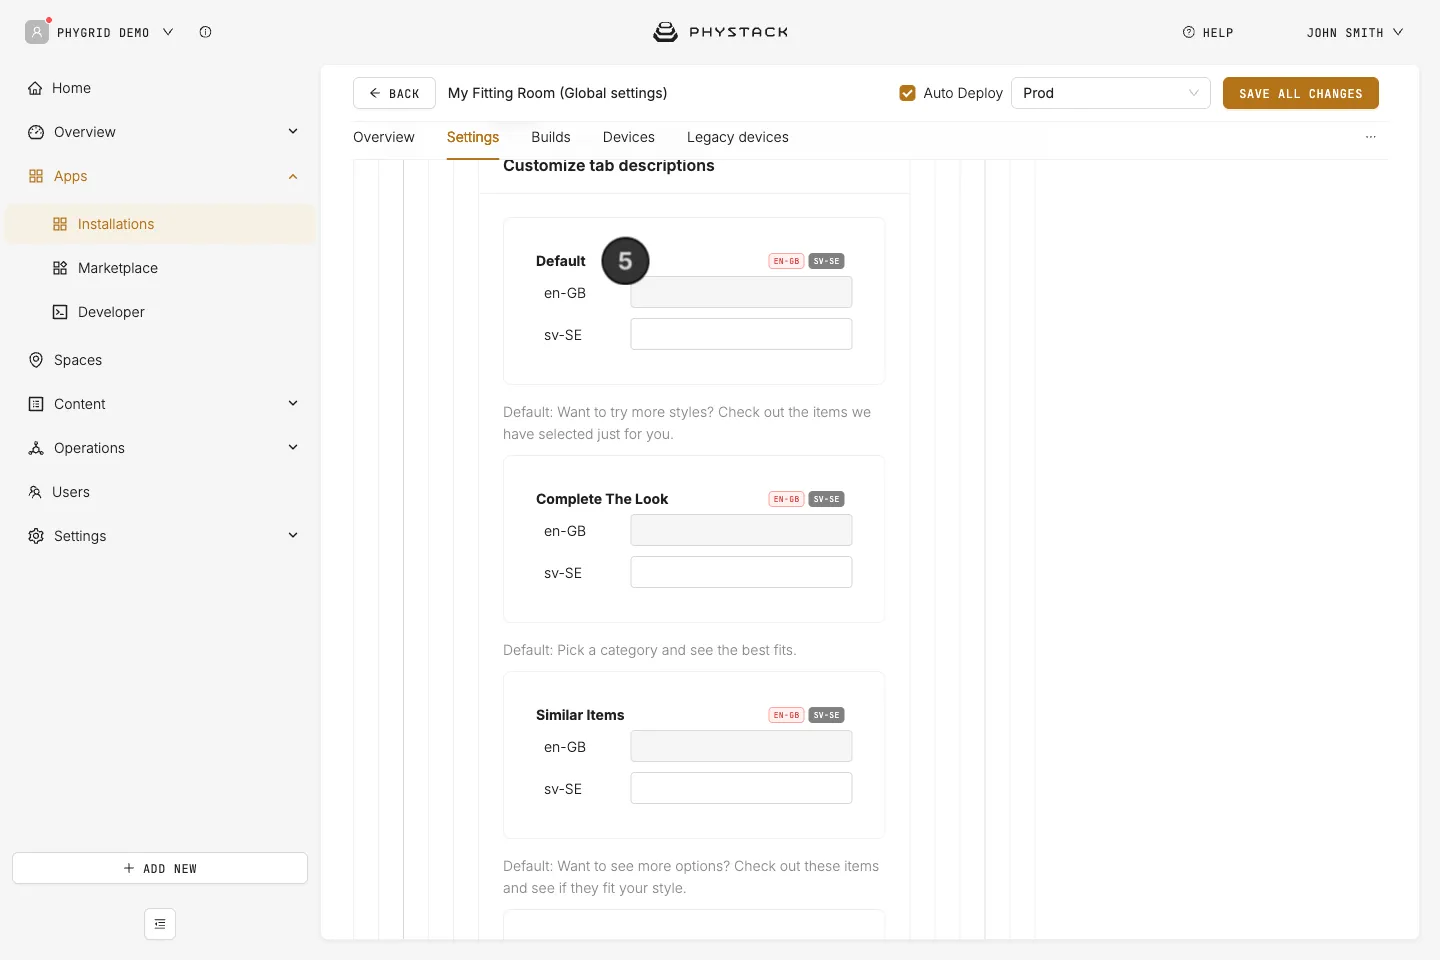
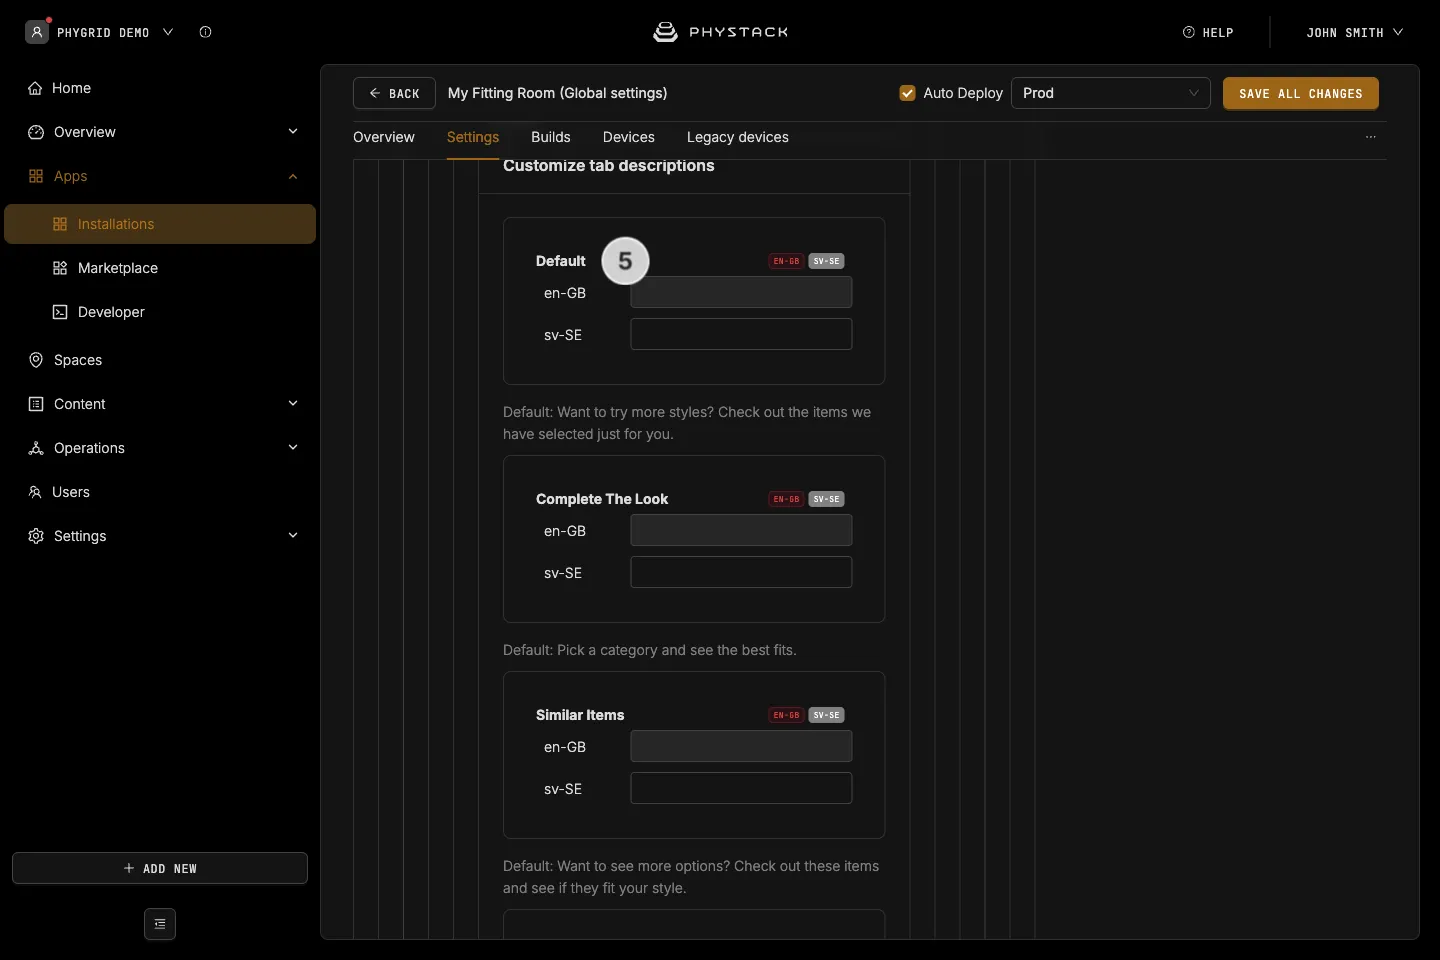
- Customize tab descriptions → Default / Complete The Look / Similar Items / Style With: Multi-language descriptions shown above each recommendation tab
Details
The Details group is not used by the current app version.
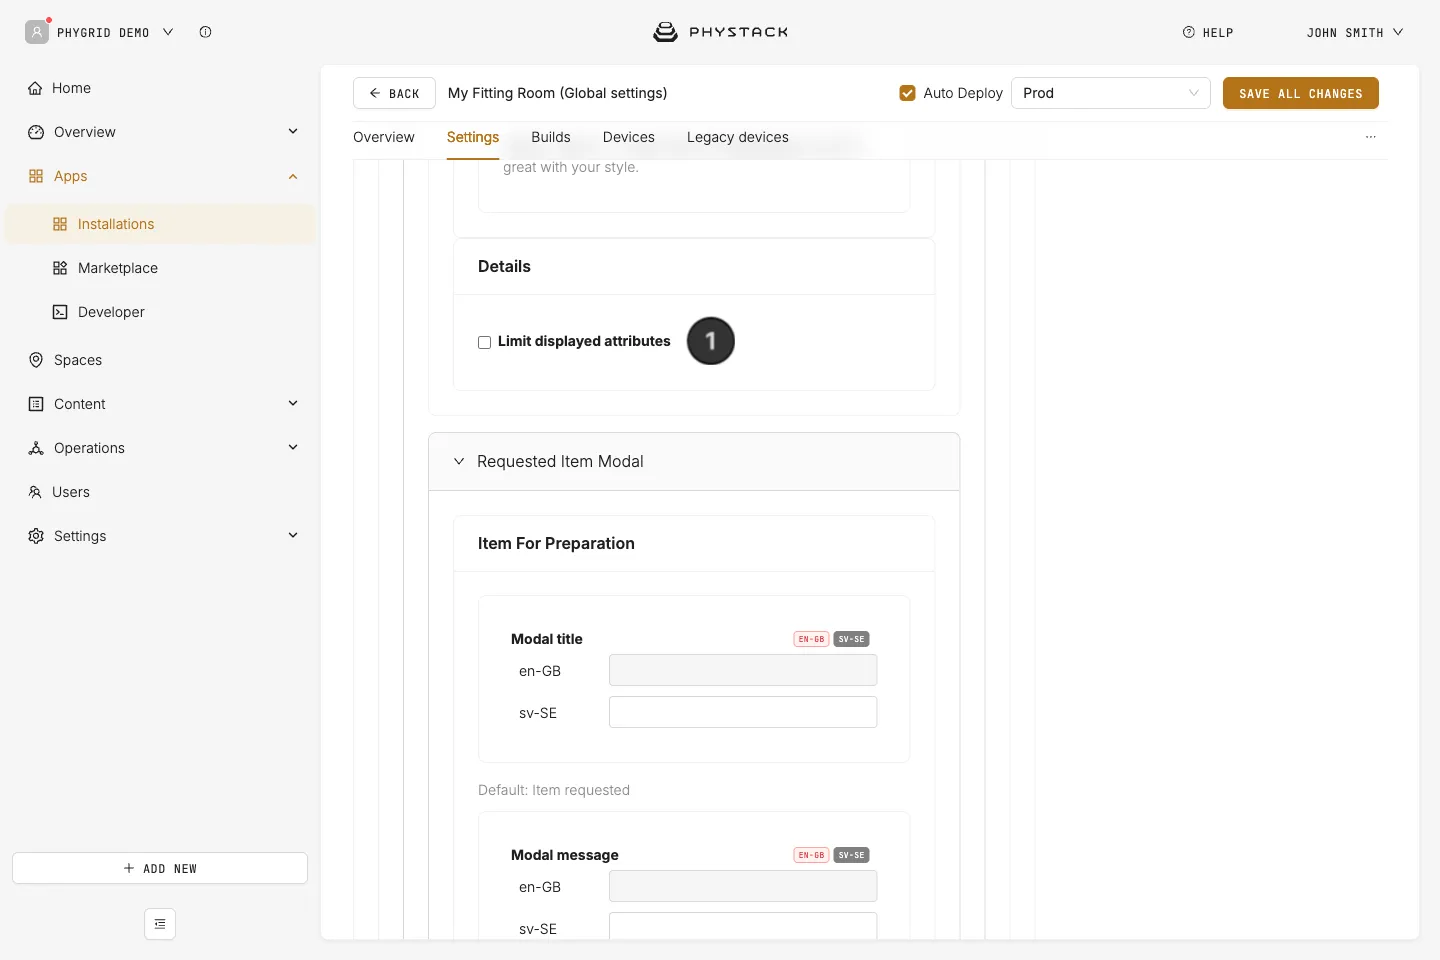
- Limit displayed attributes: Not used by the current app version
- Displayed Attributes by Key → Attribute Key: Not used by the current app version
- Displayed Attributes by Key → Customize display if attribute matches a specific value?: Not used by the current app version
- Conditional Content → Attribute Value: Not used by the current app version
- Conditional Content → Custom Content: Not used by the current app version
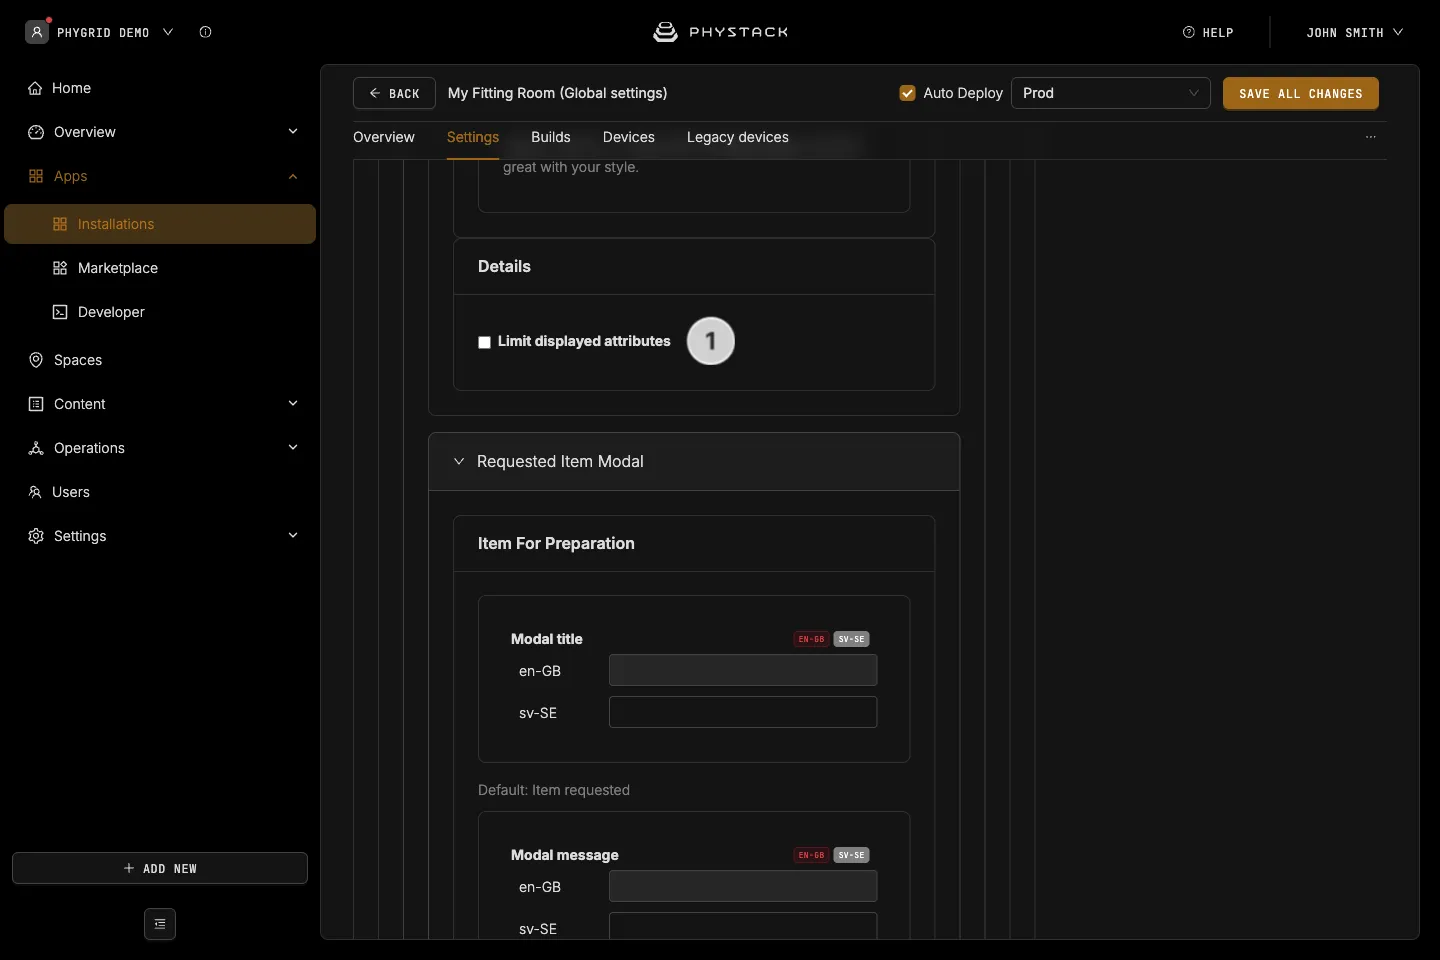
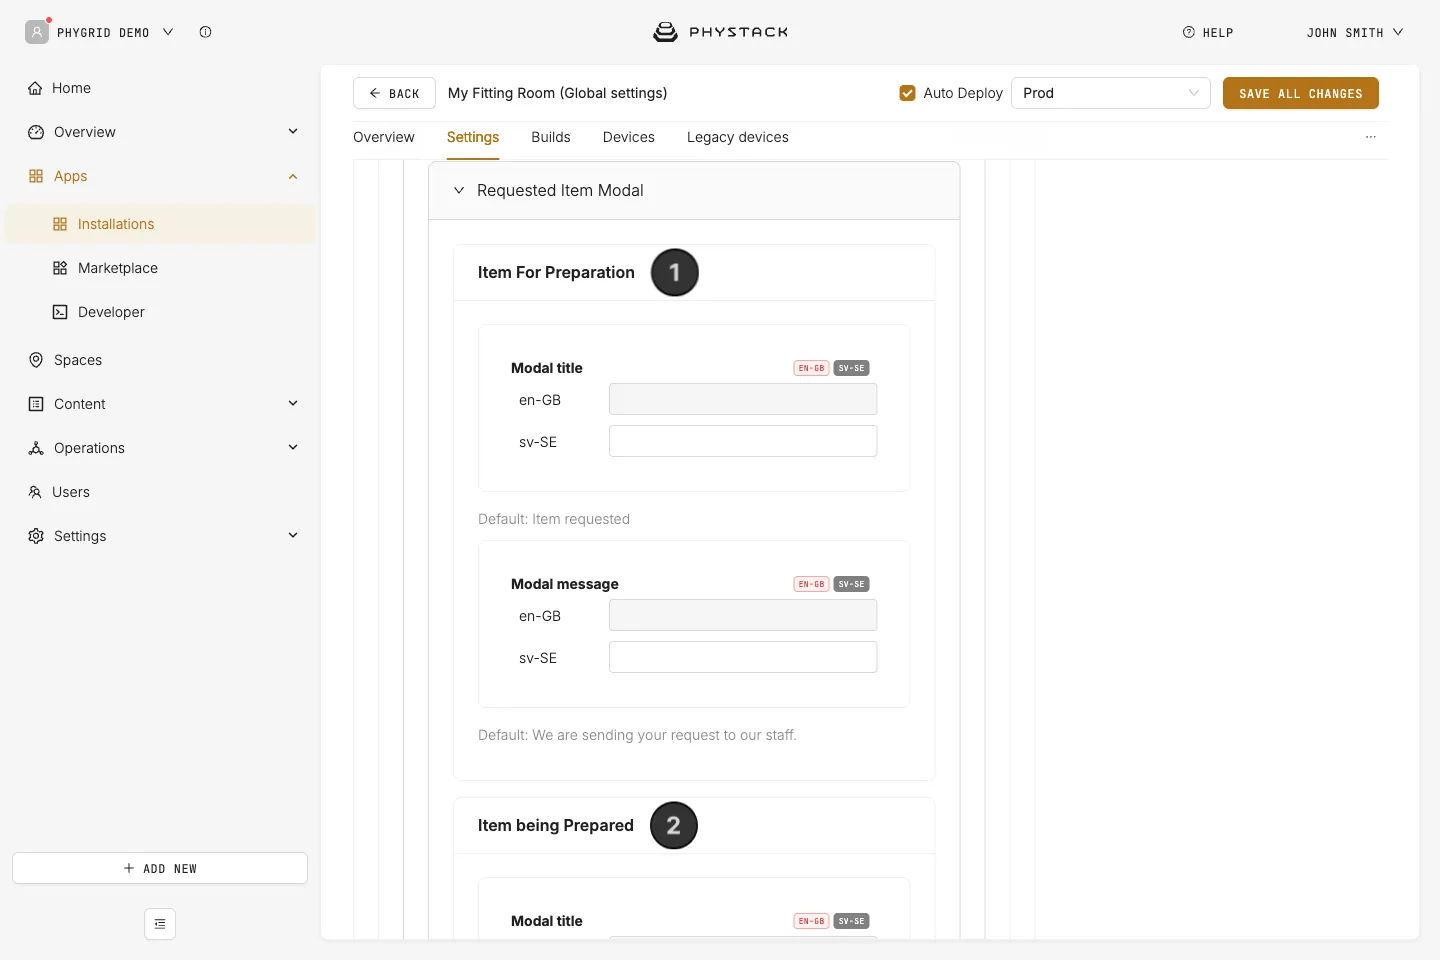
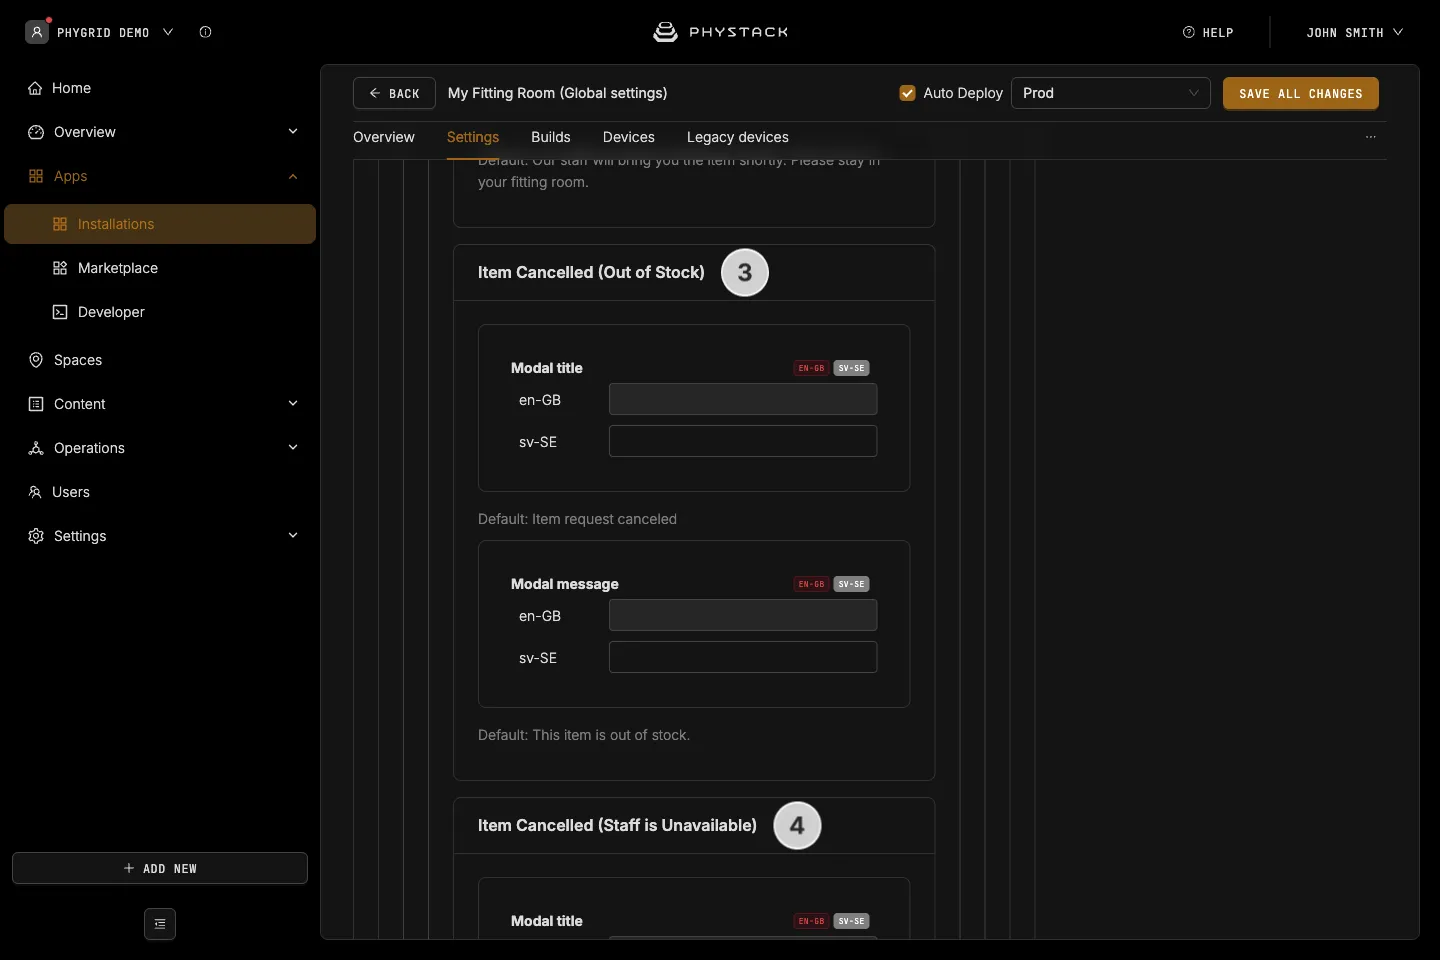
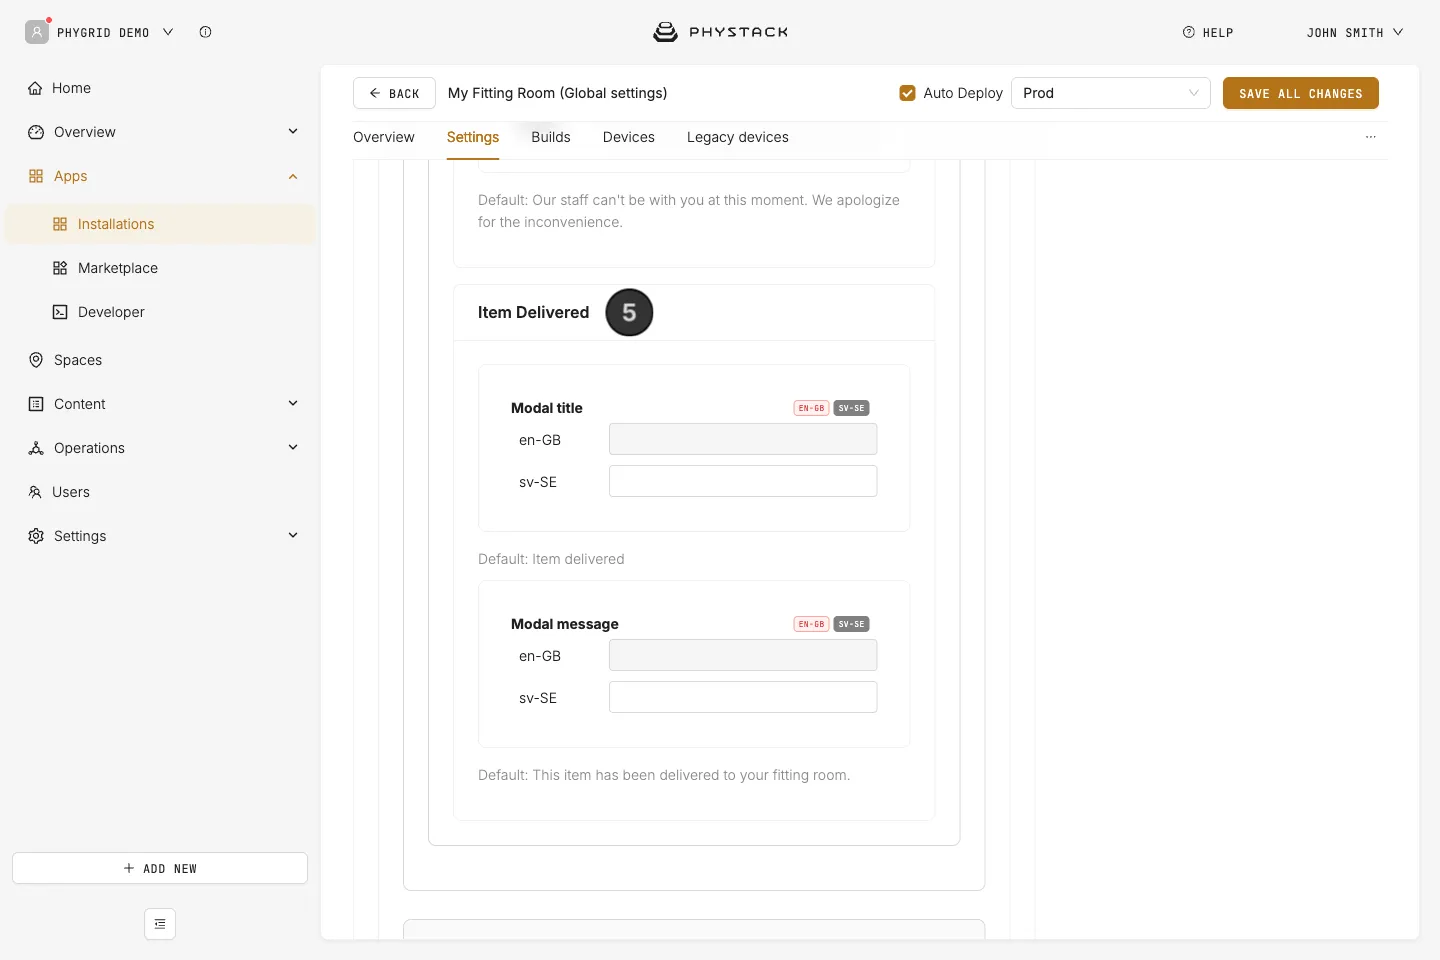
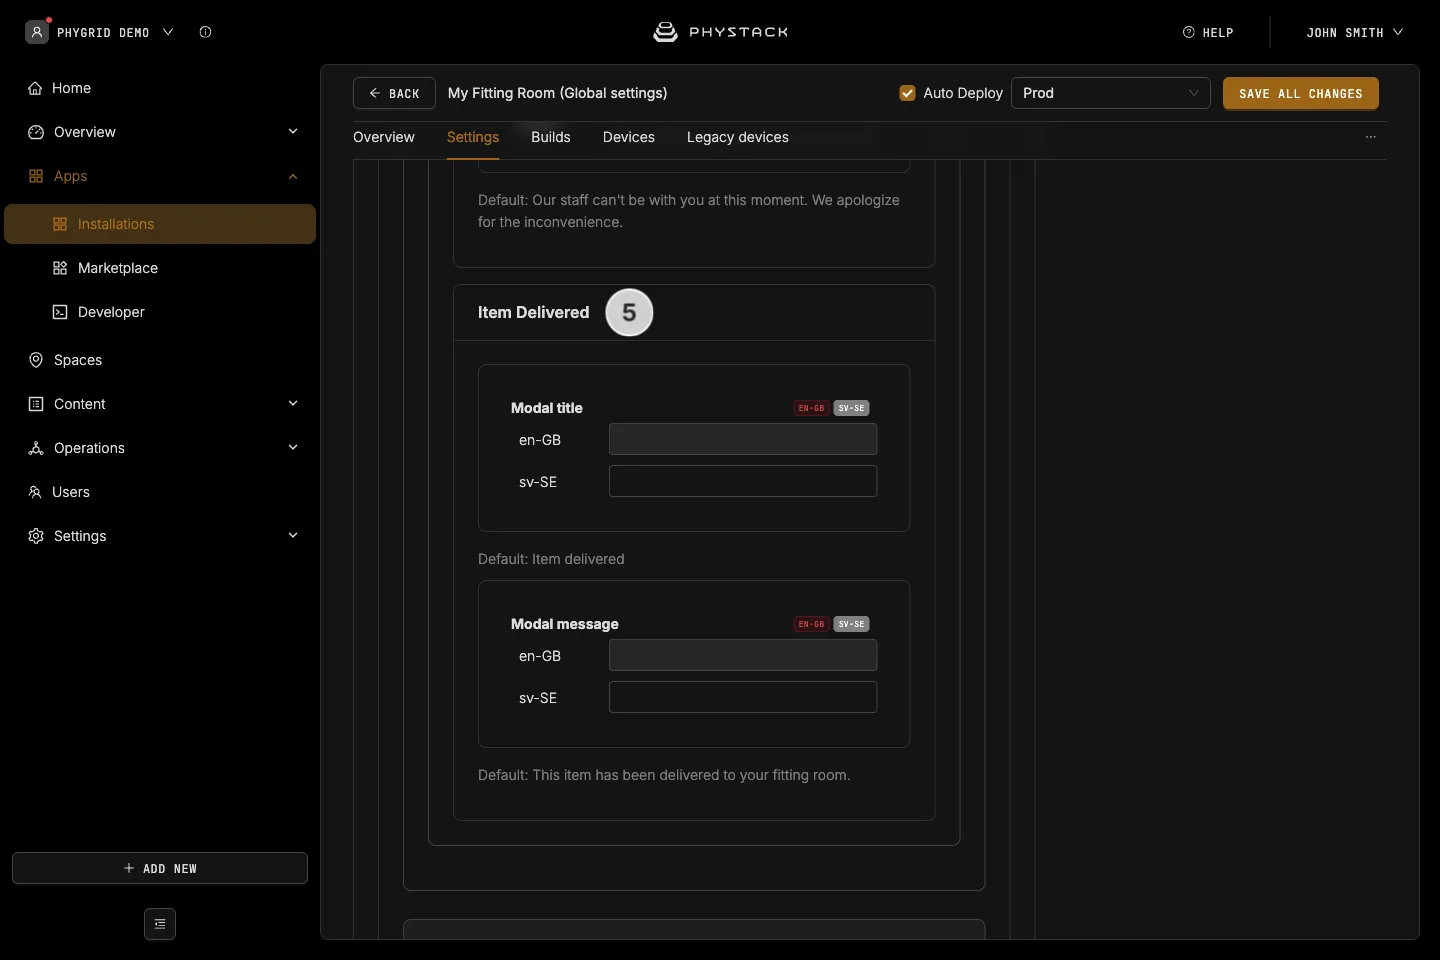
Requested item modal
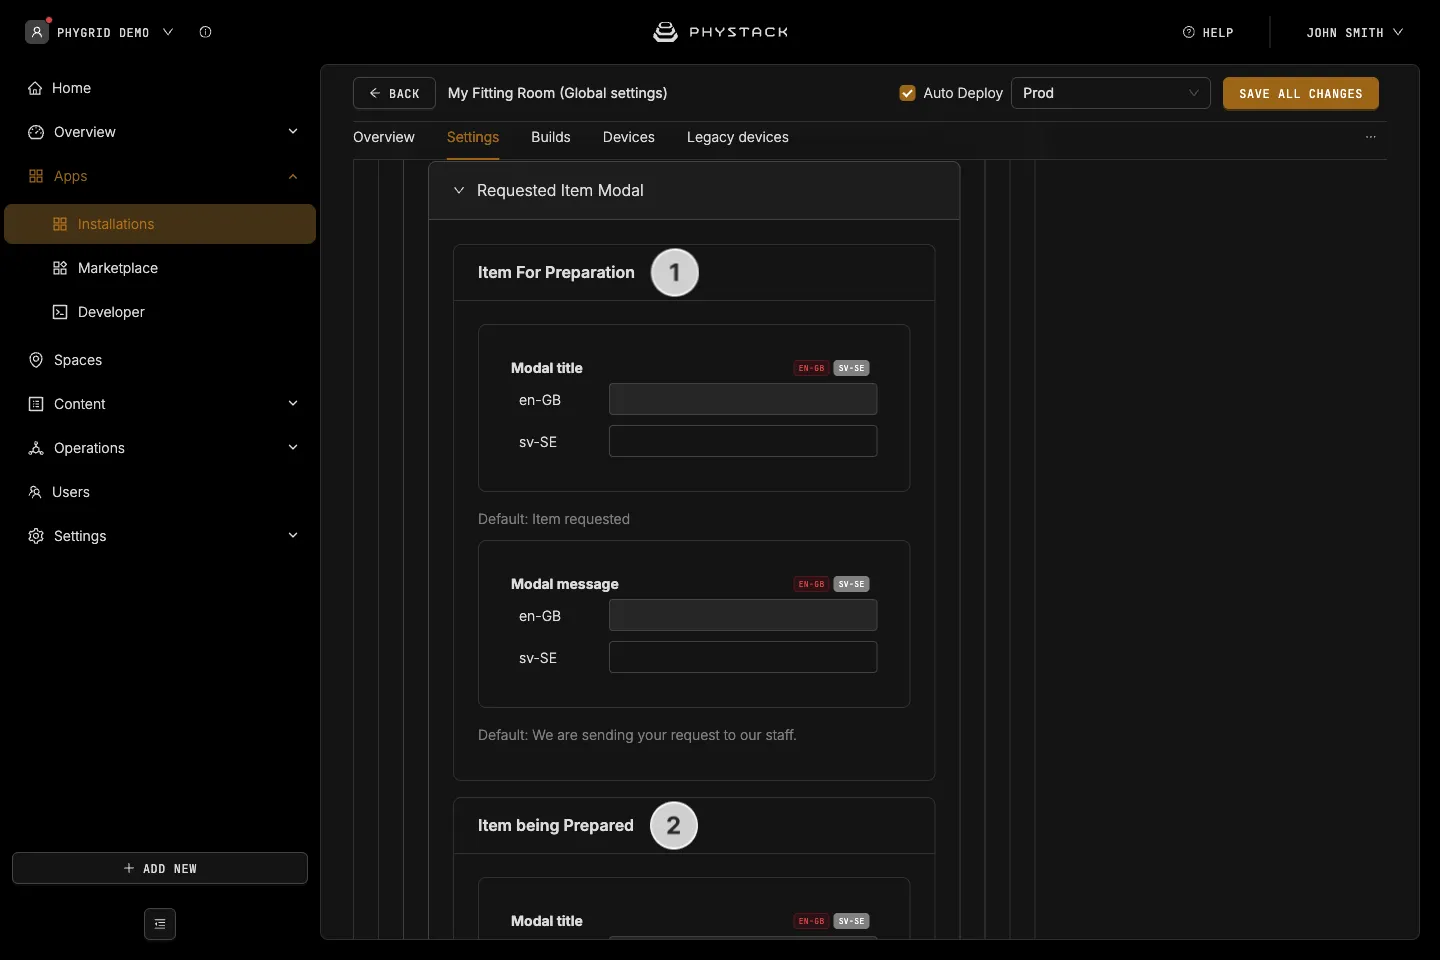
Each modal has its own multi-language Title and Message text. To edit another language, pick it in **Language to** in the **Language from** / **Language to** card next to the form. If a field is left empty, the app's built-in text is used.
- Item For Preparation → Modal title / Modal message: Shown after the customer sends a “Bring to me” request, while it waits for a staff member to take it. Default “Item requested” / “We are sending your request to our staff.”
- Item being Prepared → Modal title / Modal message: Shown once a staff member taps Prepare in Tasks. Default “Item is on the way” / “Our staff will bring you the item shortly. Please stay in your fitting room.”
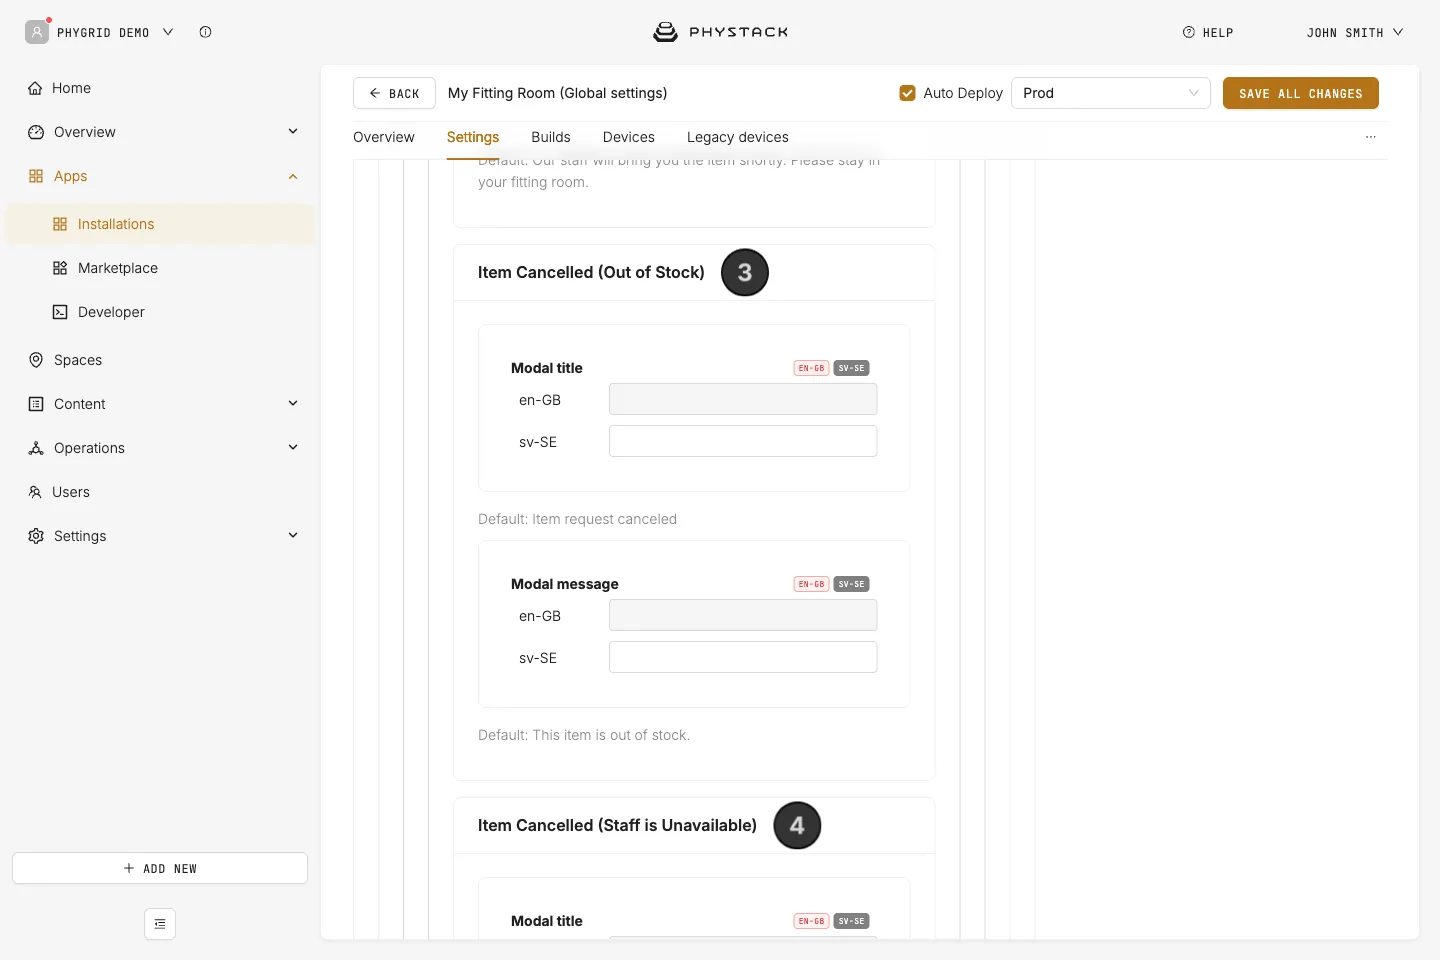
- Item Cancelled (Out of Stock) → Modal title / Modal message: Shown when the request is cancelled and the item is out of stock
- Item Cancelled (Staff is Unavailable) → Modal title / Modal message: Shown when the request is cancelled for any other reason, for example when staff remove it in Tasks. The customer can try again
- Item Delivered → Modal title / Modal message: Shown when staff mark the request as delivered or complete it in Tasks
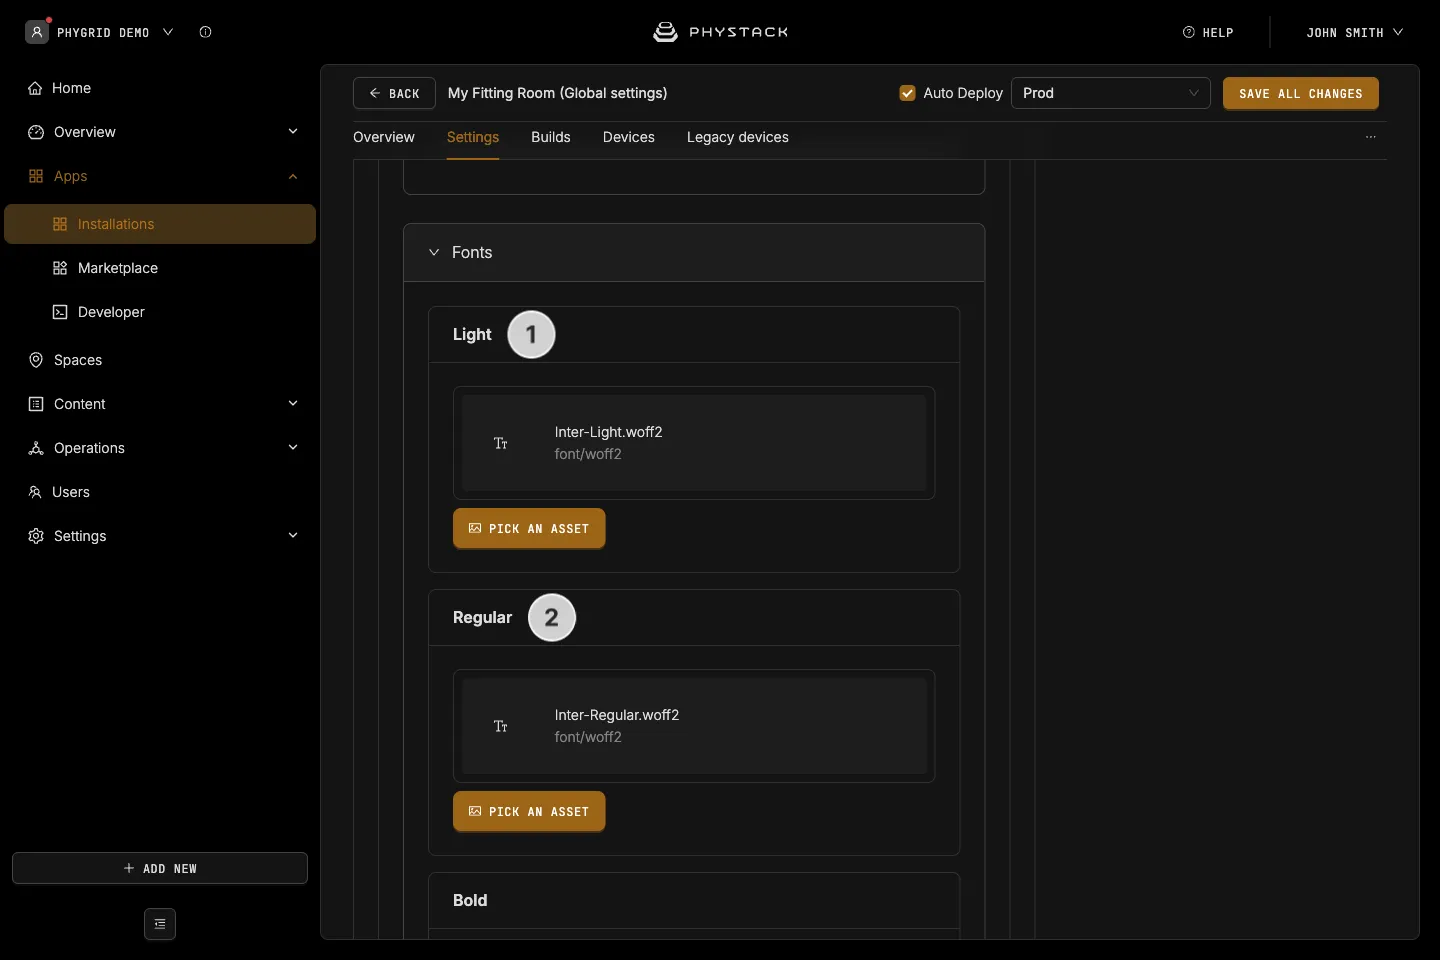
Fonts
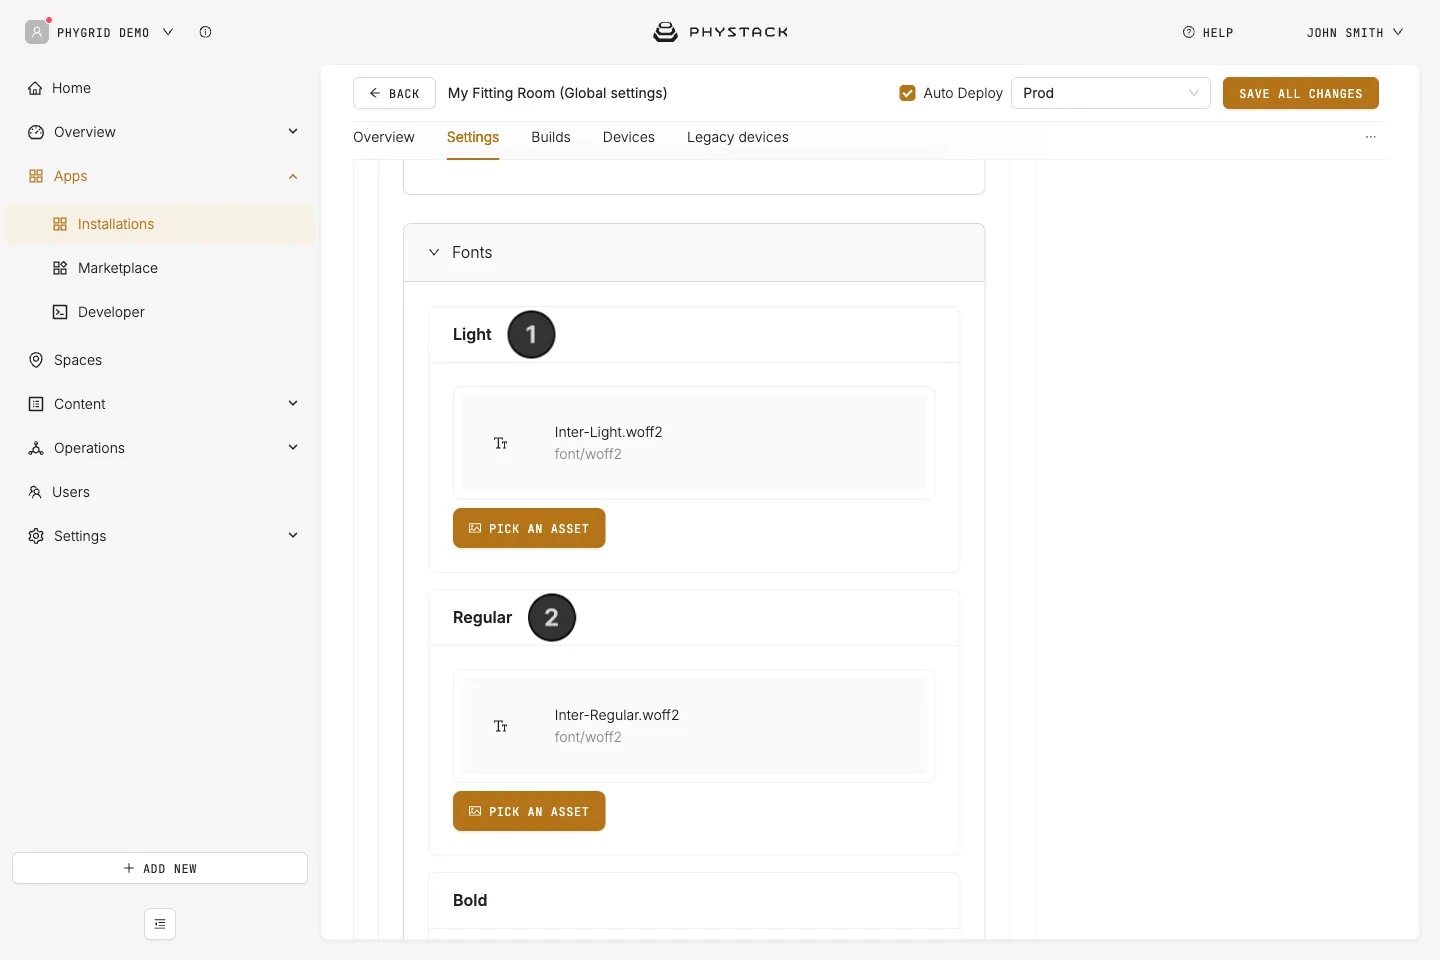
If a font weight is left empty, the default built-in font for that weight is used.
- Light: Upload a custom font file used for the light weight (OTF, TTF, WOFF, or WOFF2)
- Regular: Upload a custom font file used for the regular weight
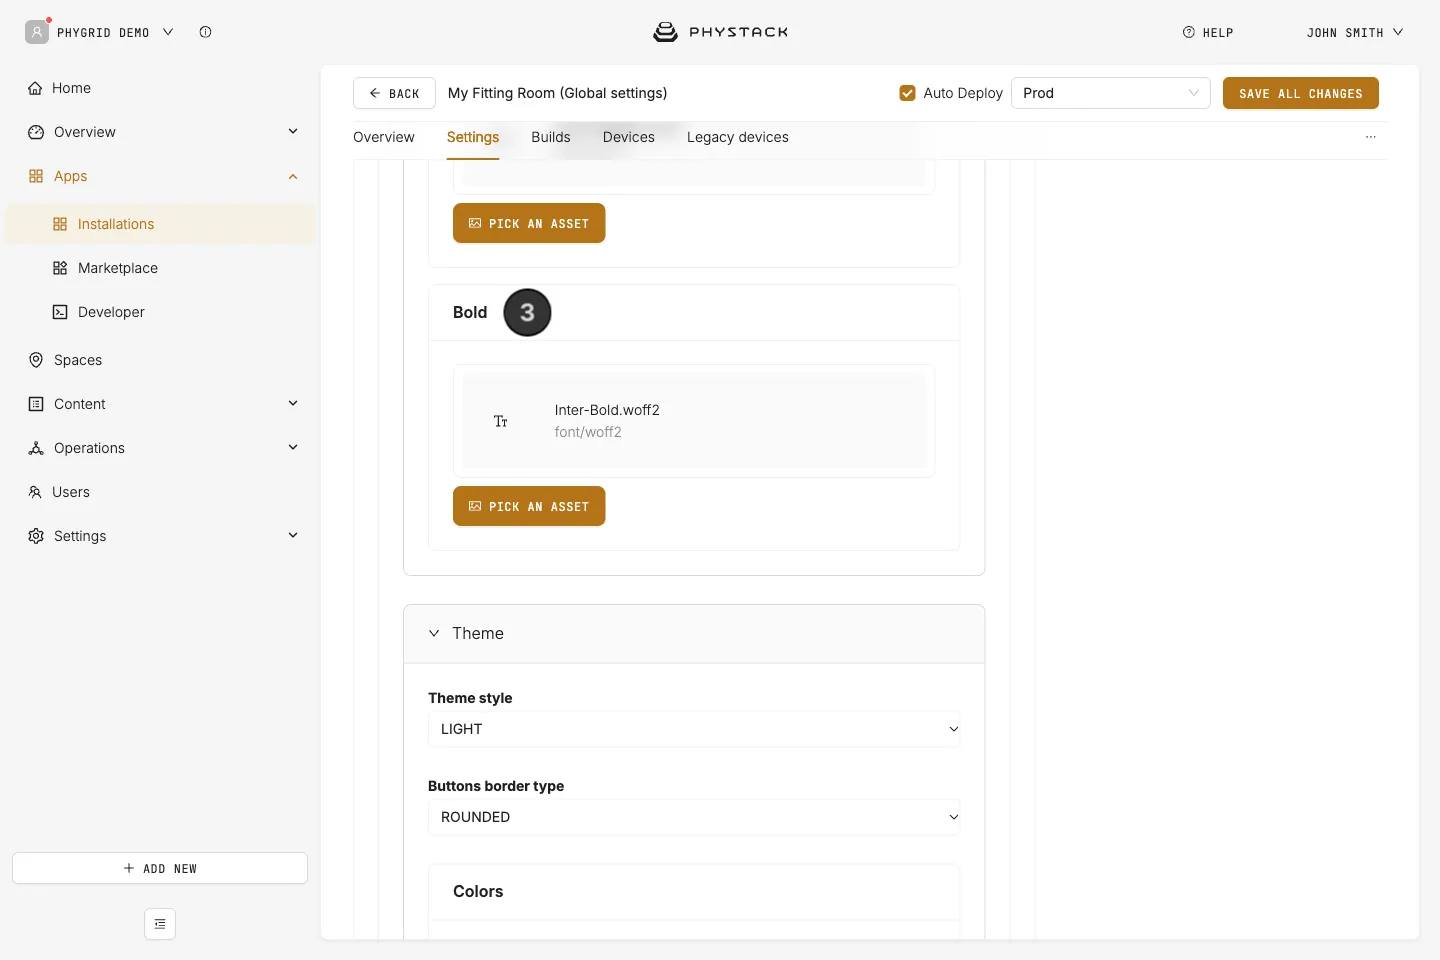
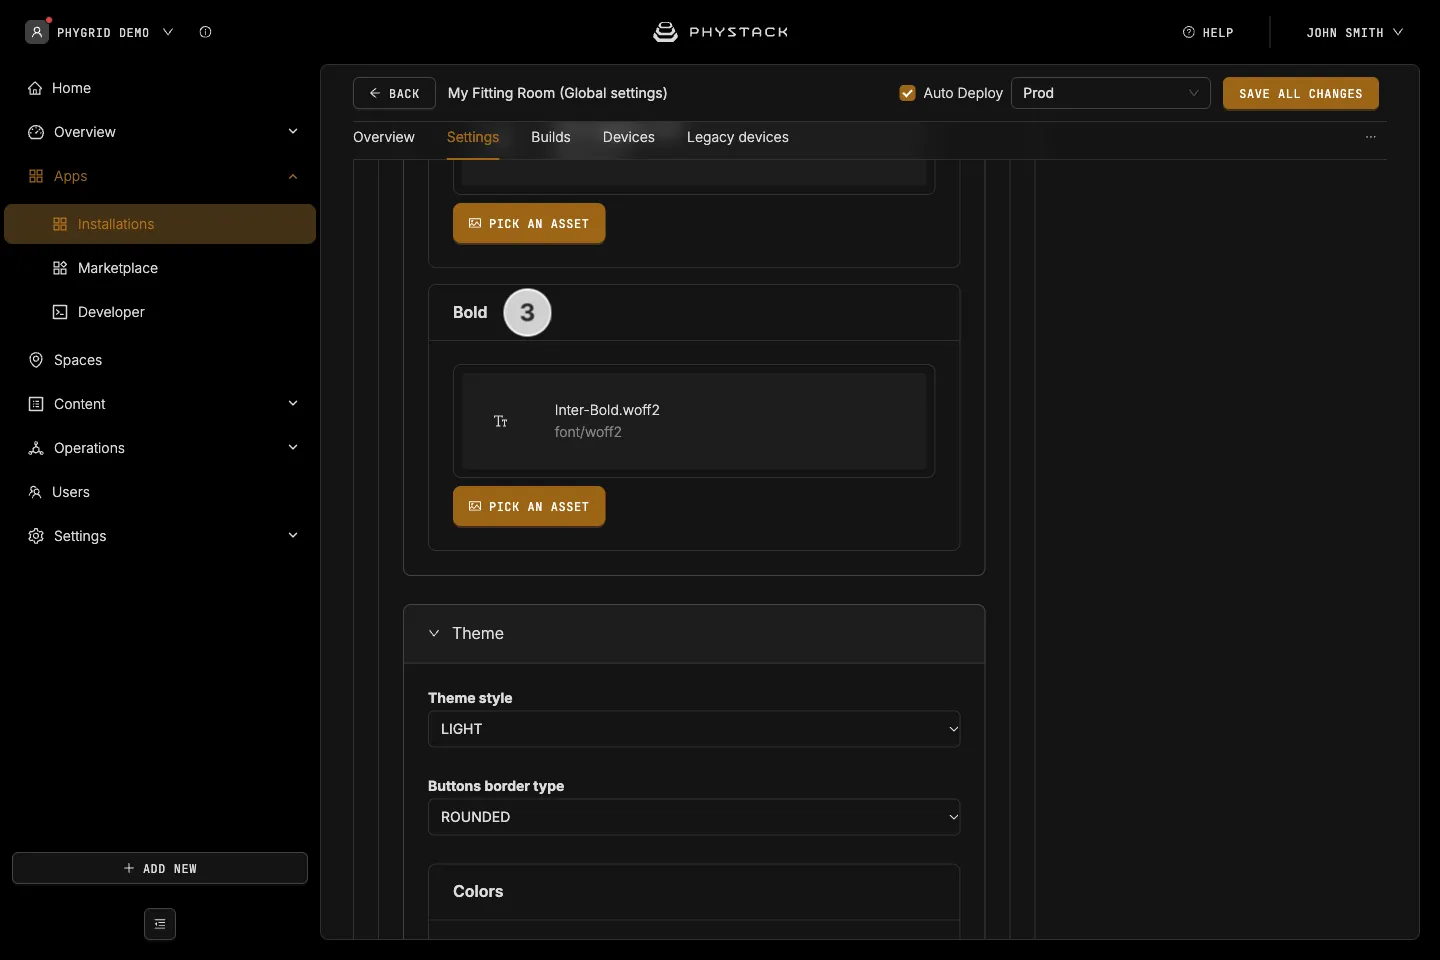
- Bold: Upload a custom font file used for the bold weight
Theme
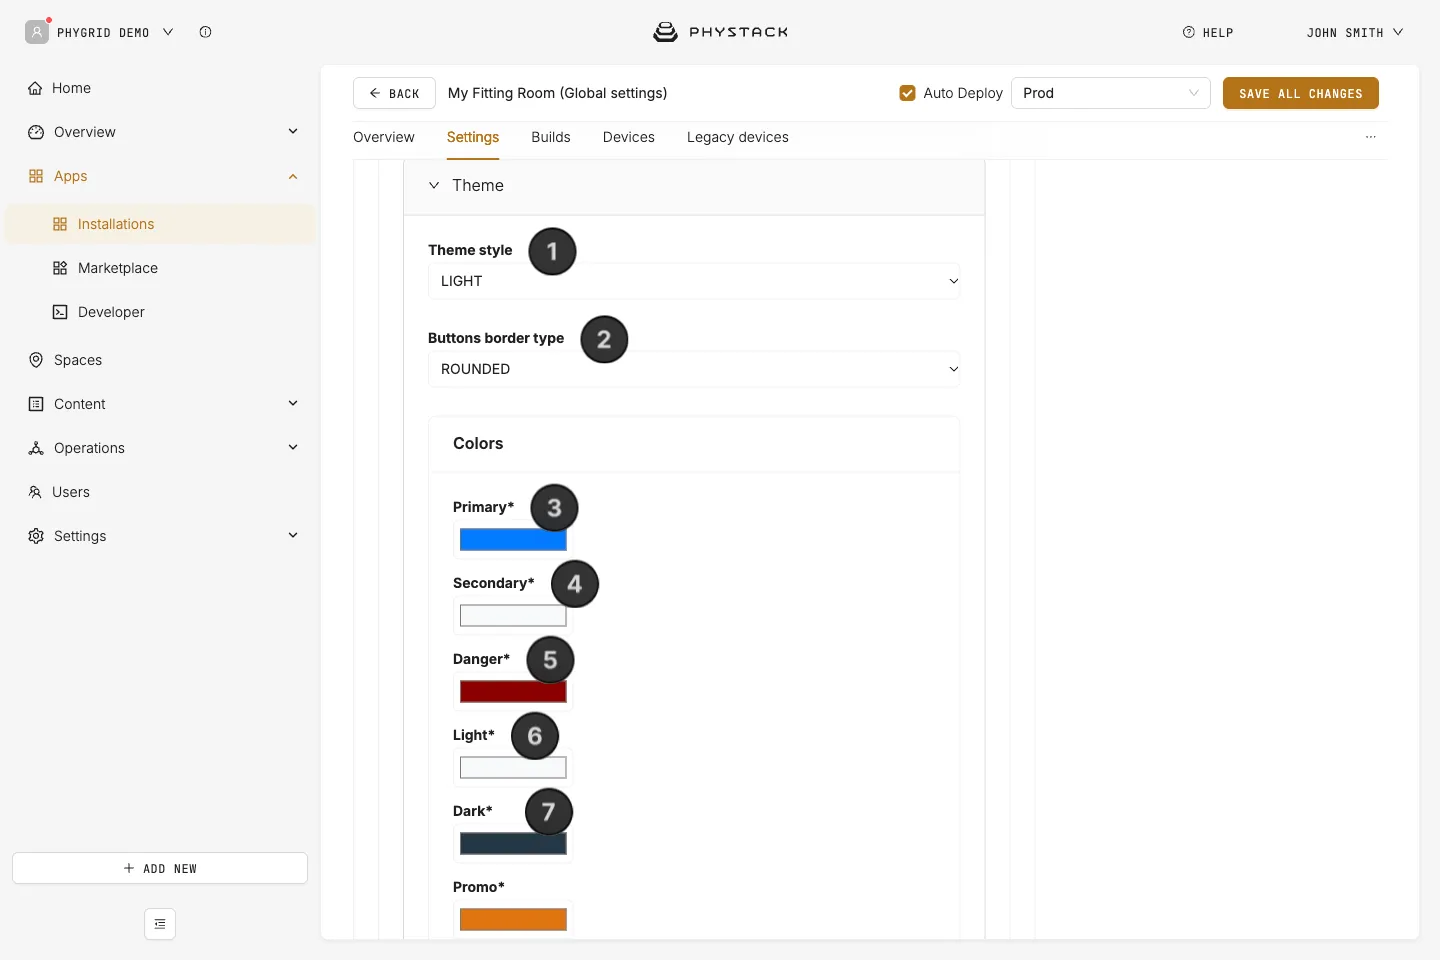
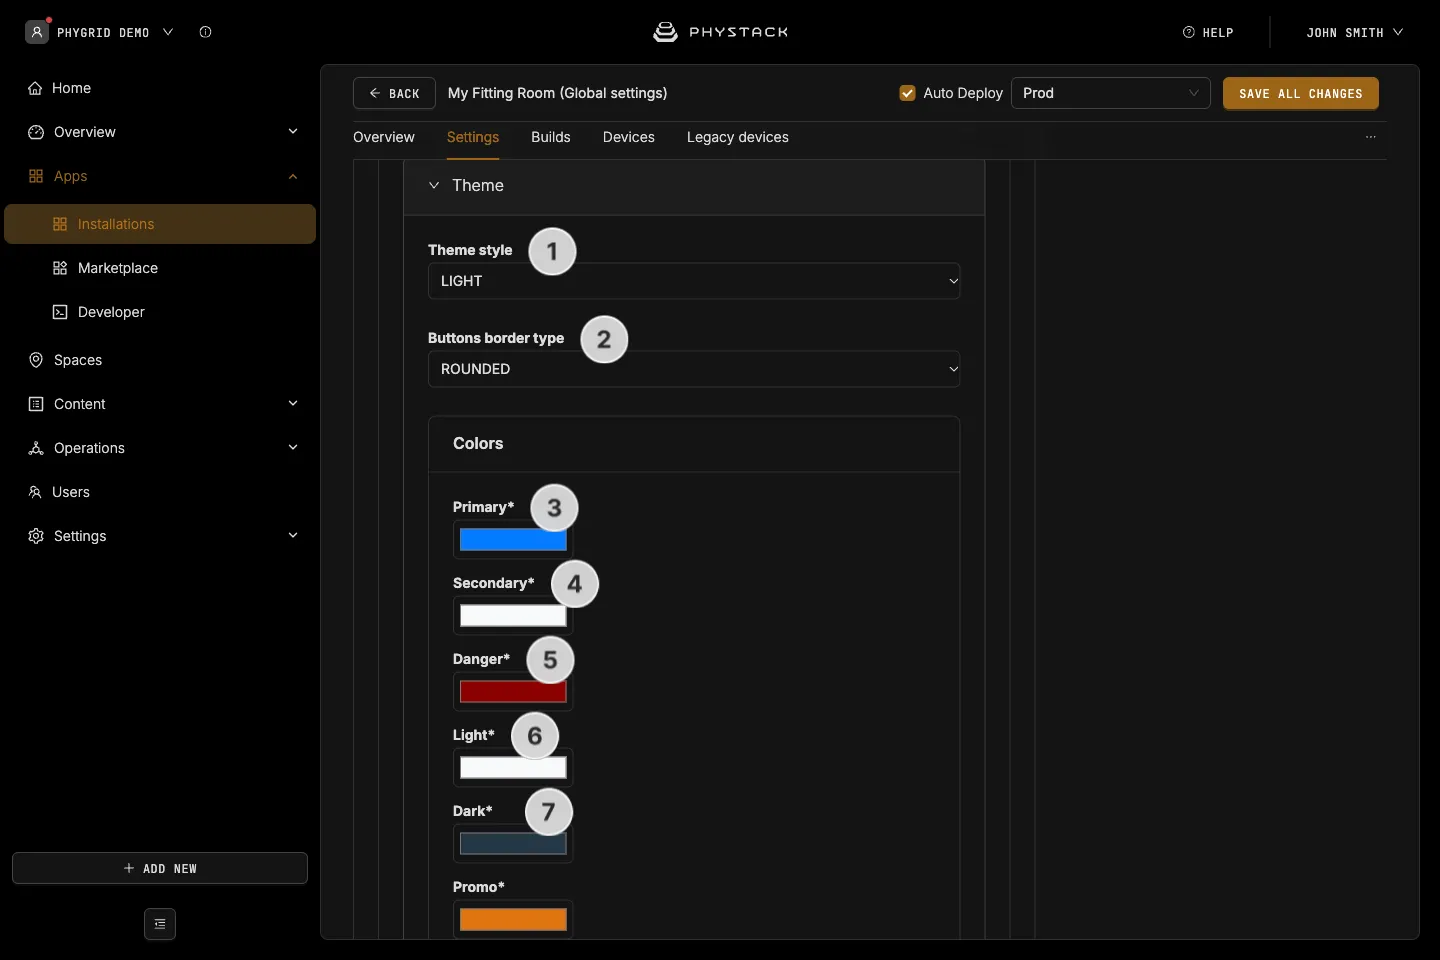
Colours
- Theme style: Choose LIGHT or DARK as the base theme. Default LIGHT
- Buttons border type: Choose ROUNDED or STRAIGHT corners for buttons across the app. Default ROUNDED
- Primary: Primary accent colour (default
#007bff) - Secondary: Secondary accent colour (default
#f8f9fa) - Danger: Colour used for destructive or warning UI (default
#8B0000) - Light: Light surface colour (default
#f8f9fa) - Dark: Dark surface / text colour (default
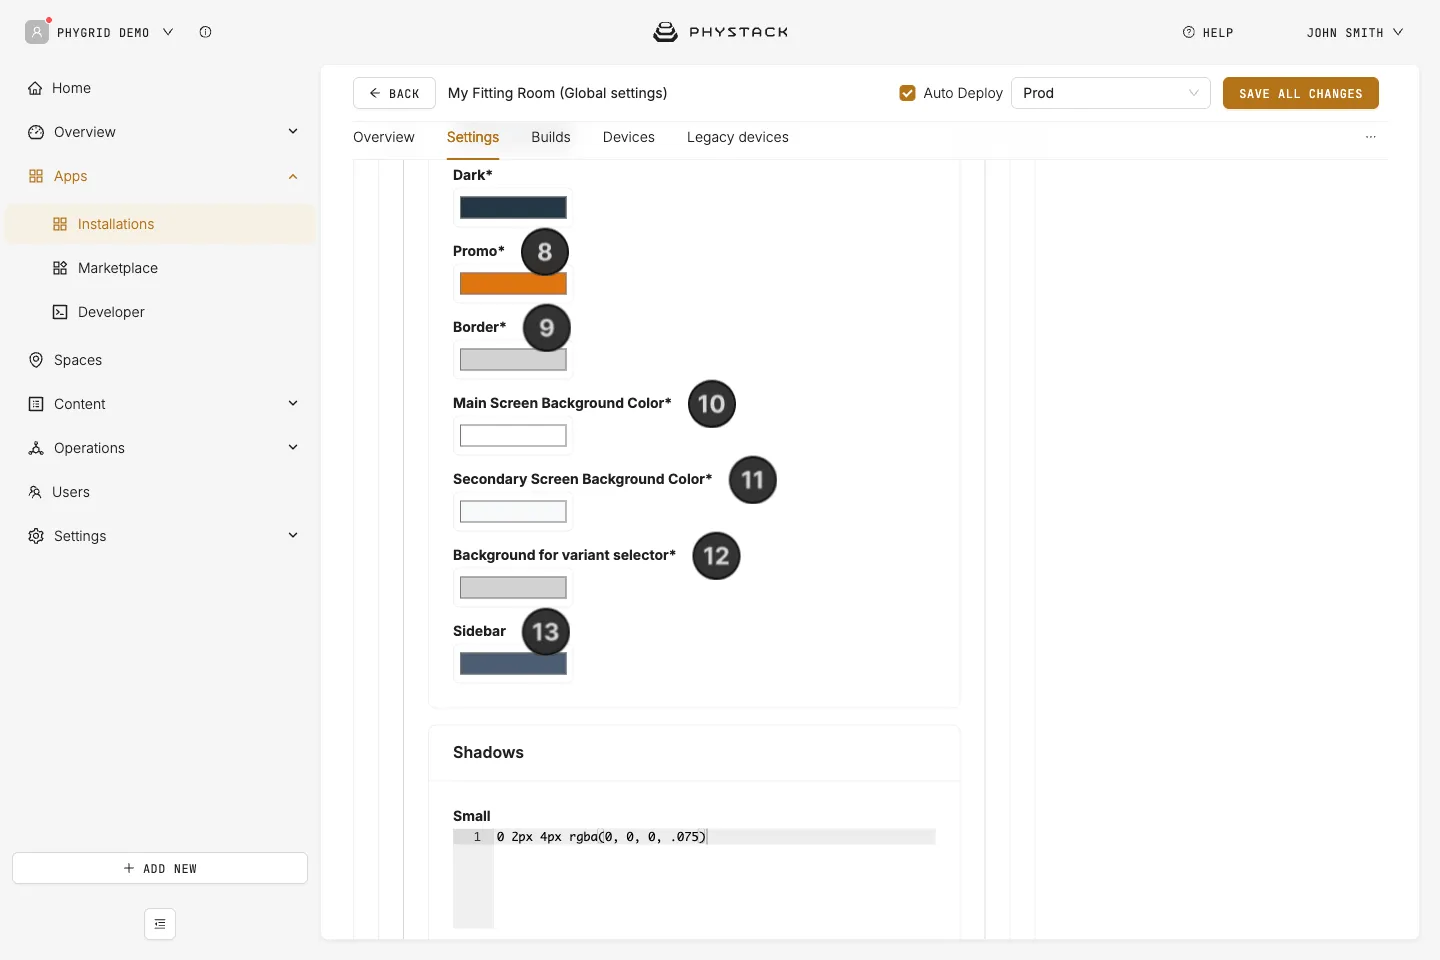
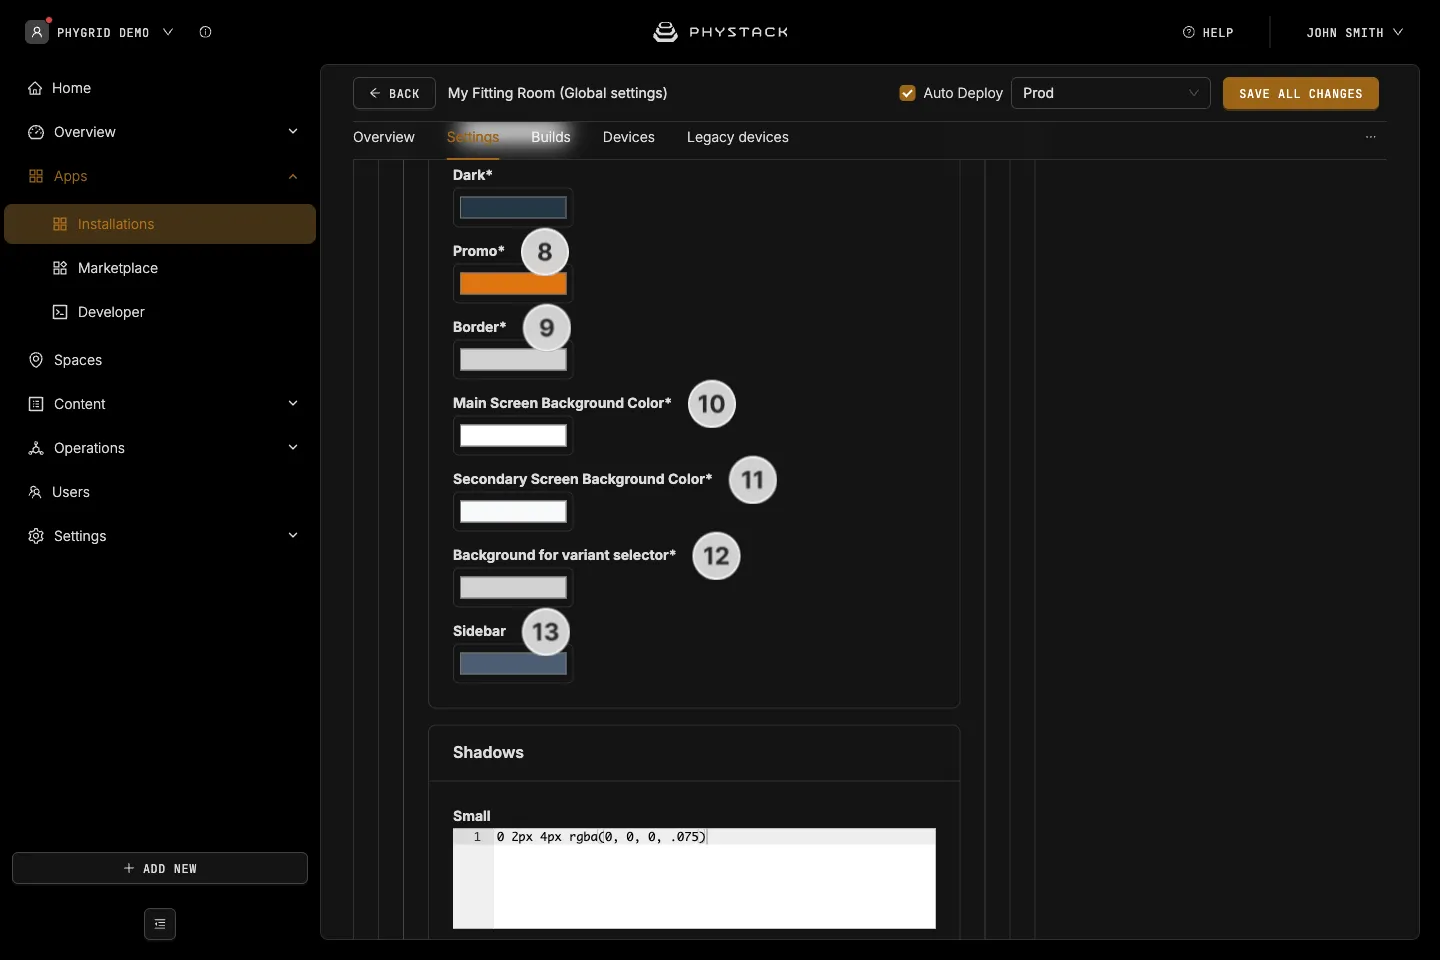
#253746) - Promo: Colour used for promotional pricing and badges (default
#E07511) - Border: Default border colour (default
#d1d1d1) - Main Screen Background Color: Background colour of the main product page (default
#ffffff) - Secondary Screen Background Color: Background colour of secondary screens such as listings (default
#f8f9fa) - Background for variant selector: Background colour of the variant selector control (default
#d1d1d1) - Sidebar: Sidebar background colour (default
#4C5E73)
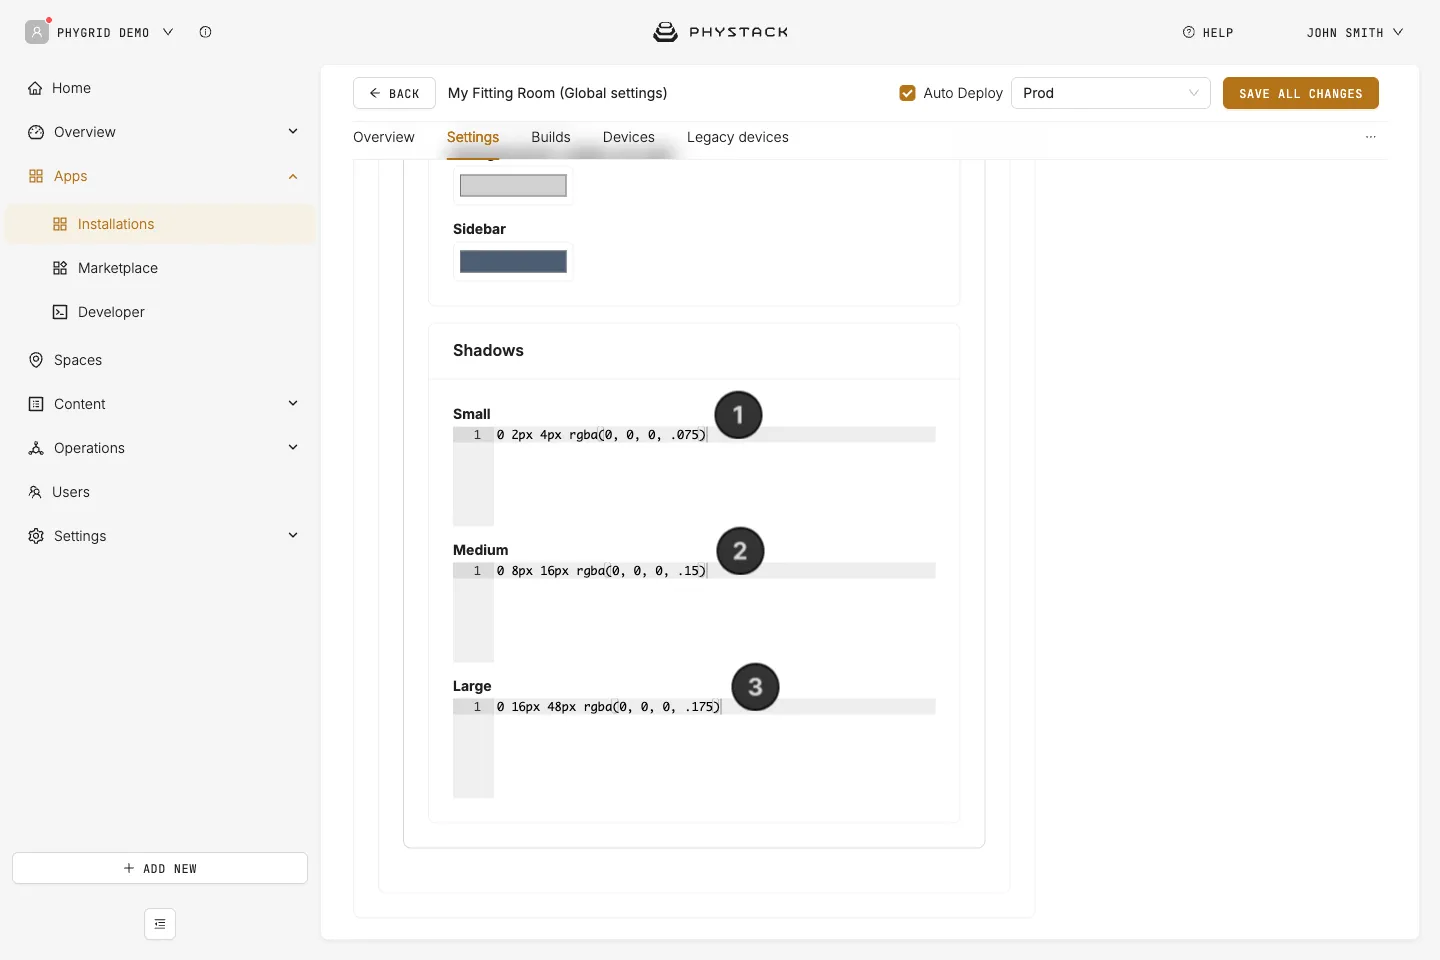
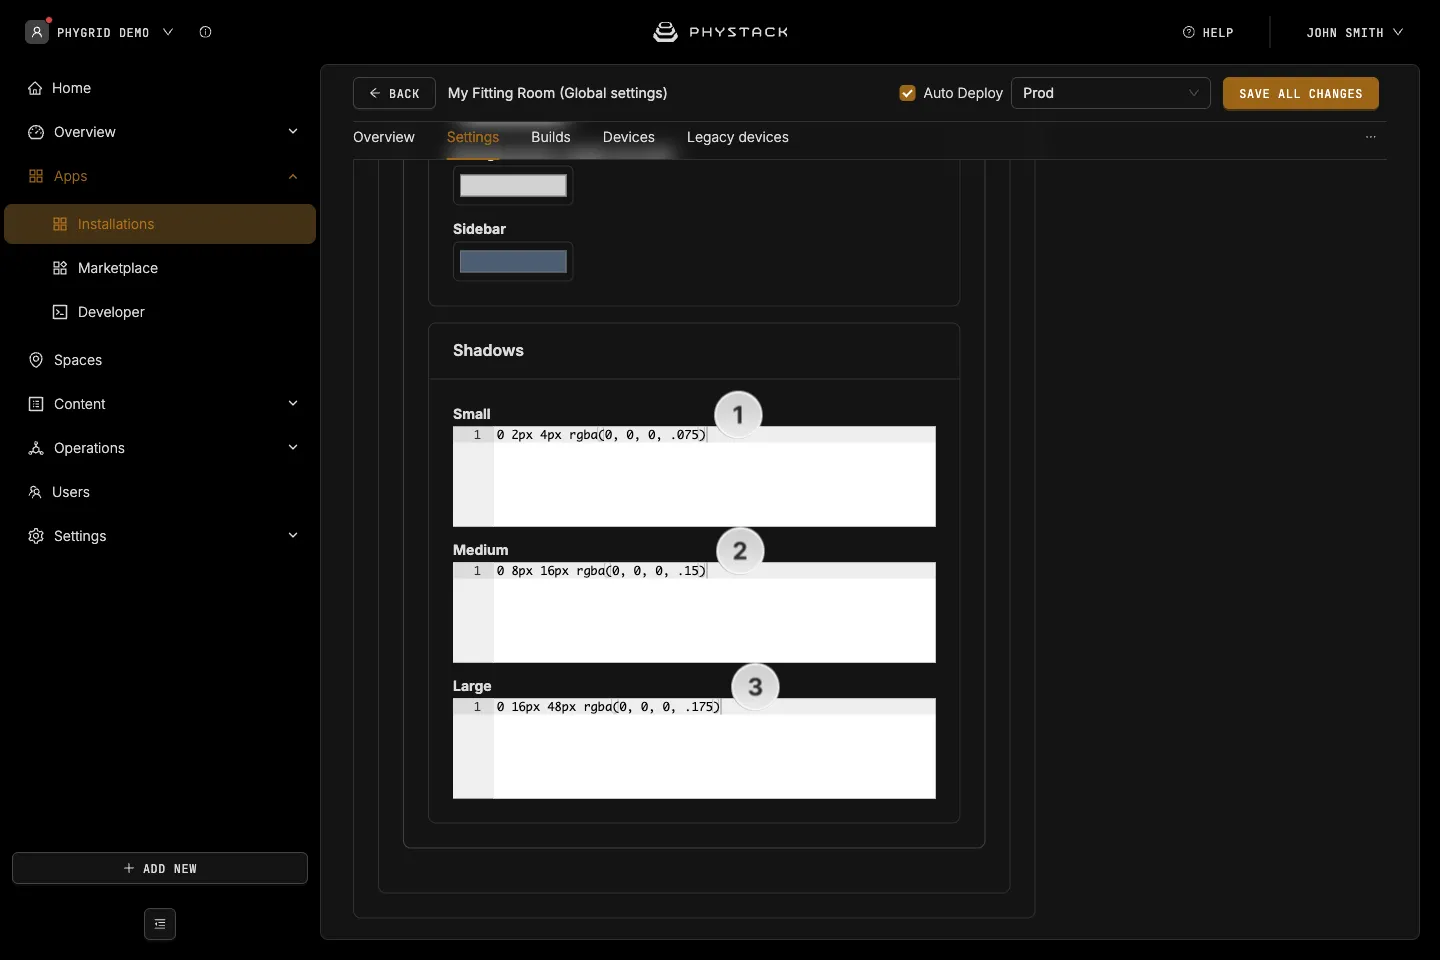
Shadows
- Small: CSS box-shadow used for small elevations (default
0 2px 4px rgba(0, 0, 0, .075)) - Medium: CSS box-shadow used for medium elevations (default
0 8px 16px rgba(0, 0, 0, .15)) - Large: CSS box-shadow used for large elevations (default
0 16px 48px rgba(0, 0, 0, .175))
Save options
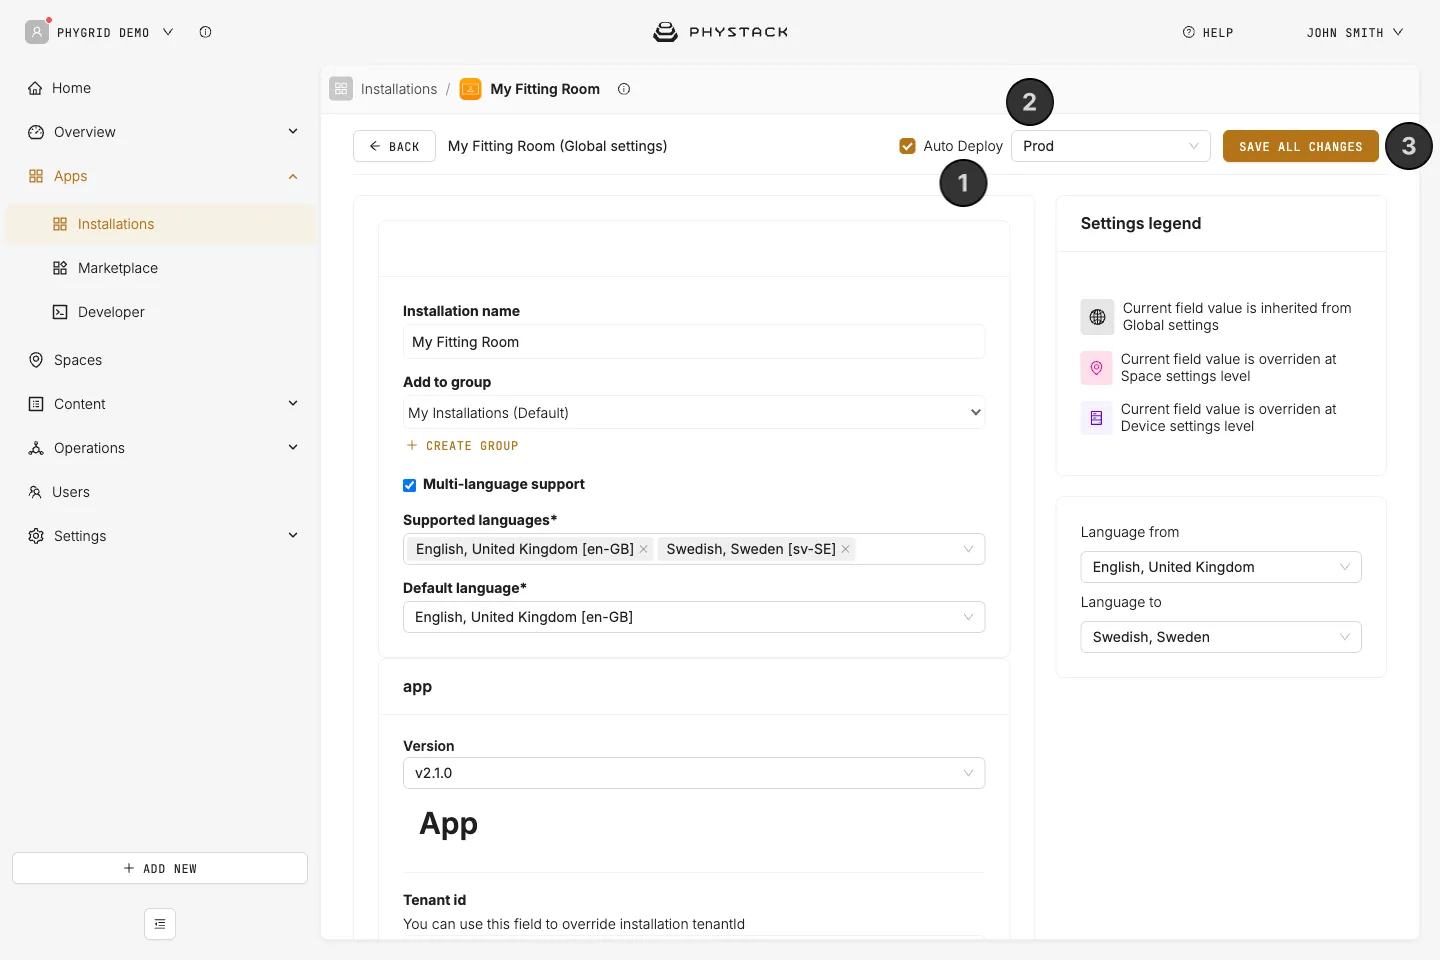
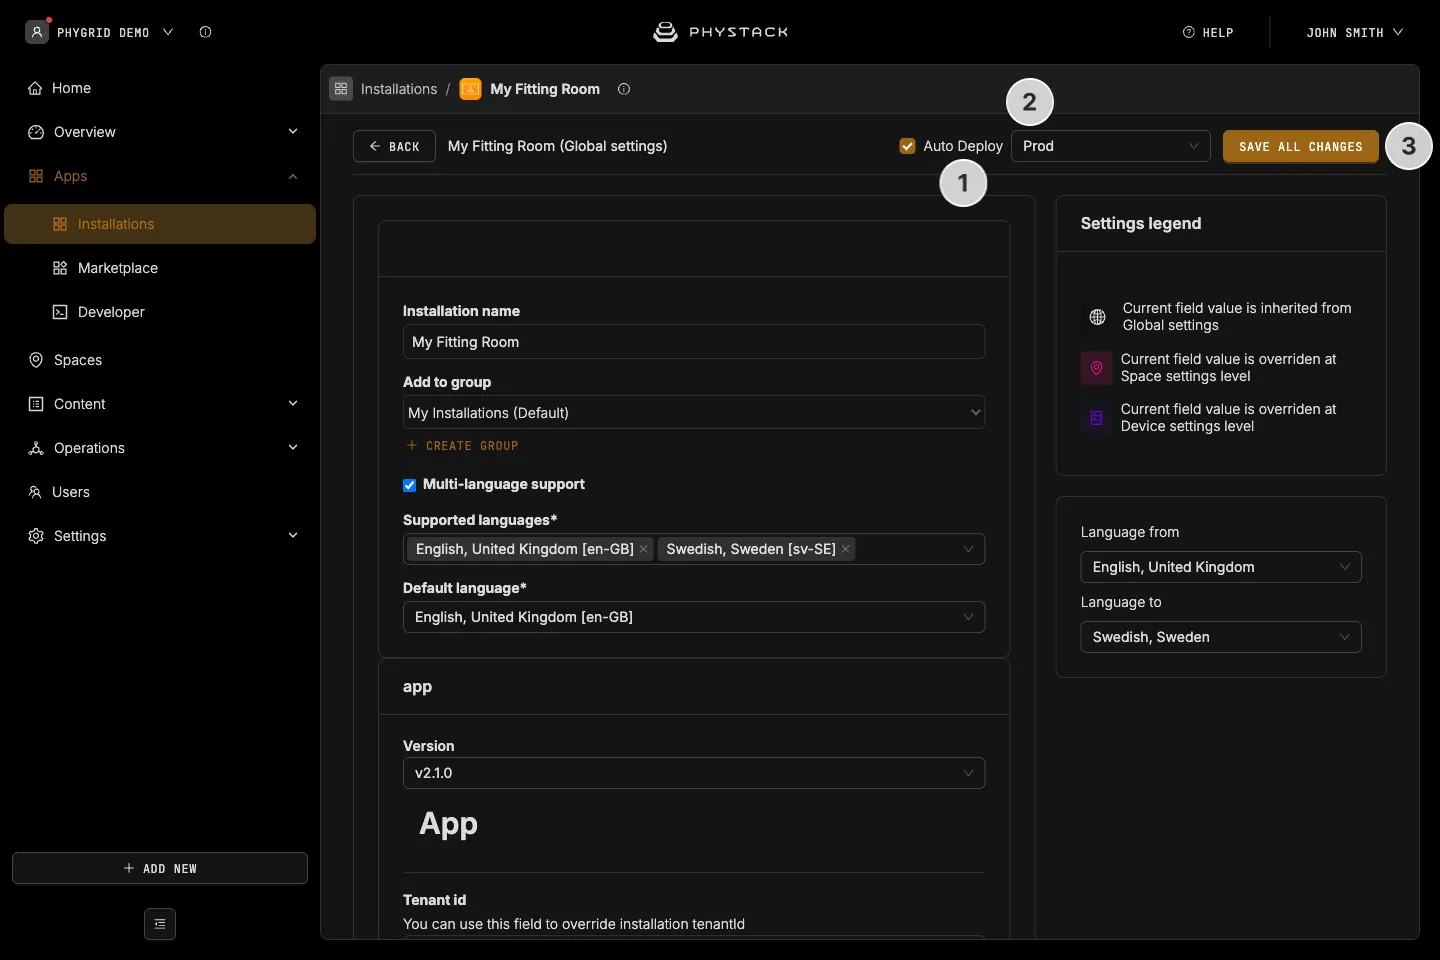
- Auto Deploy: If selected, changes are saved, and a build is created and deployed to connected devices. Default on (see Glossary)
- Environment: The environment the build is deployed to. Only shown while Auto Deploy is selected. Defaults to Prod each time you open the settings
- Save all changes: Saves your current configuration