

With Grid Checkout, the kiosk shows a QR code at checkout. The customer scans it, pays on a Stripe payment page on their phone, and the kiosk confirms the payment. Stripe sends the customer’s receipt by email.
Grid Checkout works with Stripe online checkout payment types. Card terminals aren’t supported on the Endless Aisle kiosk.
Before you start
- A Stripe account and access to its dashboard
- Permission to manage checkout and payments in the Console
- Every product has a price for the kiosk’s space. A product without a price can’t be paid for
How to prepare Stripe
- In the Stripe dashboard, copy your secret key
- Create a webhook for the checkout.session.completed event, pointing to PhyGrid’s checkout service. Ask PhyGrid support for the webhook address of your tenant
- Copy the webhook’s signing secret
- Optionally, create shipping rates and tax rates if you want Stripe to add them, and turn on email receipts so customers get their receipt
How to set up checkout in the Console
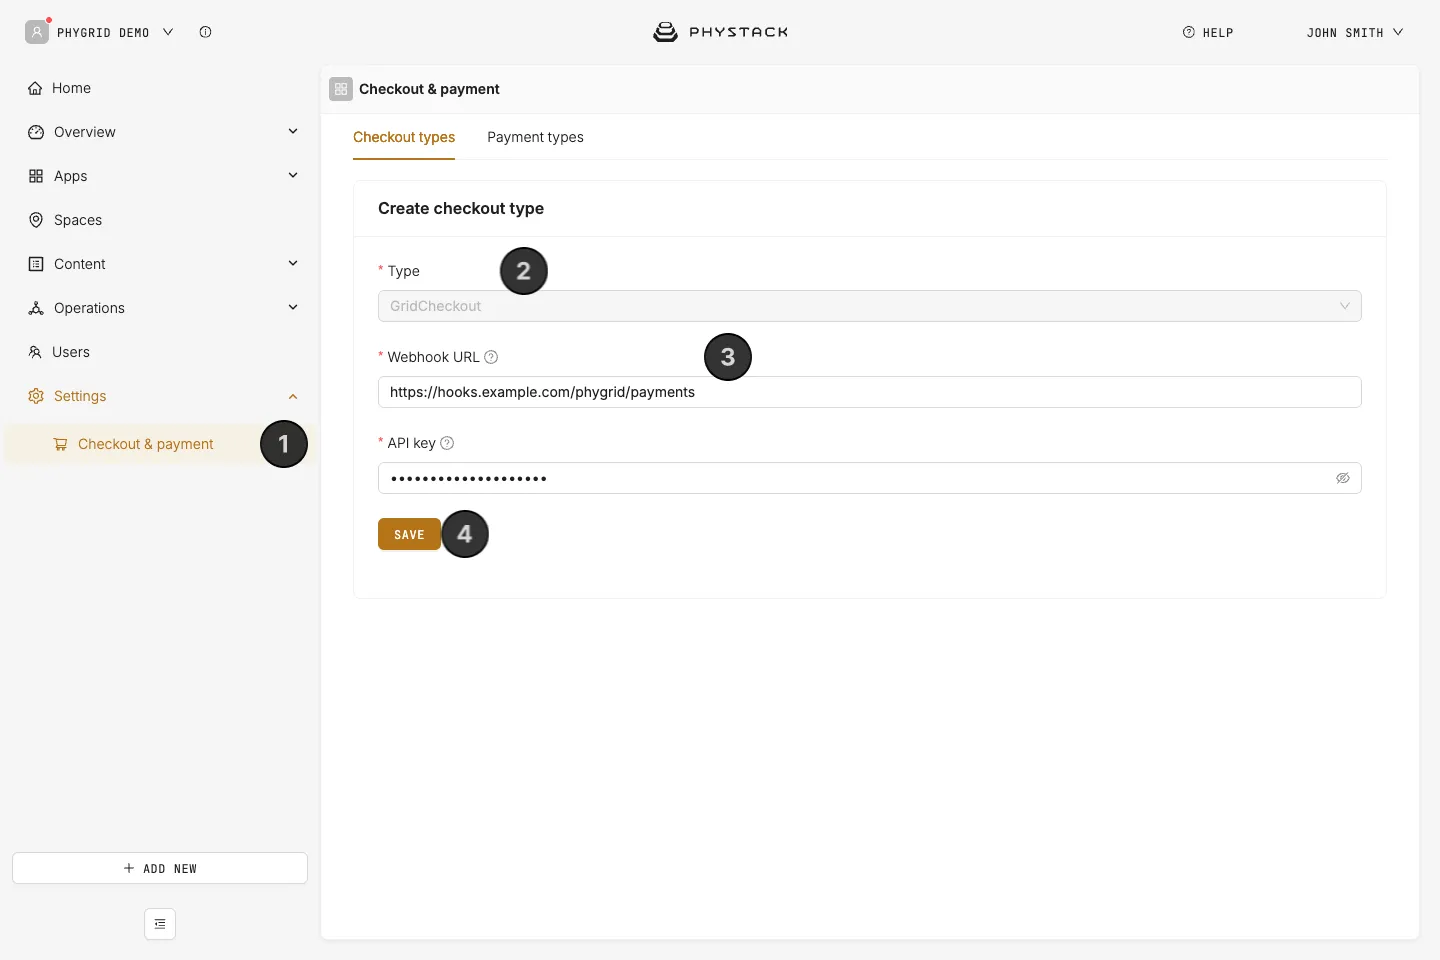
A Grid Checkout checkout type must exist before payments can work.
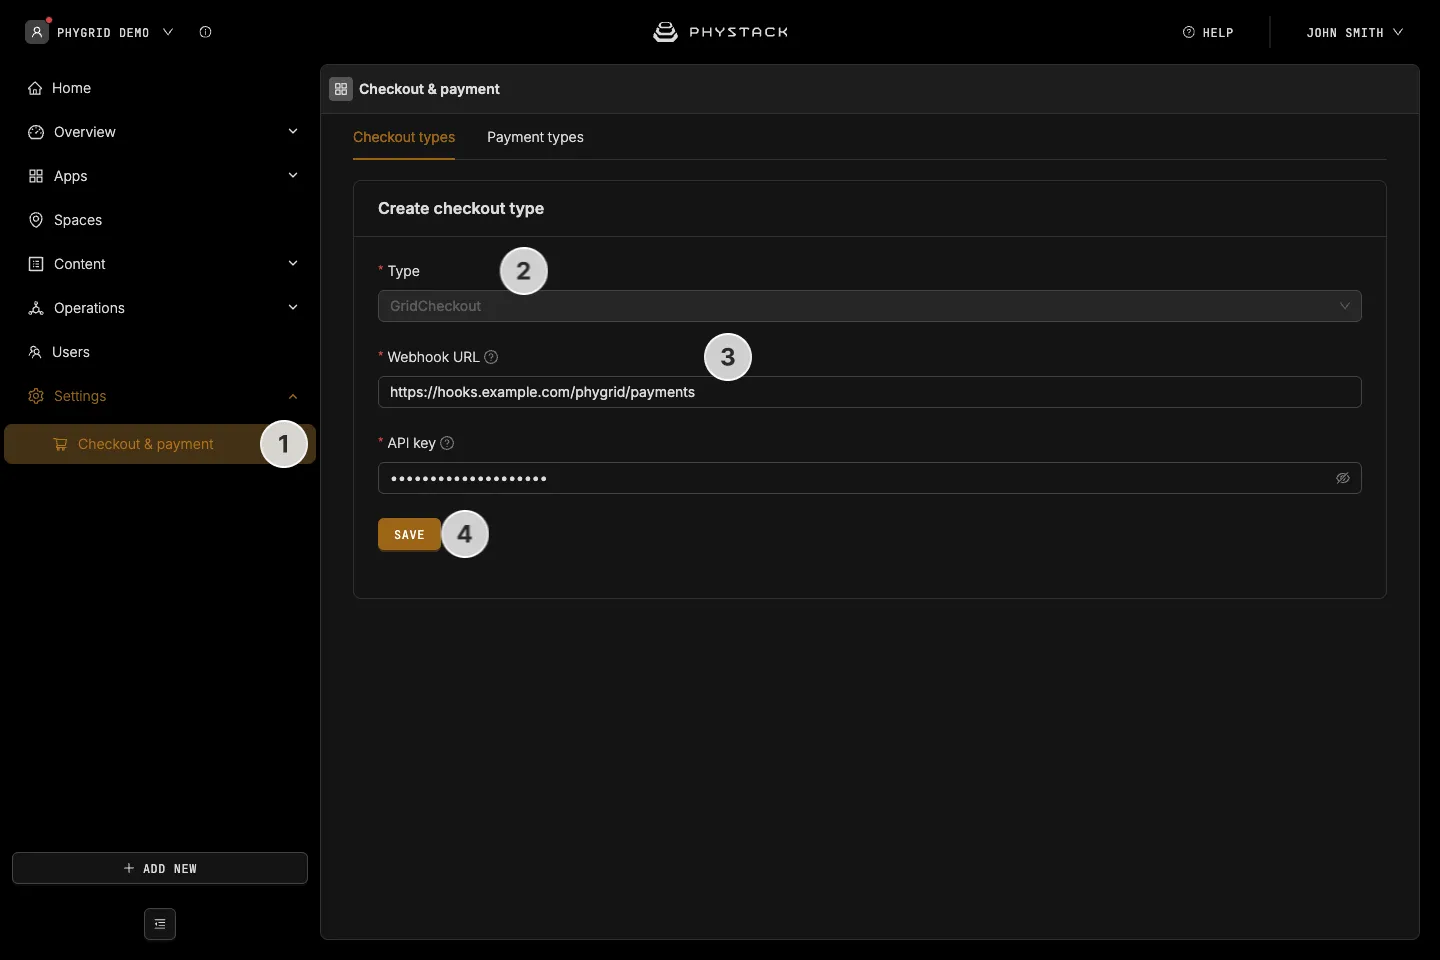
- In the sidebar, navigate to Settings → Checkout & payment
- On the Checkout types tab, under Create checkout type, the Type is already set to GridCheckout
- Enter the Webhook URL and API key your own systems use to be notified of each payment. Both are required
- Click Save
How to add a Stripe payment type
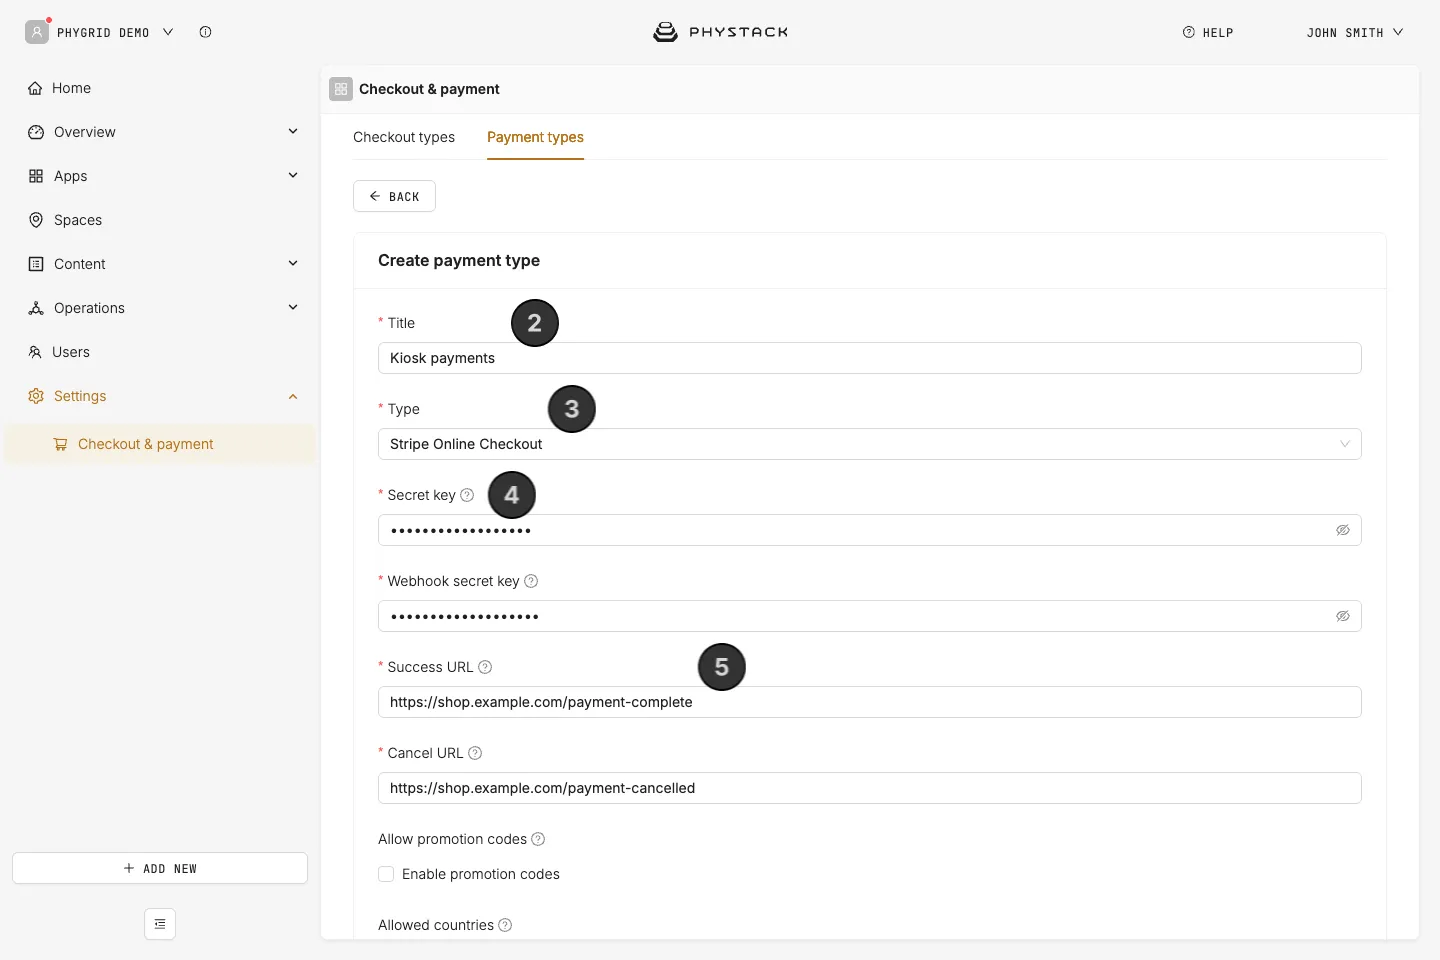
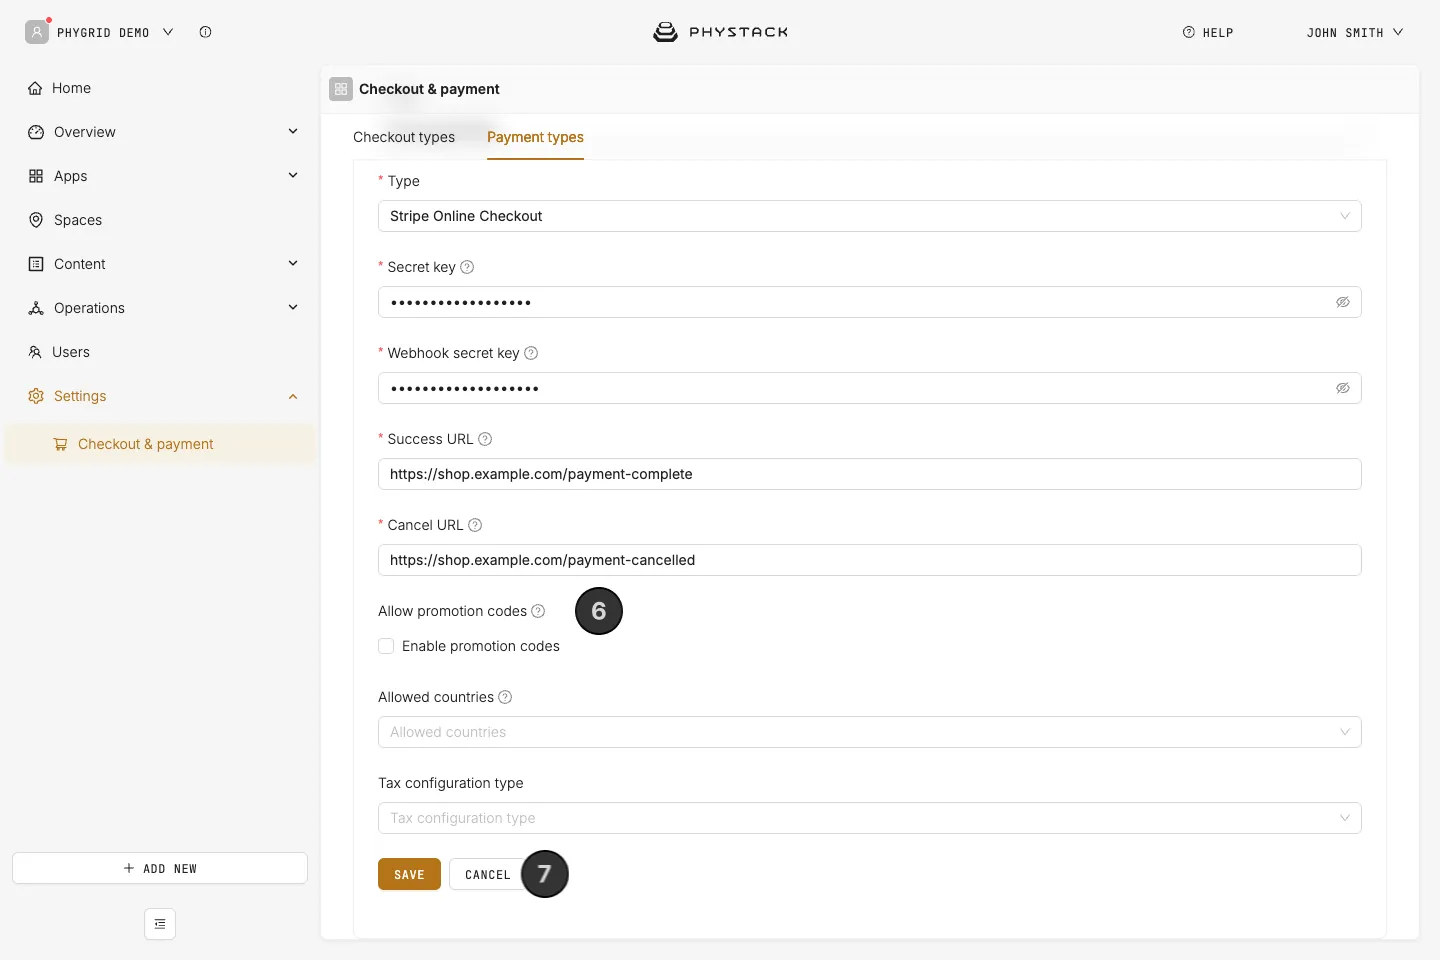
- On the Payment types tab, click Add payment type
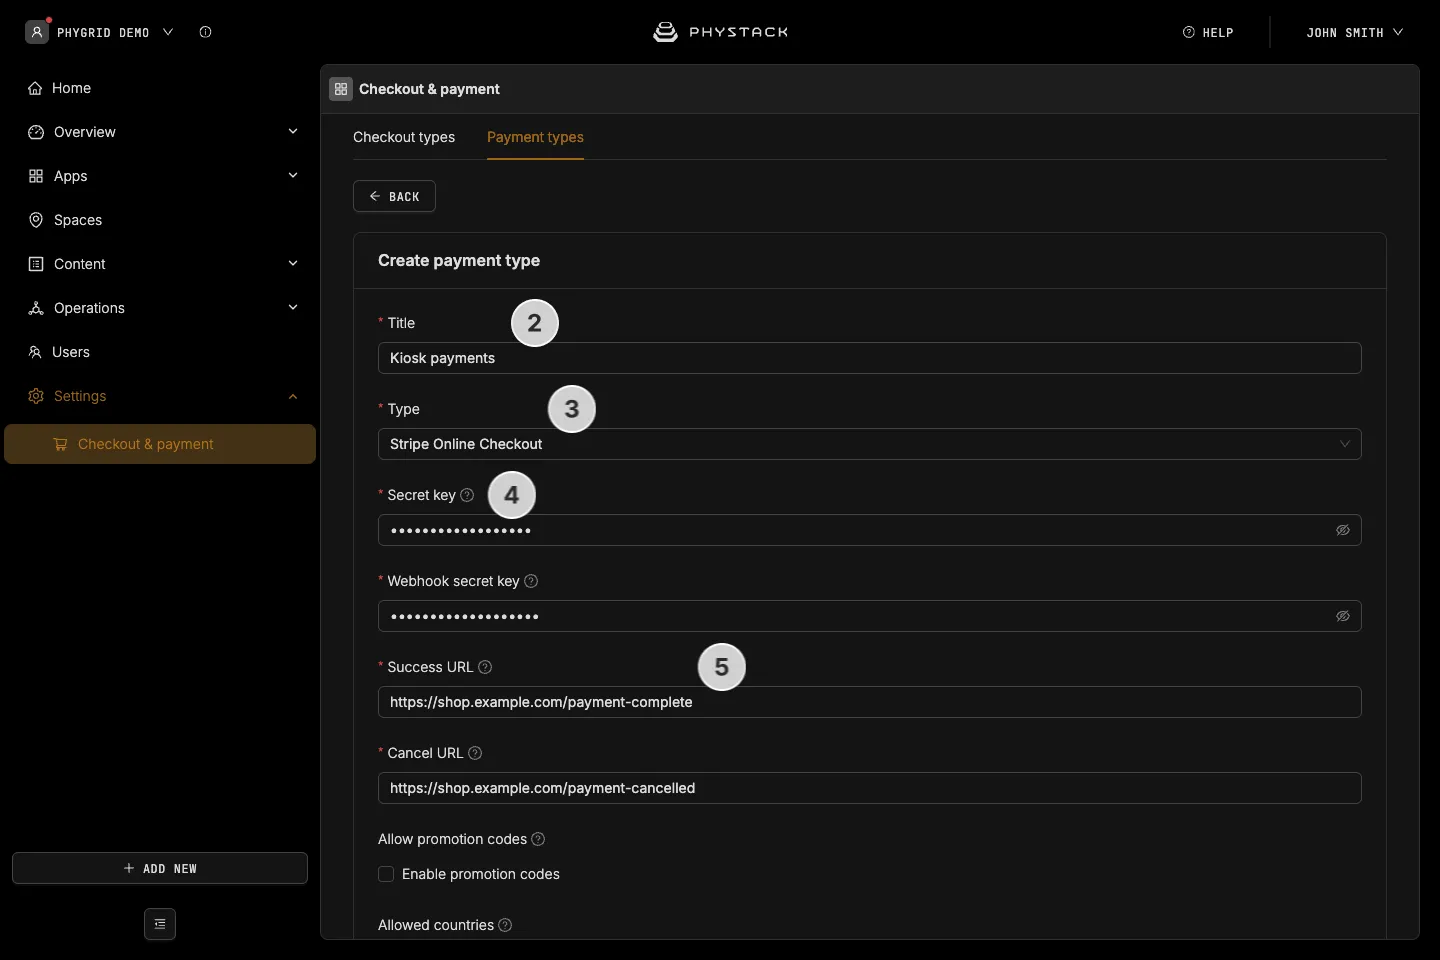
- Enter a Title, for example “Kiosk payments”
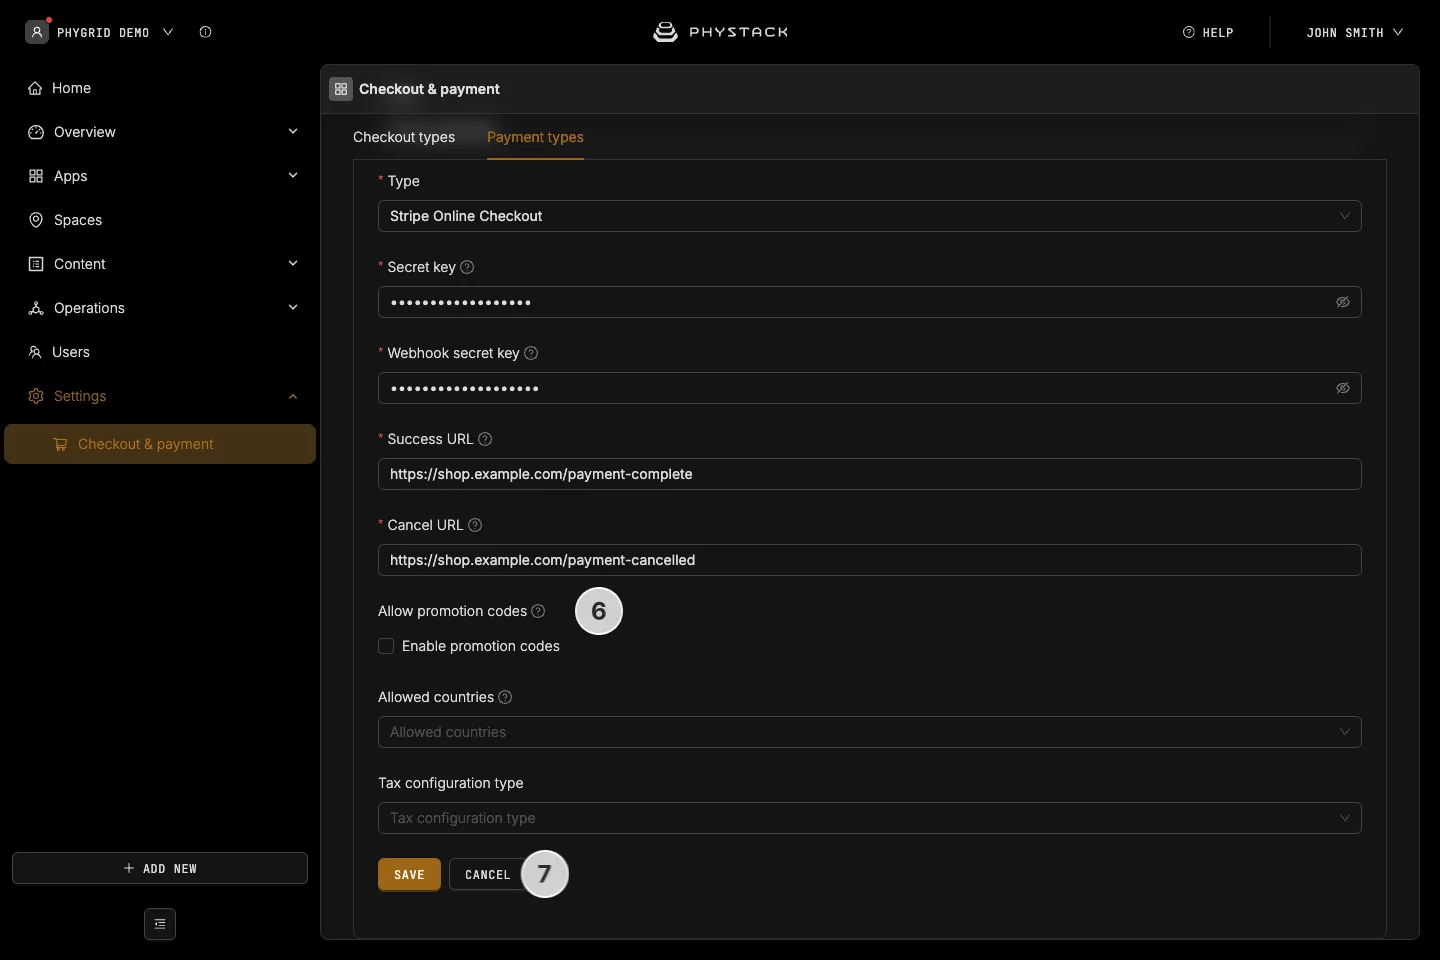
- Select Stripe online checkout as the Type
- Paste the Stripe Secret key and the Webhook secret key
- Enter the Success URL and Cancel URL: the pages customers see on their phone after paying or cancelling
- Optionally, turn on Allow promotion codes, and set Allowed countries and the Tax configuration type
- Click Save
How to select the payment type on the kiosk
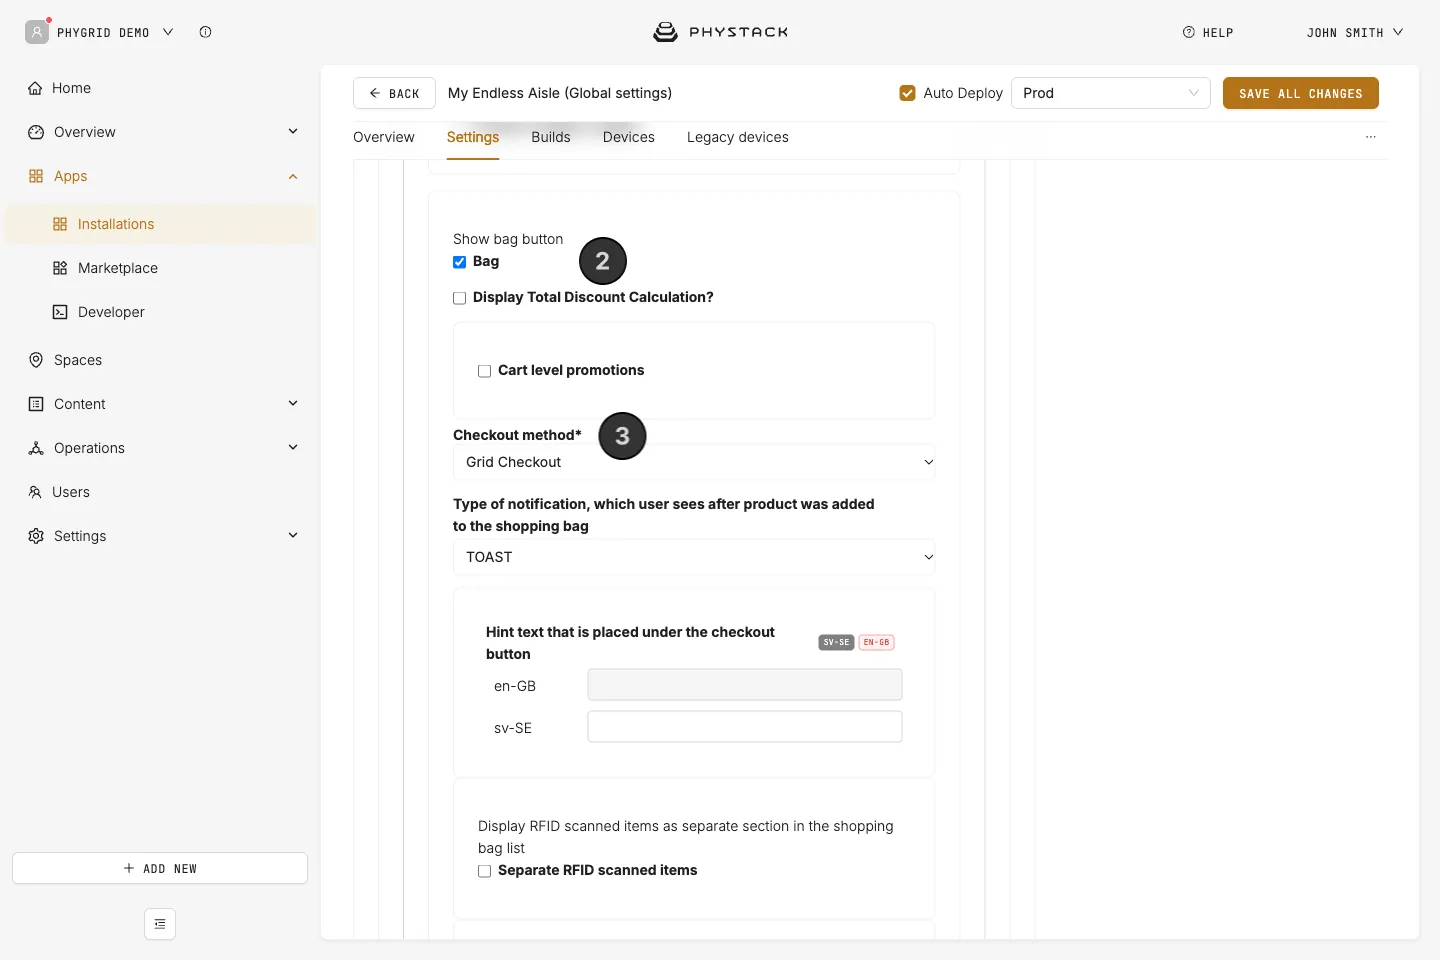
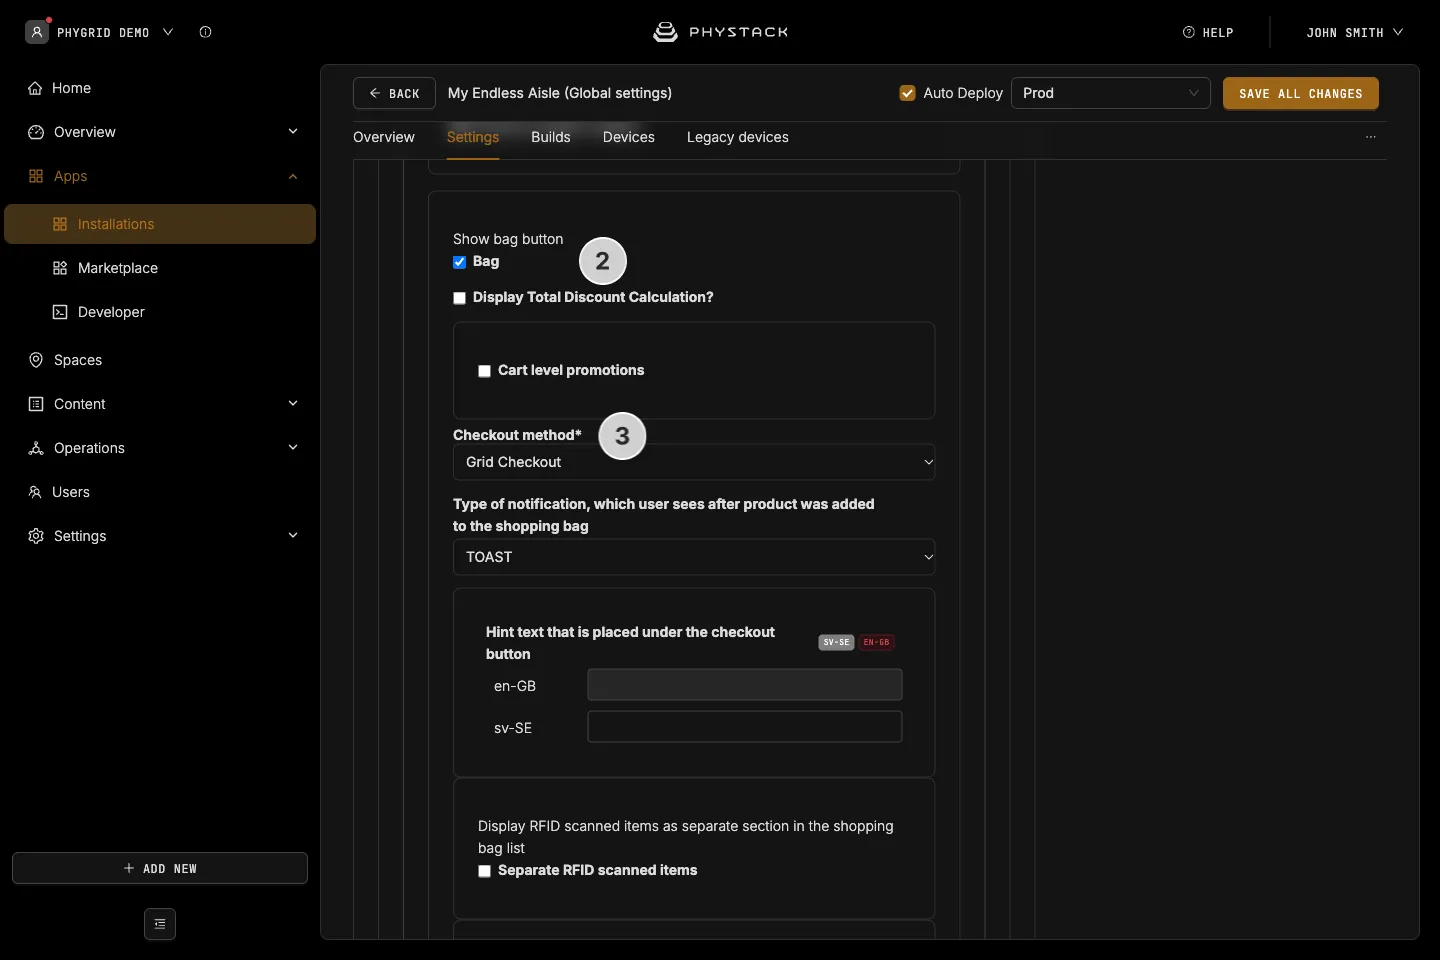
- Open the Endless Aisle installation and go to the Settings tab
- Expand Features and turn on Bag
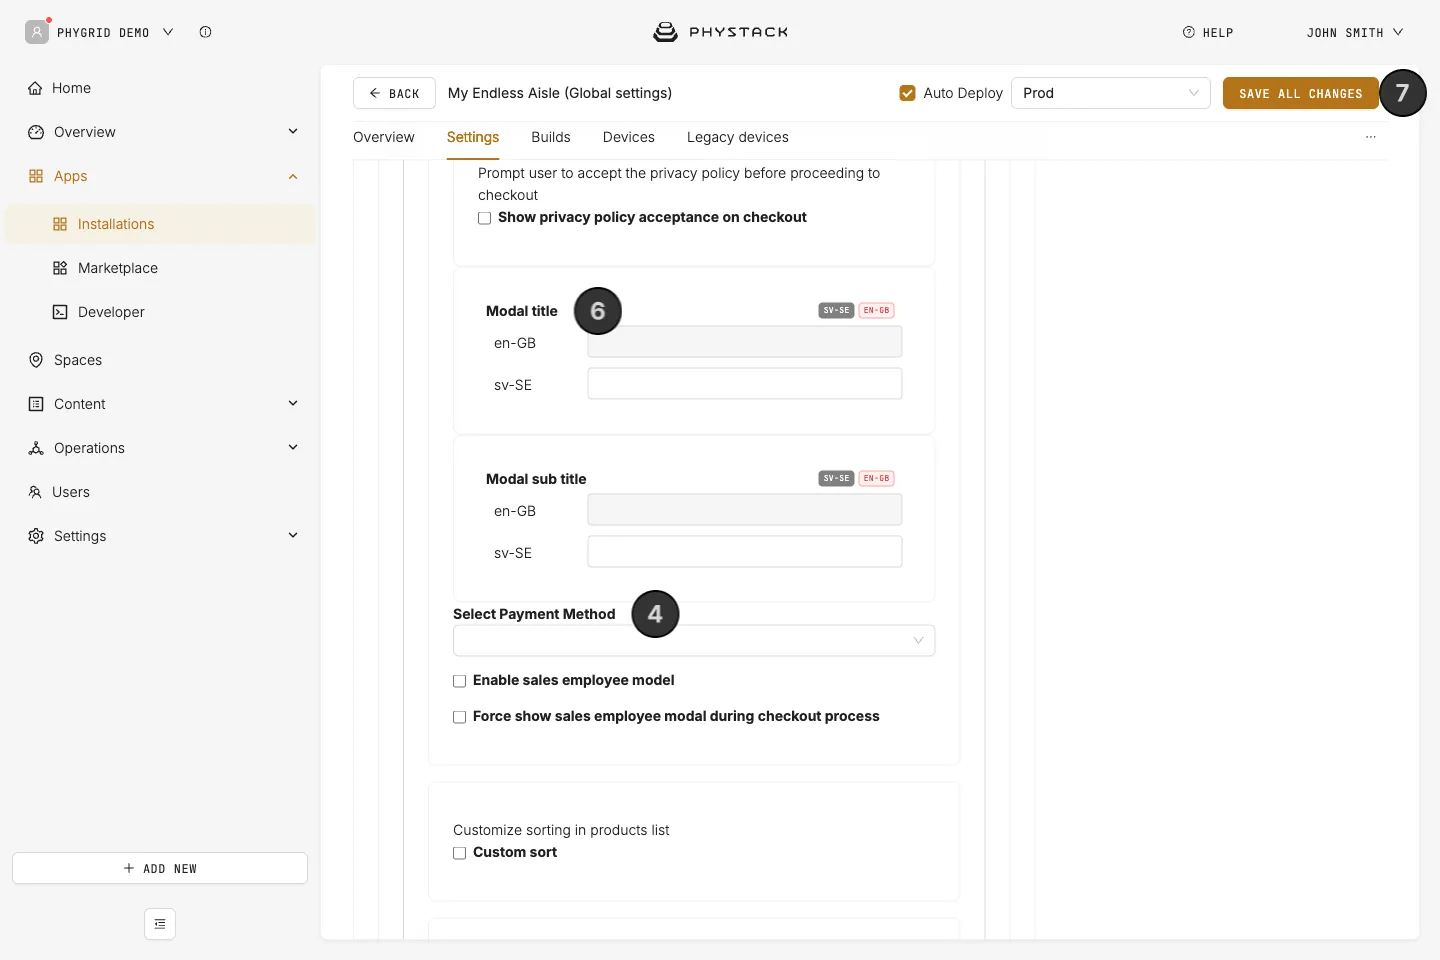
- Set Checkout method to Grid Checkout
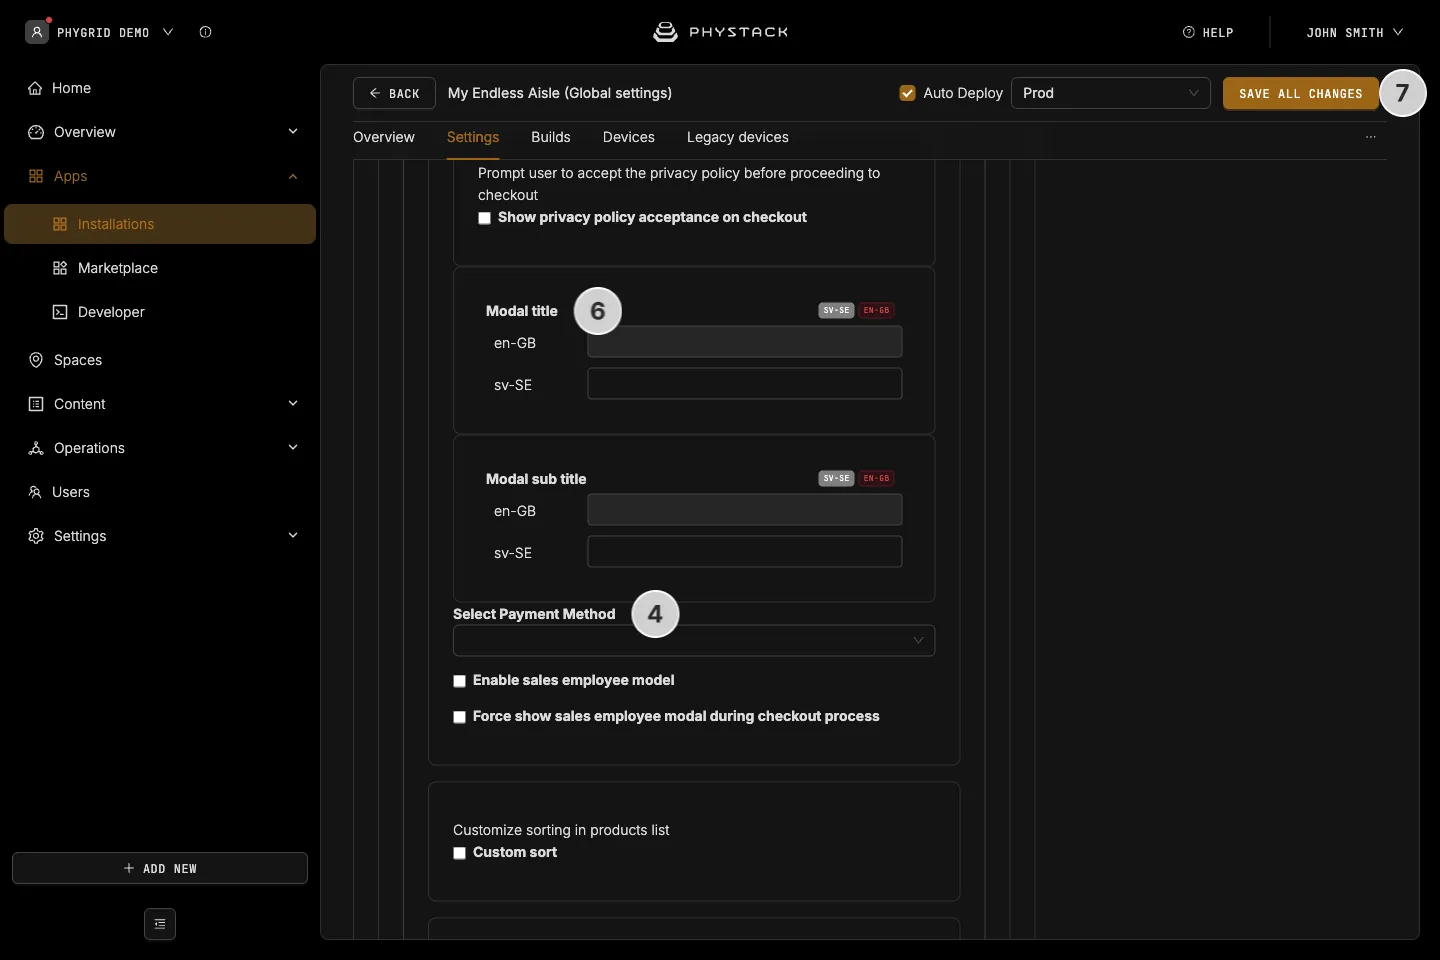
- In Select Payment Method, select your Stripe payment type
- Select Collect shipping address if customers should enter a delivery address. This needs Allowed countries and Shipping rates in the payment type
- Optionally, change the Modal title and Modal sub title shown above the QR code
- Click Save all changes
How to attribute sales to staff
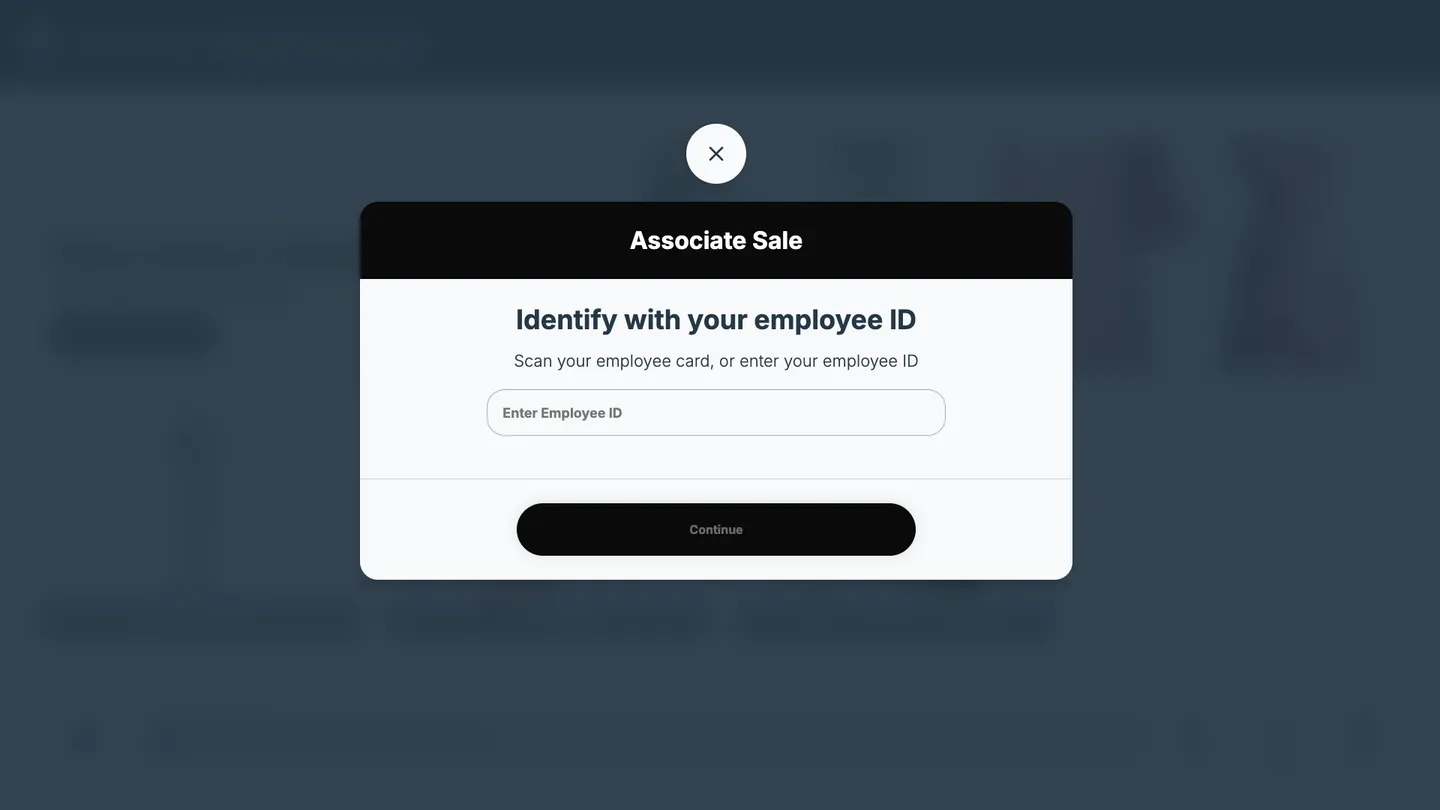
Staff can identify themselves on the kiosk, so the sale is linked to their employee ID.
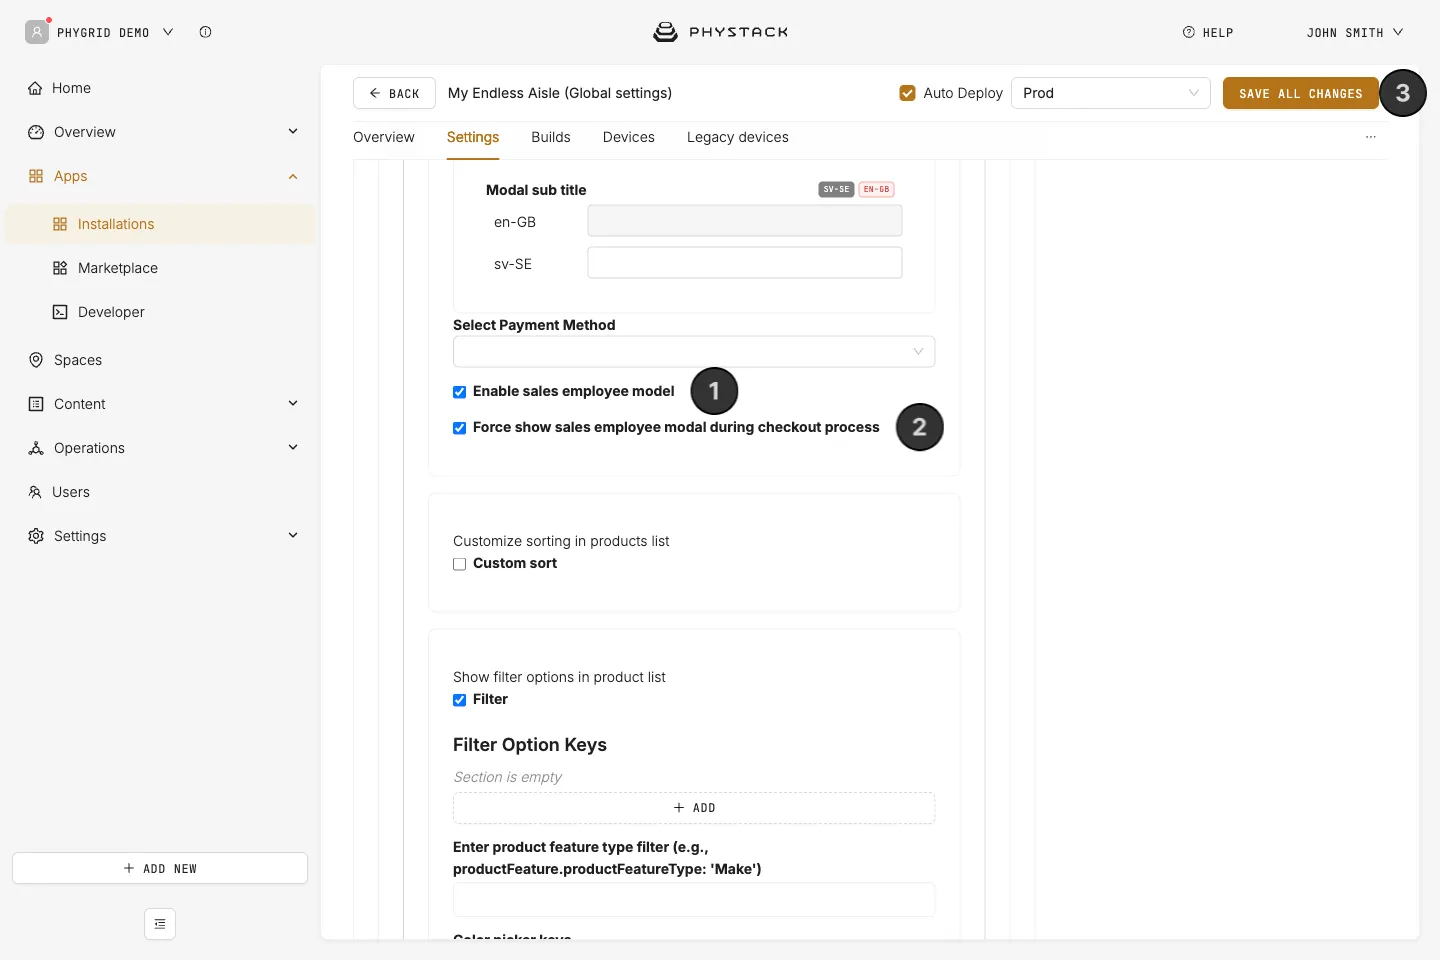
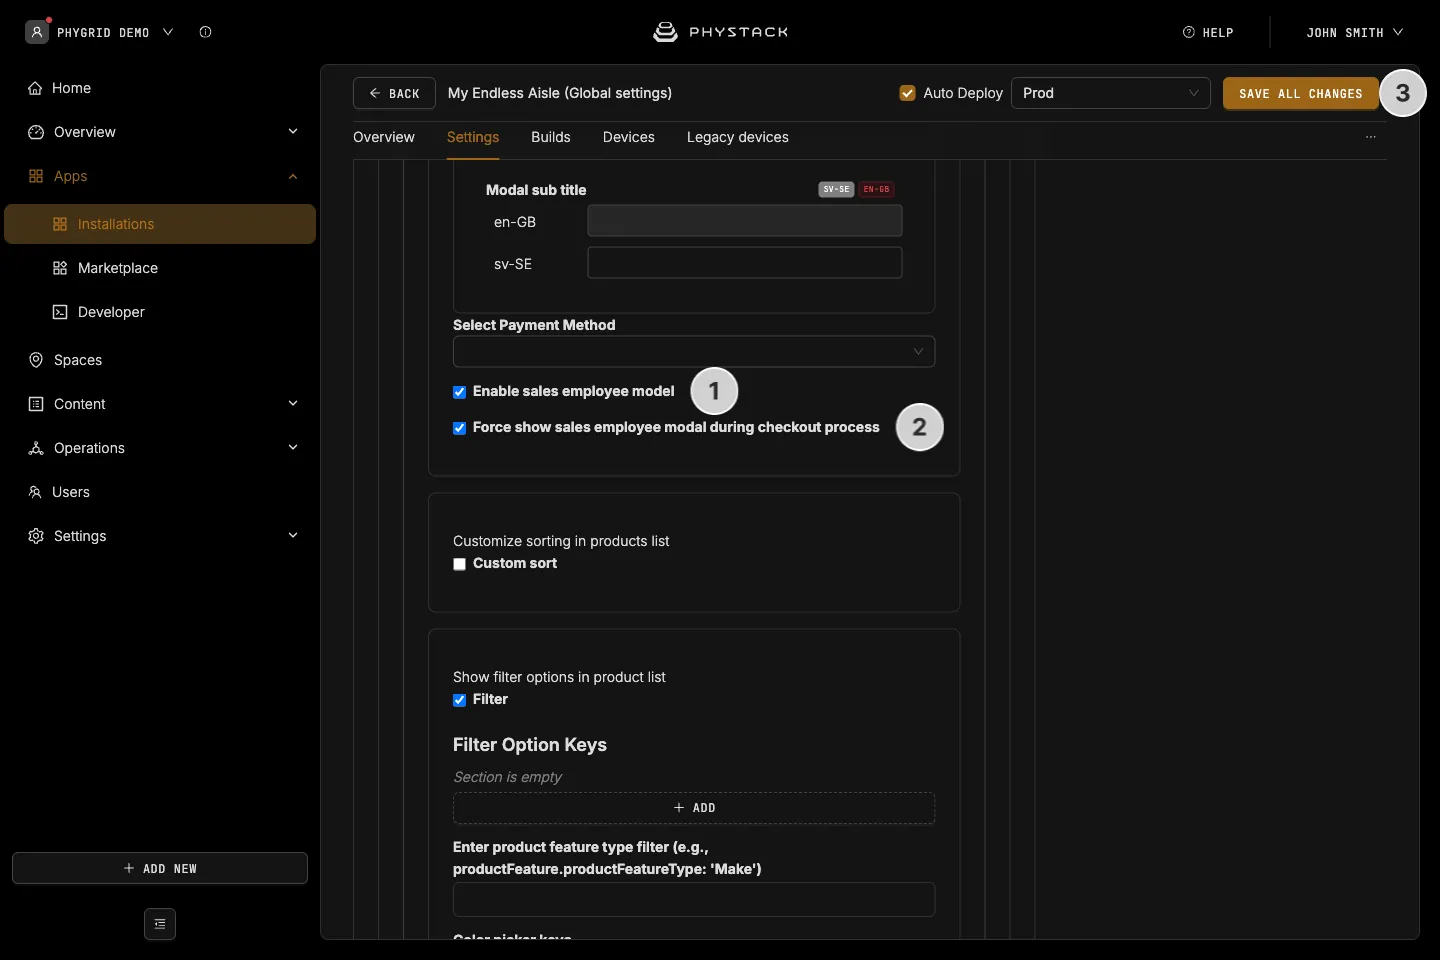
- Turn on Enable sales employee model. A Staff button appears in the bar at the bottom of the screen
- Optionally, turn on Force show sales employee modal during checkout process to ask for an employee ID before checkout
- Click Save all changes
How to test a payment
- Set up a payment type with your Stripe test keys
- On the kiosk, add a product to the bag and tap Continue
- Scan the QR code and pay with a Stripe test card
- Check that the kiosk shows Payment Complete, and that the payment appears in Stripe
- Switch the payment type to your live keys