
Hardware required
Lift & Learn relies on Nexmosphere RFID hardware to detect when a customer lifts a product. You'll need the following components:
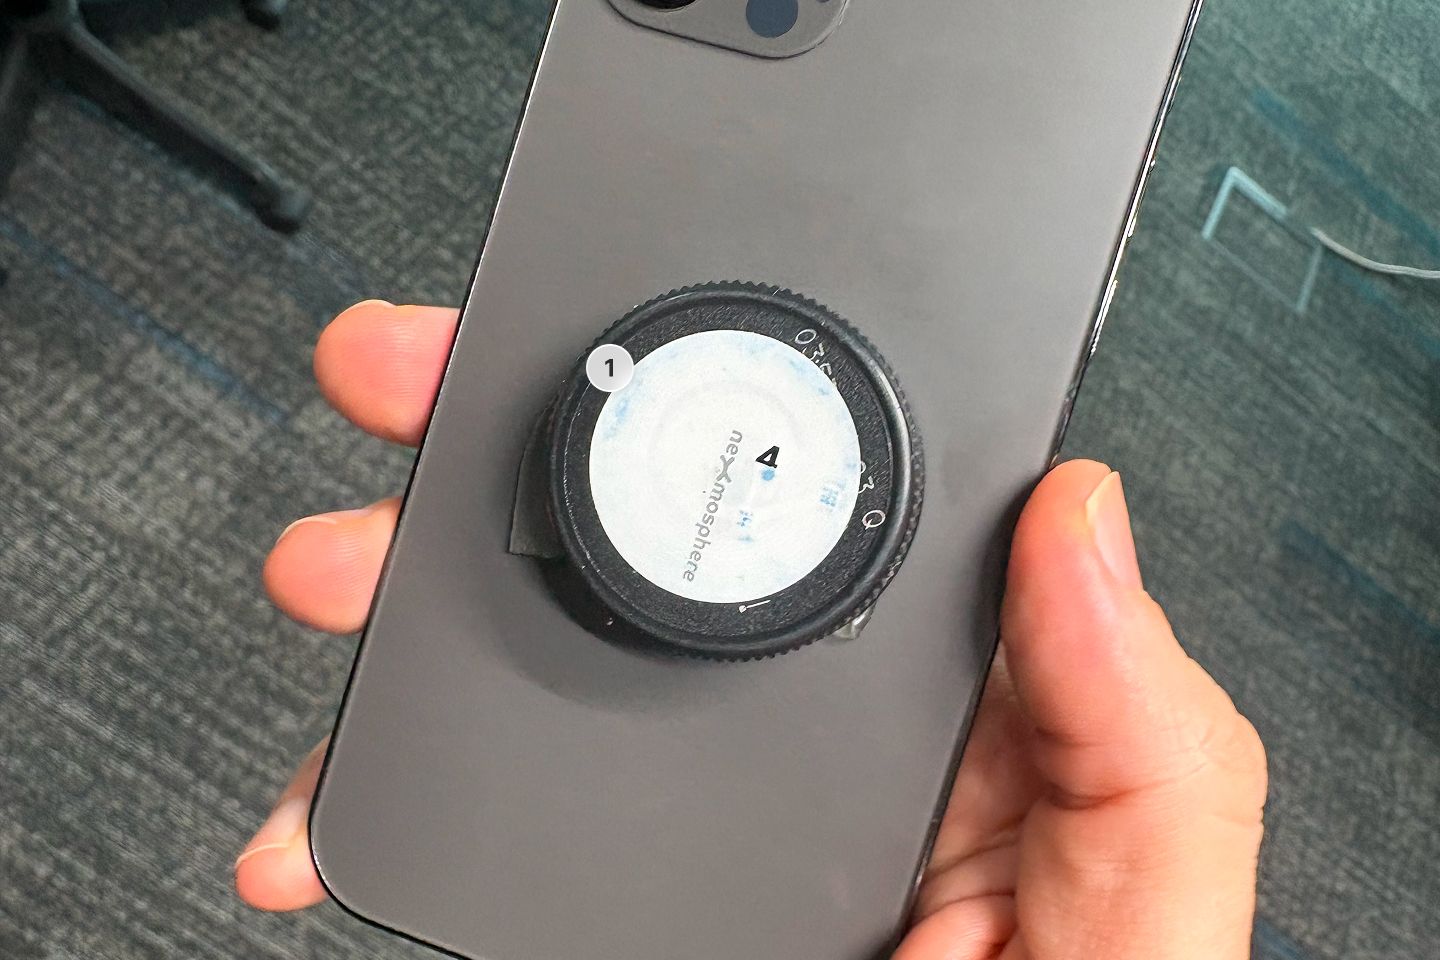
- RFID stickers: One per product, sequenced 1 to 8. We recommend the Nexmosphere RFID tag set
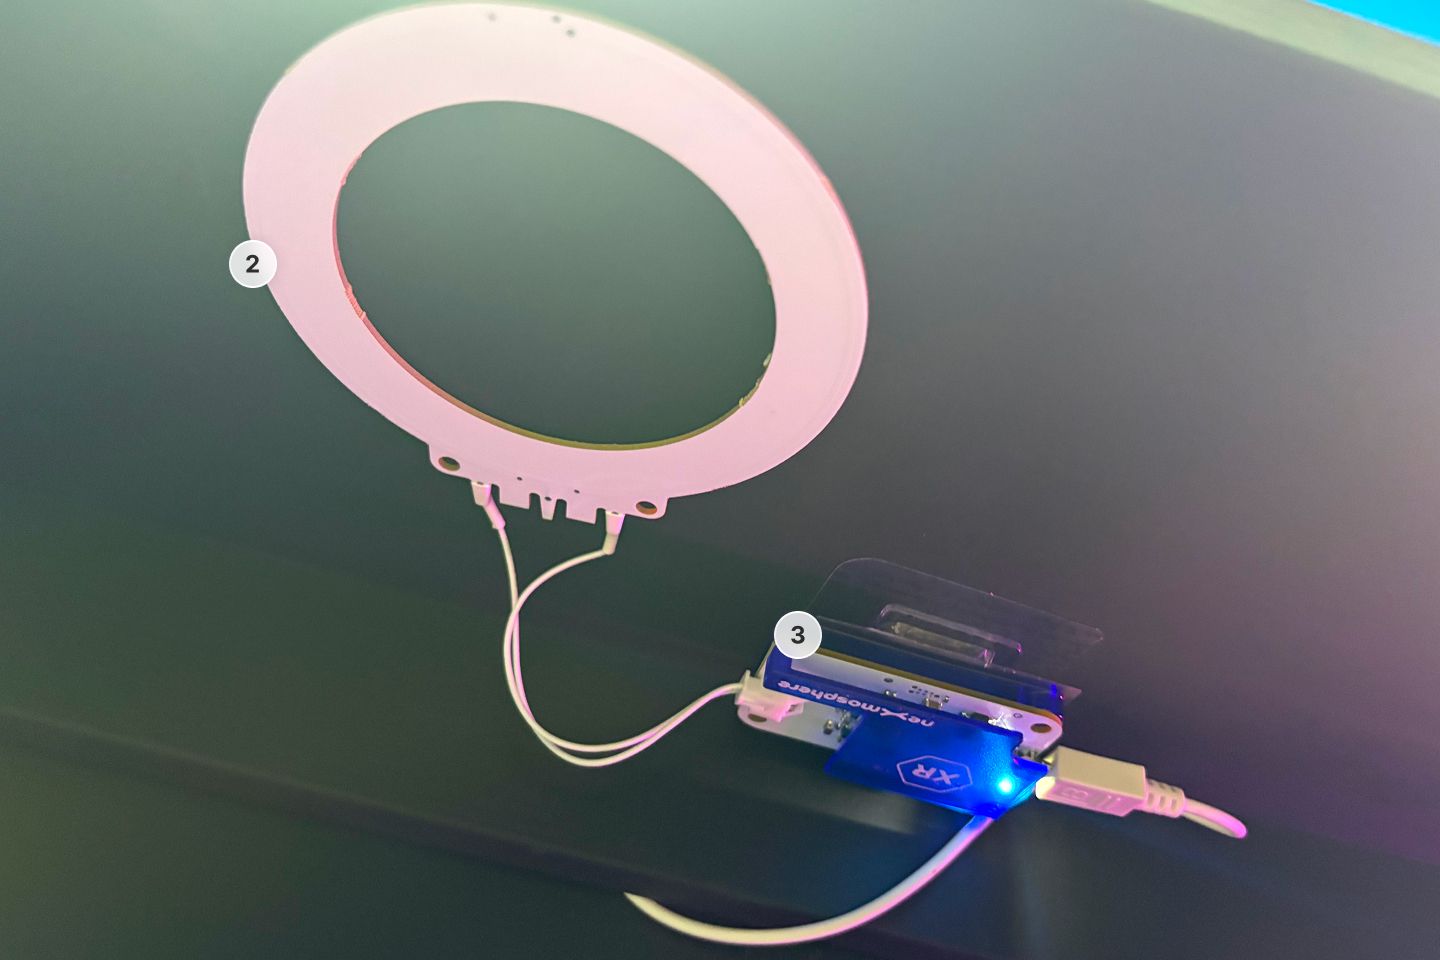
- RFID antennas: One per product position. We recommend the Nexmosphere XR-C10
- RFID drivers: One per antenna, used to read lift and place events. We recommend the Nexmosphere XR-DR1
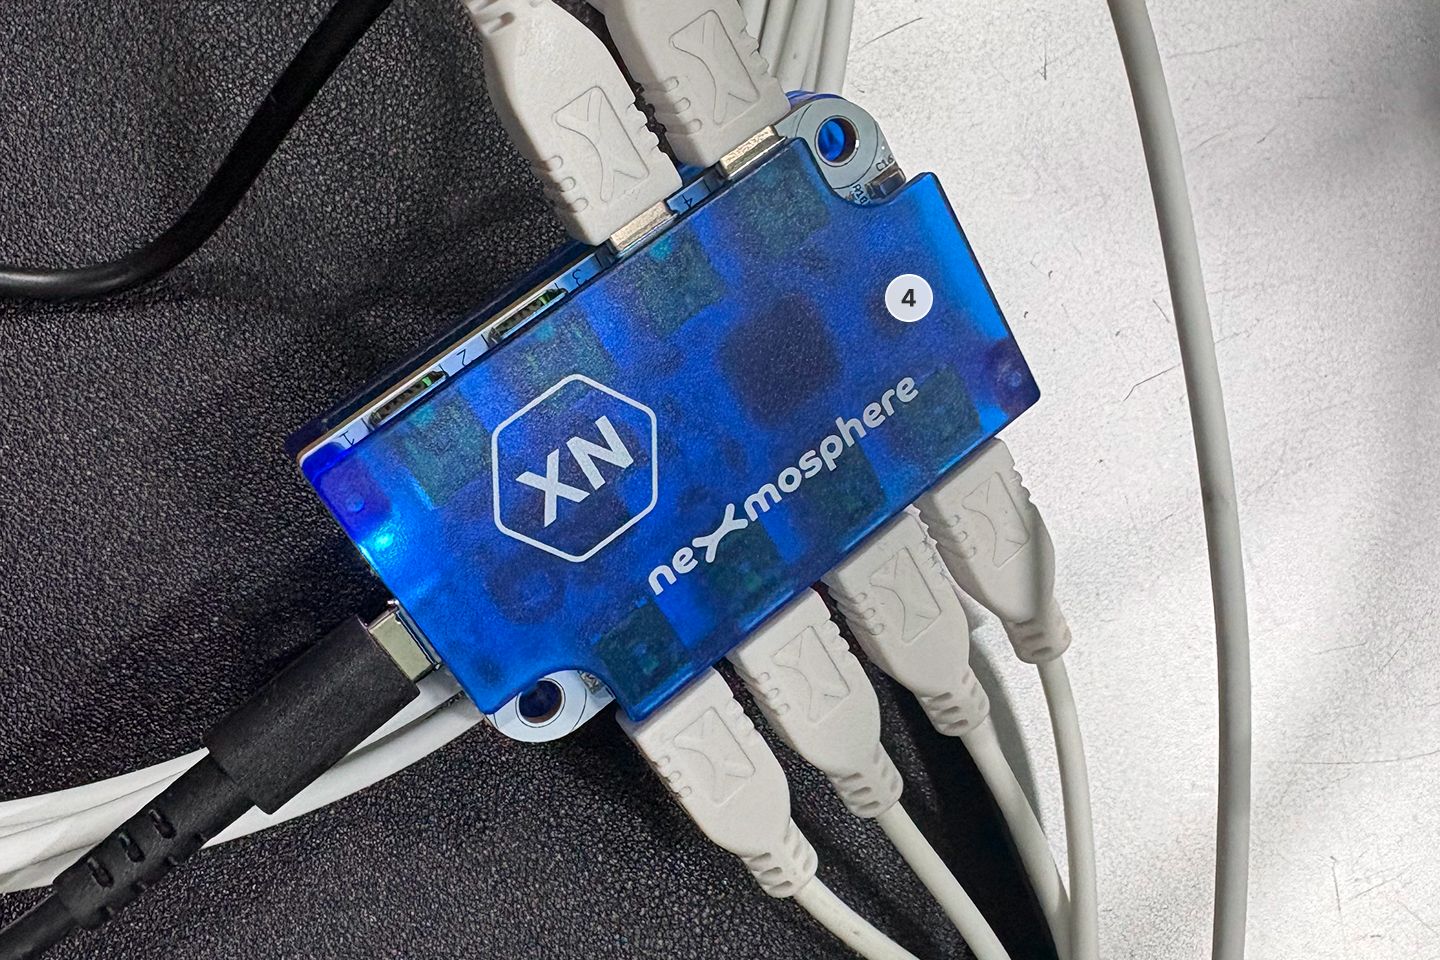
- Central controller: Connects up to 8 drivers to your PhyGrid compute device. We recommend the Nexmosphere XN-185
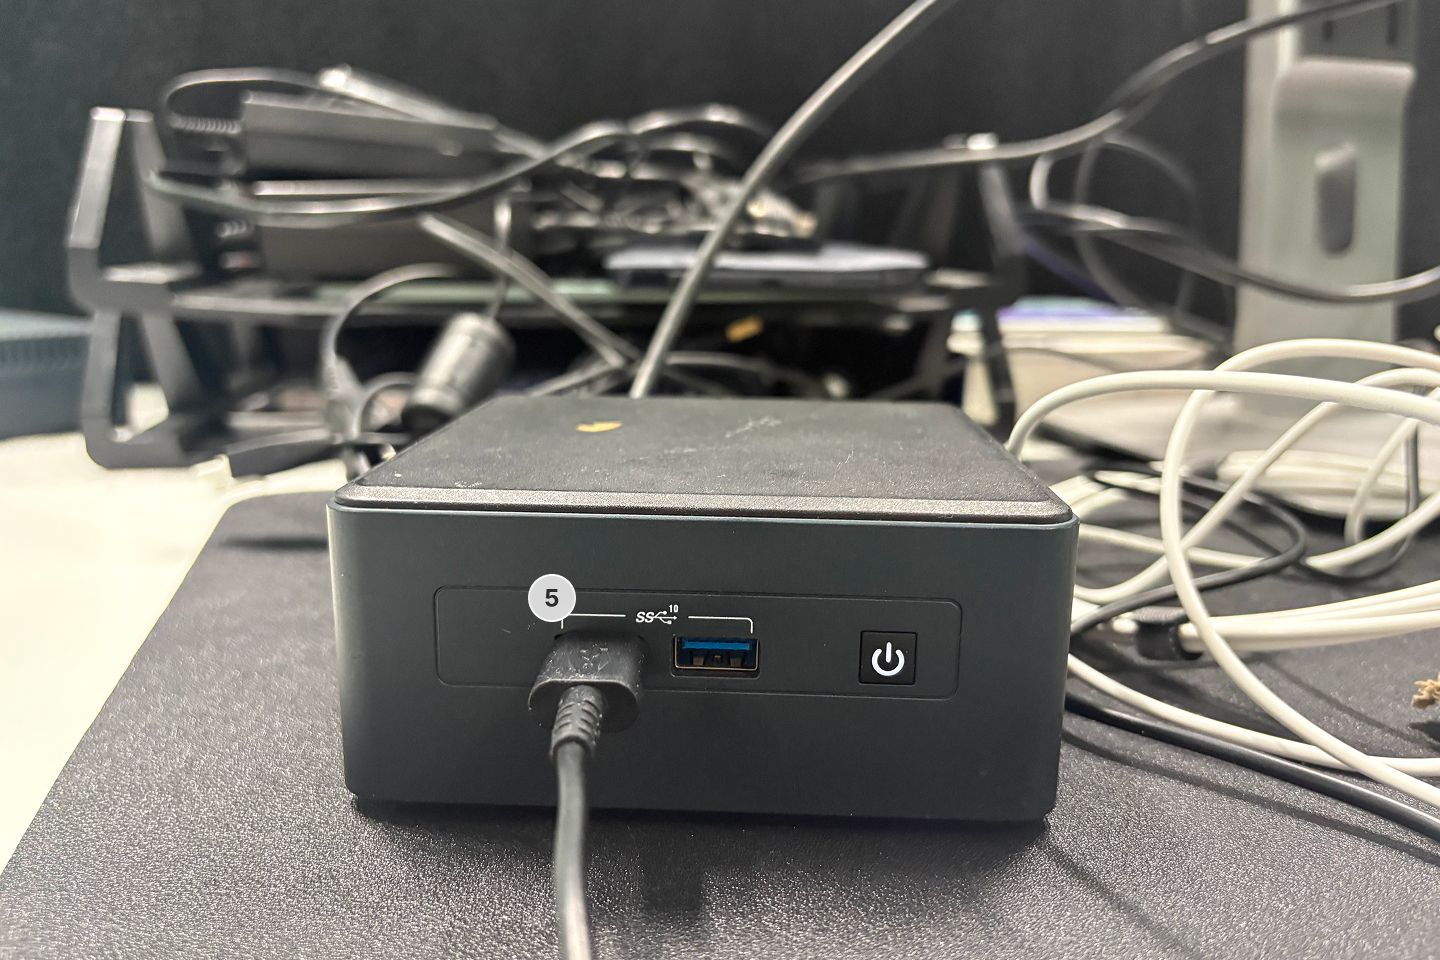
- PhyGrid compute device: Either an all-in-one screen or a mini PC running PhyOS
We recommend up to 8 products per installation, with 6 being optimal. Products can sit on a single shelf or be distributed across multiple shelves. Make sure your product materials and shelf surfaces do not interfere with RFID signals.
How to set up Nexmosphere sensors
- Apply one RFID sticker to the bottom of each product, using the sequence numbers 1 through 6. Note which sequence number is assigned to which product; you'll map these to entries in the Console later
- Position an XR-C10 antenna beneath each product location inside the furniture, typically below the shelf
- Connect each XR-C10 antenna to its own XR-DR1 driver, which reads lift and place events
- Connect each XR-DR1 driver to the XN-185 controller, which supports up to 8 drivers
- Connect the XN-185 controller to your PhyGrid compute device (all-in-one screen or mini PC running PhyOS)
Next steps
Once your hardware is installed, continue to Integrate your product catalog for Lift & Learn to map your RFID sequence numbers to products in the Console.