
Before you proceed
Occupancy Control is a variant of the Queue Management system for people counting and visitor flow. It’s an extension of Queue Management and Appointment Booking and incorporates all of the features present in those variants, and extends them with people counting and visitor flow control options. It can be used for manual people counting via the Occupancy Manager, or it can employ Xovis sensors for automated people counting. Combined with Occupancy Signage, this solution offers complete automation of visitor flow, based on maximum occupancy levels.
This guide only covers the functionality related to Occupancy Control. Read the Quick Start: Queue Management guide to do a basic queue setup, then come back here and set up options related to occupancy and people counting.
How to install a queue with Occupancy Control
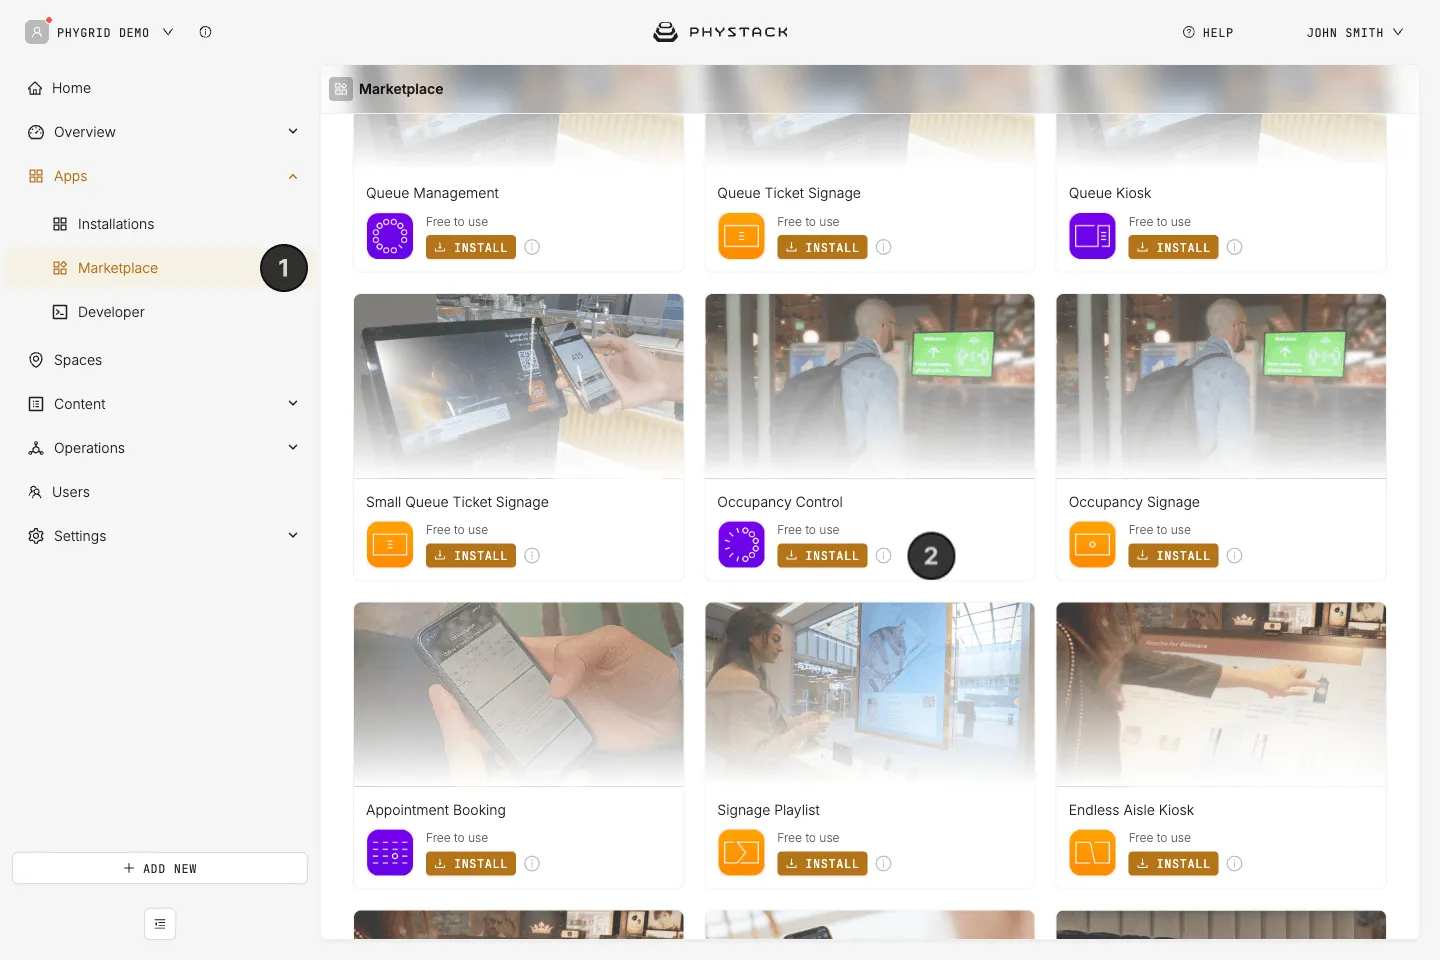
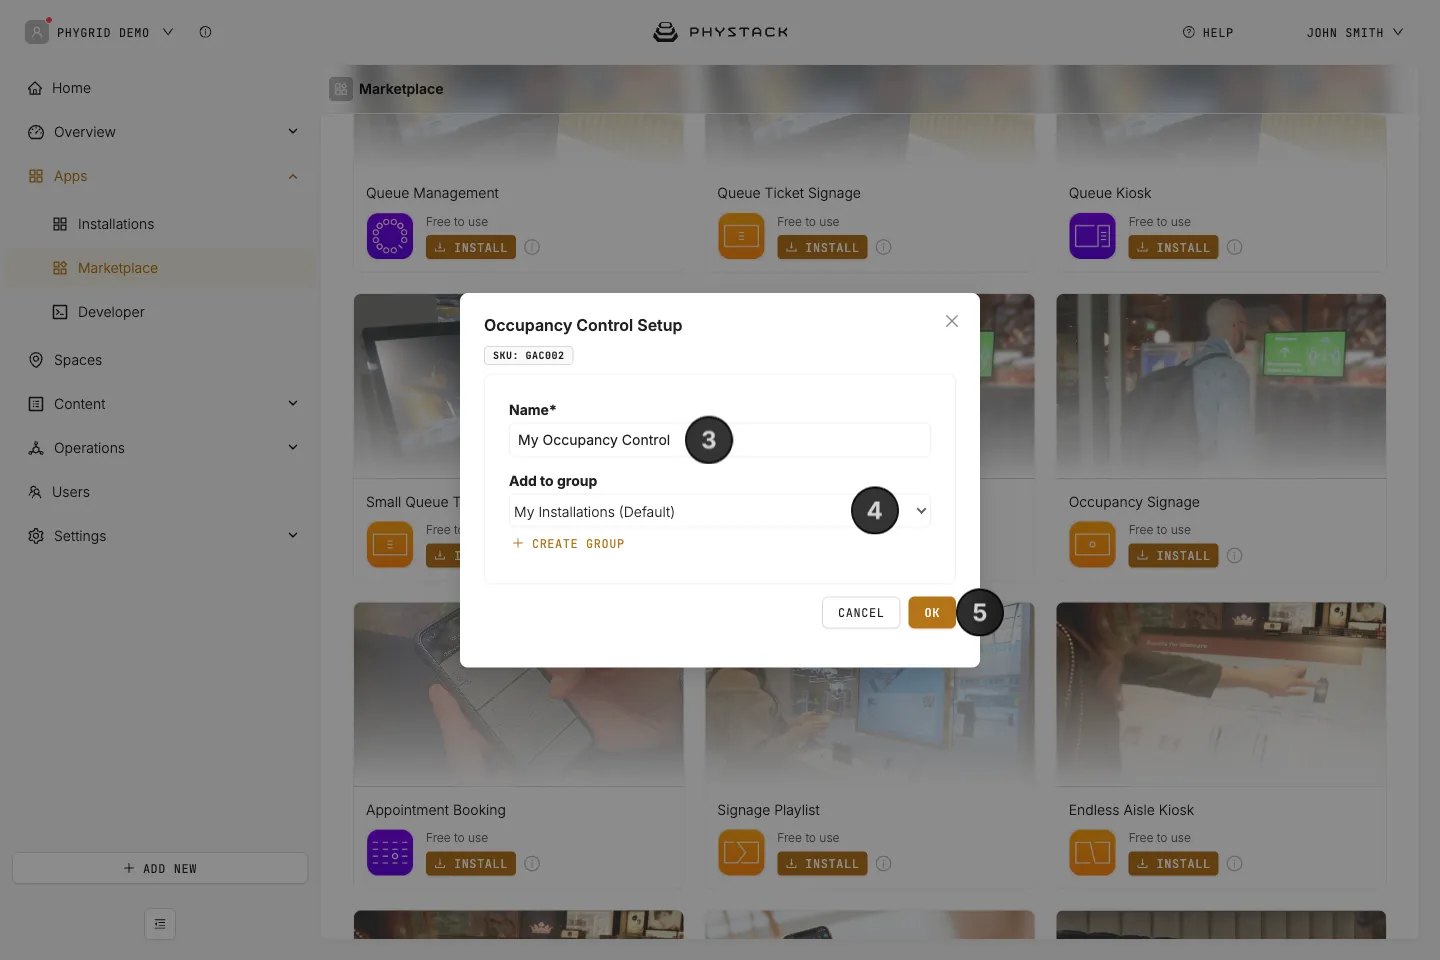
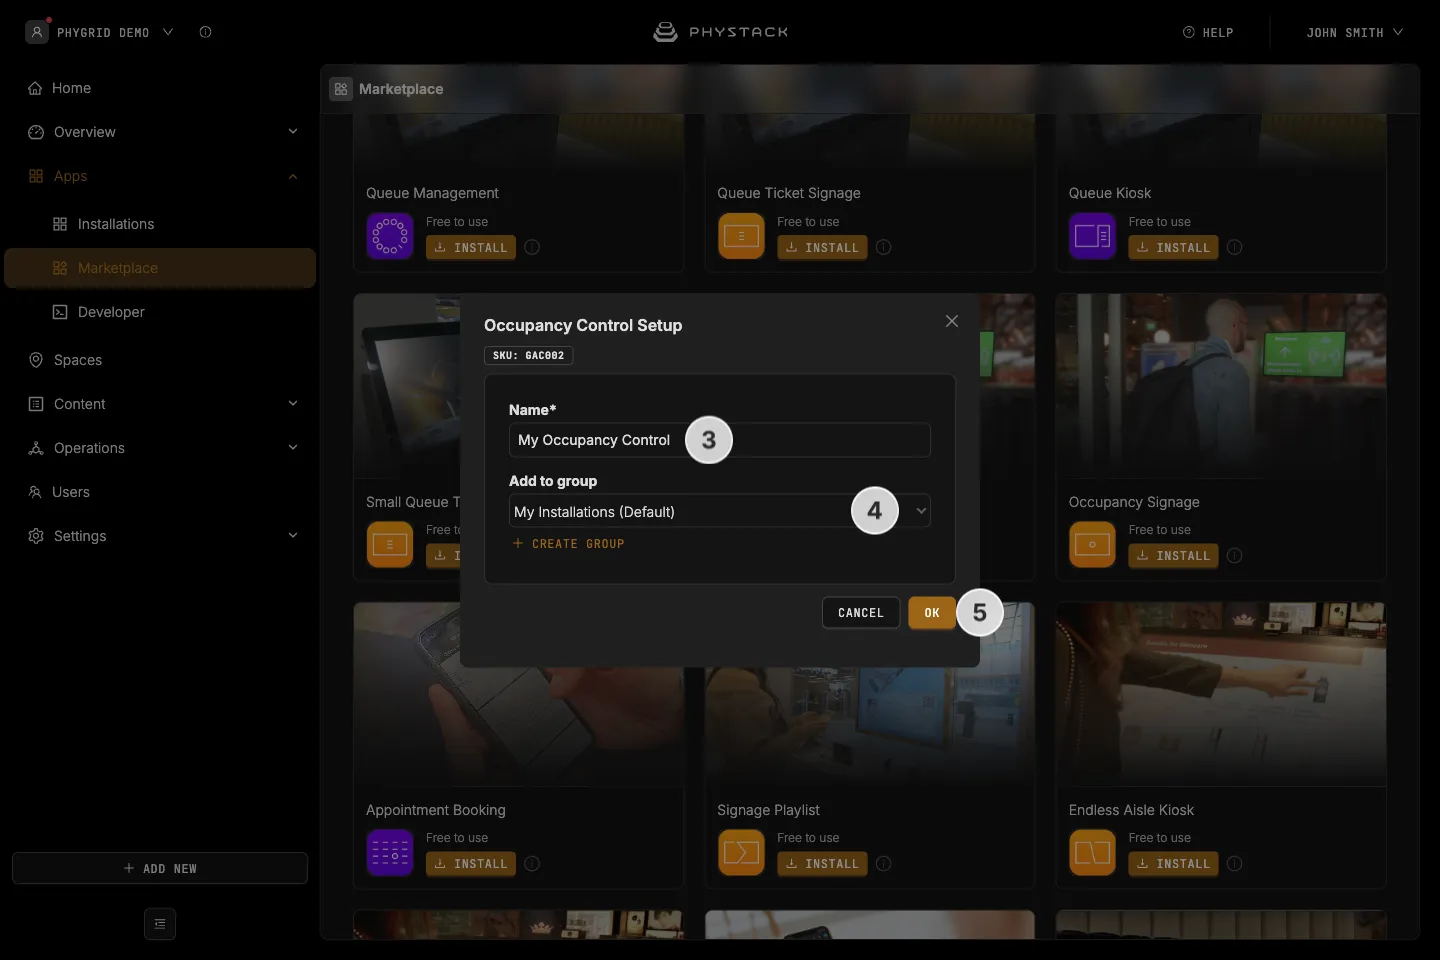
- In the sidebar, navigate to Apps → Marketplace
- Look for Occupancy Control in the list of applications and click on the Install button to open the installation dialog
- In the installation form, enter a Name for your Occupancy Control installation
- Optionally, pick a group in Add to group, or click Create group to make a new one, to organise your installations
- Click OK to create the Occupancy Control installation
- Share the URL of the created Occupancy Control installation with PhyGrid to ensure the data push is set up correctly
How to access Occupancy Control settings
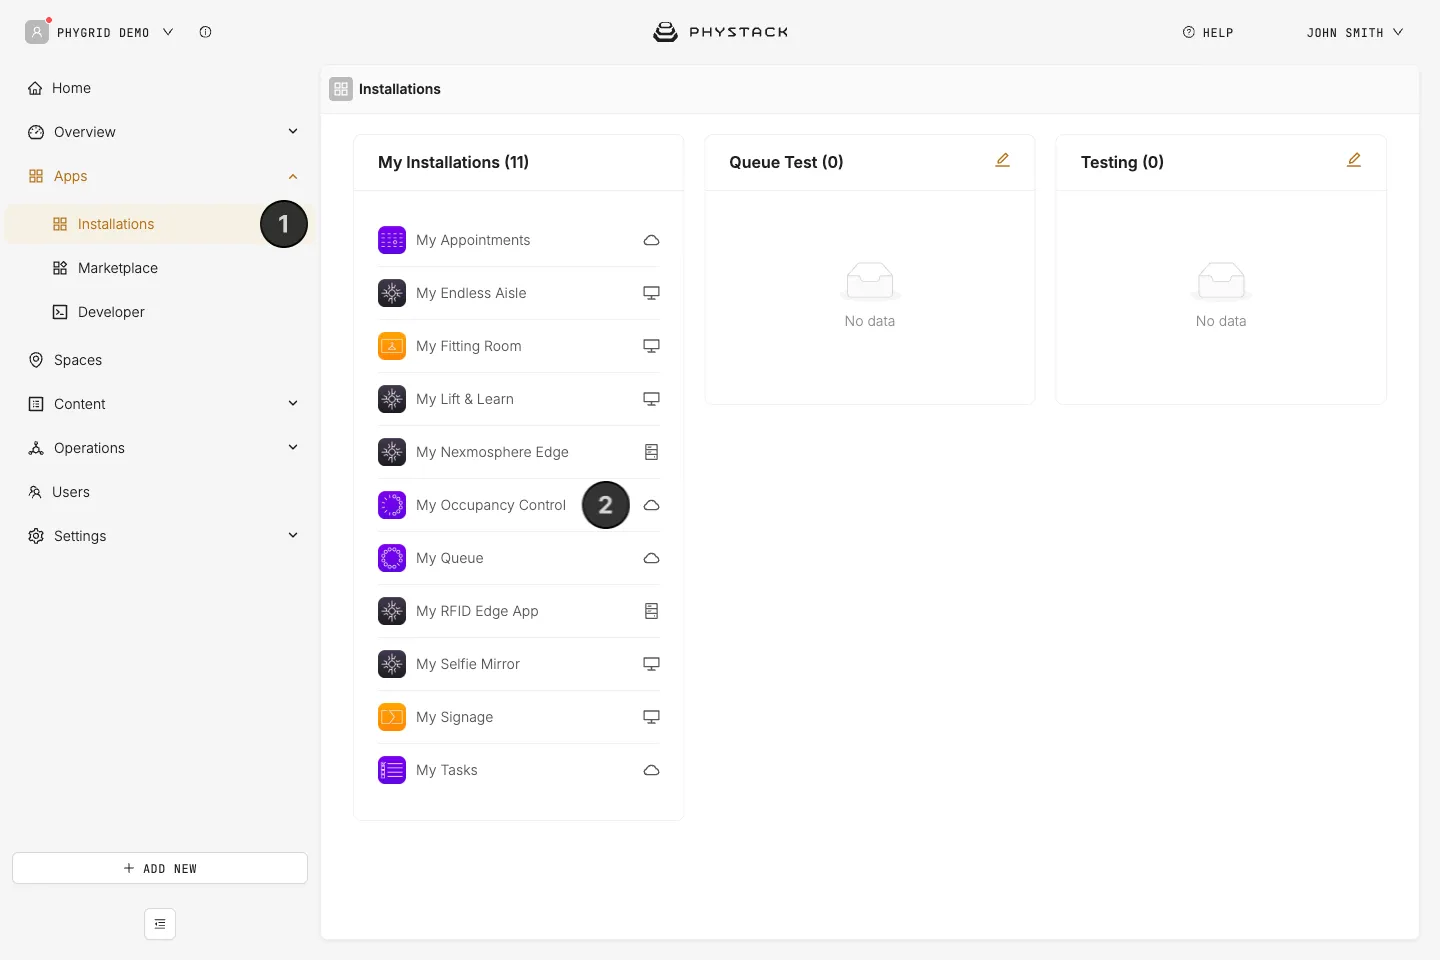
- Your new installation will be available in the sidebar under Apps → Installations
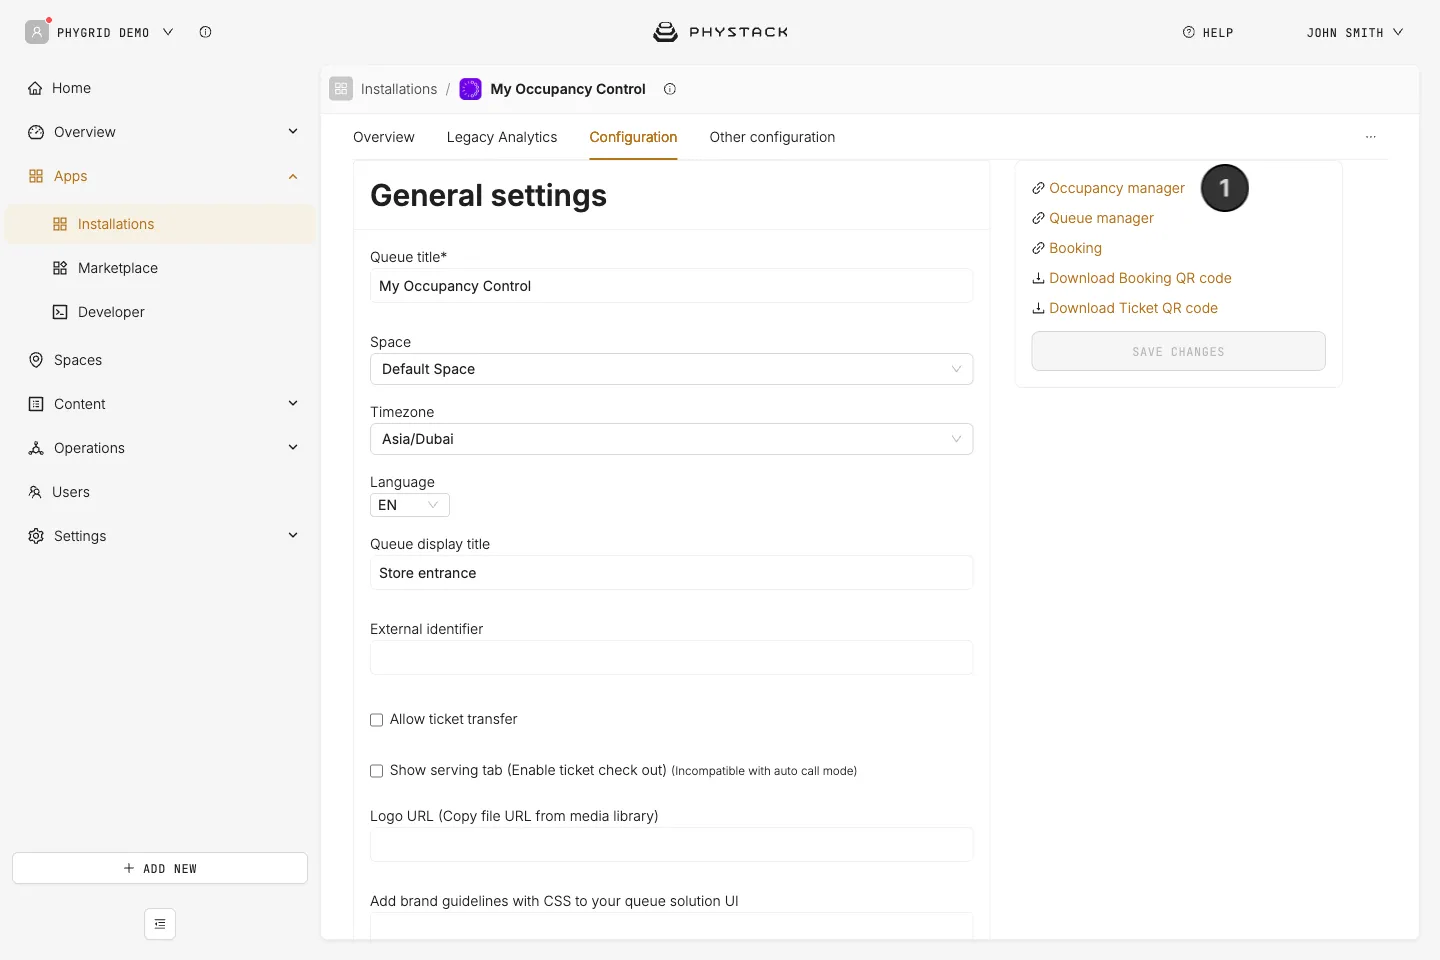
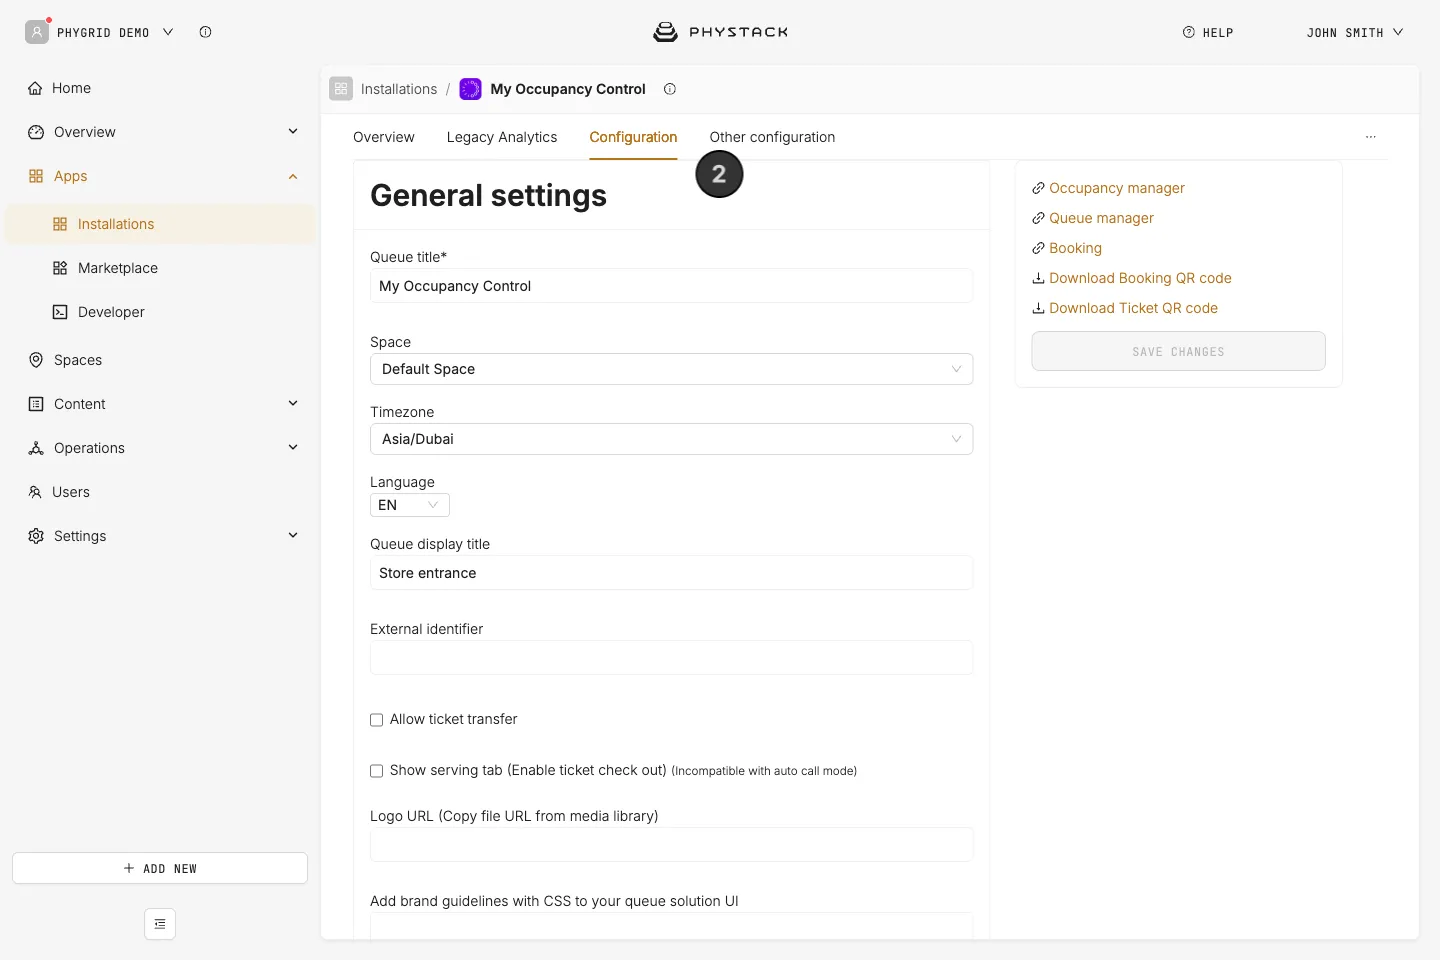
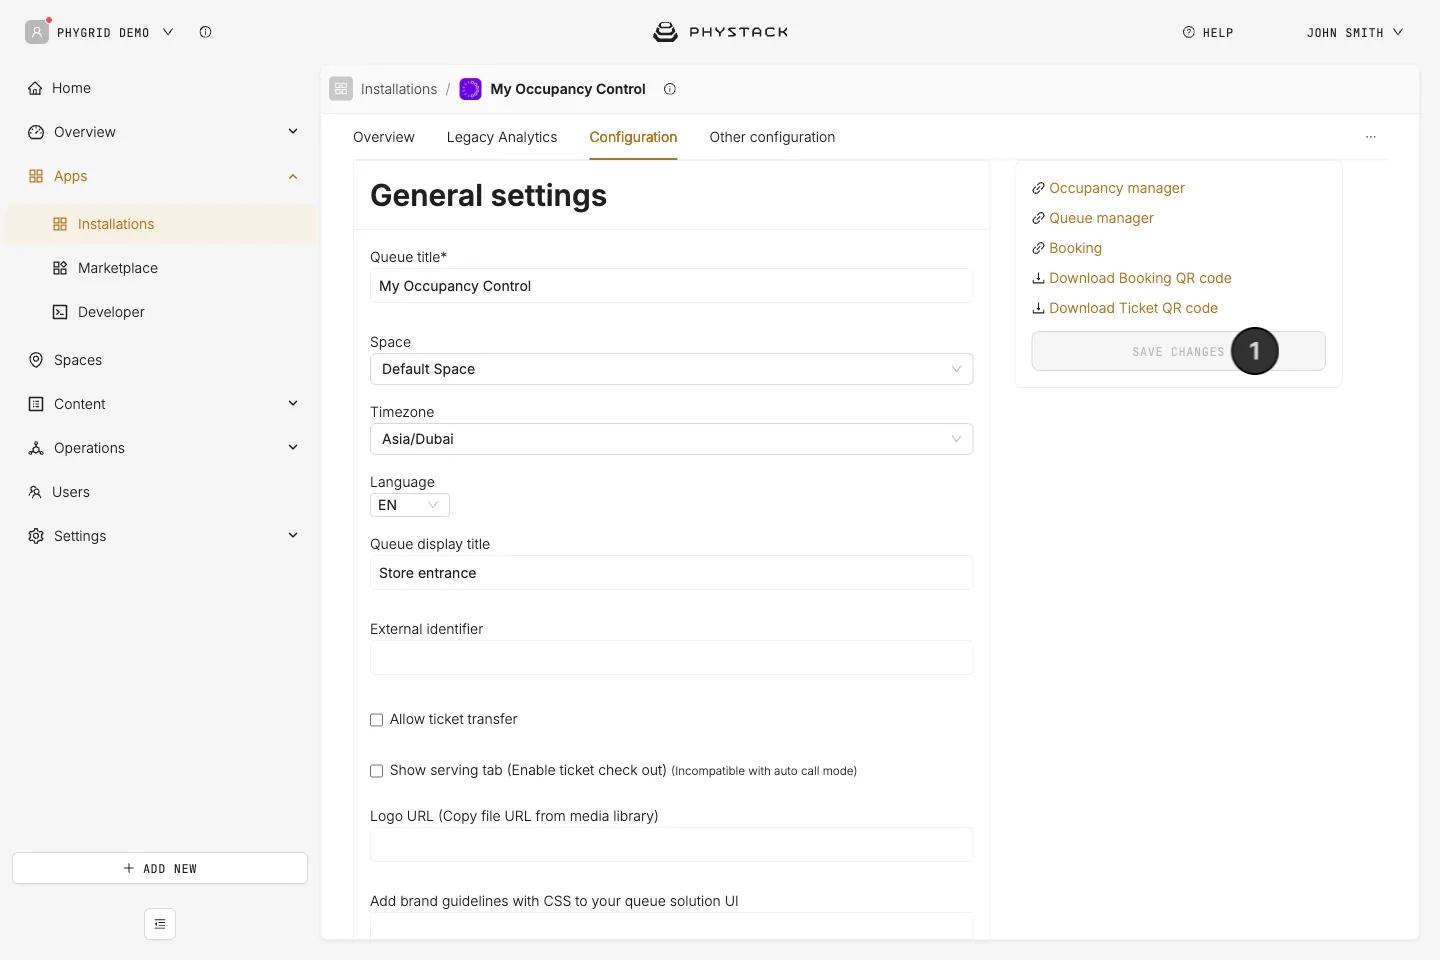
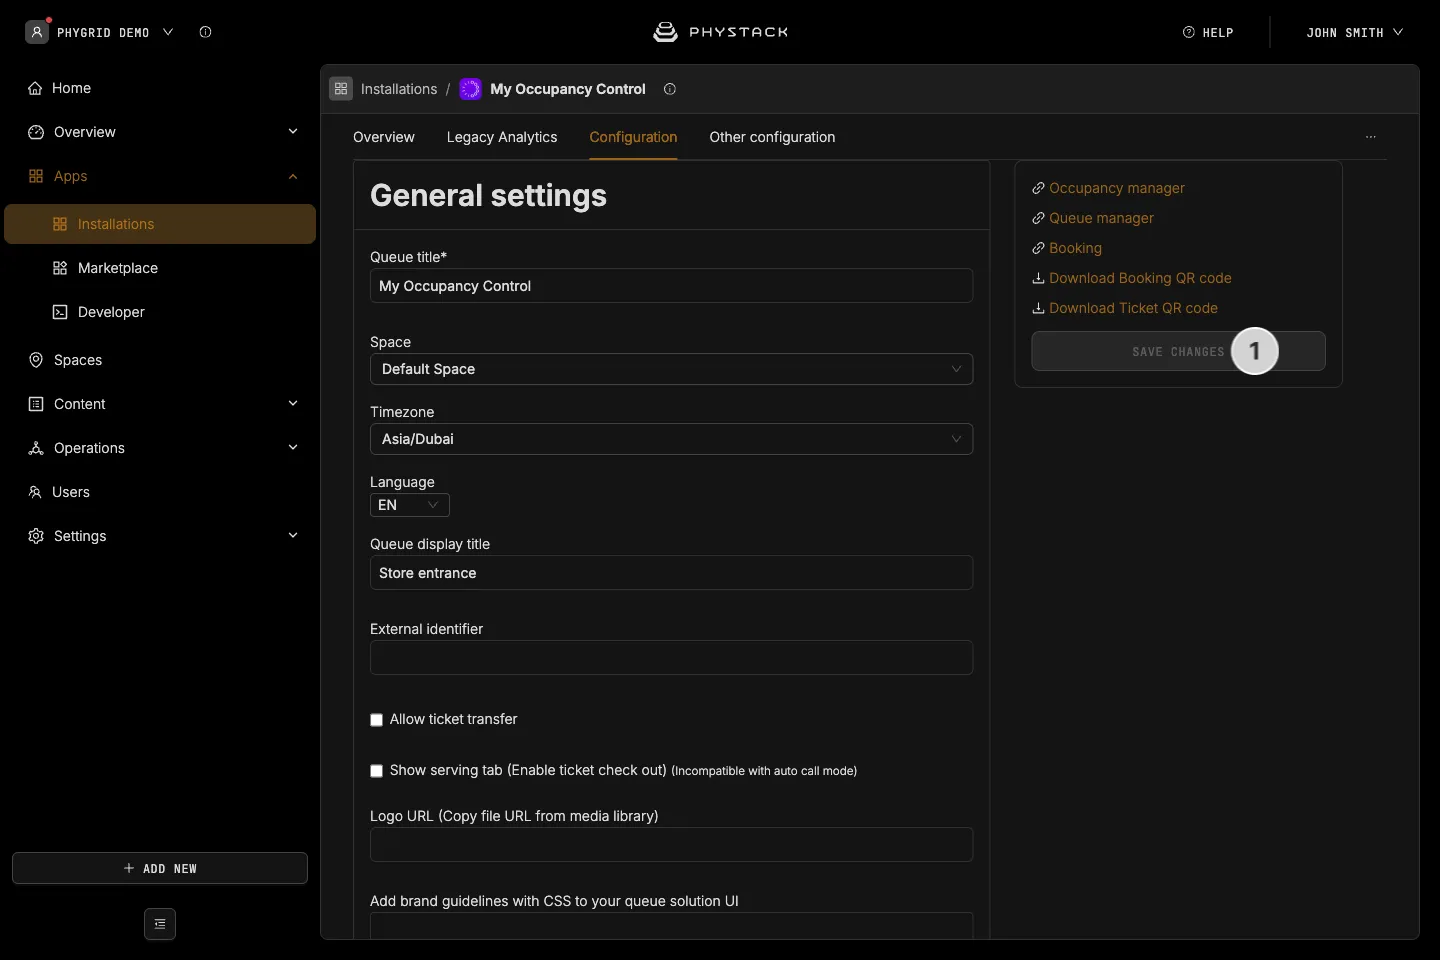
- Open the installation and select the Configuration tab to access your queue’s options
How to configure Occupancy Control
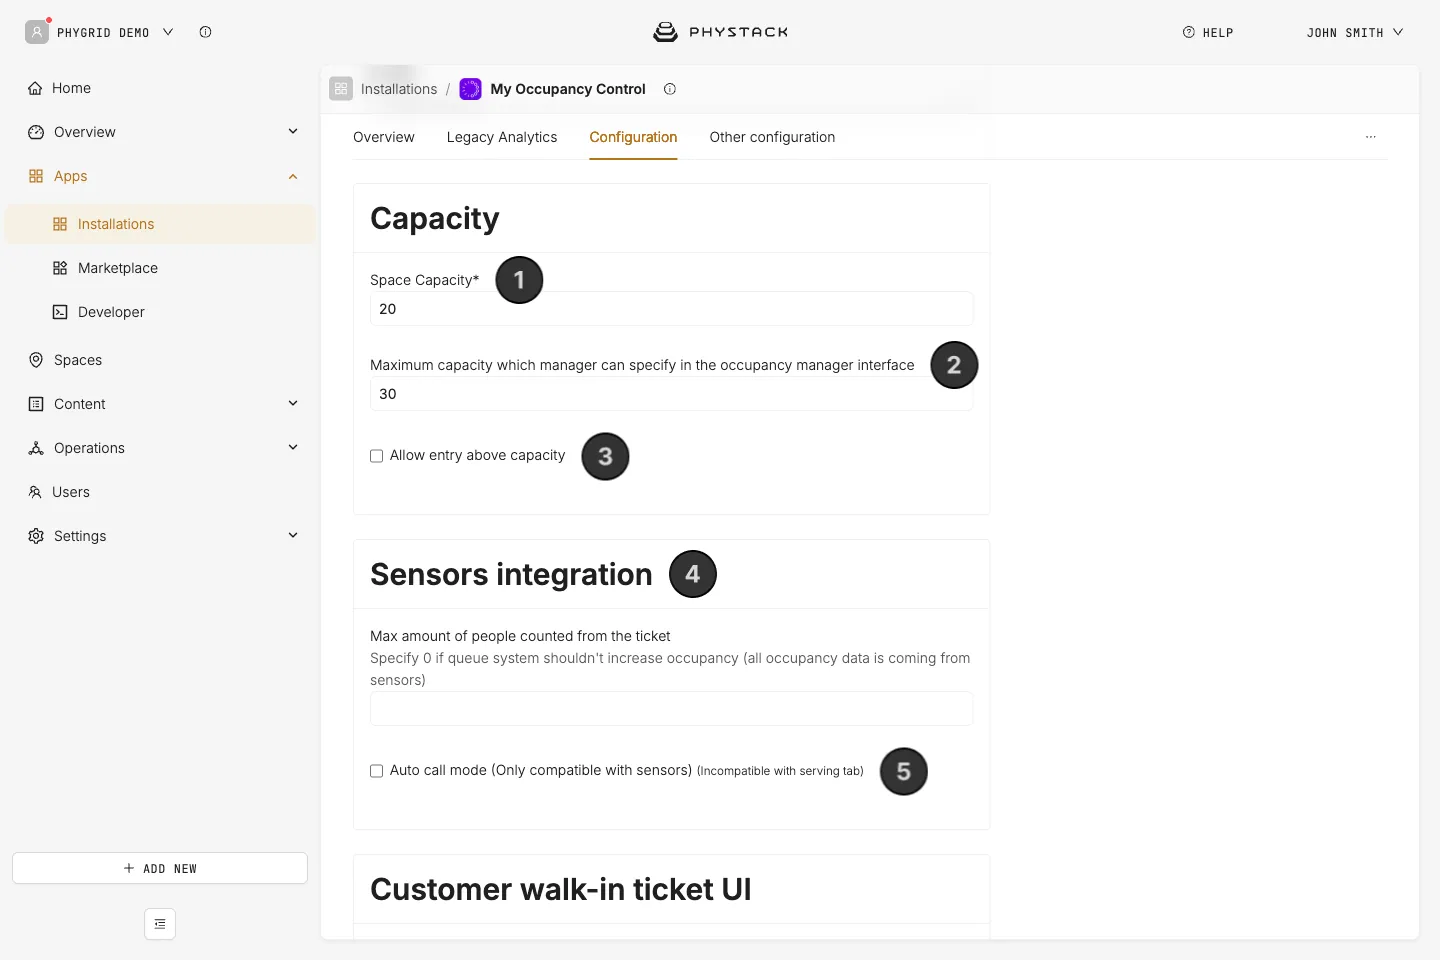
- Scroll to the Capacity section of the settings, and set the location capacity in Space Capacity
- Set the maximum capacity. This is the highest store capacity that staff can set in the Occupancy Manager
- Allow entry above capacity if you don’t want to enforce hard limits on entries
- In the Sensors Integration section, set the number of people counted from the tickets
- You can use Occupancy Control with Xovis sensors, which is the easiest way of counting people entering the store. In this scenario, set the number to 0, as you don’t need the information from the tickets and all occupancy data will come from the sensors
- You can use Occupancy Control with the manual Occupancy Manager. If you have staff dedicated to people counting, then you can also set the number to 0 and prevent double counting from the tickets
- If you are not employing people counting, but still want to keep track of the occupancy numbers, then leave the field empty or set a max number. All occupancy data will be coming strictly from the tickets and number of people associated with each ticket
- Turn on Auto call mode if you want to automatically call the next ticket if the occupancy is below the maximum limit. Auto call mode only works with sensors and can’t be combined with the serving tab
How to save your Occupancy Control settings
- Click Save changes in the right-hand panel of the Configuration tab. The button is enabled once you have changed a setting, and your changes are not applied until you save them
How to count people manually
- Copy the link to the Occupancy Manager and share it with the staff that is manually counting entries and exits
- Depending on the selected login method, you might also need to share the login pin code
- Occupancy Manager uses a simple interface to add or remove people as they enter/exit the location