
Before you proceed
Occupancy Signage is a screen app for the entrance of your space. It reads the occupancy count and the Space Capacity of an Occupancy Control installation and shows visitors whether they can come in:
- Green: there is room in the space
- Amber: the occupancy has reached the warning level
- Red: the space is full and visitors are asked to wait
Set up Occupancy Control first. Follow Quick Start: Occupancy Control, then come back here.
How to install Occupancy Signage
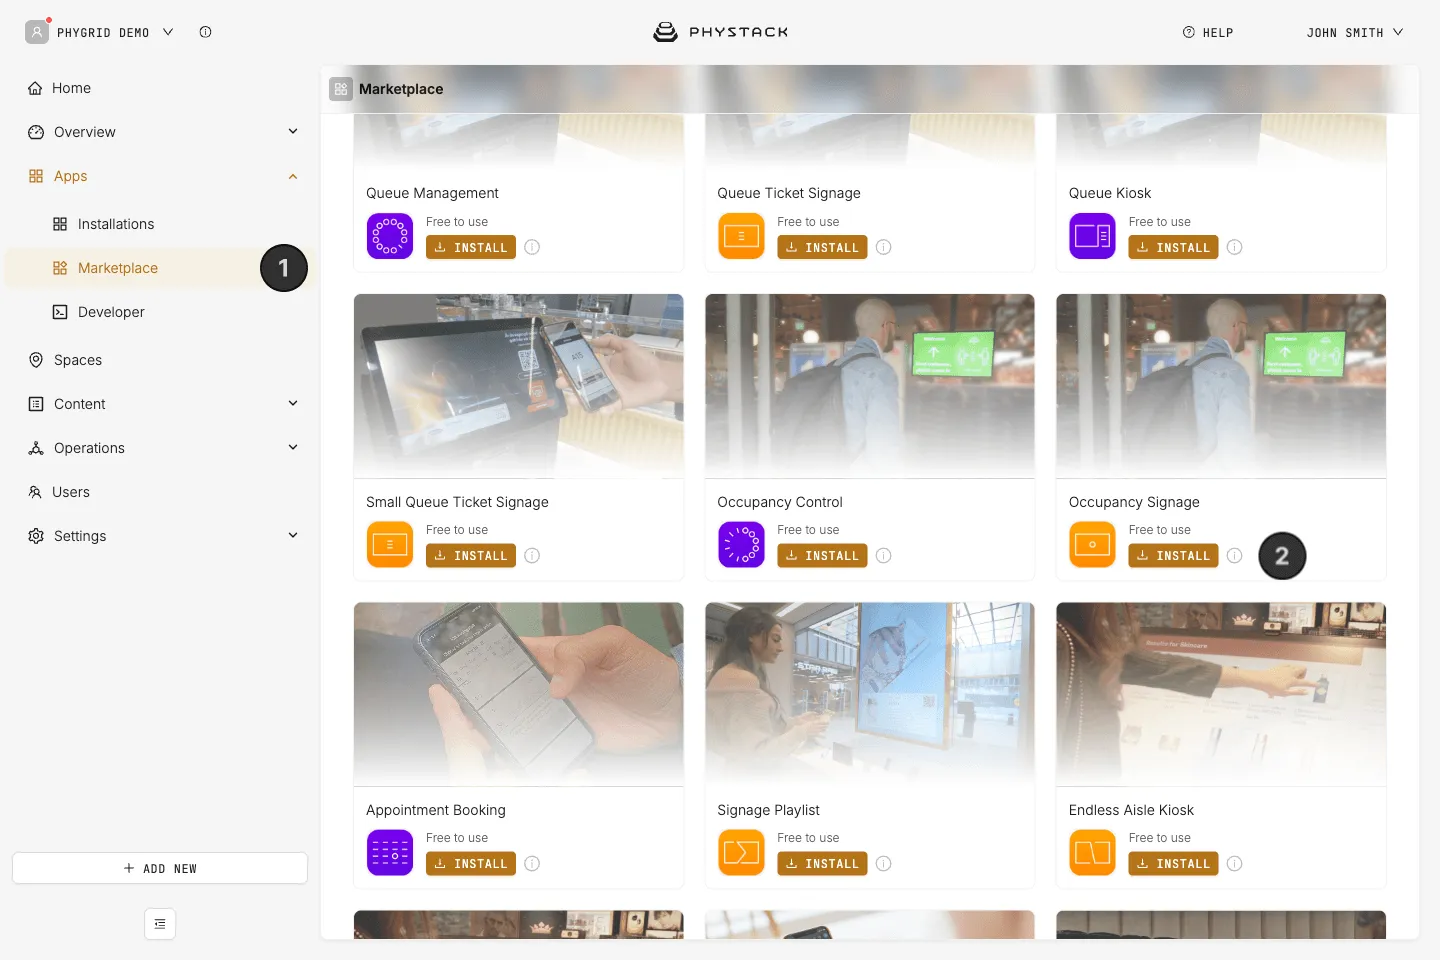
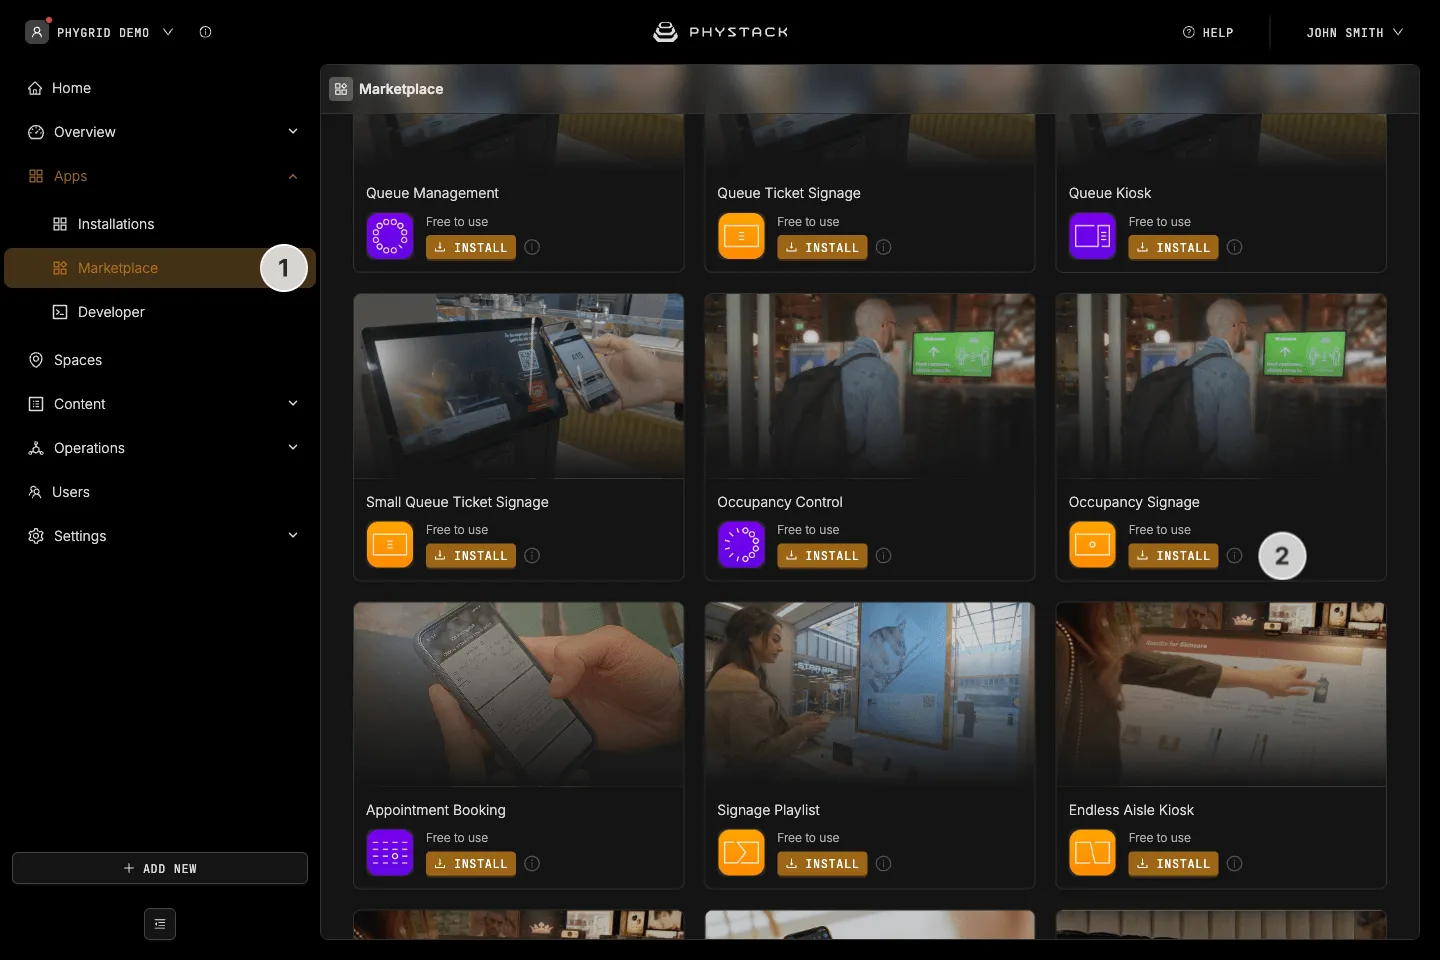
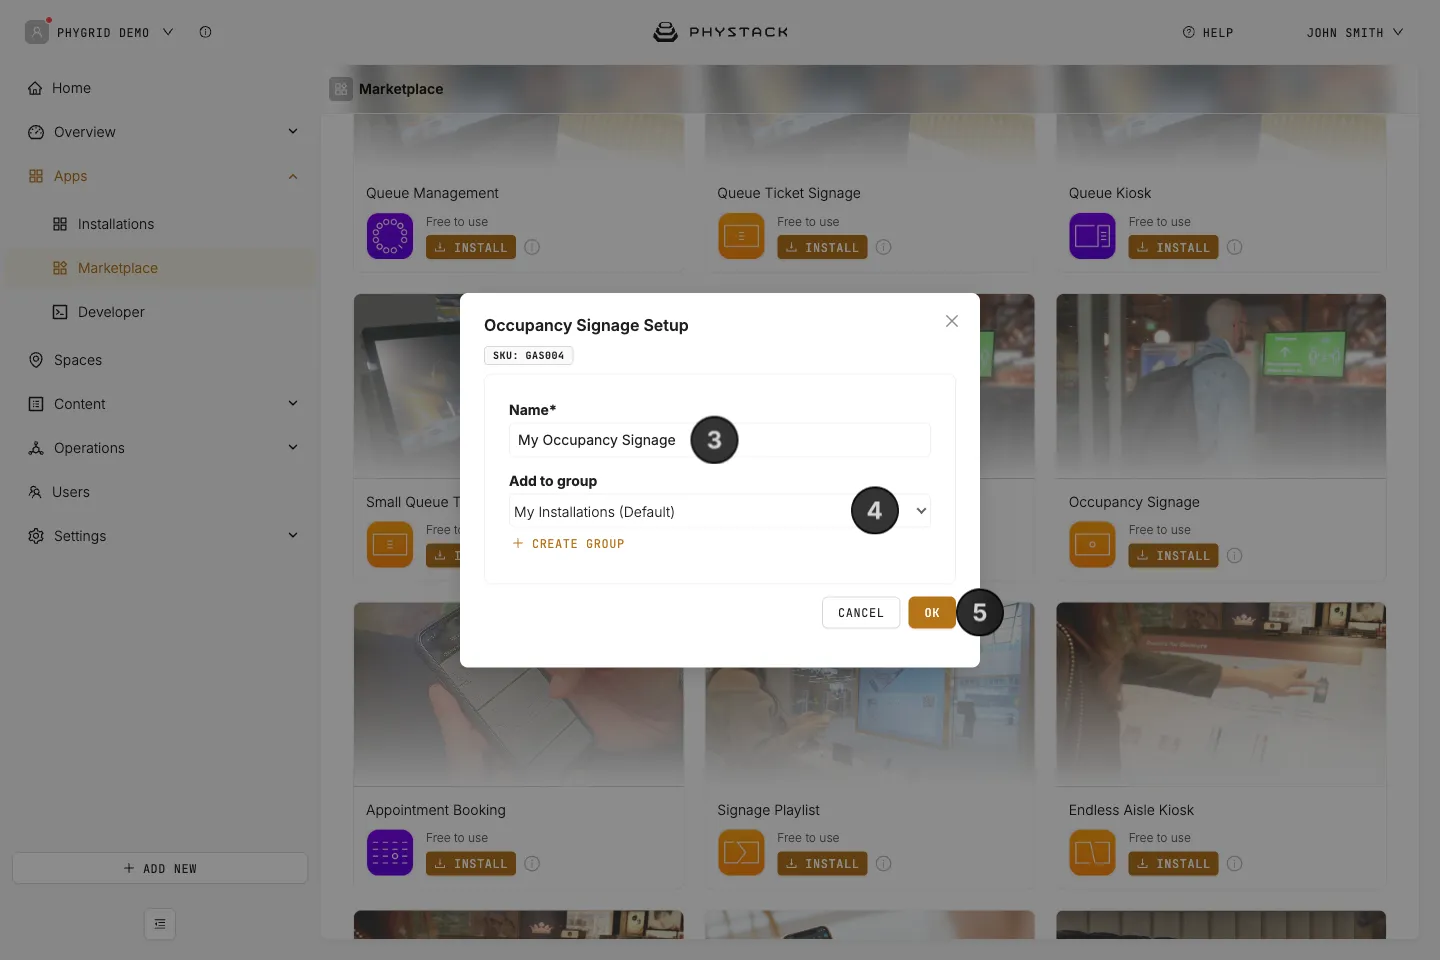
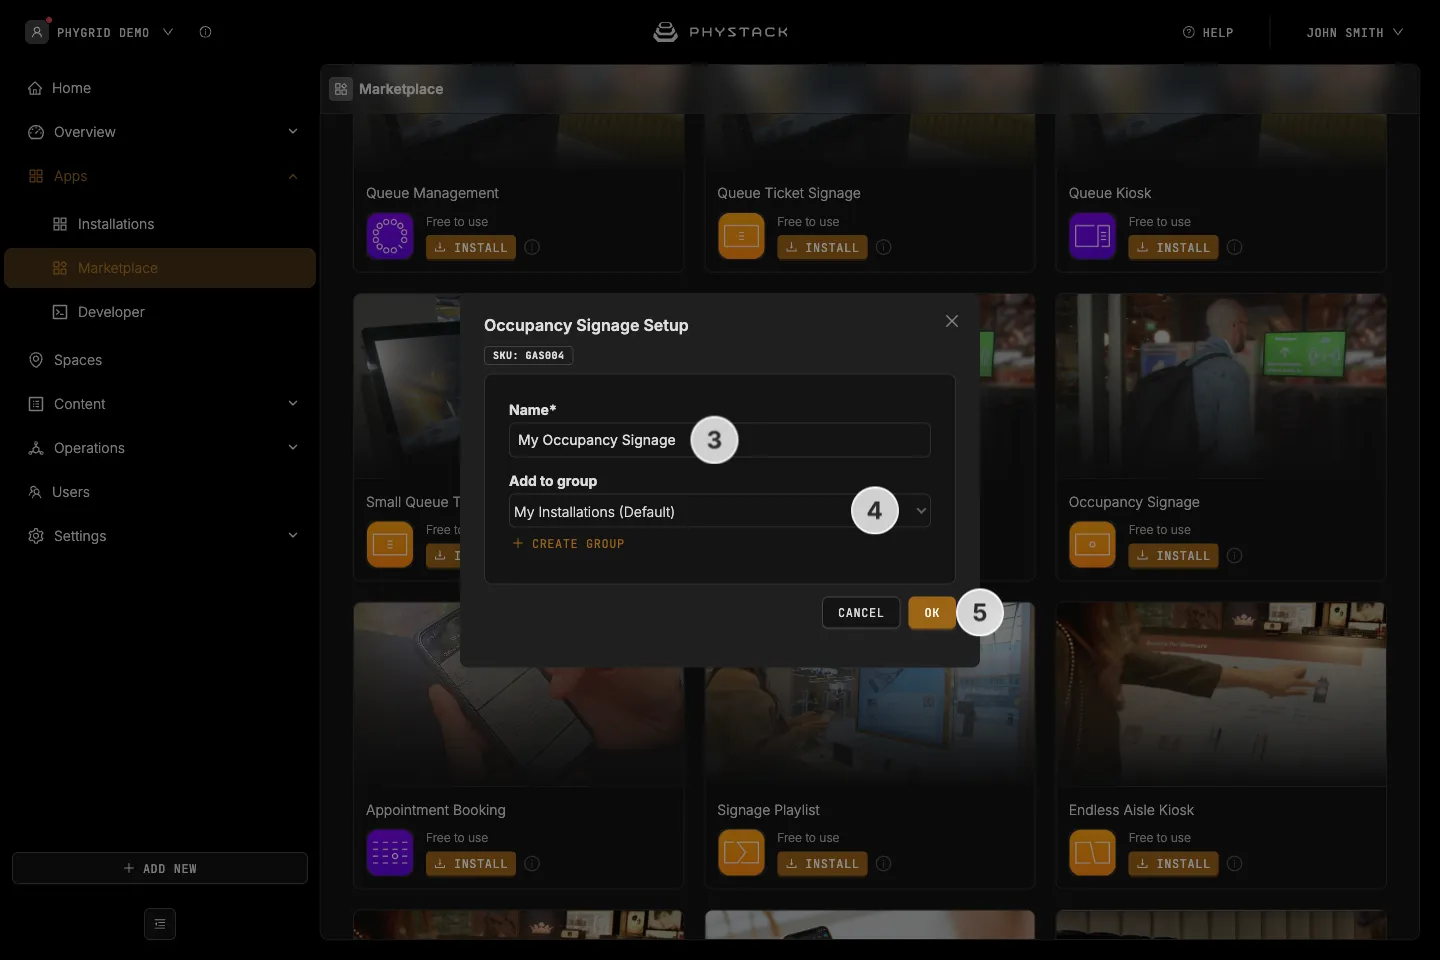
- In the sidebar, navigate to Apps → Marketplace
- Look for Occupancy Signage in the list of applications and click on the Install button to open the installation dialog
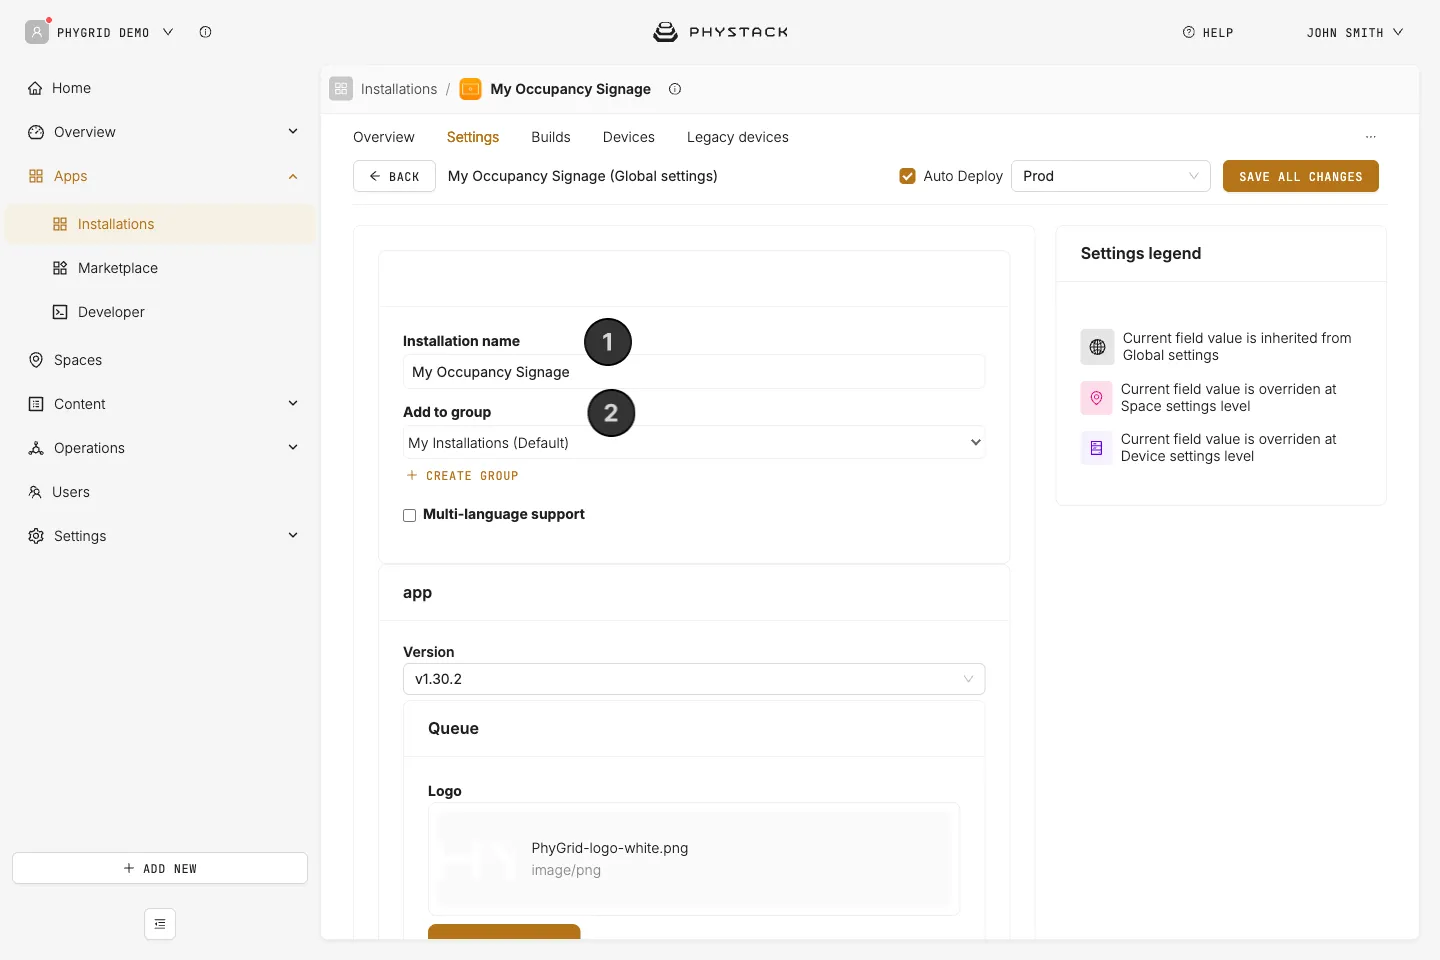
- In the installation form, enter a Name for your Occupancy Signage installation
- Optionally, pick a group in Add to group, or click Create group to make a new one, to organise your installations
- Click OK to create the Occupancy Signage installation
How to access Occupancy Signage settings
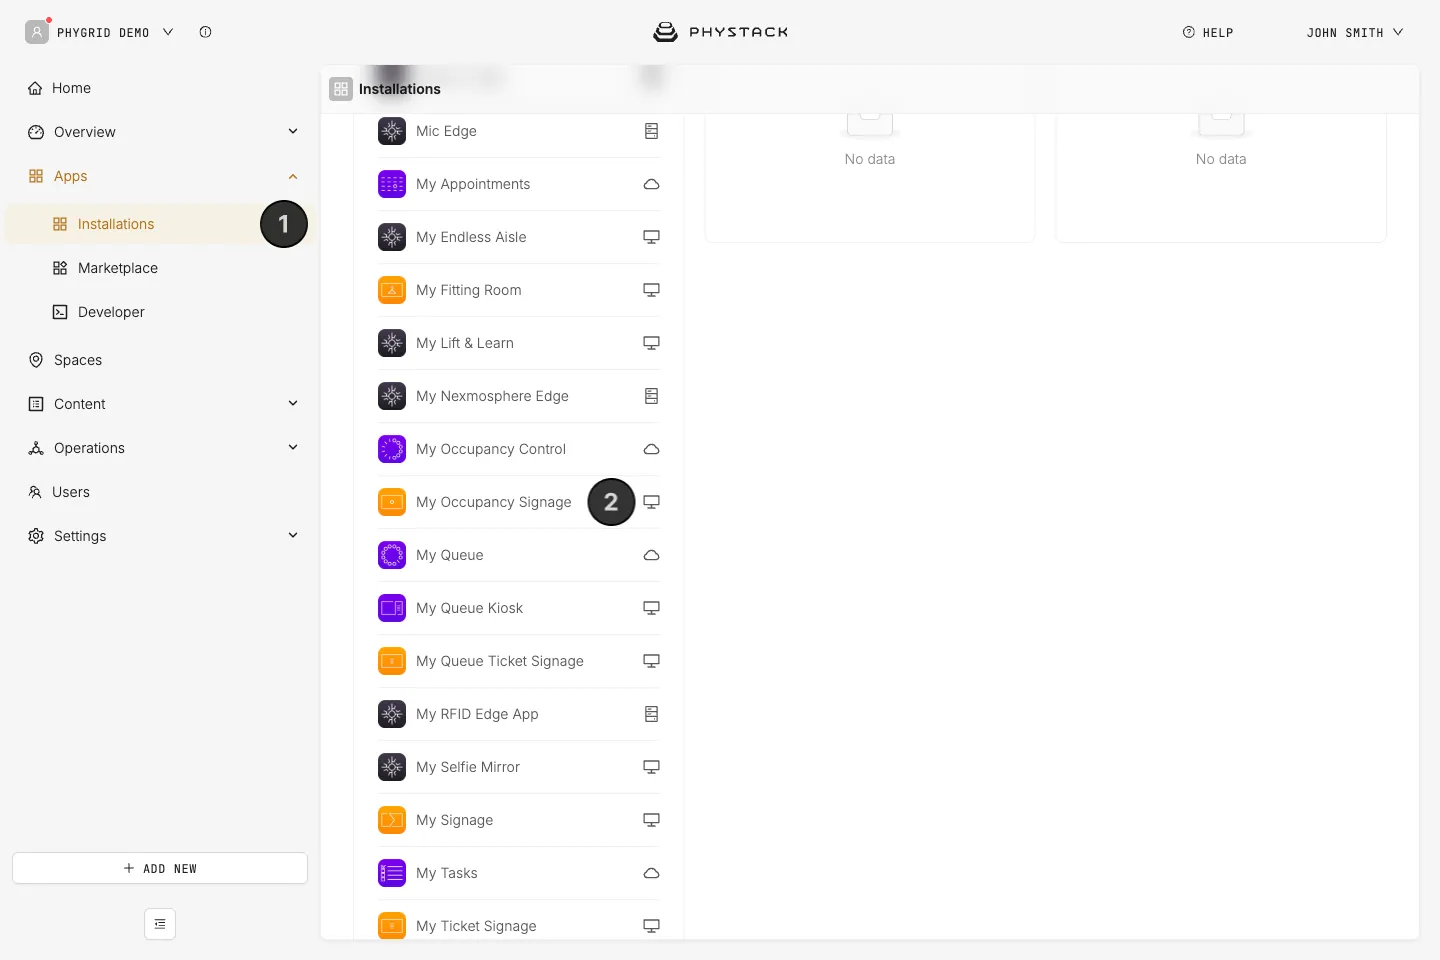
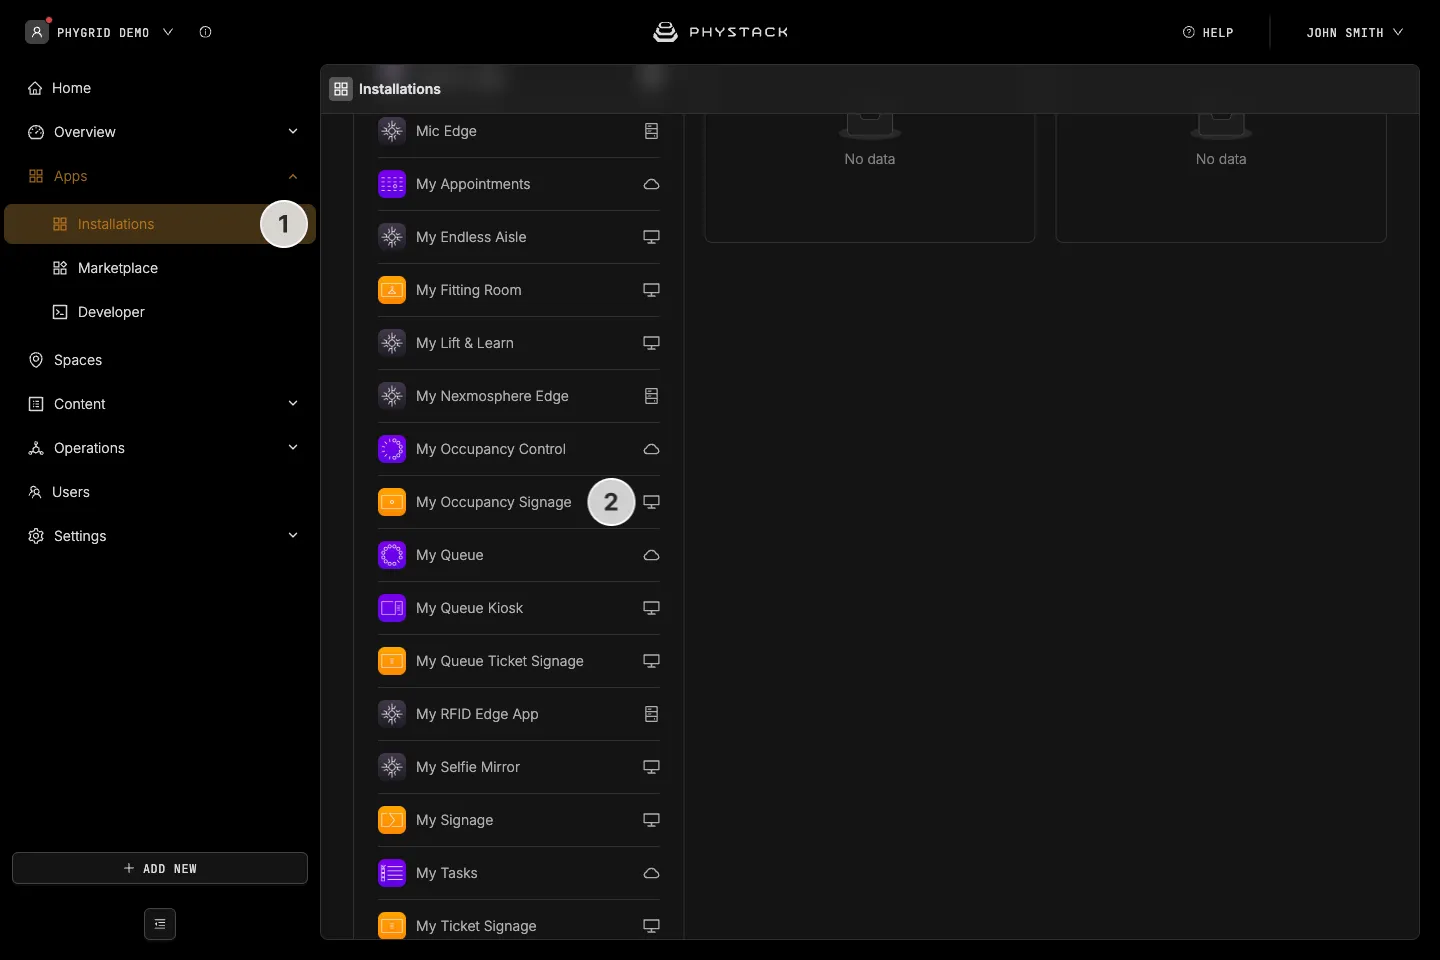
- Your new installation will be available in the sidebar under Apps → Installations
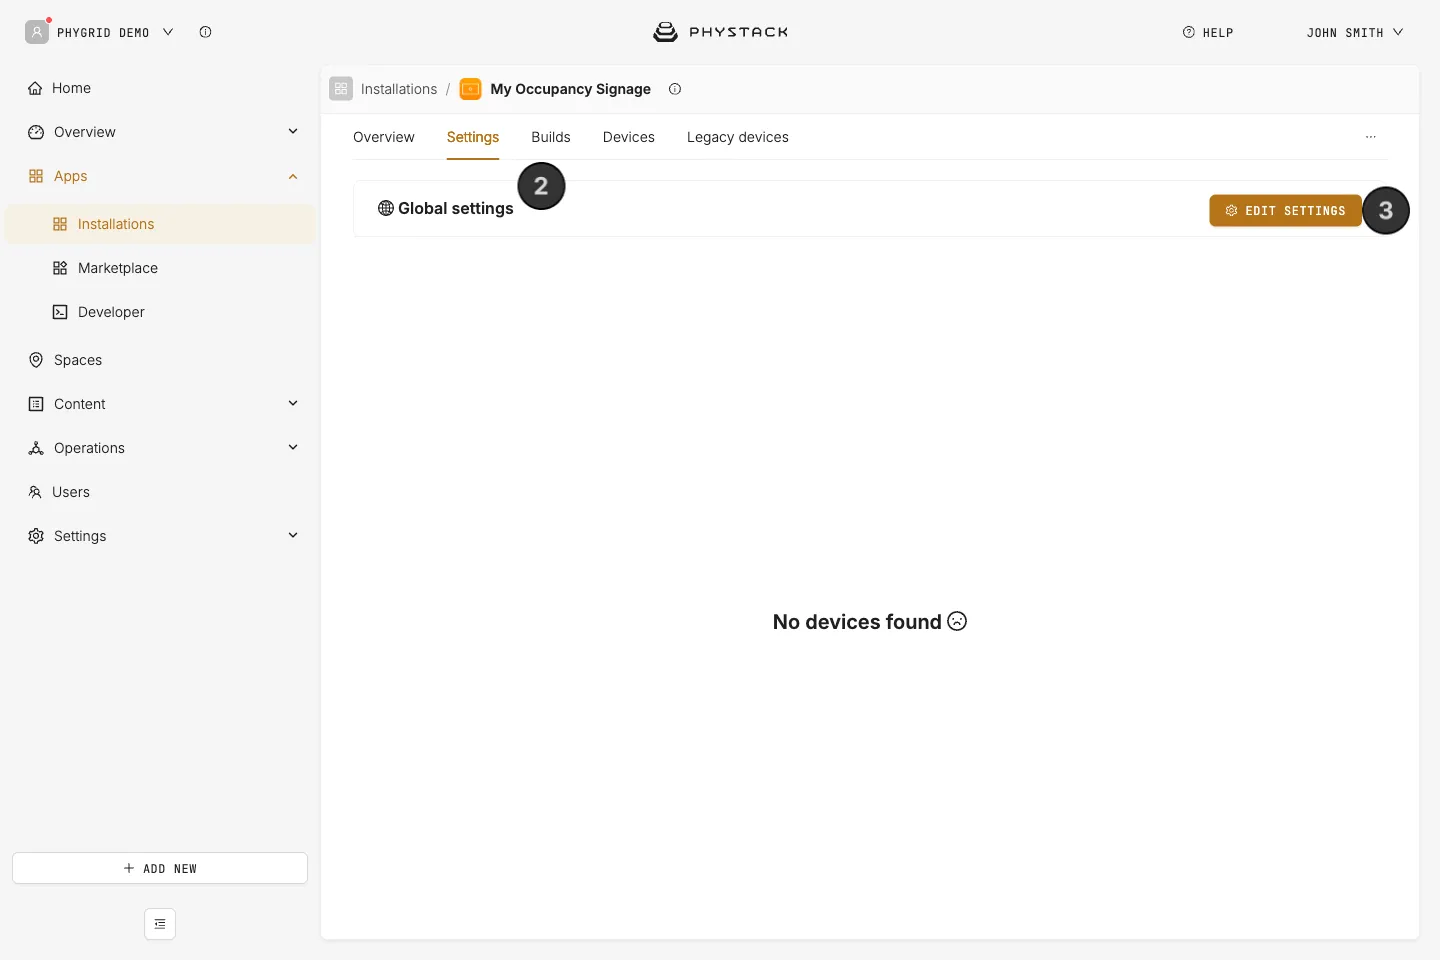
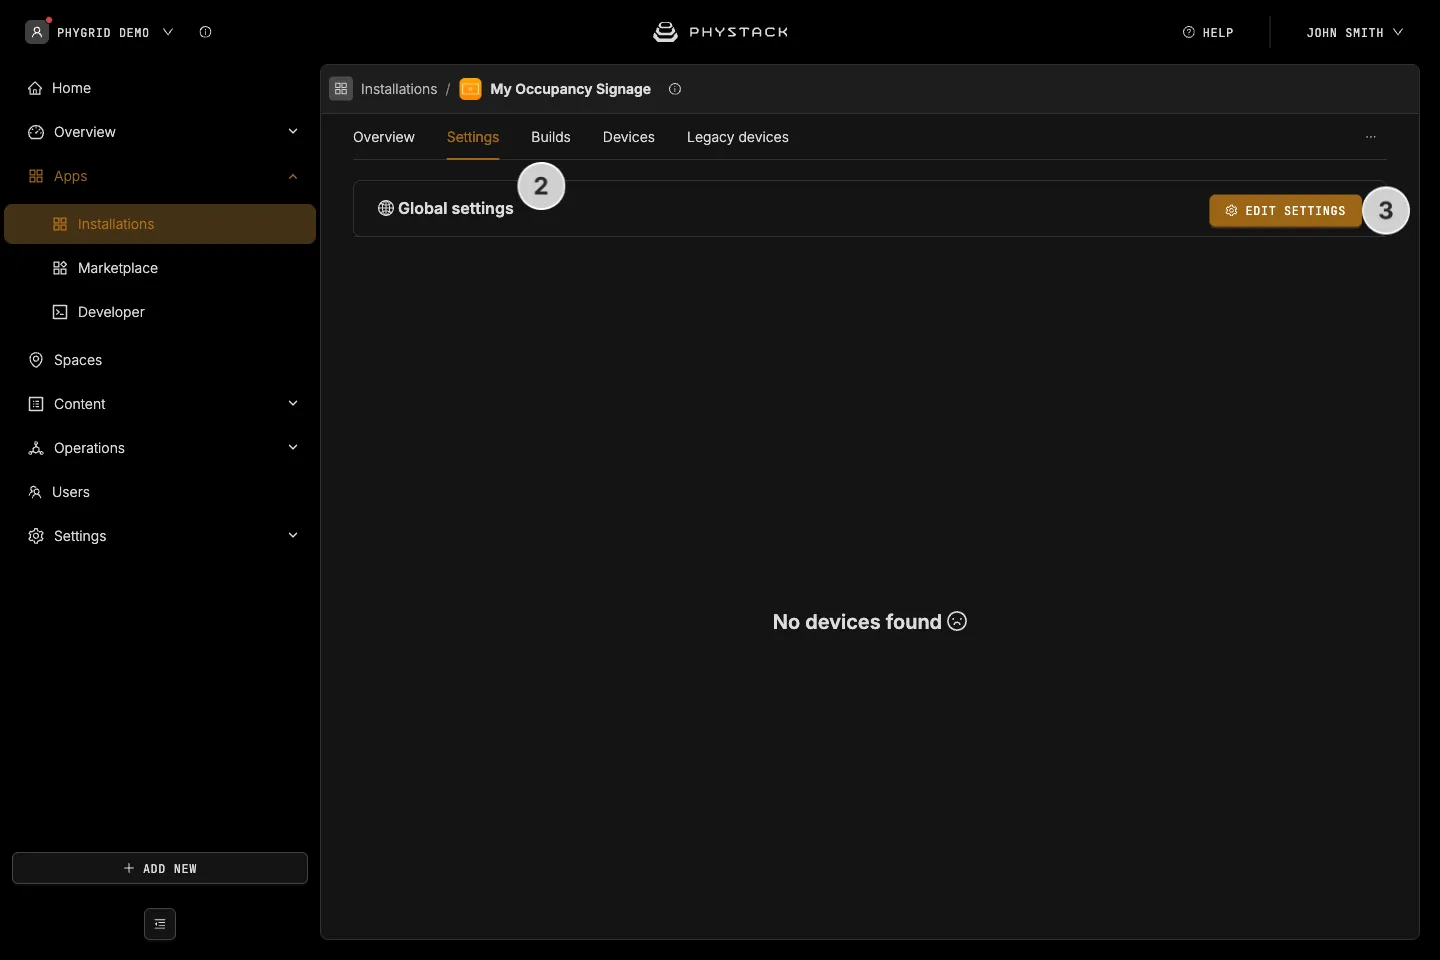
- Open the installation and select the Settings tab
- For the initial setup, go to the Global settings section and click Edit settings. You will be able to provide device-specific overrides after you add devices to the installation.
How to find the details of your Occupancy Control queue
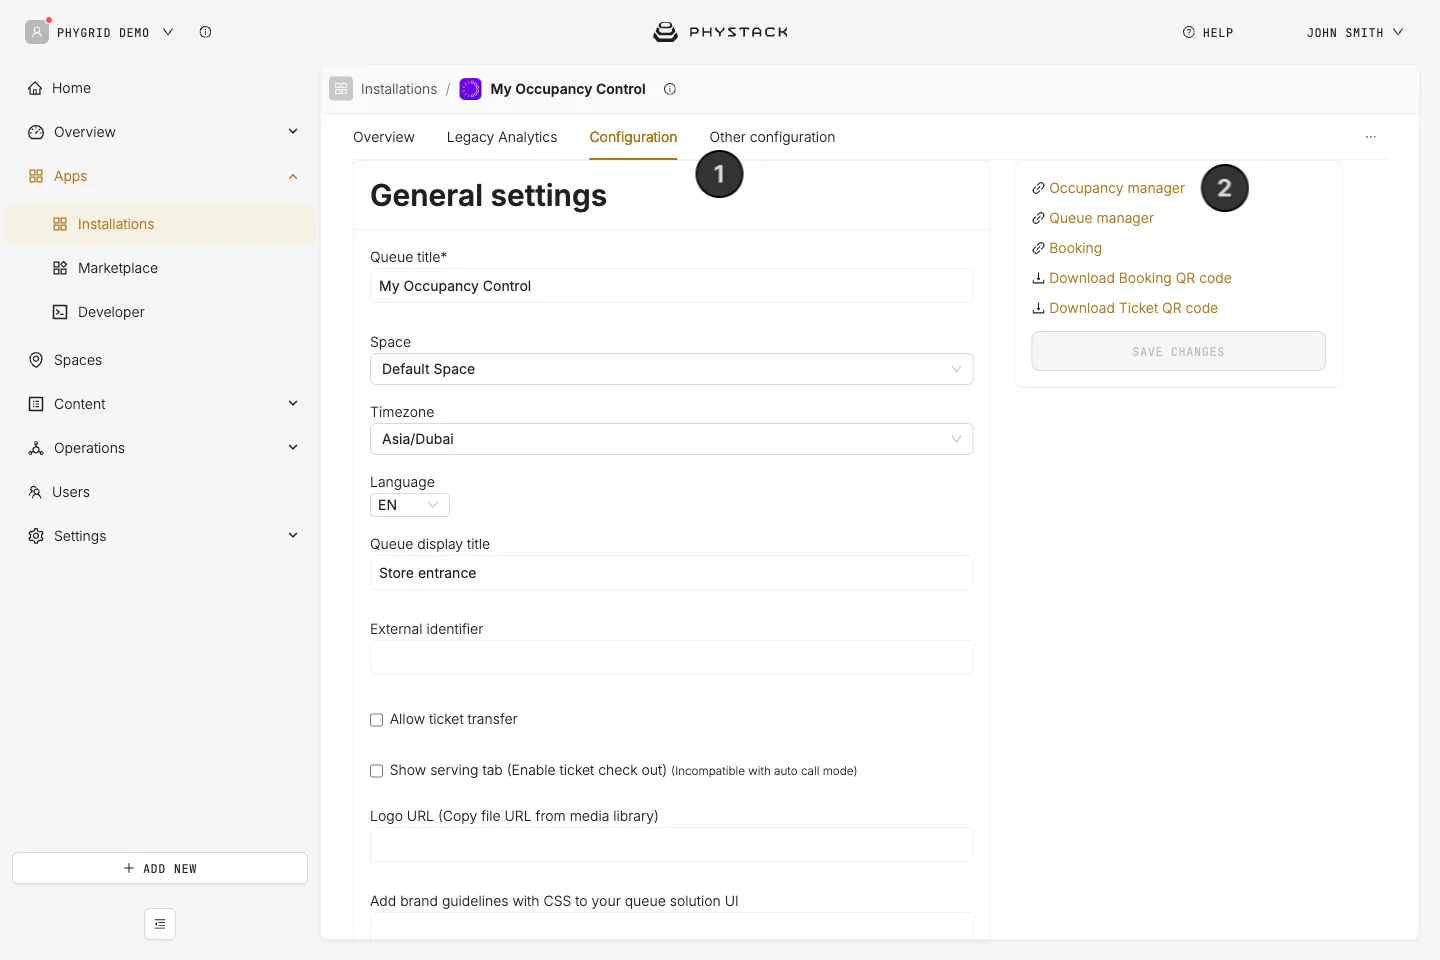
Occupancy Signage connects to your Occupancy Control installation through three values: the queue ID, the queue organisation and the queue API address. You can read all three from the Occupancy Manager link.
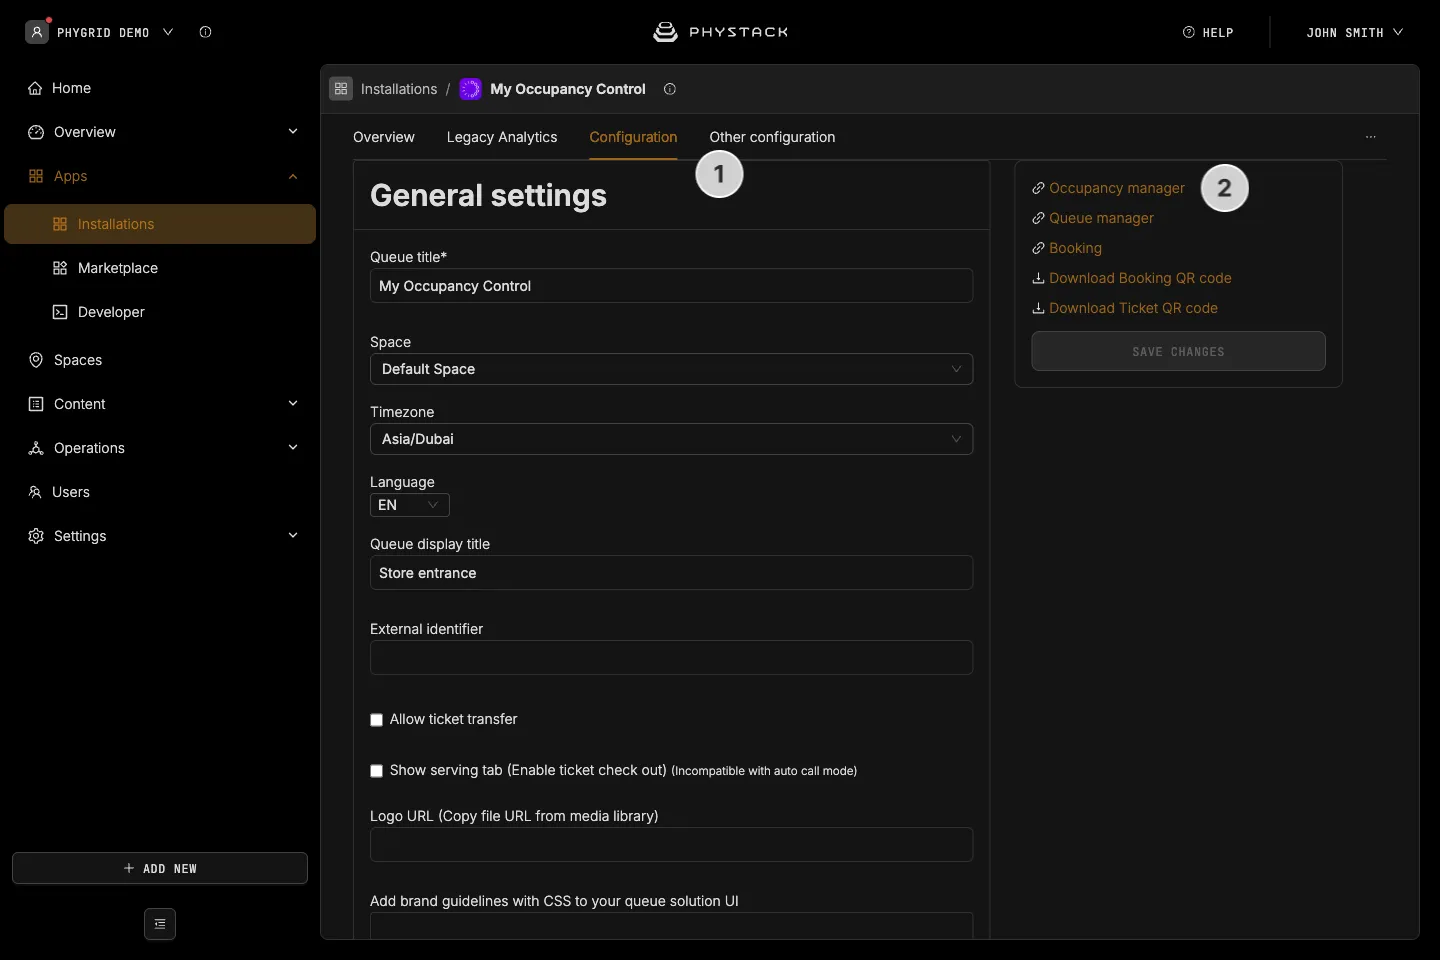
- In the Console, open your Occupancy Control installation and go to the Configuration tab
- In the right-hand panel, copy the Occupancy manager link. It has this form:
https://queue.eu.ombori.com/<organisation>/queues/<queue ID>/occupancy-admin - Note the part after the address host (the organisation) and the part after
/queues/(the queue ID) - Note the address host. It tells you the region of your queue, which you need for the queue API address:
| Occupancy Manager link starts with | Base queue API URL |
|---|---|
https://queue.eu.ombori.com | https://api.phystack.com/regions/eu/queues/v1 |
https://queue.us.ombori.com | https://api.phystack.com/regions/us/queues/v1 |
https://queue.uae.ombori.com | https://api.phystack.com/regions/uae/queues/v1 |
https://queue-au.omborigrid.com | https://api.phystack.com/regions/au/queues/v1 |
https://queue-in.omborigrid.com | https://api.phystack.com/regions/in/queues/v1 |
How to connect Occupancy Signage to your queue
Queue ID, Queue Organisation and Base queue API URL are required. Until all three are set, the screen shows a placeholder instead of the occupancy display.
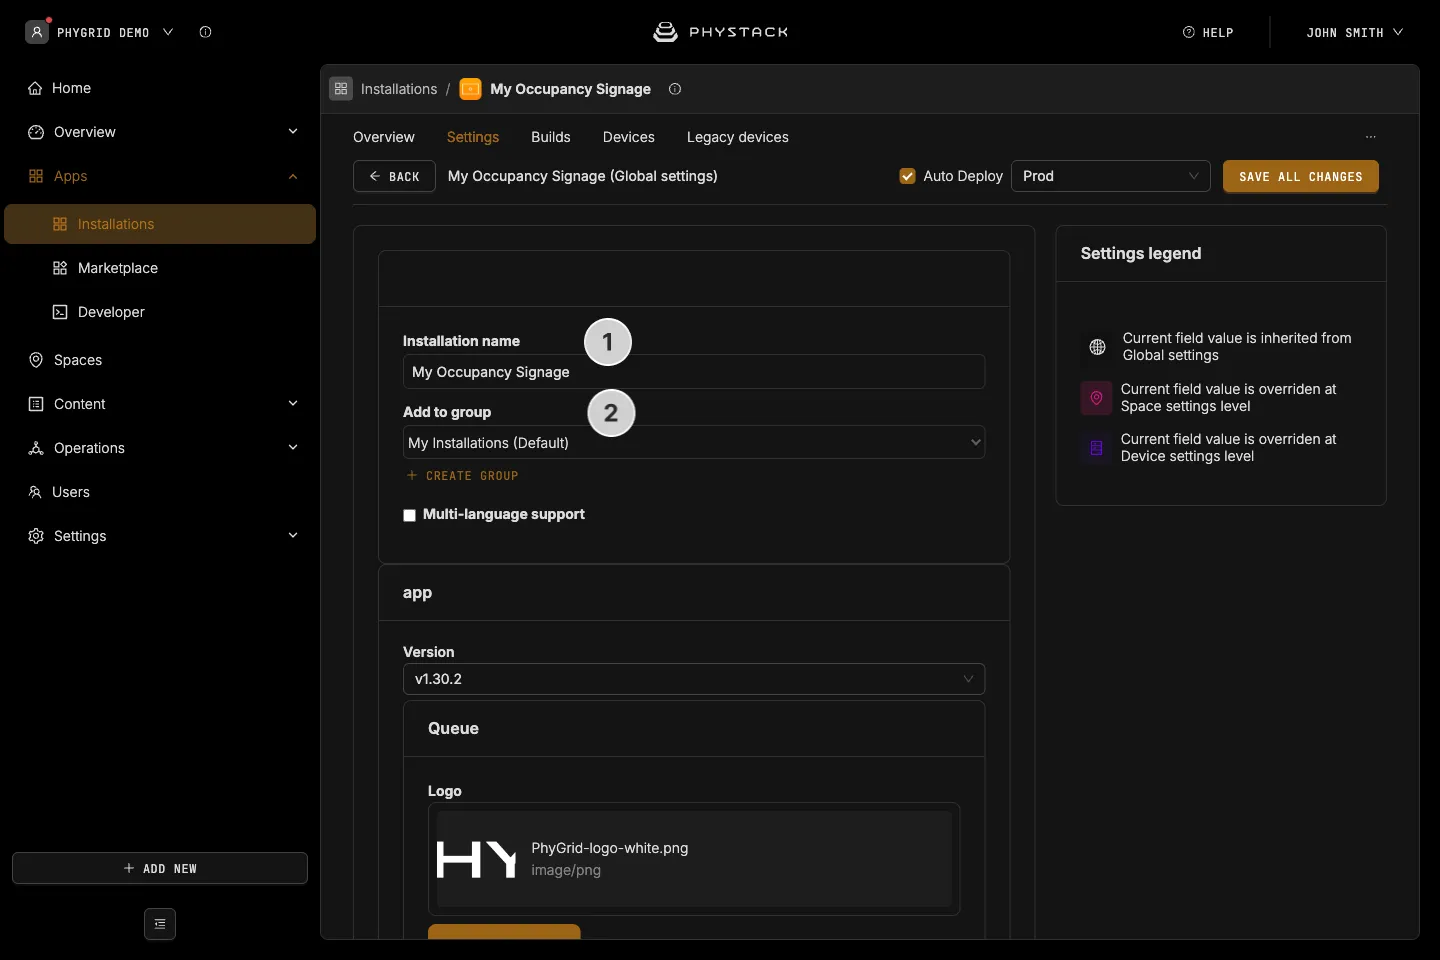
- Set or change the Installation name. This is the title visible in Apps → Installations
- Pick an existing or create a new installation group in Add to group. This is also visible in Apps → Installations
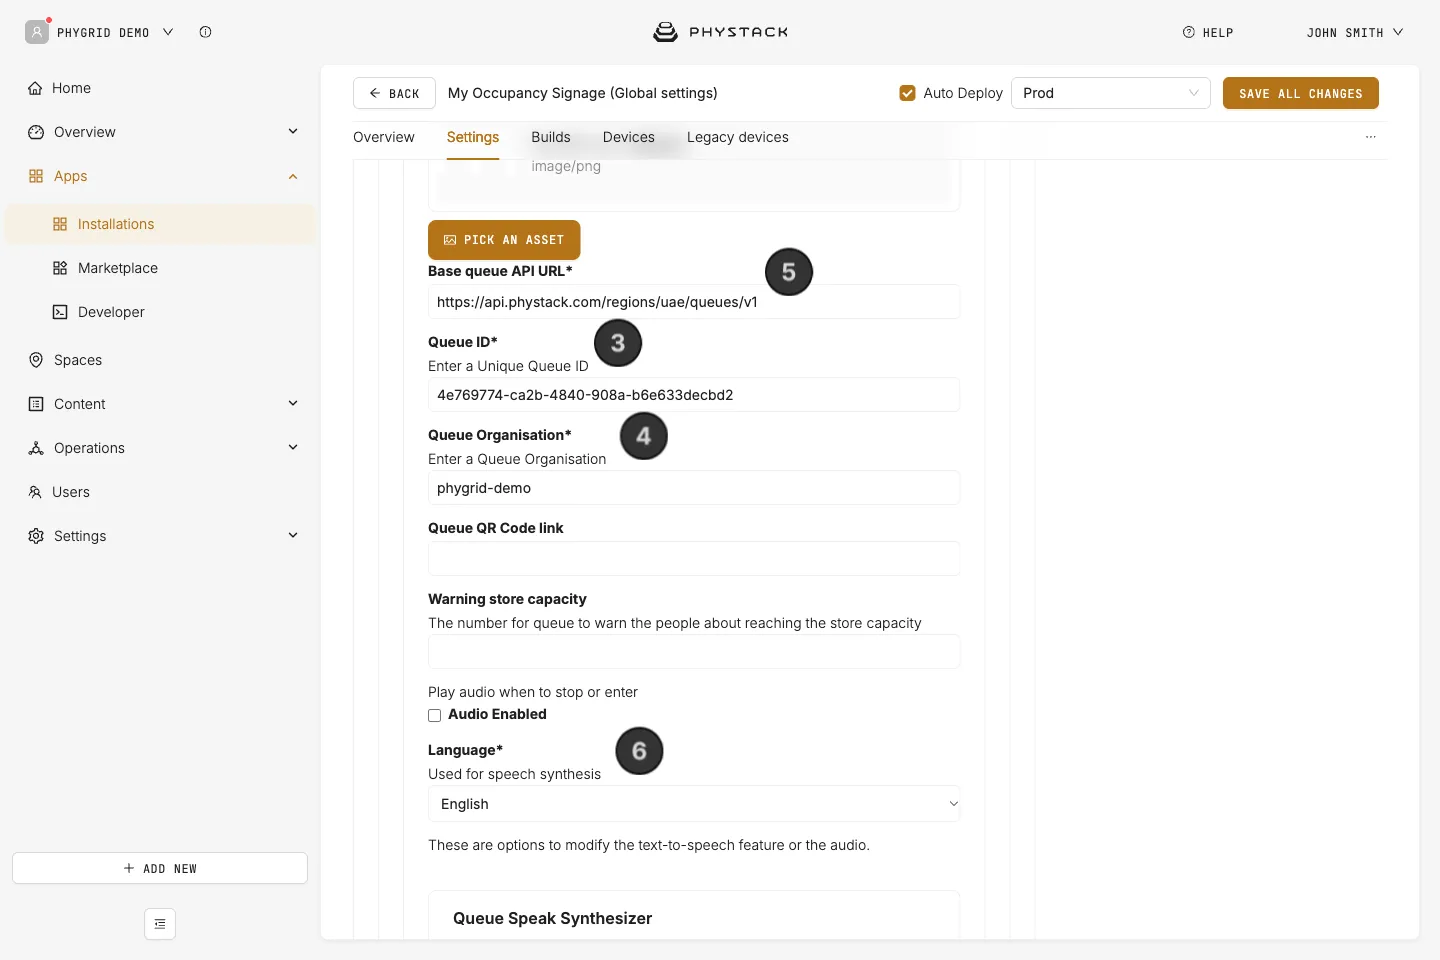
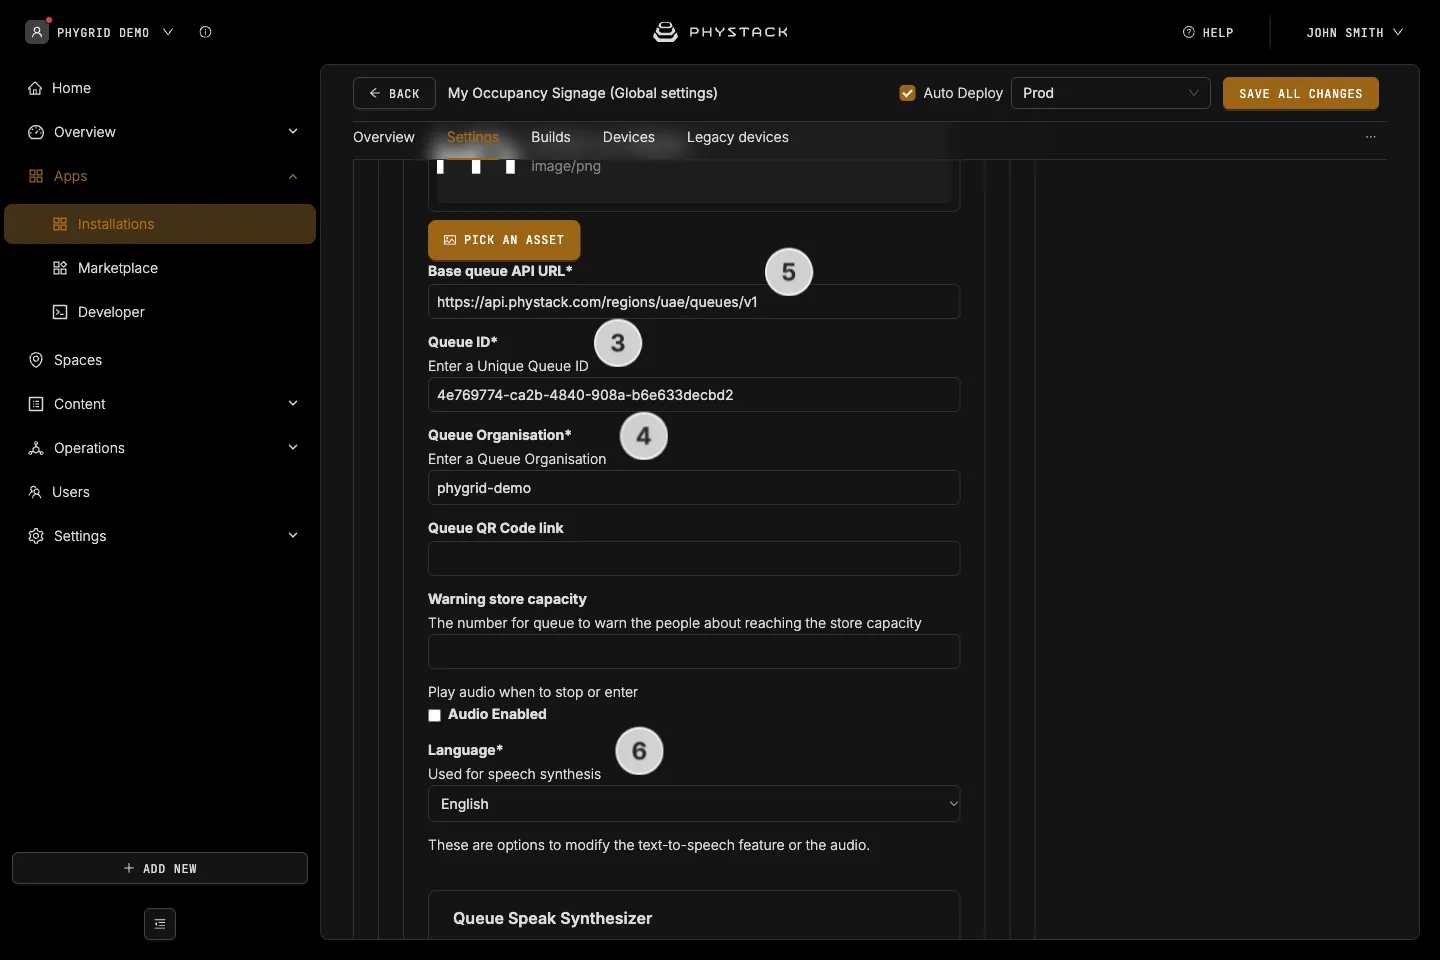
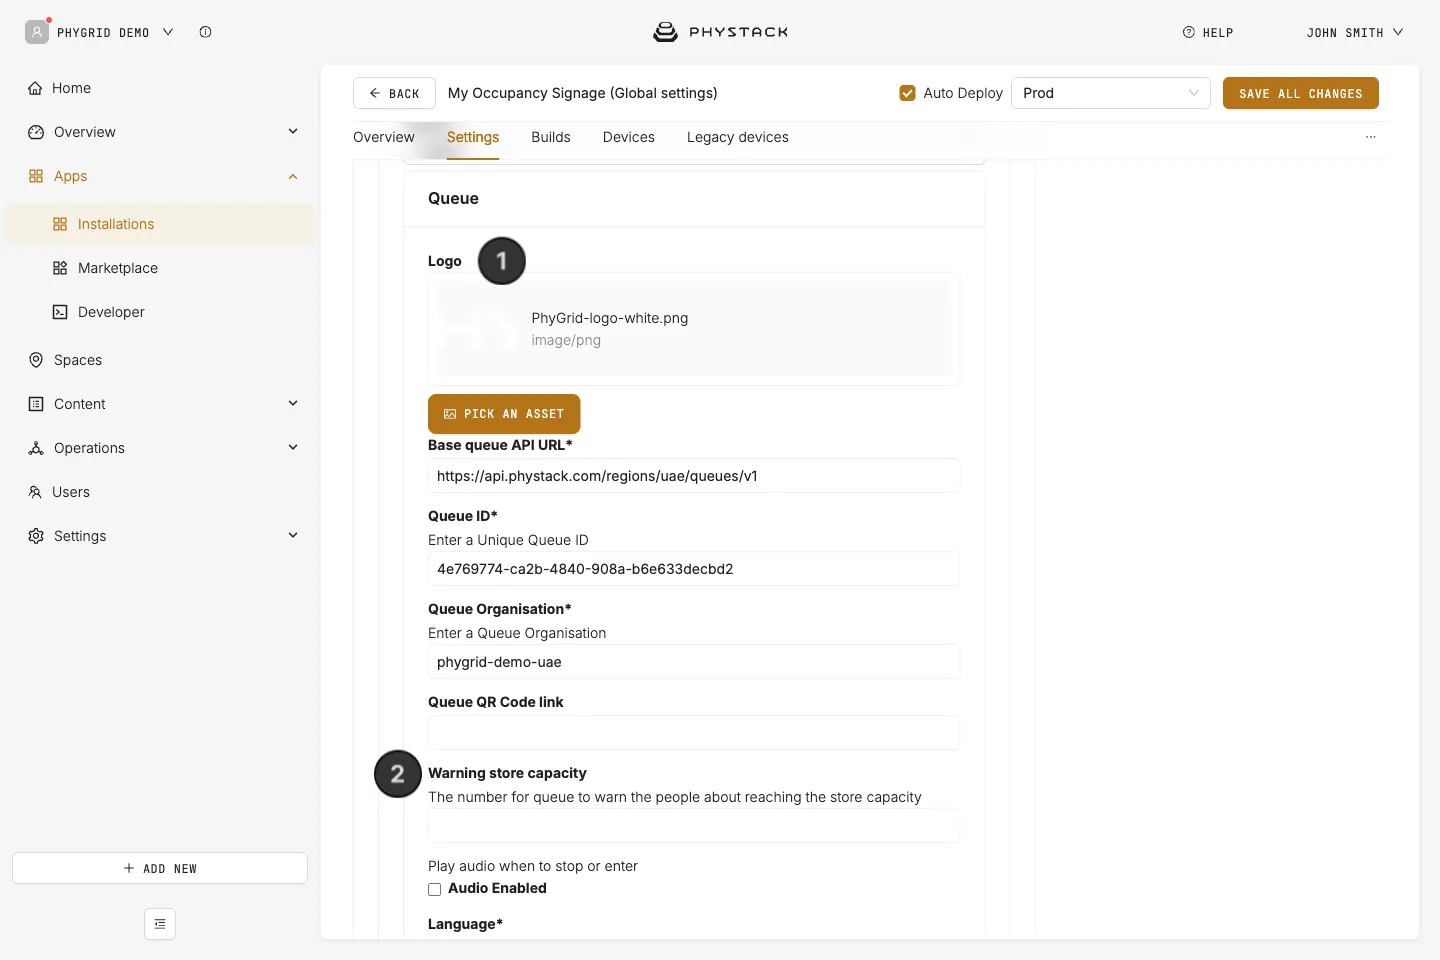
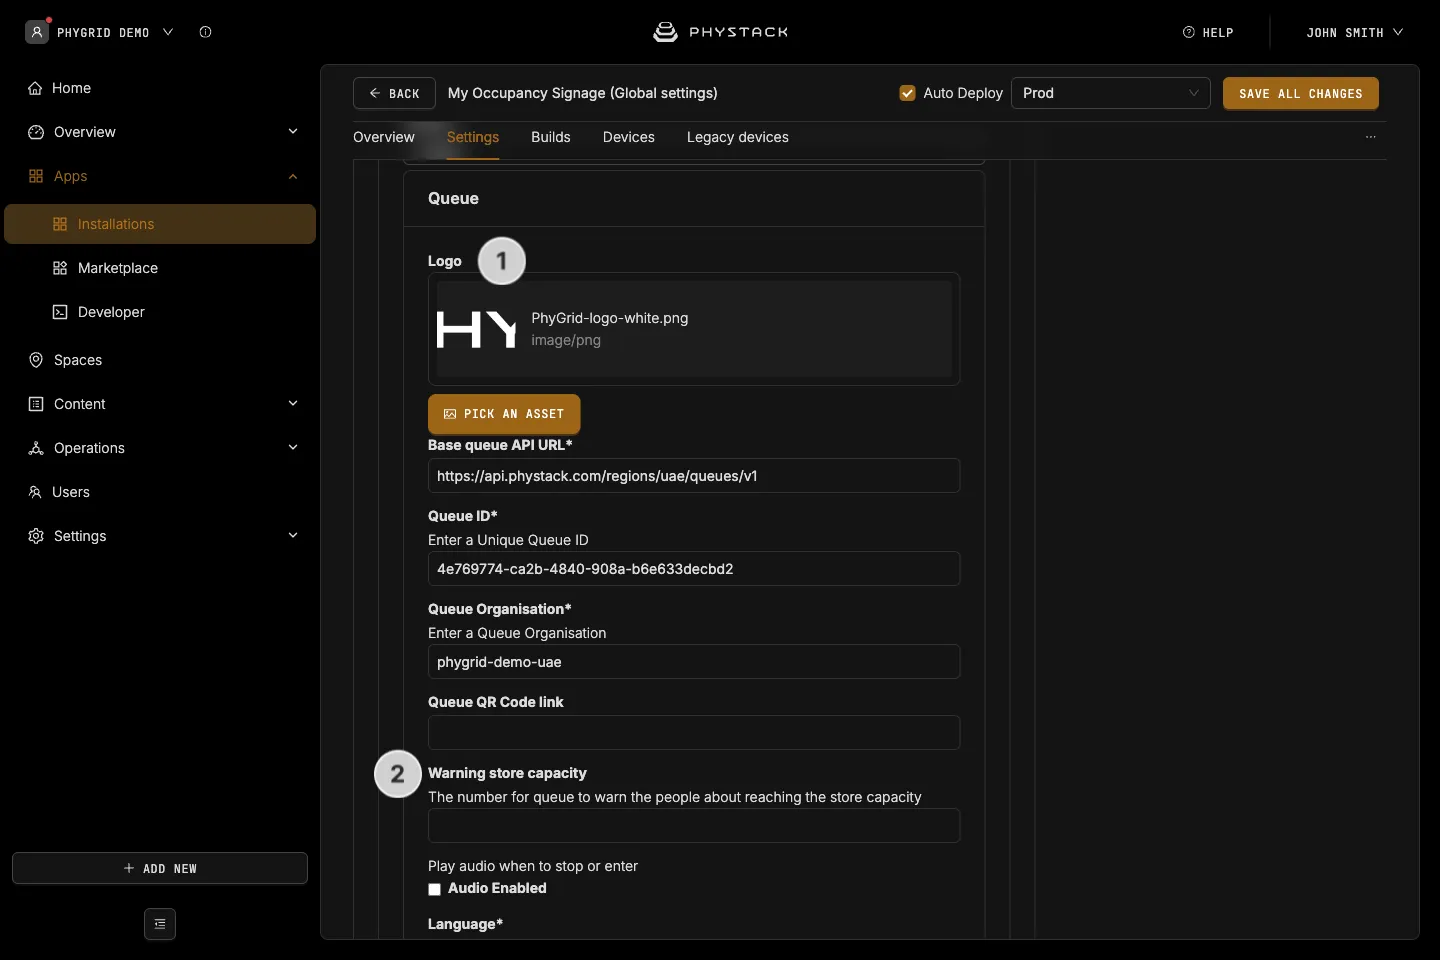
- Scroll down to the app settings and enter the Queue ID of your Occupancy Control queue
- Enter the organisation in Queue Organisation
- Enter the Base queue API URL for your region (see the table above)
- Check the Language (required, English by default). It sets the voice used for spoken prompts: English, German, Danish, Dutch, French, Polish or Swedish
How to configure what Occupancy Signage shows
- Upload a Logo
- Set the Warning store capacity: the number of people at which the screen turns amber. If you leave it empty, the screen turns amber one person below the Space Capacity of your Occupancy Control installation
- The capacity itself comes from Occupancy Control: Space Capacity in the Console, or Store capacity in the Occupancy Manager
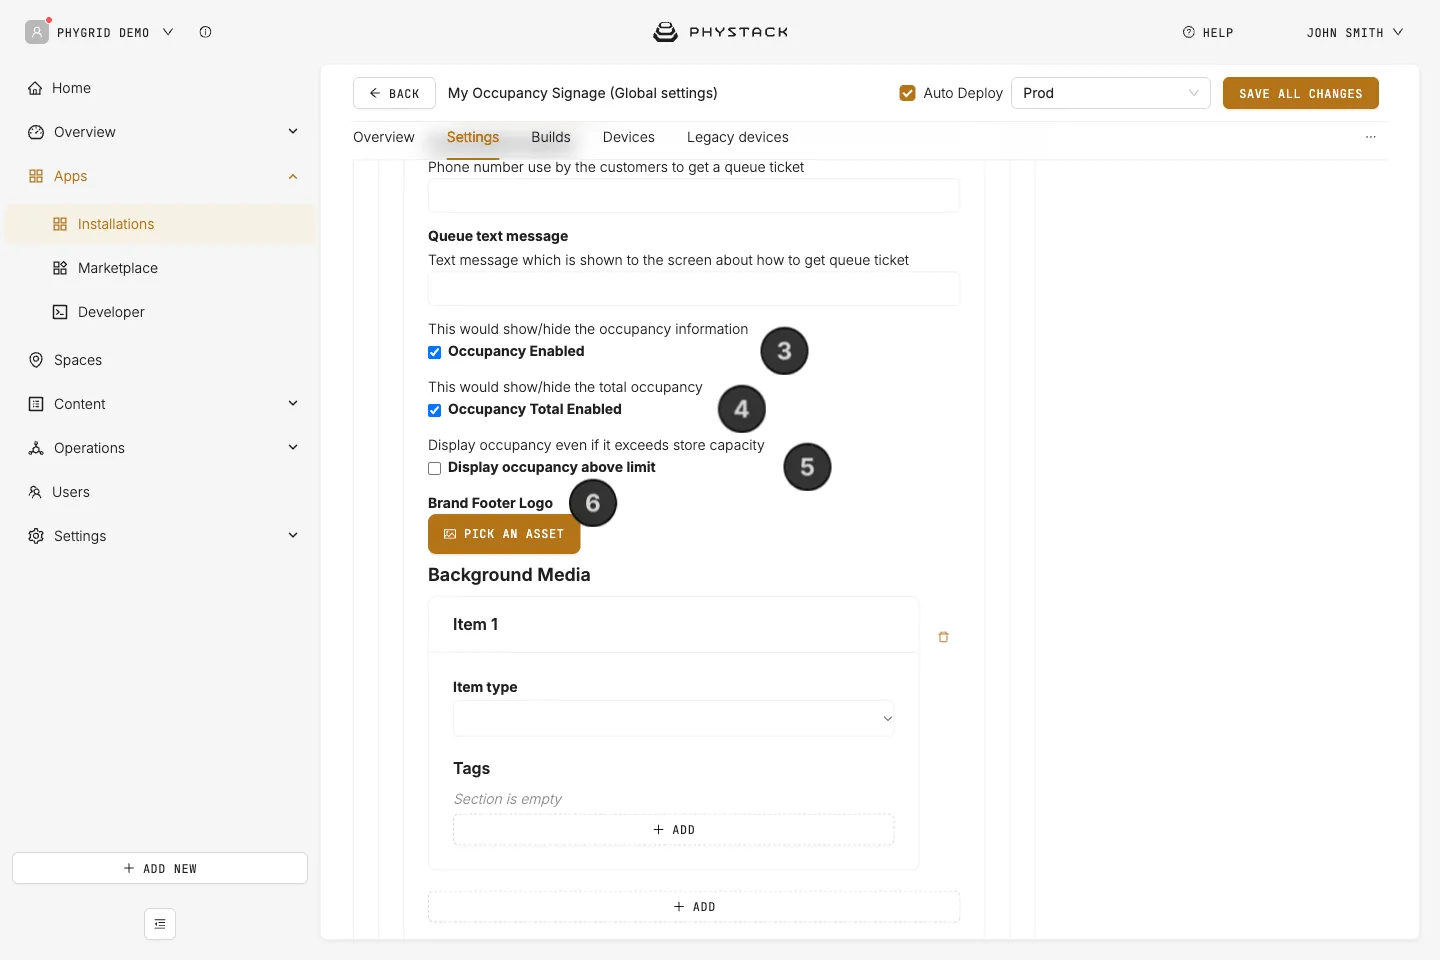
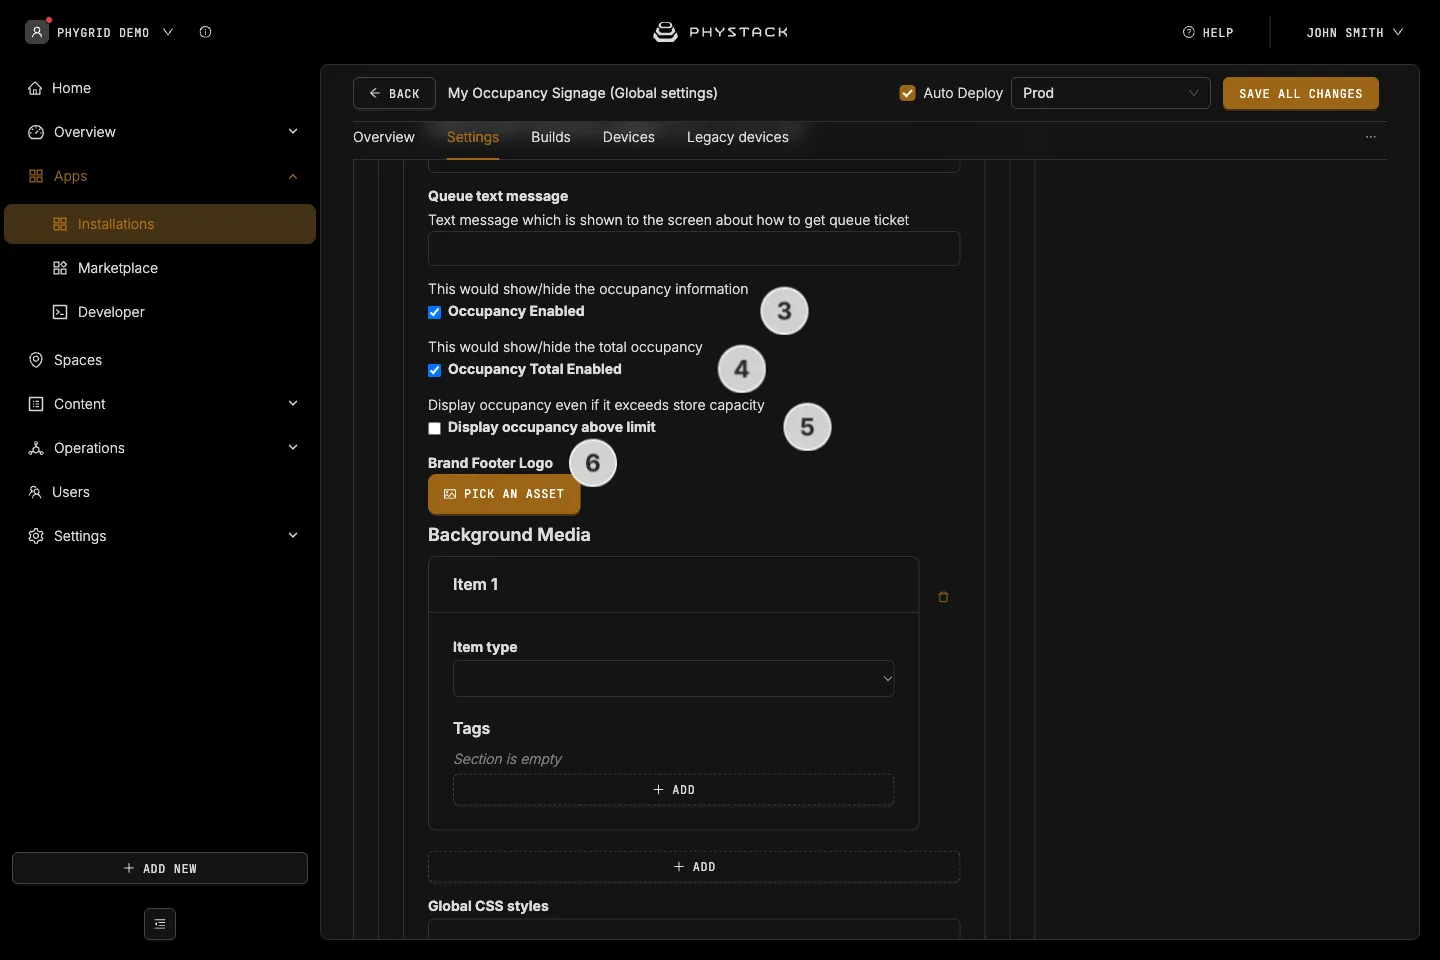
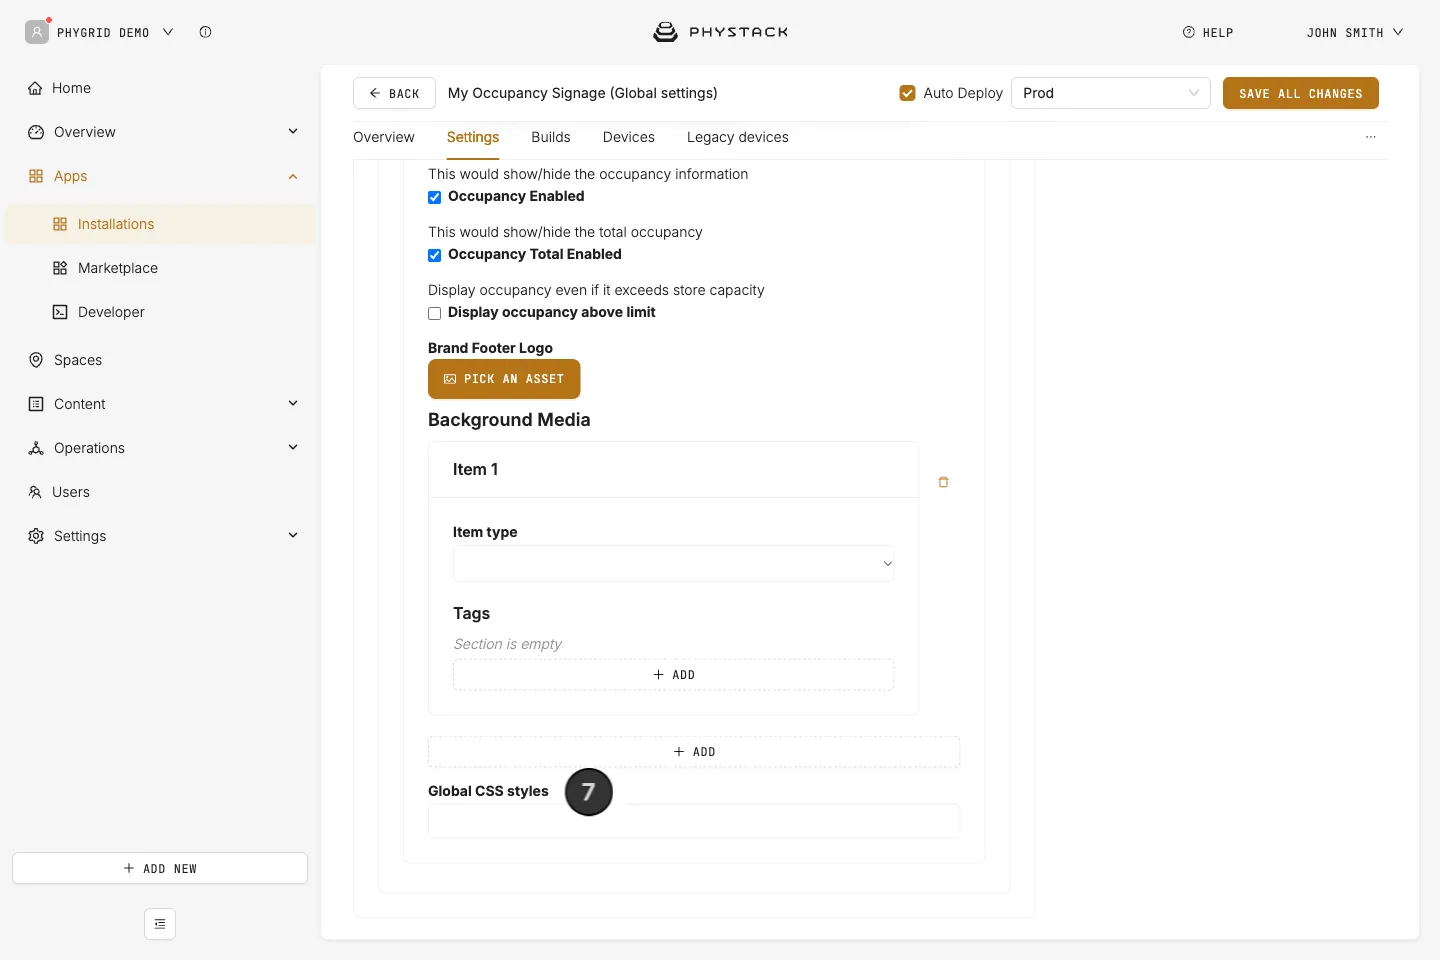
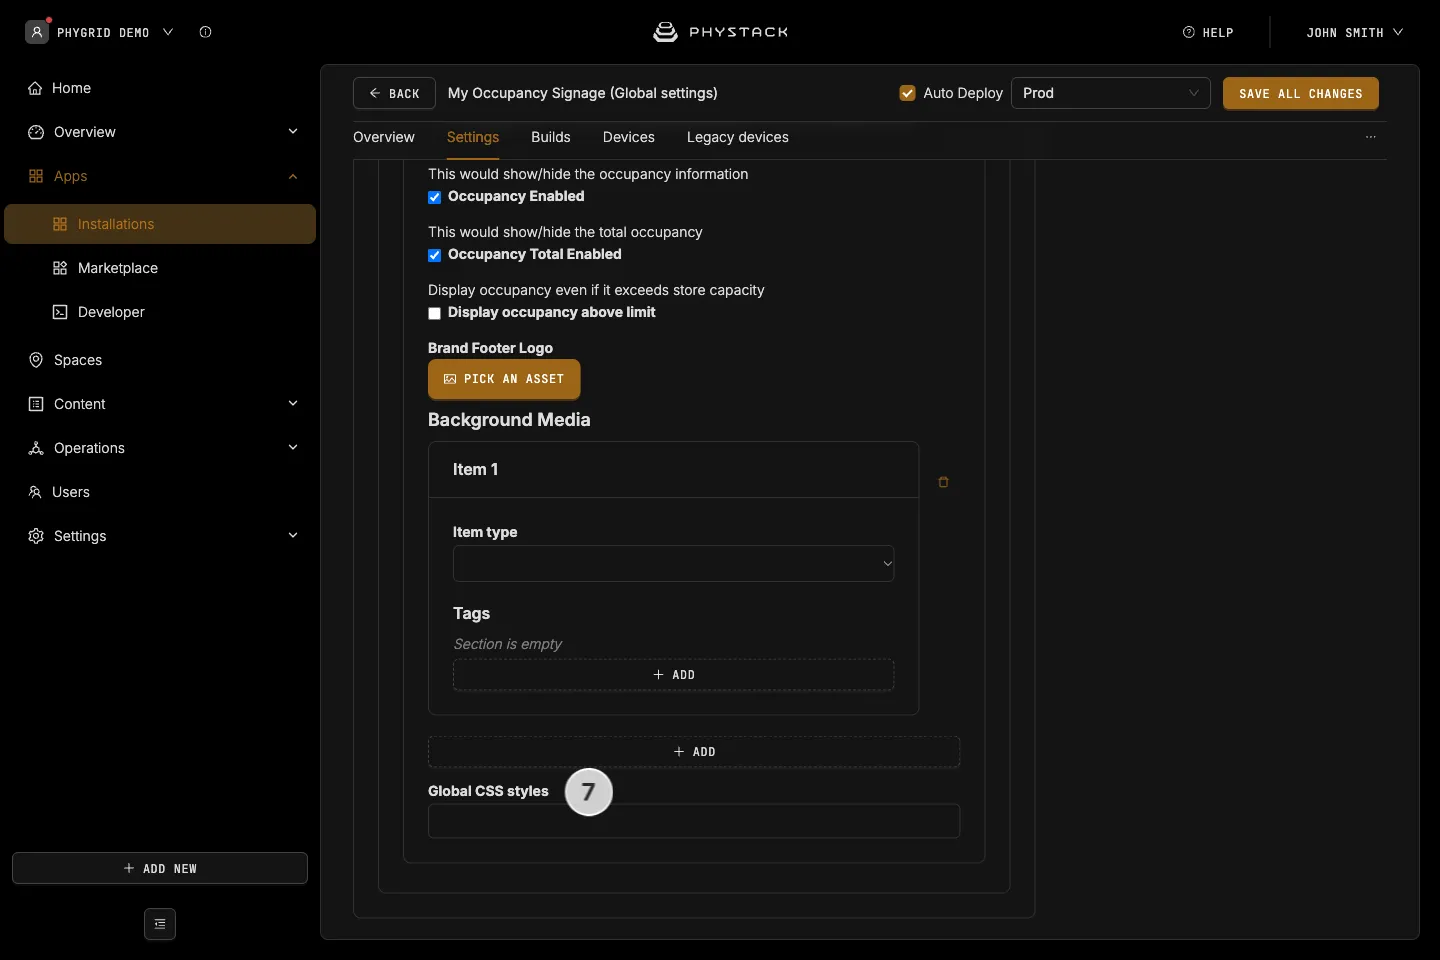
- Keep Occupancy Enabled (on by default) to show the number of people in the space
- Keep Occupancy Total Enabled (on by default) to show the count against the capacity, for example “12/50 in store”. Turn it off to show only the count, for example “12 in store”
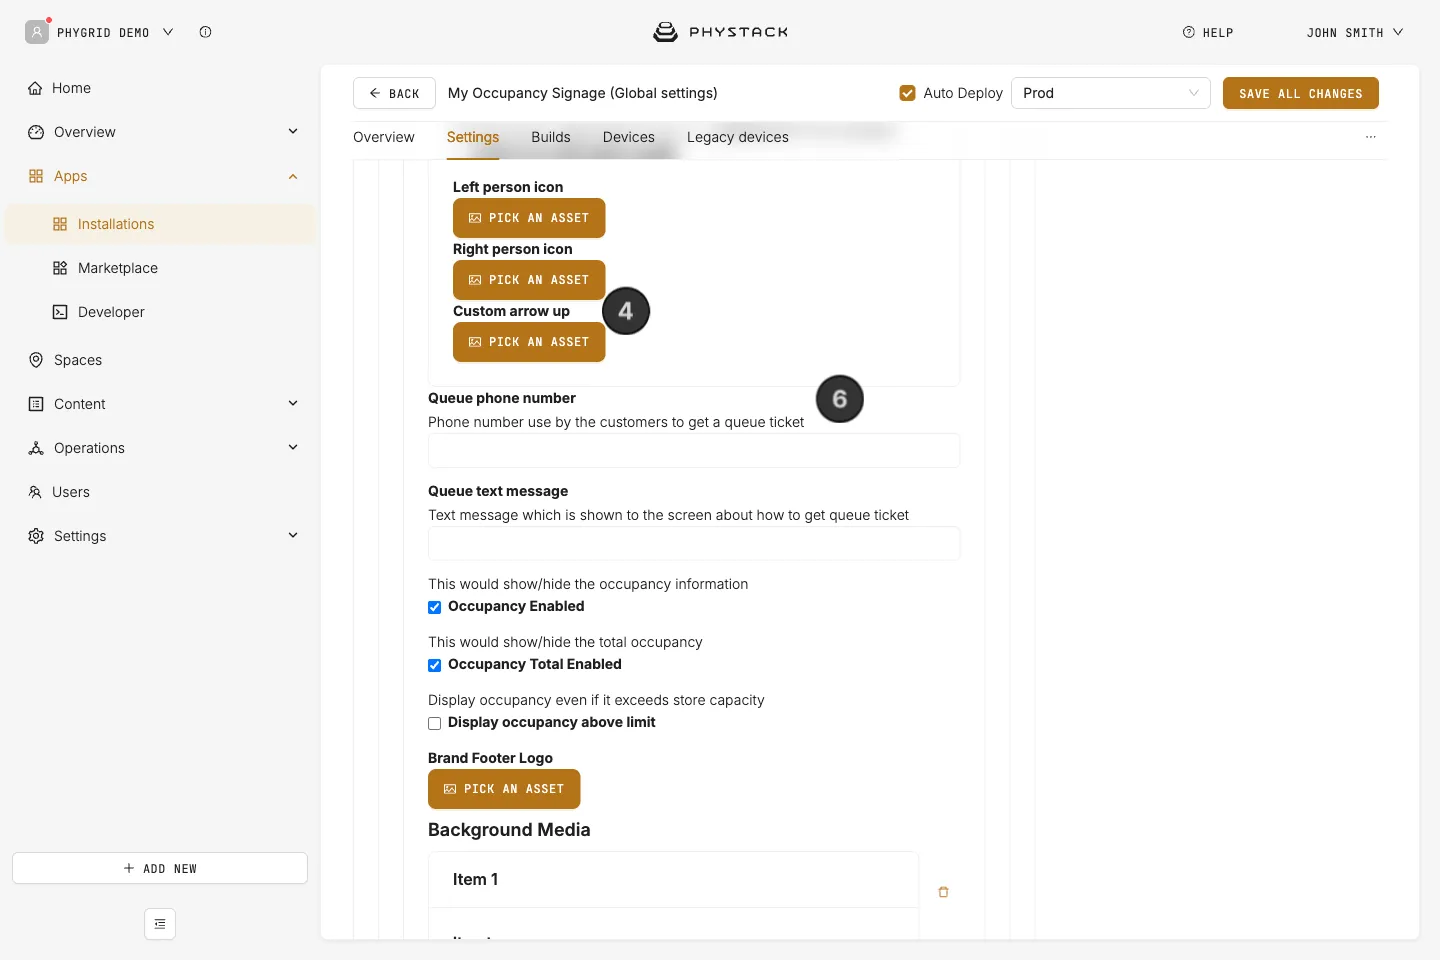
- Turn on Display occupancy above limit if the screen should show the real count when it goes above the capacity. By default, the count stops at the capacity
- Optionally, upload a Brand Footer Logo. It appears in the bottom-right corner. If you leave it empty, a “Powered by Ombori” logo appears instead
- To customise the appearance with CSS, enter your rules in Global CSS styles. The screen has one fixed ID you can target:
#queue-signage-layout-without-queue-v2-instruction, the store instruction text in the default layout
How to customise the Occupancy Signage texts
The texts are plain text fields. Type them in the language you want visitors to see. A field you leave empty keeps its default English text.
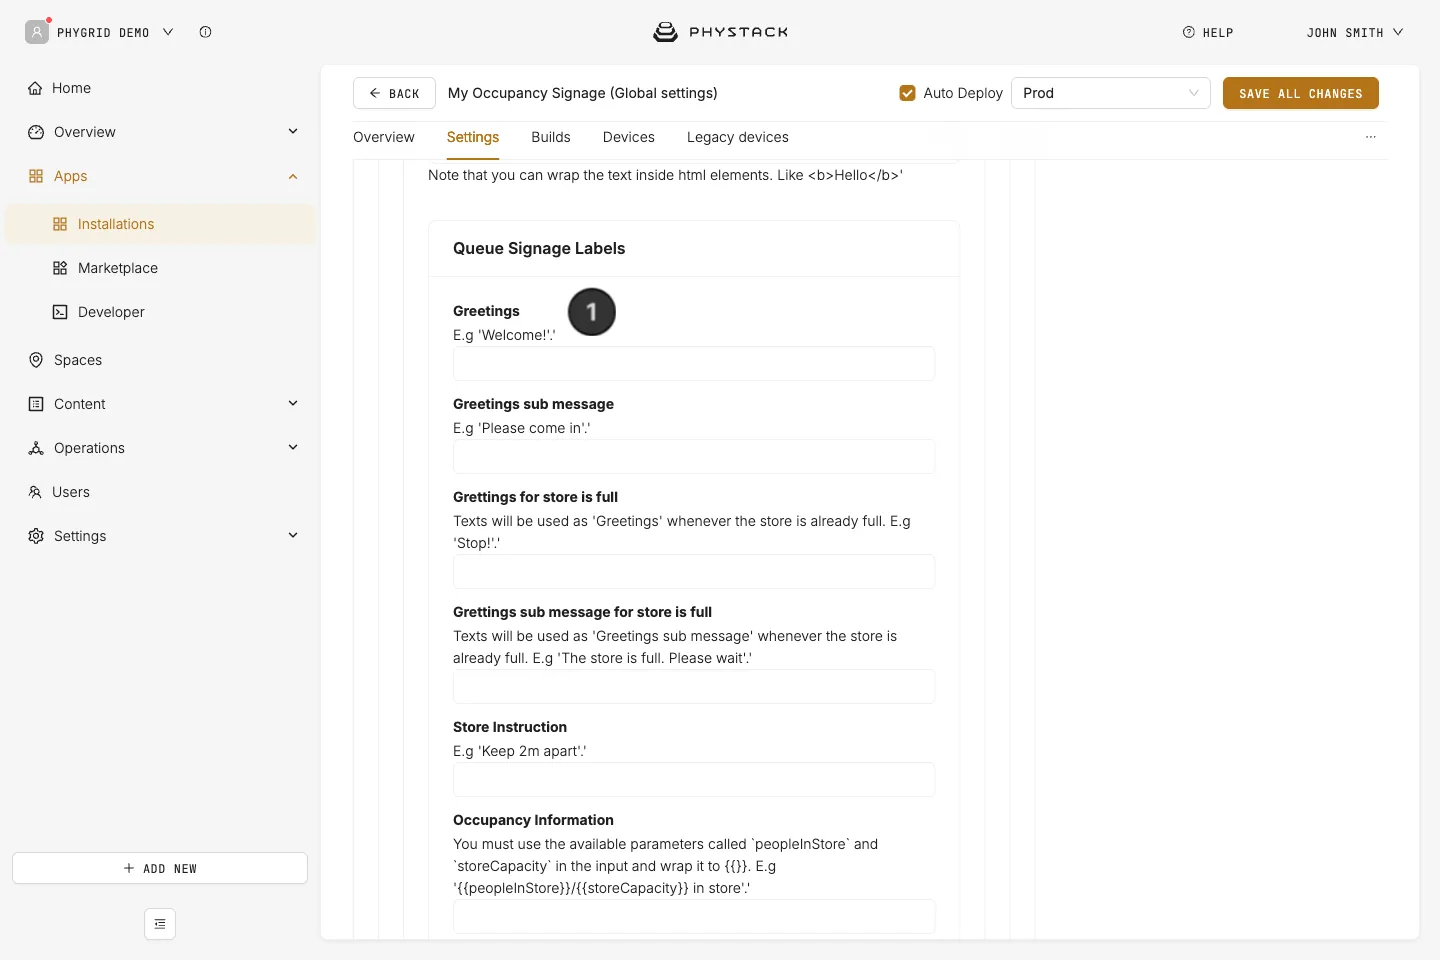
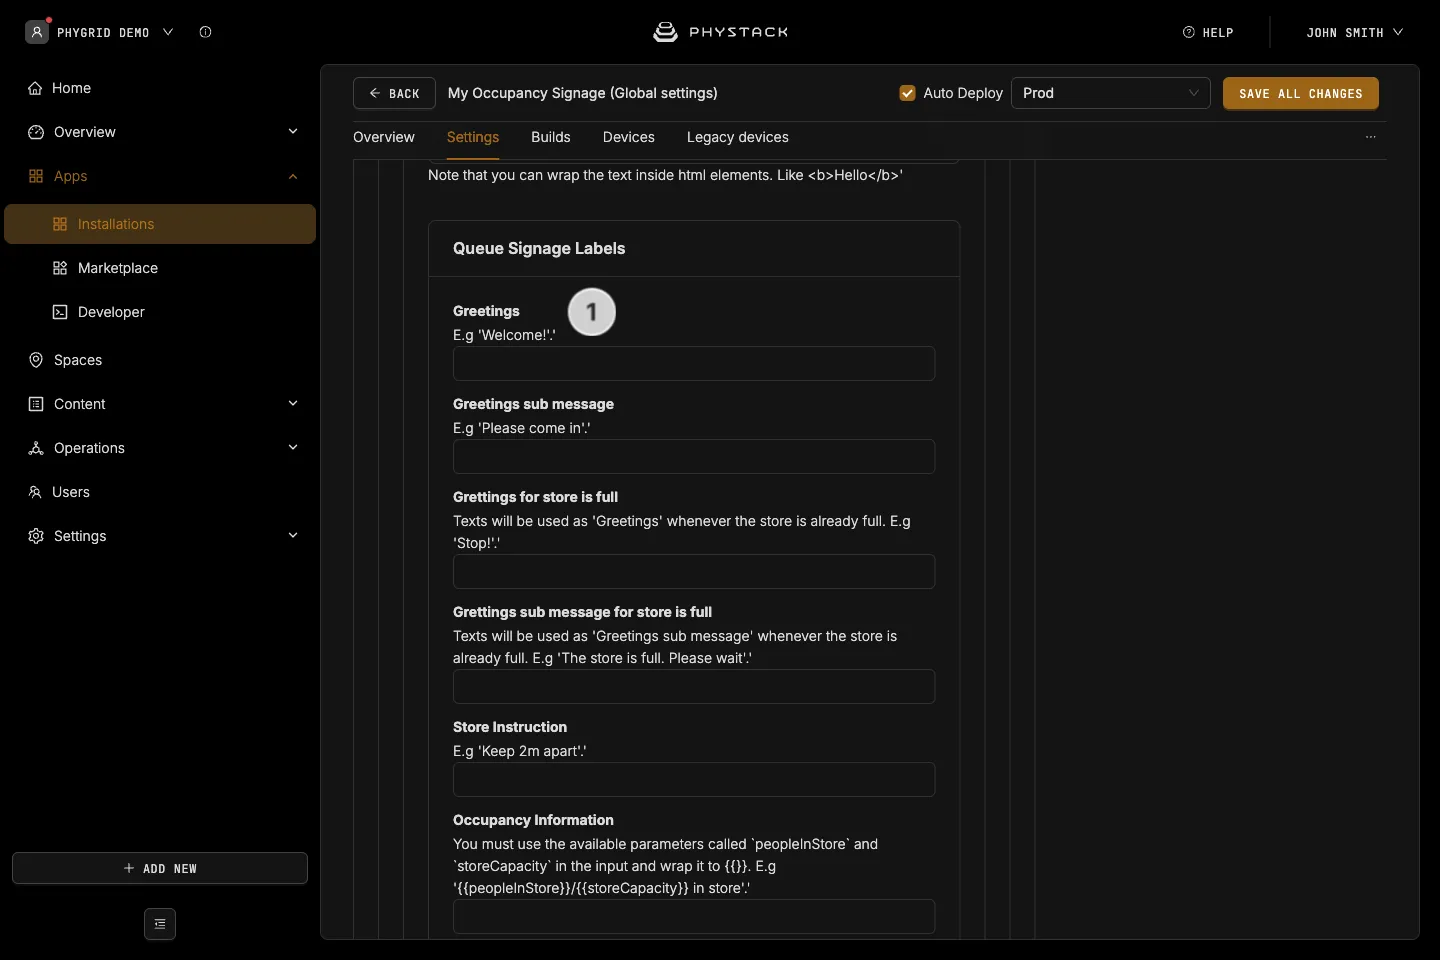
- In the Queue Signage Labels section, change any of these texts:
- Greetings: shown when there is room (default “Welcome,”)
- Greetings sub message: shown under the greeting when there is room (default “Please come in”)
- Grettings for store is full: shown when the space is full (default “Stop!”)
- Grettings sub message for store is full: shown under it when the space is full (default “The store is full”, with “Please wait” on a second line)
- Store Instruction: a short instruction for visitors (default “Keep 2m apart”)
- Occupancy Information: the count against the capacity. Use
{{peopleInStore}}and{{storeCapacity}}(default “{{peopleInStore}}/{{storeCapacity}}in store”) - Occupancy without store capacity: the count on its own. Use
{{peopleInStore}}(default “{{peopleInStore}}in store”)
- These texts appear only when Enabled queue is on (see the next section):
- People in queue: use
{{peopleInQueue}}(default “{{peopleInQueue}}in queue”) - Join the queue: heading shown when the space is full (default “Join the queue”)
- Scan QR: shown next to the QR code (default “Scan the QR code”)
- Scan QR with Phone Number: shown instead of Scan QR when a phone number and text message are set. Use
{{textMessage}}and{{phoneNumber}} - Coming in: shown under the last called ticket number (default “Please Enter”)
How to change the Occupancy Signage layout
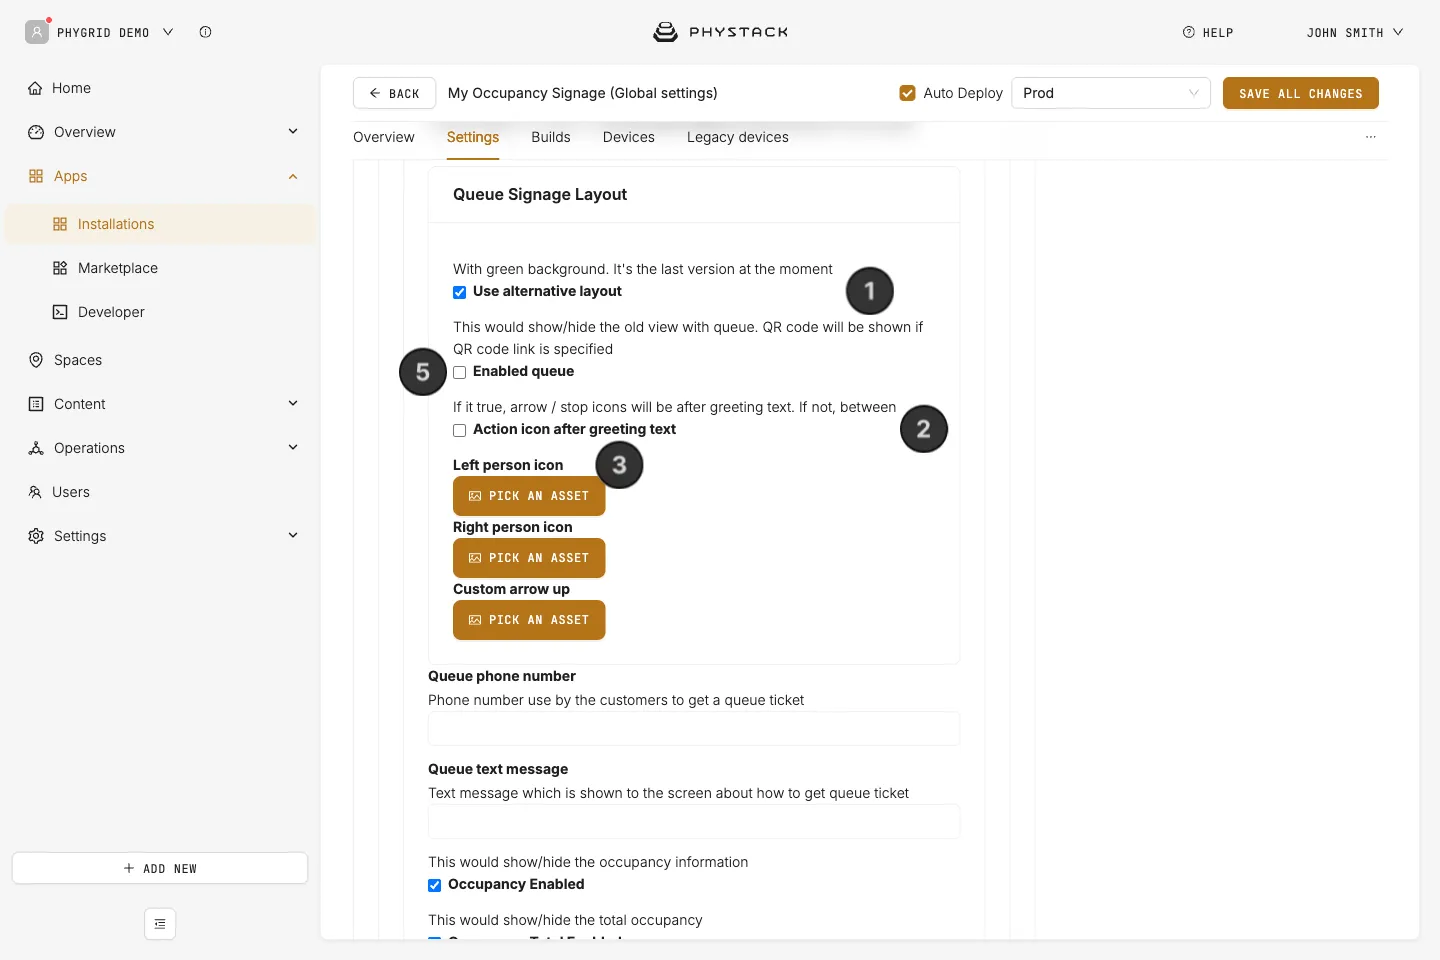
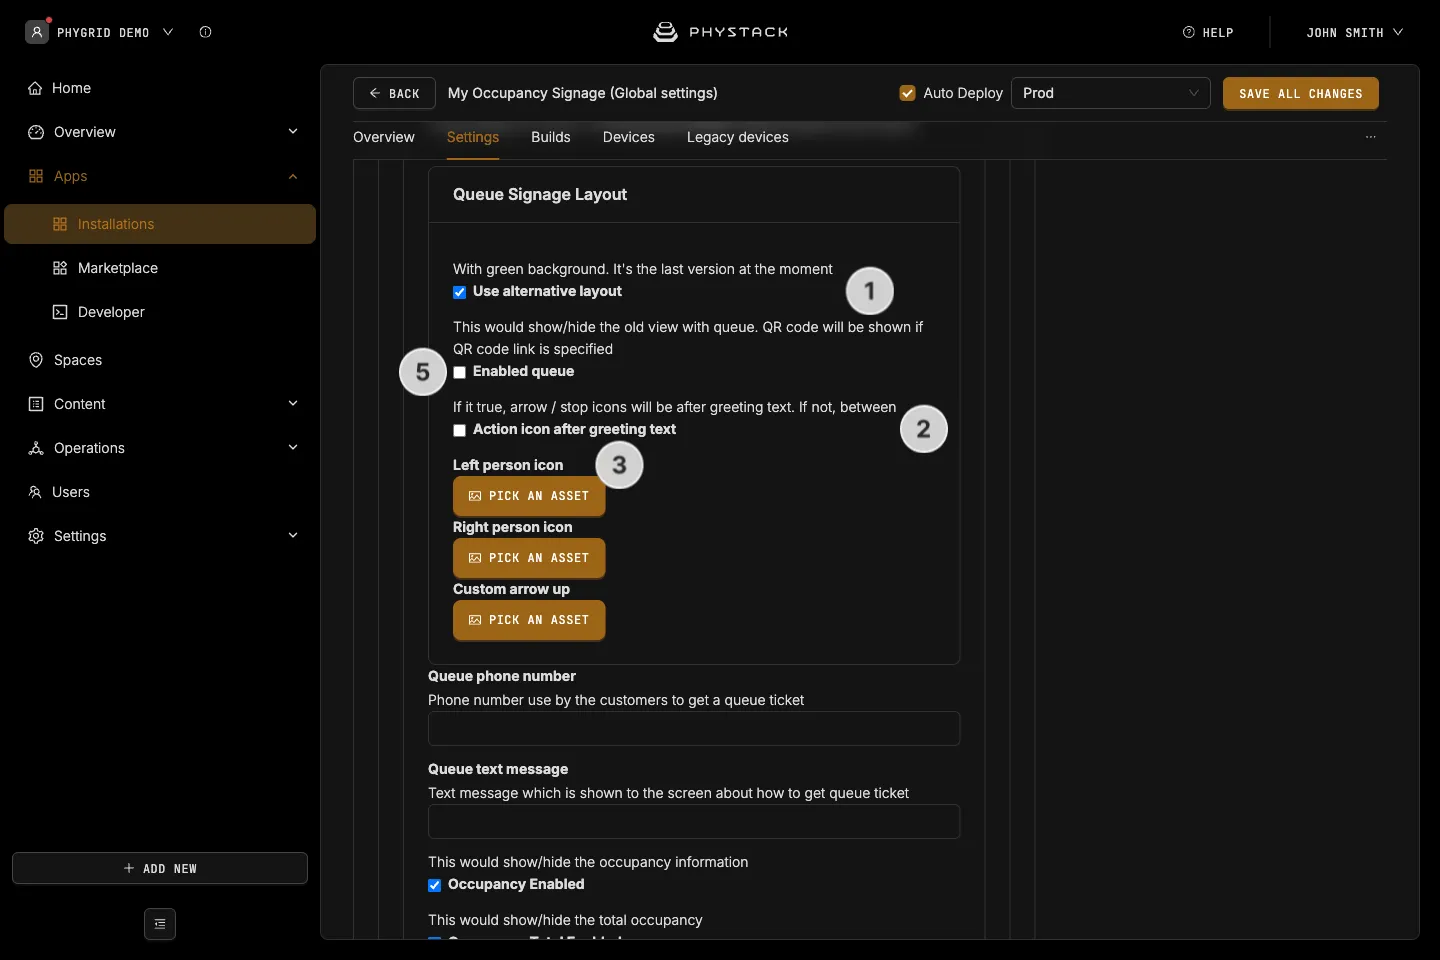
- In the Queue Signage Layout section, keep Use alternative layout on (the default) for a full-screen background in the status colour, with the greeting, an arrow or stop icon, and a card with your logo, an illustration and the occupancy count. Turn it off for a dark layout with the status colour in a circle
- Turn on Action icon after greeting text to show the arrow or stop icon after both greeting texts instead of between them
- To replace the illustration in the alternative layout, upload both a Left person icon and a Right person icon (450px). Both are needed
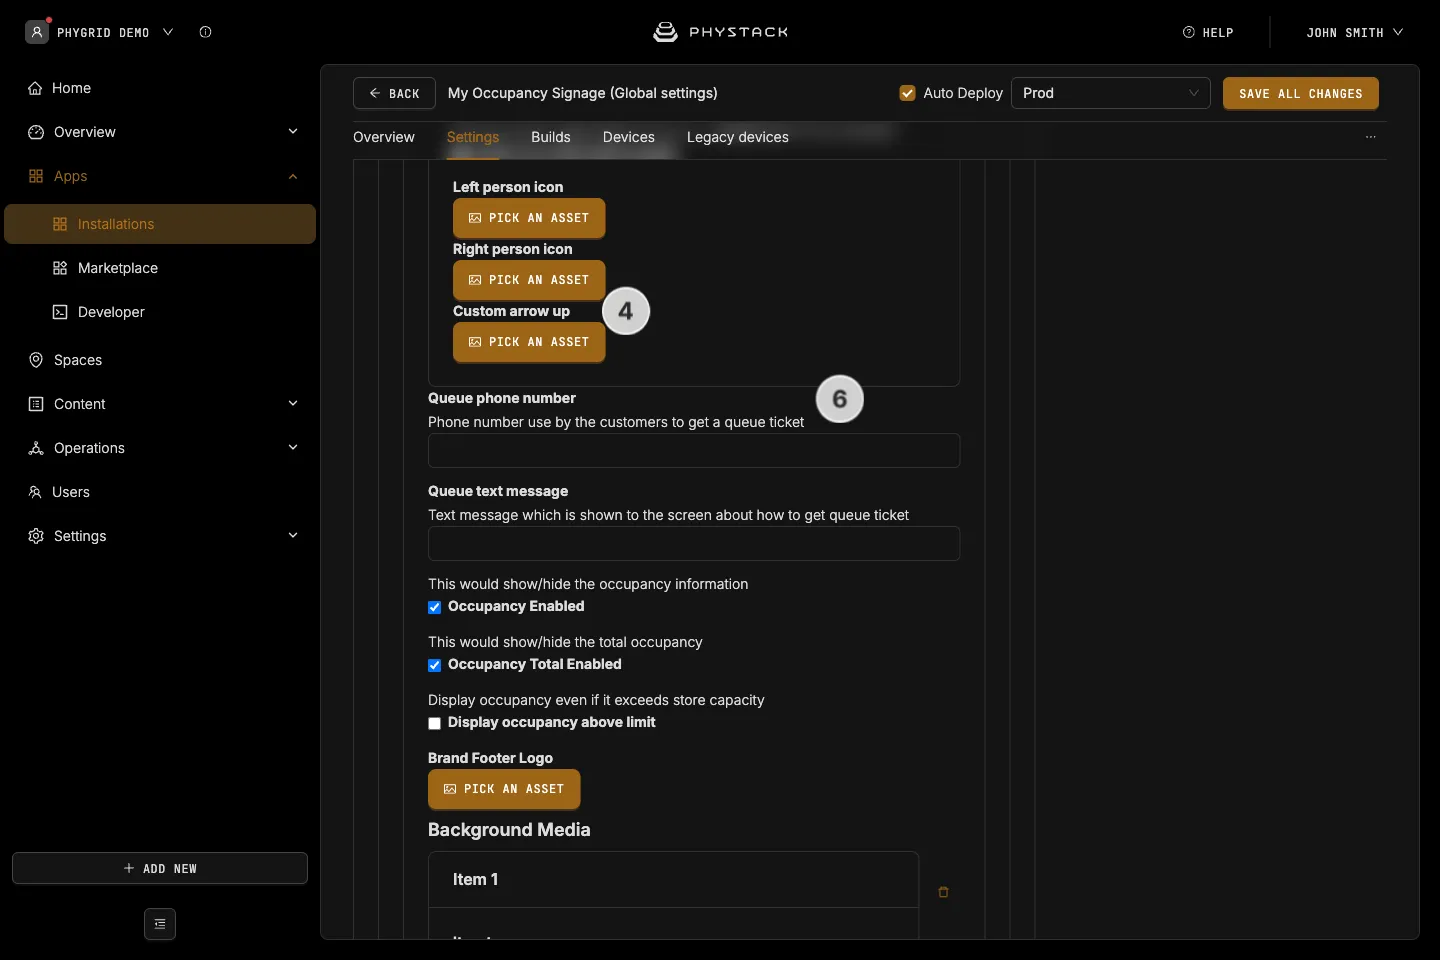
- To replace the animated arrow in the alternative layout, upload a Custom arrow up
- Turn on Enabled queue to switch to a layout for spaces that also run a walk-in queue on the same Occupancy Control installation. It replaces the other layouts and shows:
- The number of people in the queue (waiting and called tickets)
- The last called ticket number with the Coming in text
- When the space is full, a QR code for the link in Queue QR Code link, so visitors can join the queue on their phone
- Optionally, enter a Queue phone number and a Queue text message to also show visitors how to join the queue by text message. Both are needed
How to enable voice prompts on Occupancy Signage
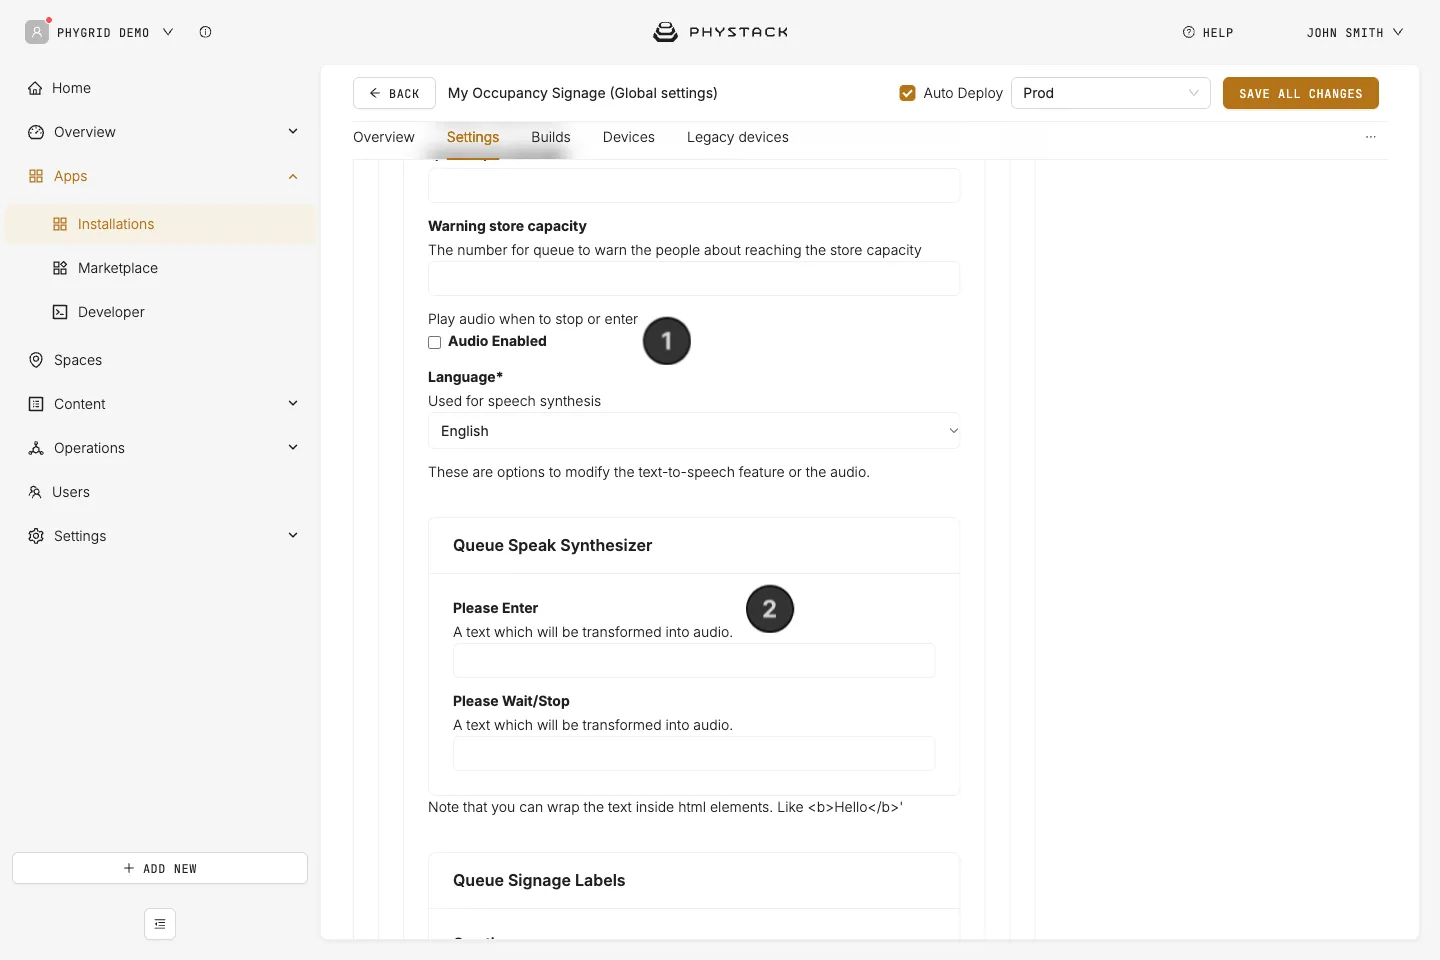
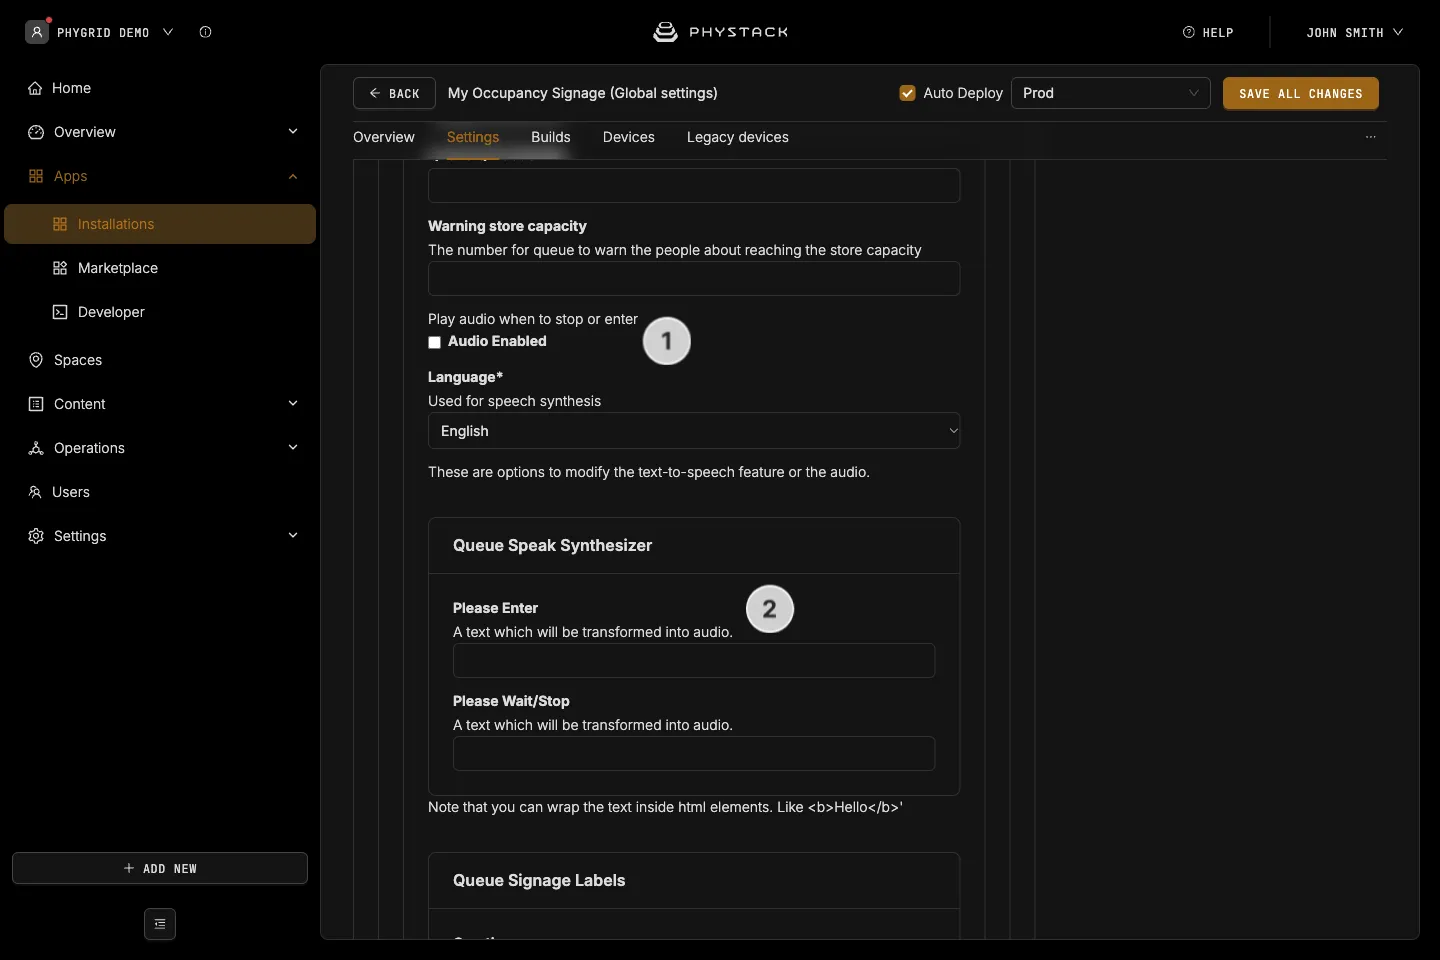
- Turn on Audio Enabled. The screen then plays a stop prompt when the occupancy reaches or rises above the capacity, and an enter prompt when the occupancy changes while there is room
- In the Queue Speak Synthesizer section, enter the text to read out in Please Enter and Please Wait/Stop. The texts are spoken in the voice set in Language
- If you leave a field empty, the screen plays a built-in sound instead
How to save your Occupancy Signage settings
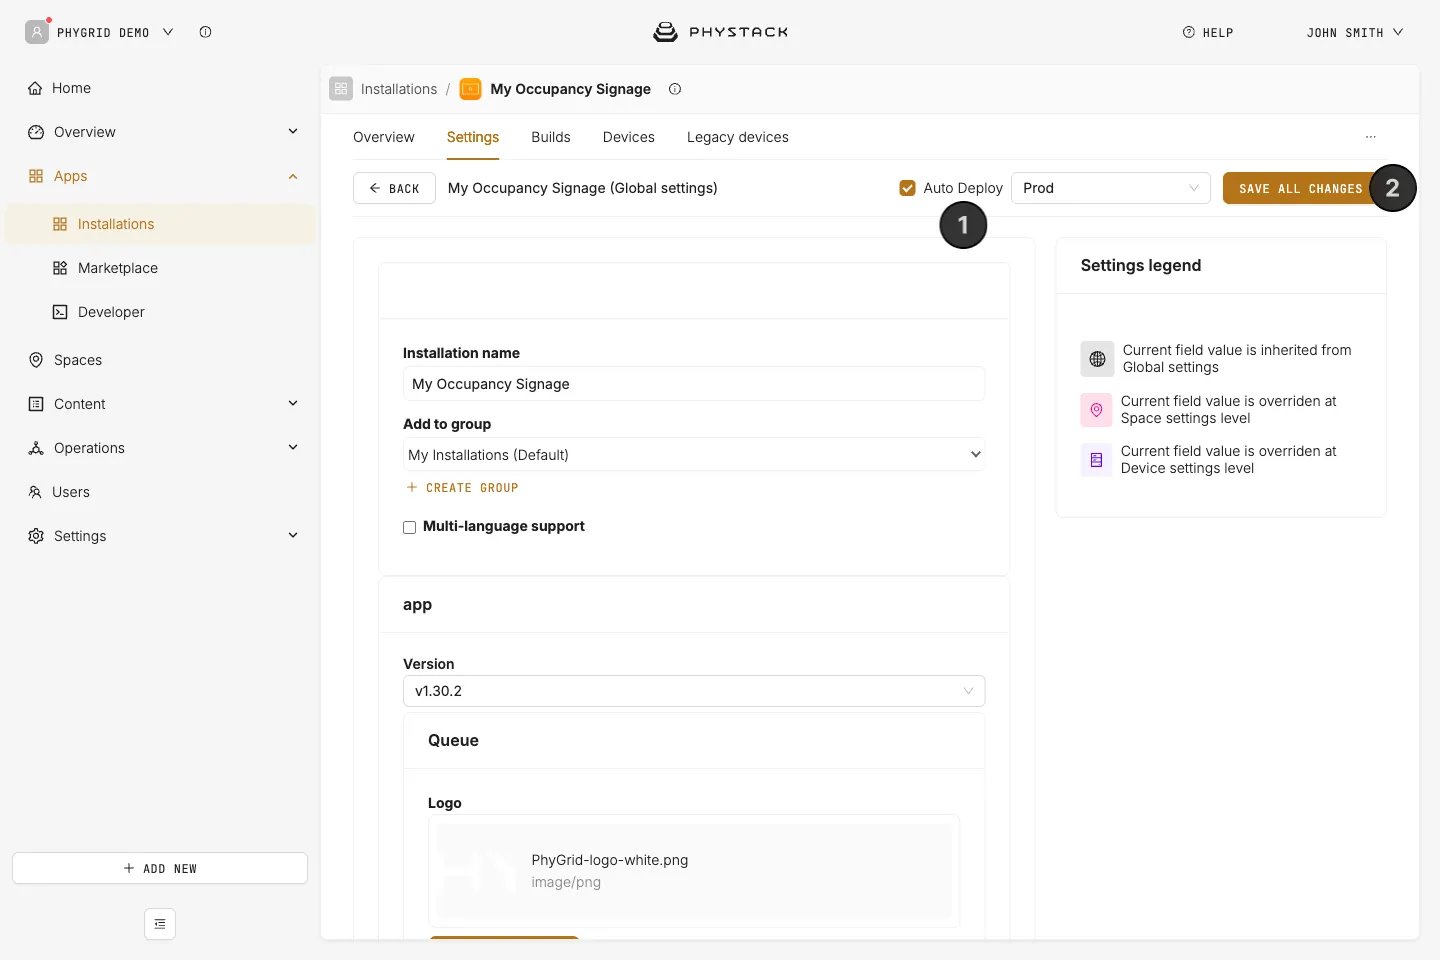
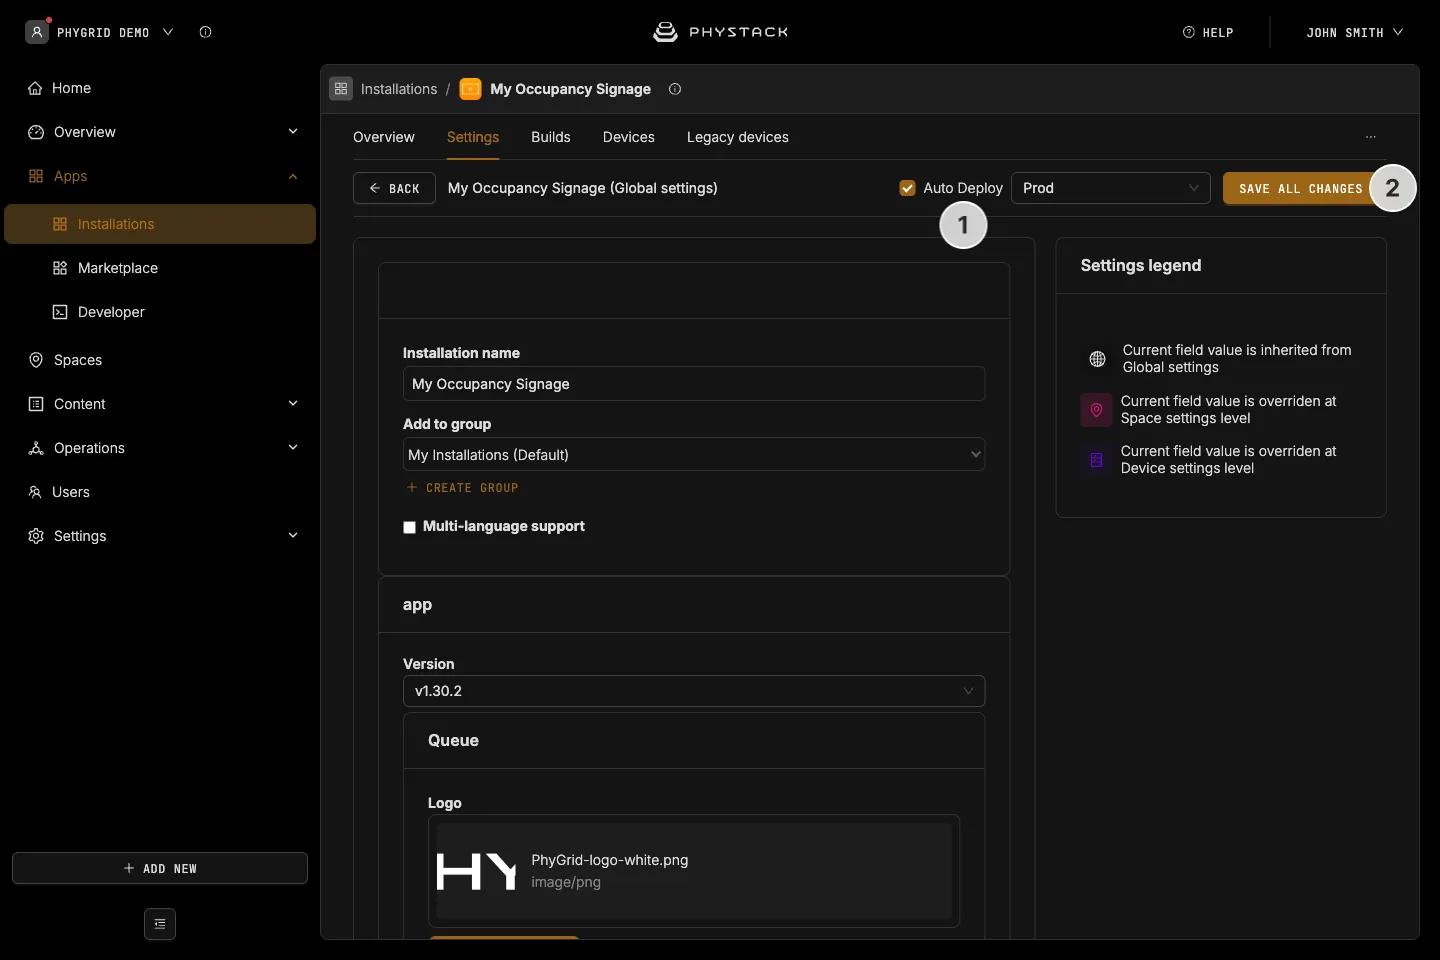
- Keep Auto Deploy ticked (see Glossary) and check the environment next to it. It defaults to the production environment
- Click Save all changes. With Auto Deploy ticked, the new settings are deployed to that environment when you save