

Self-Checkout isn't listed in every tenant's Marketplace. Ask your PhyGrid contact to make it available.
How to install Self-Checkout
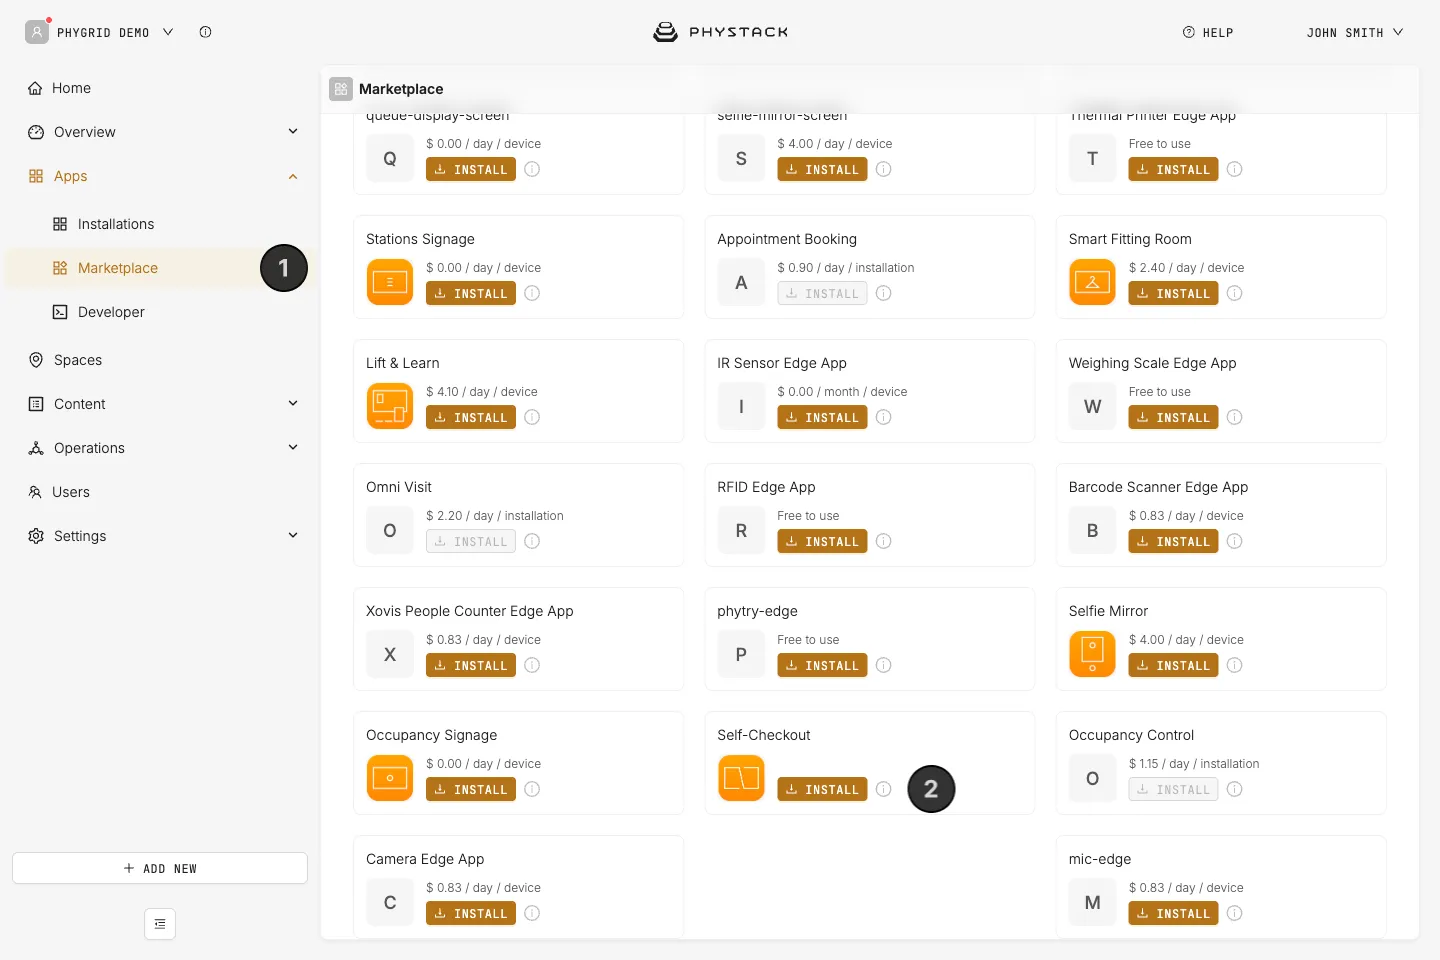
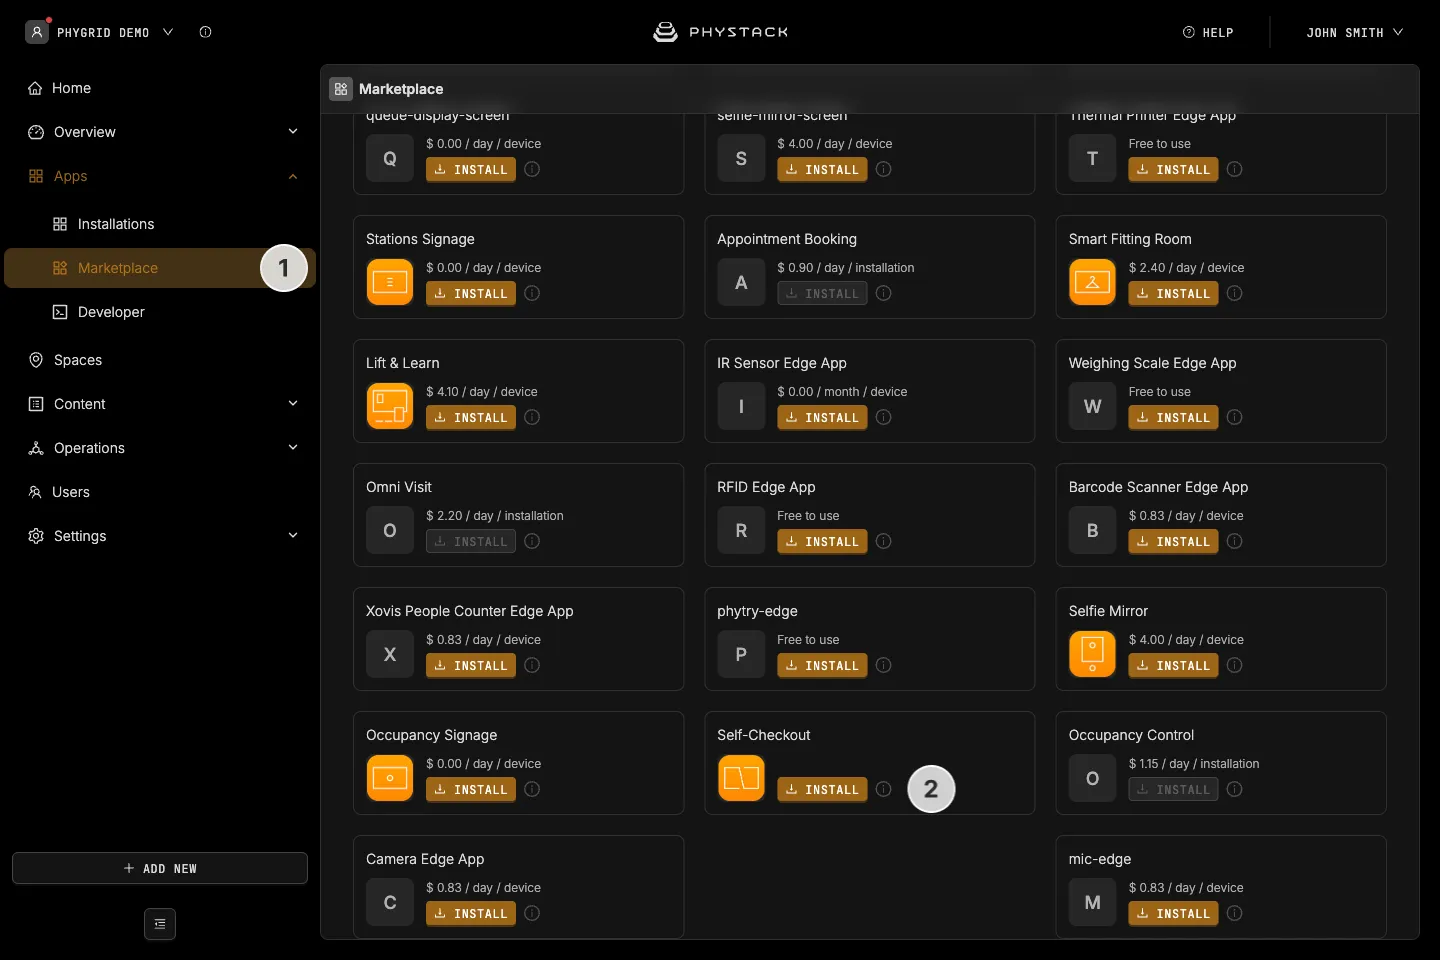
- In the sidebar, navigate to Apps → Marketplace
- Look for Self-Checkout in the list of applications and click on the Install button to open the installation dialog
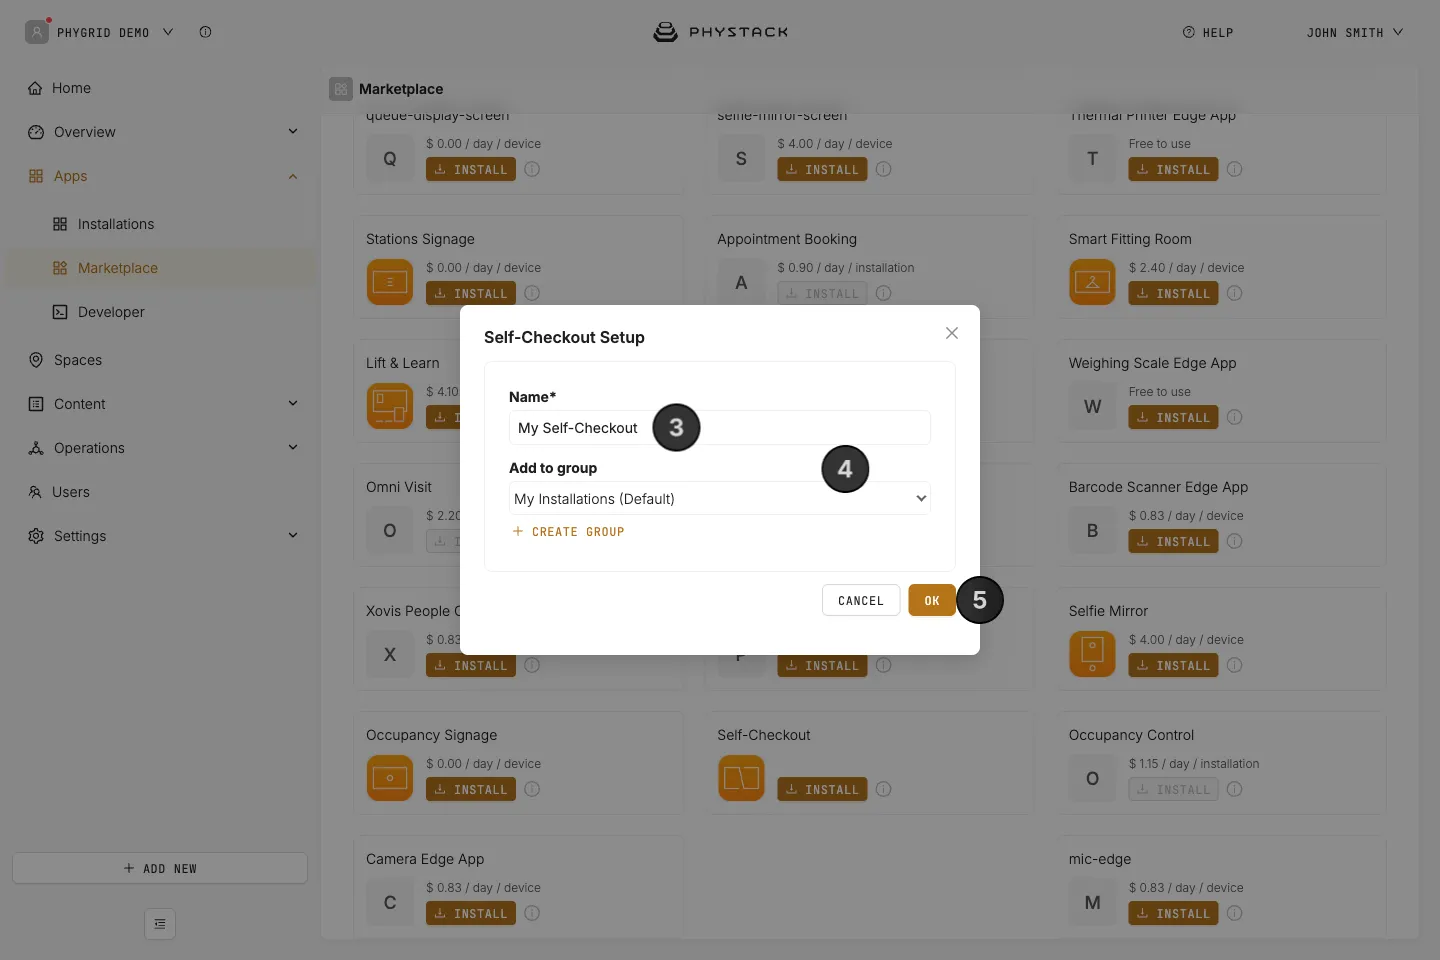
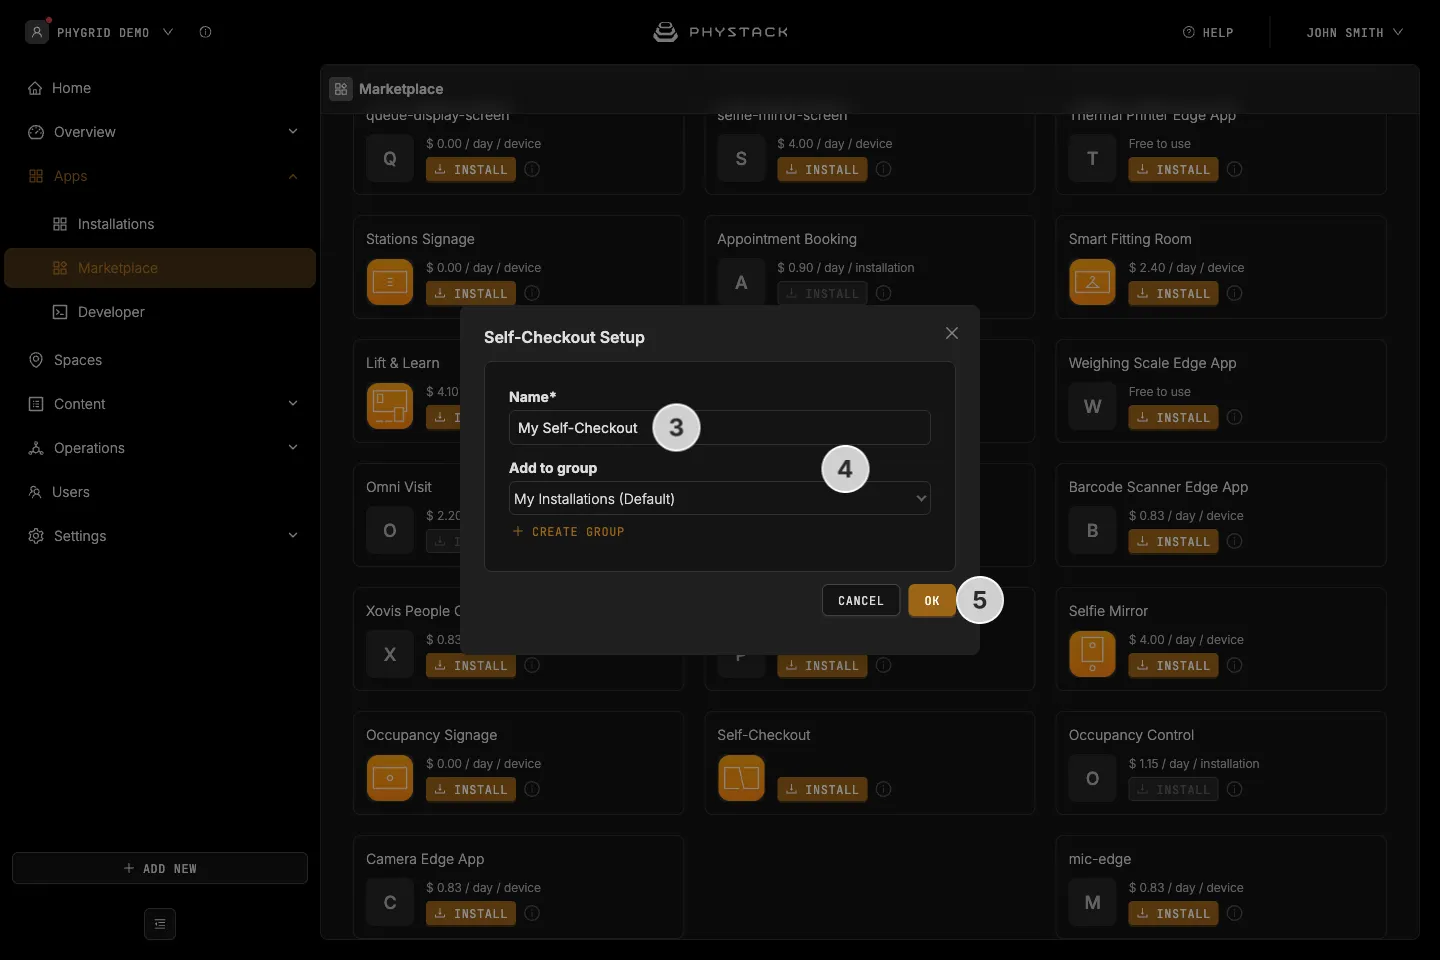
- In the installation form, enter a Name for your installation
- Optionally, pick a group in Add to group to organise your installations
- Click OK to create the Self-Checkout installation
How to verify the installation
- Your new installation will be available in the sidebar under Apps → Installations
- Open the installation and set it up as needed
How to connect Self-Checkout to a device
Self-Checkout runs on the device that is connected to the kiosk’s touchscreen. The RFID reader and the barcode scanner are connected to the same device.
The kiosk shows the products and prices of the space the device belongs to, so check that the device is in the right space before you set up the app.
- Connect a new device to an installation
- Configure a device, including its space, timezone, daily reboot time, and screen orientation
How to connect an RFID reader
Customers place their tagged items near the RFID reader, and the kiosk adds them to the bag without scanning. Self-Checkout reads the tags through the same RFID Edge App that Smart Fitting Room uses.
- Encode the RFID tags with the EPC of each product’s EAN or UPC. See Prepare RFID tags for your products
- Install the RFID Edge App, configure it for your reader, and connect it to the same device as Self-Checkout. See Install and configure RFID reader peripheral
How to connect a barcode scanner
A barcode scanner lets customers add items that don’t have an RFID tag. Self-Checkout reads barcodes of 8 to 14 digits, such as EAN and UPC codes, and looks up the product with that barcode.
- Connect a barcode scanner to the device
- Check that each product variant in your catalogue has its barcode in the EAN field. See Products