
How to access Lift & Learn settings
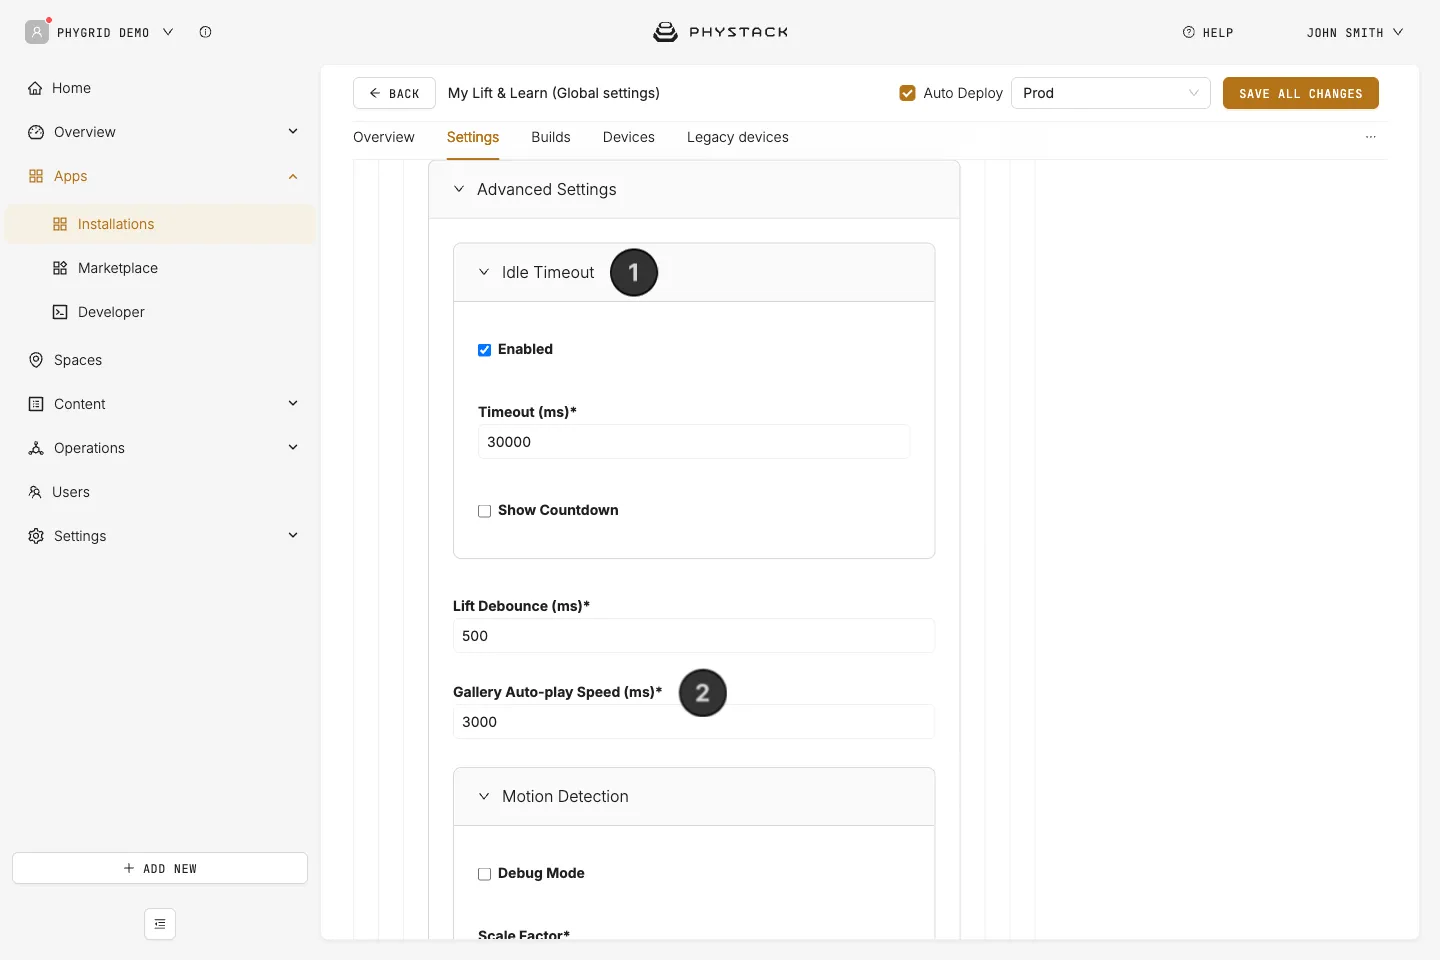
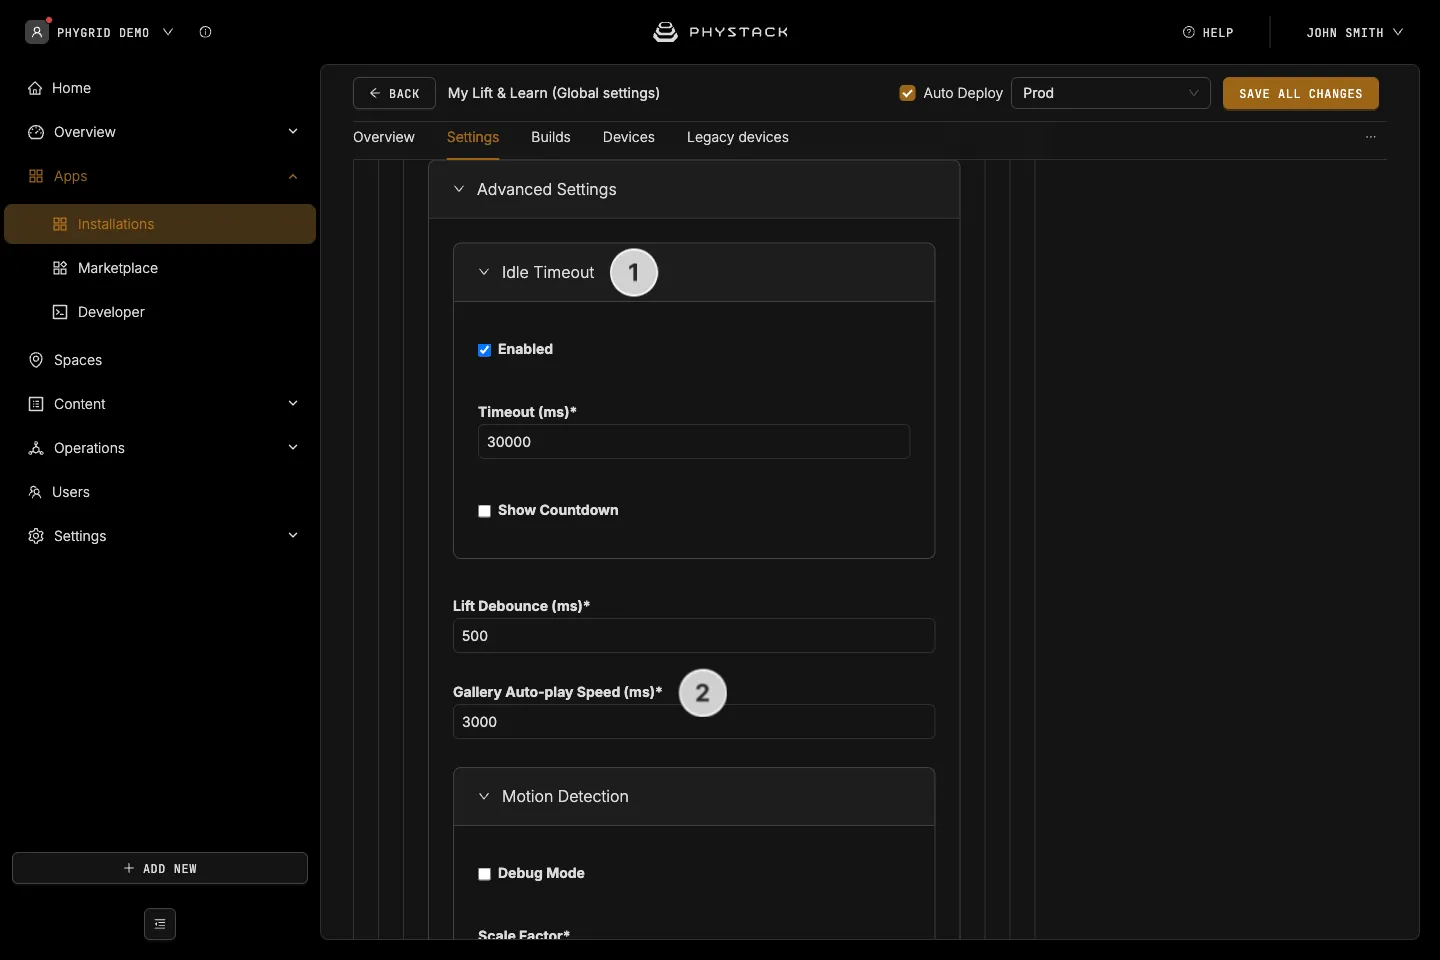
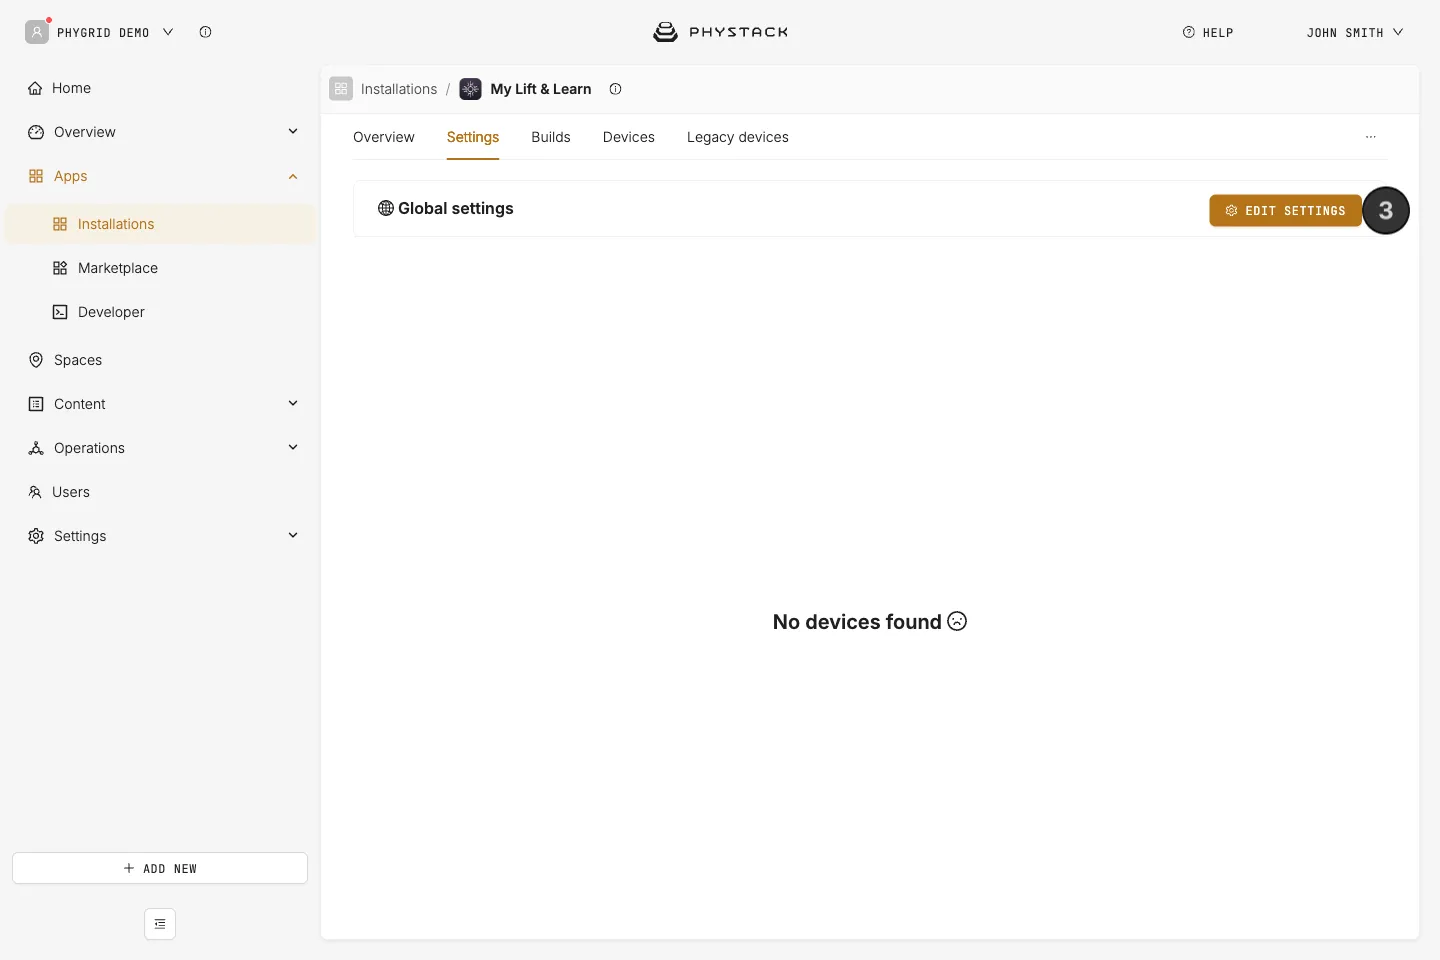
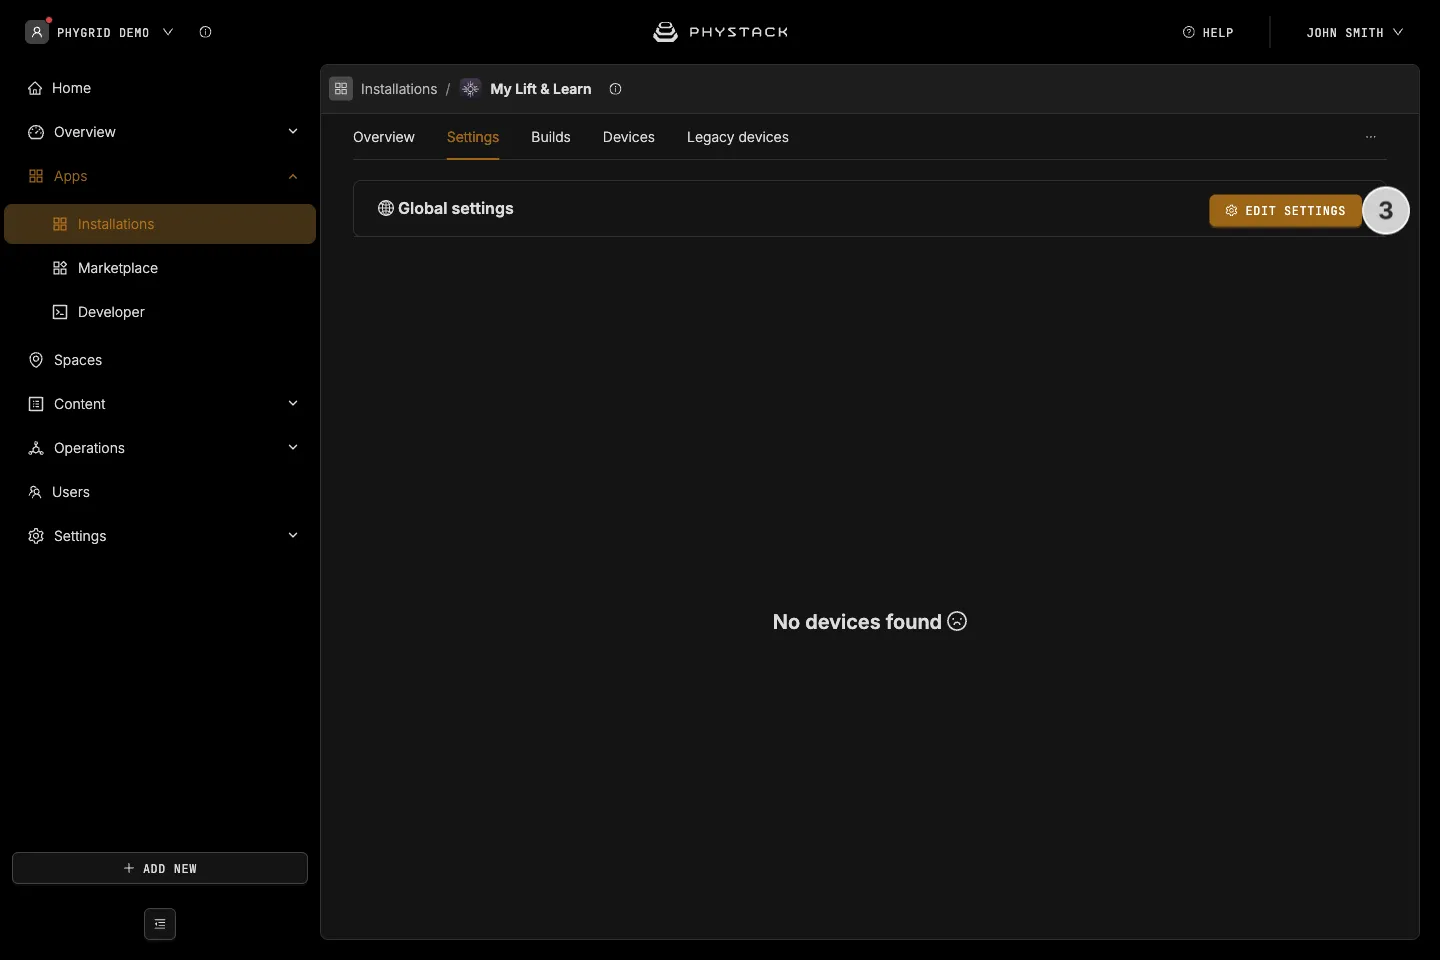
- Your new installation will be available in the sidebar under Apps → Installations
- Open the installation and select the Settings tab to access Lift & Learn options
- For the initial setup, go to the Global settings section and click Edit settings. After you add devices to the installation, you can set overrides for a space or a device under Settings override.
How to configure Lift & Learn basics
Make sure you have previously connected Lift & Learn and Nexmo edge app to the device.
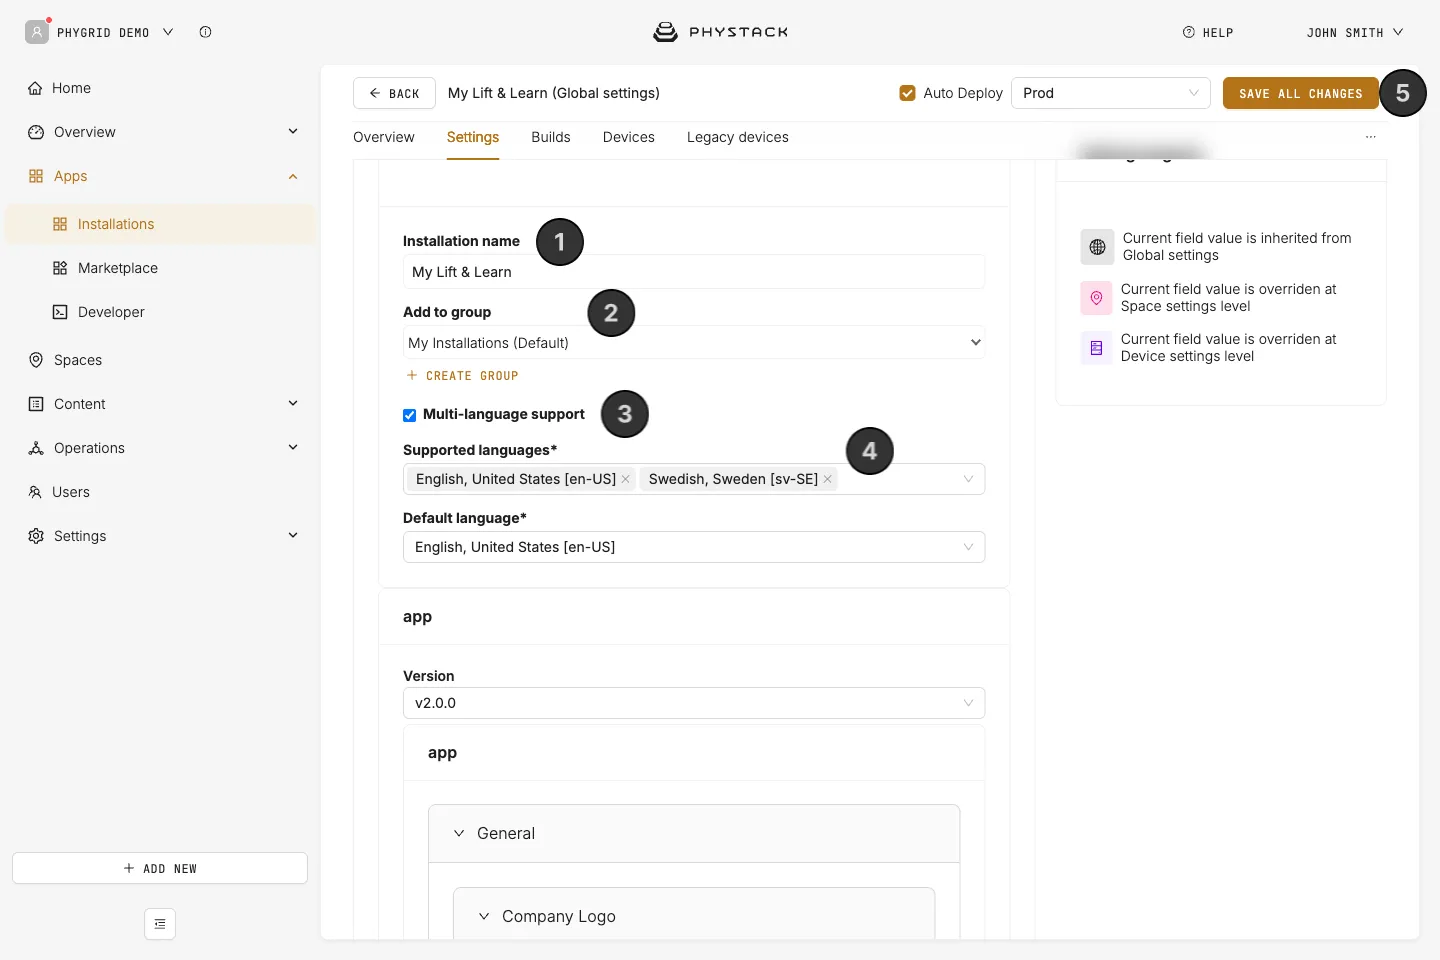
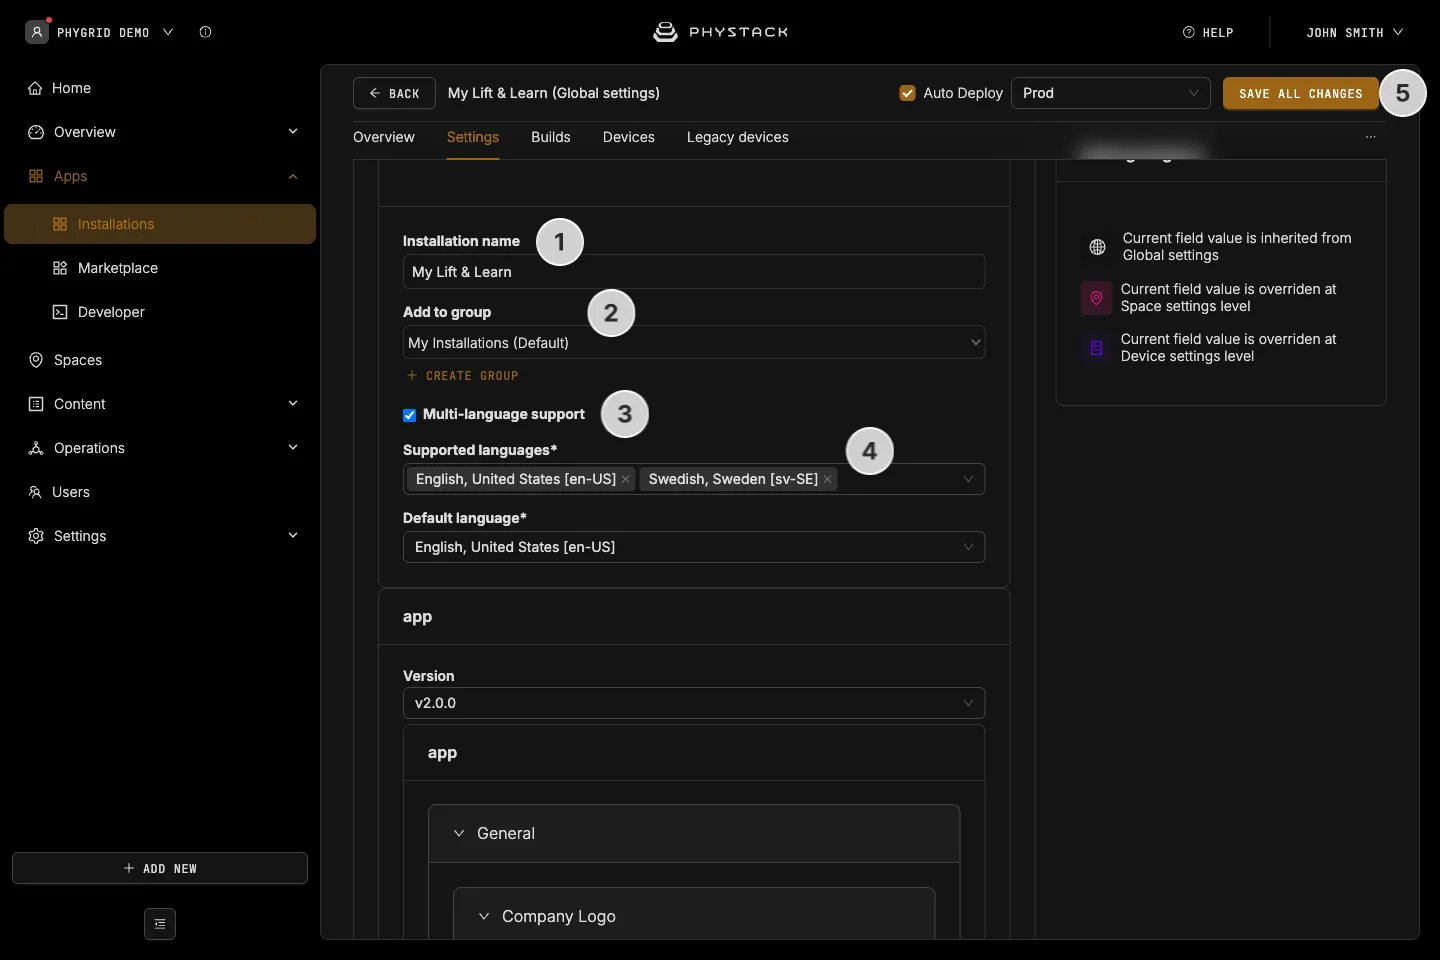
- Set or change the installation name. This is the title visible in Apps → Installations
- Pick an existing or create a new installation group that this installation belongs to. This is also visible in Apps → Installations
- Enable at least one language for the app by clicking on Multi-language support (see Glossary)
- Select the language for the app - make sure the app language matches the product language
- Save the changes and refresh the page to properly enable language support
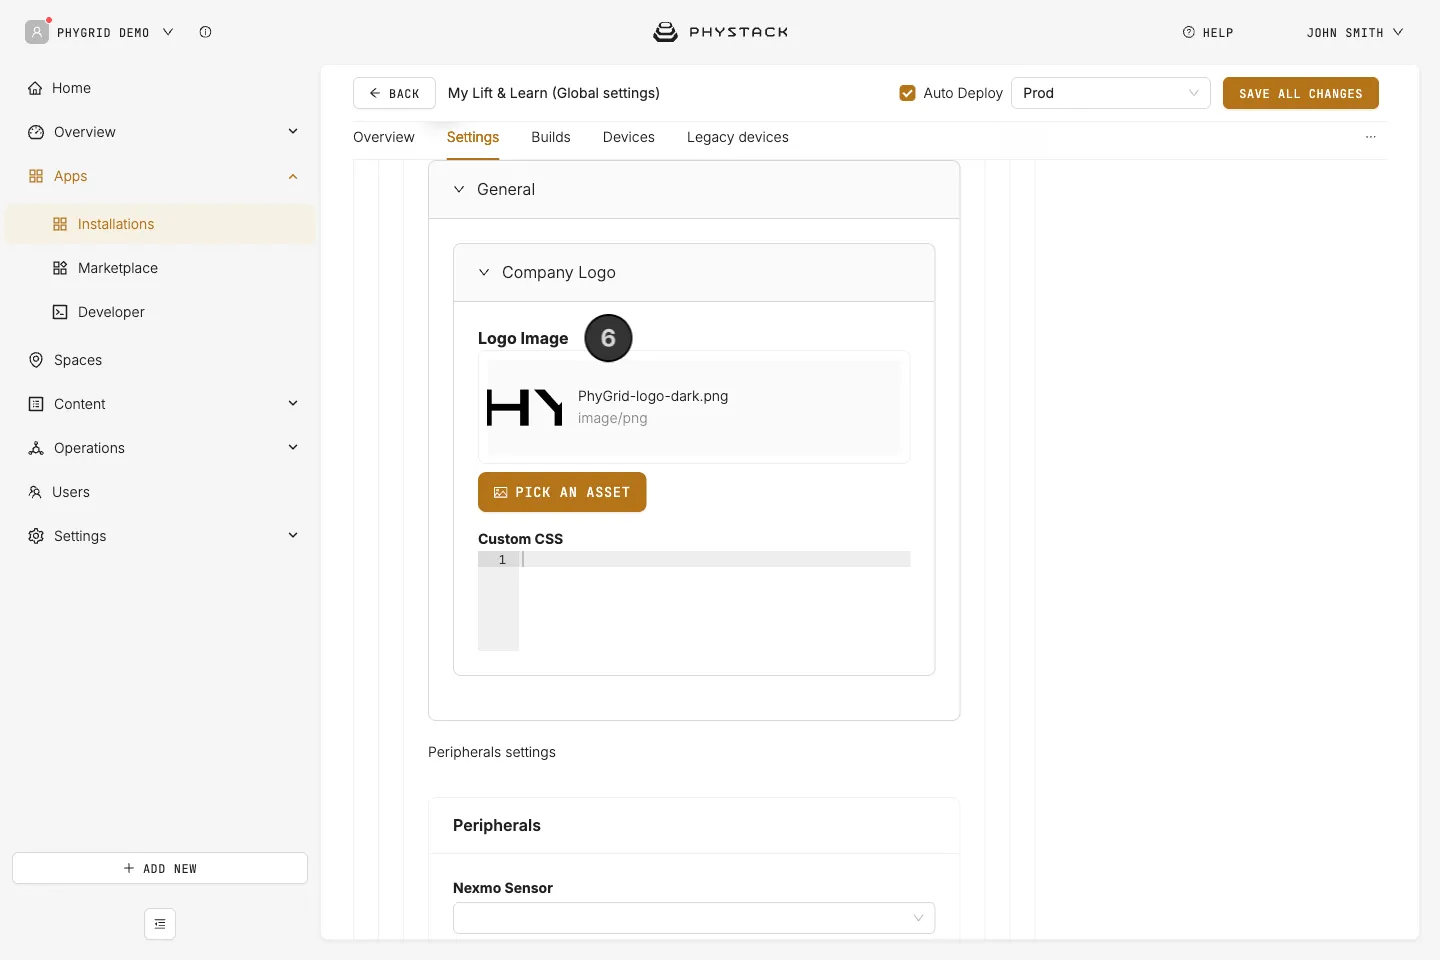
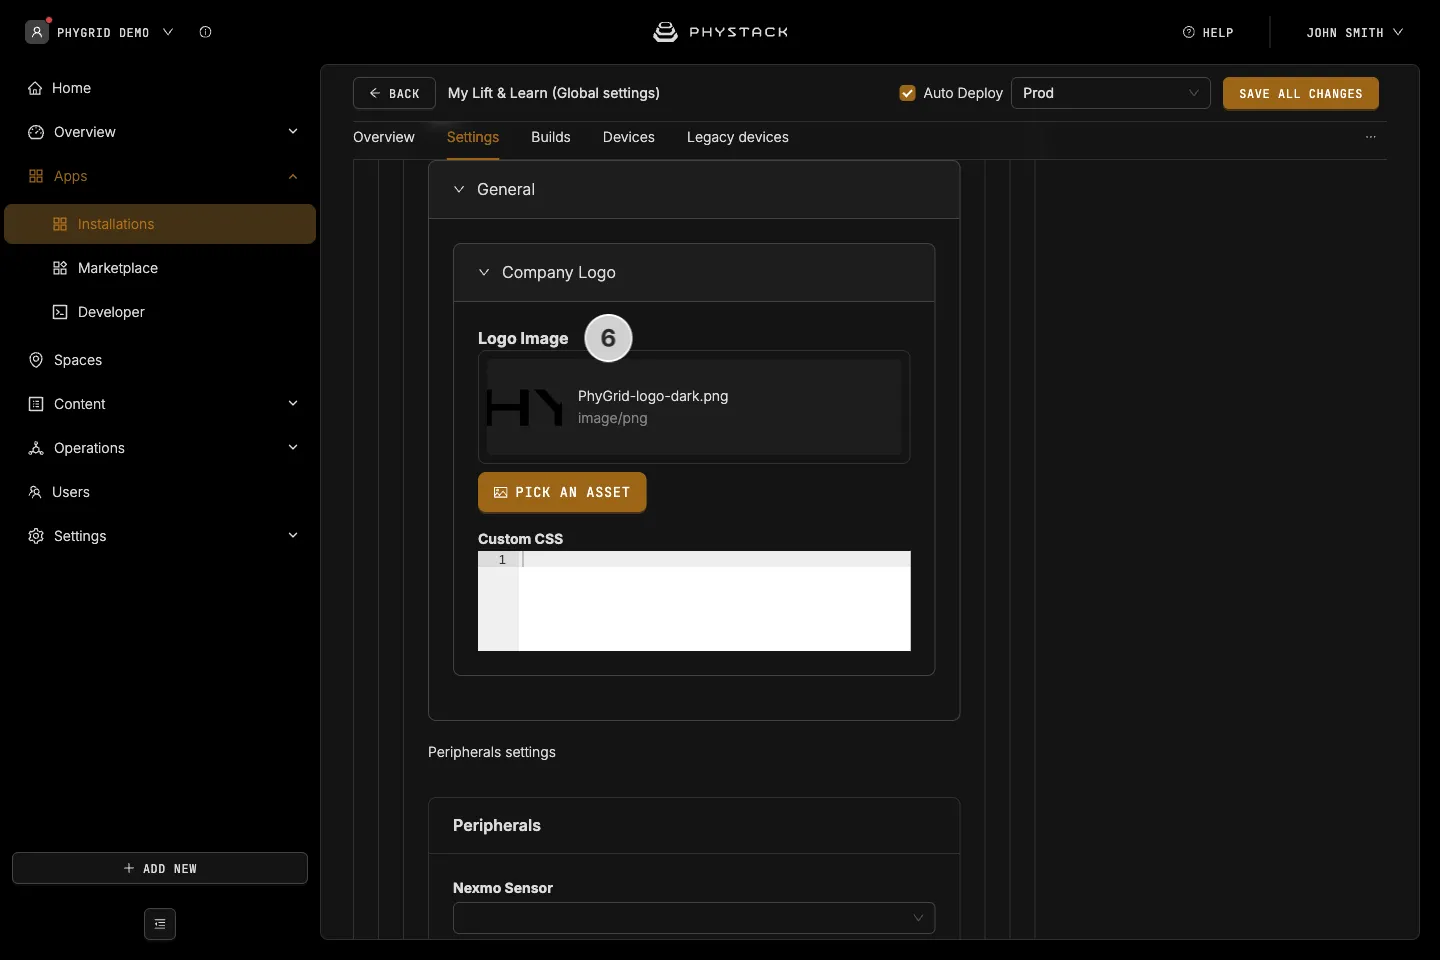
- Scroll down to the app settings and set the logo
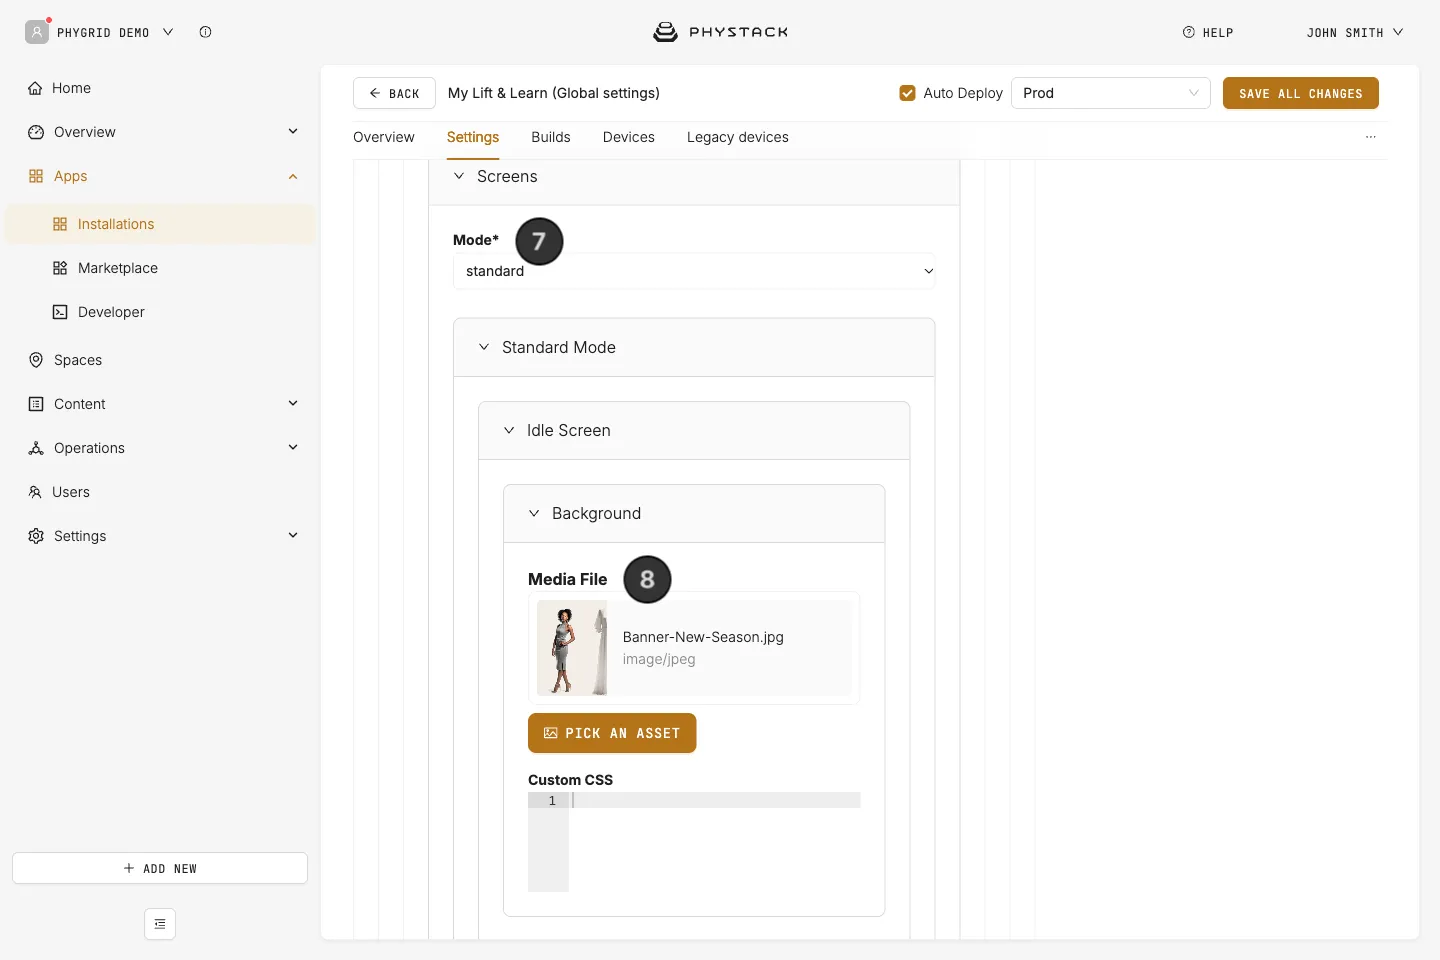
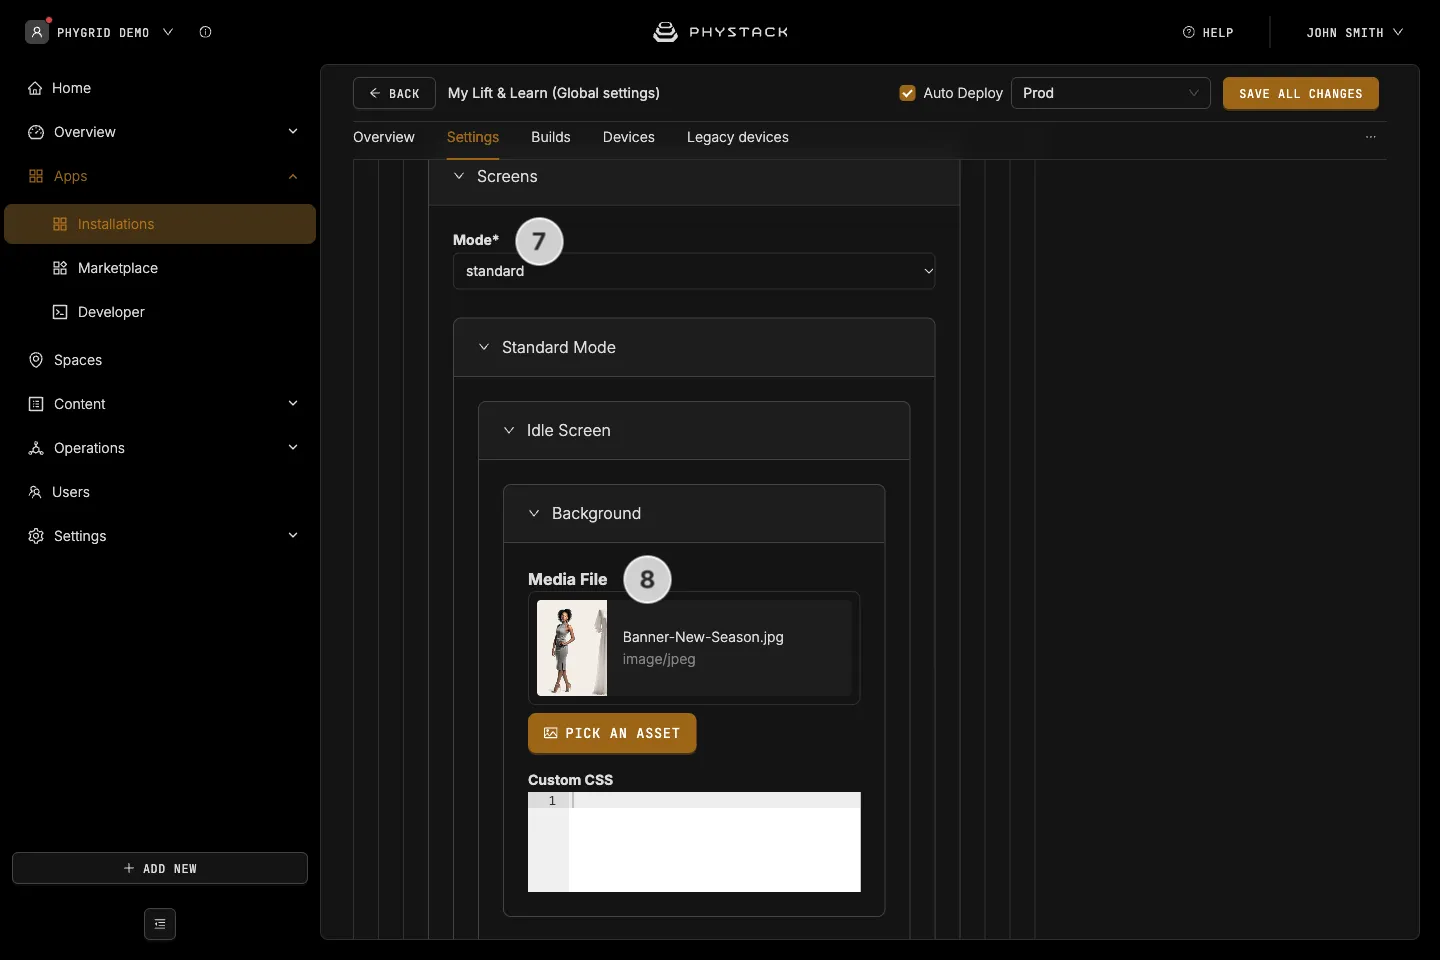
- Choose the mode:
- Standard mode means only one product will be shown on screen at a time
- Compare mode means that lifting two products will show comparison layout between the two products (the dropdown shows the values in lowercase,
standardandcompare)
- Set the idle screen background media. In Compare mode, set it under Compare Mode → Idle Screen: the Standard Mode idle settings don’t apply
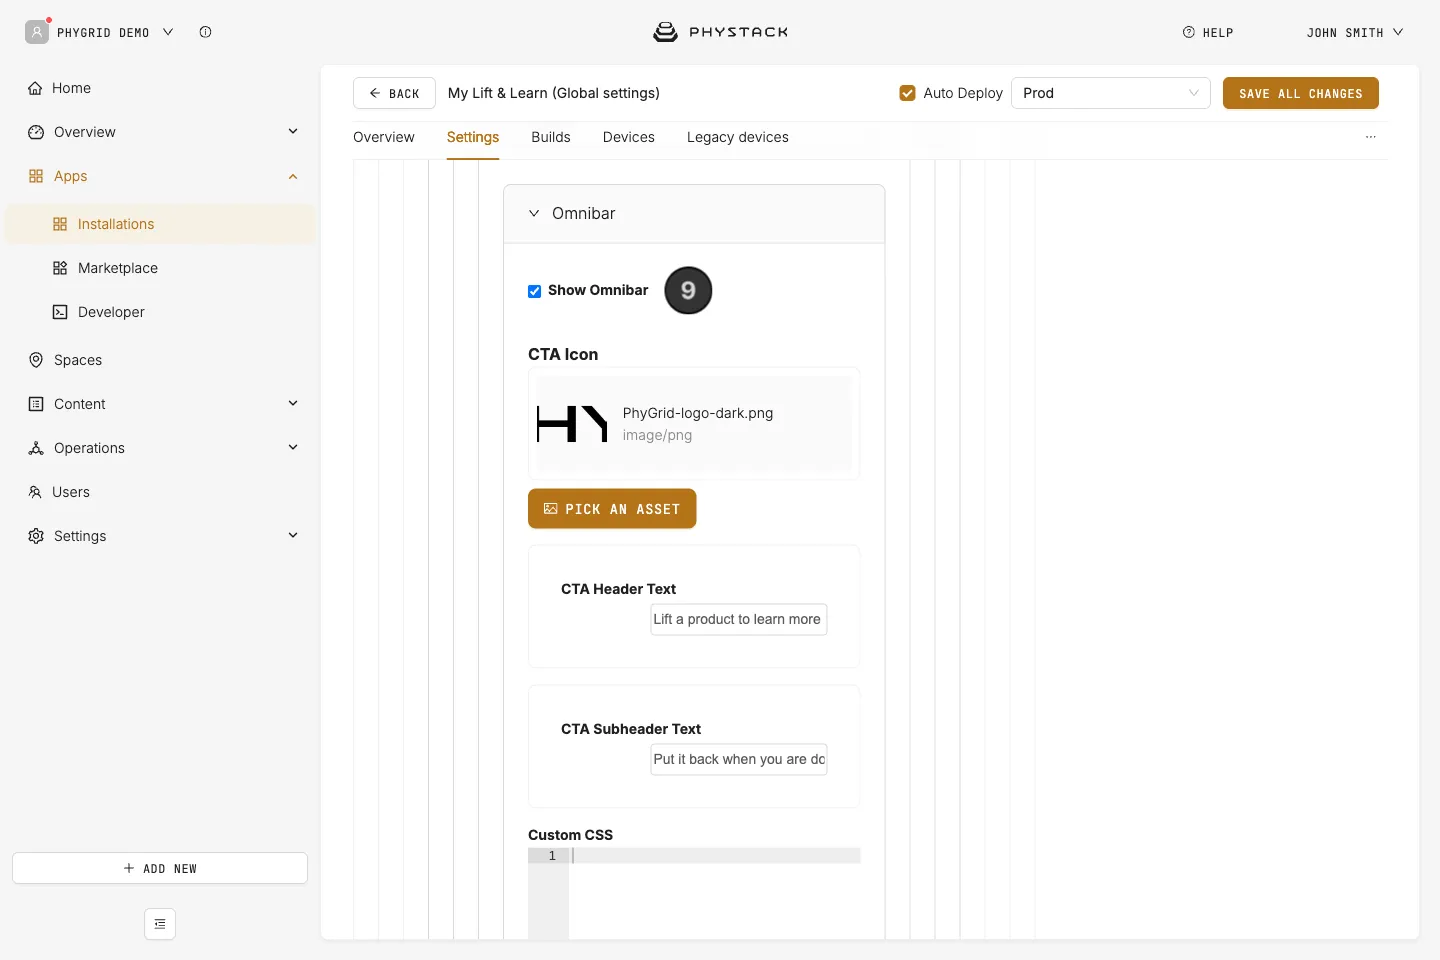
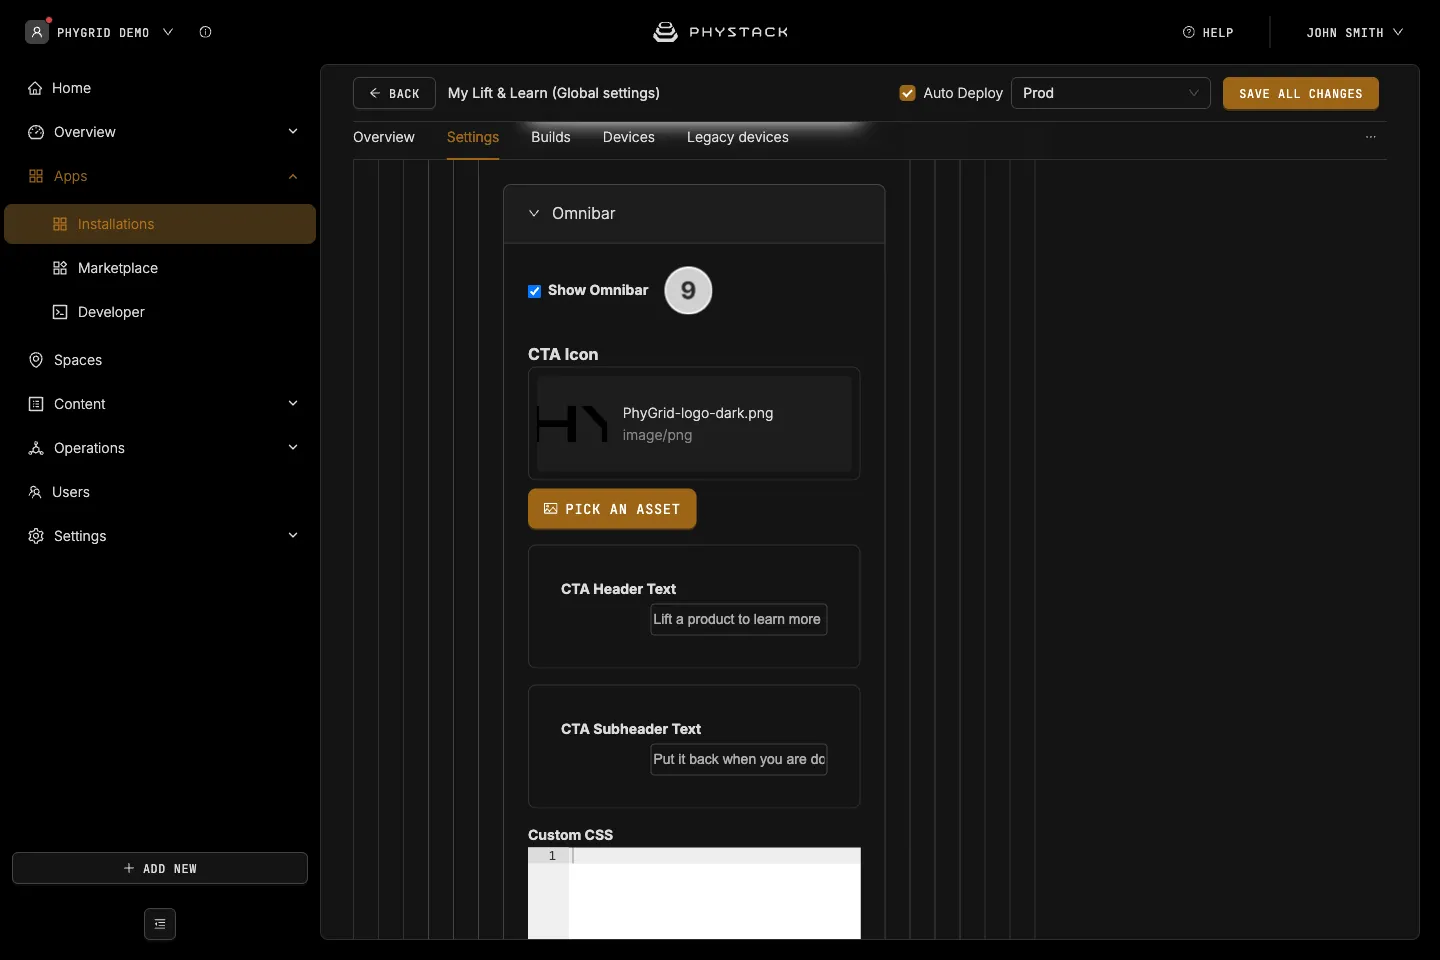
- Optionally, enable the omnibar and show an informational overlay with custom text
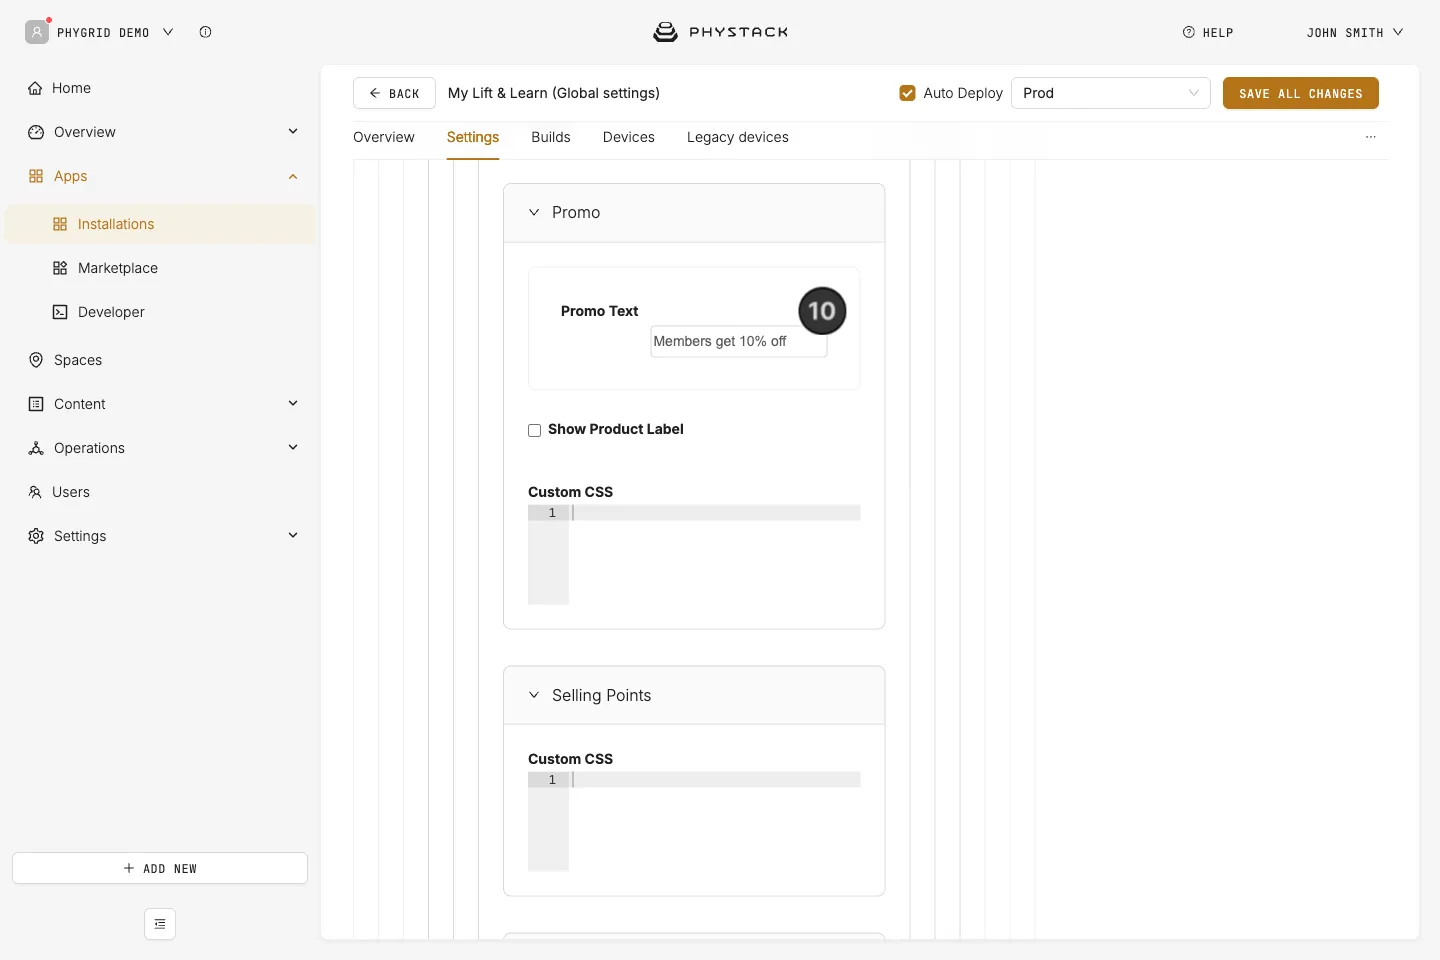
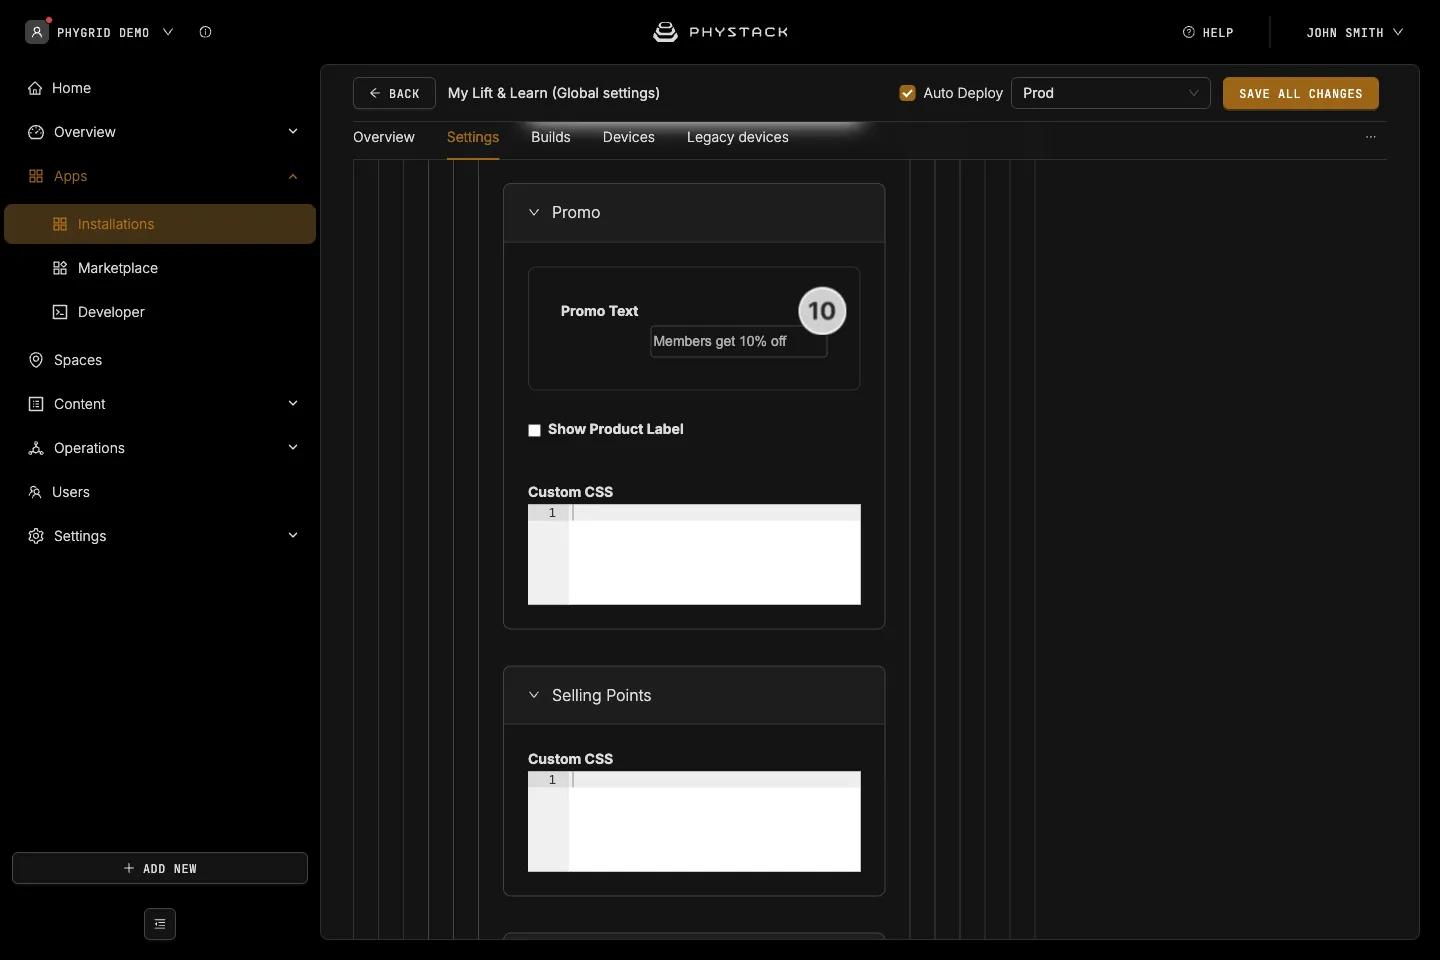
- Set custom promo text that will be shown in the pricing area on screen
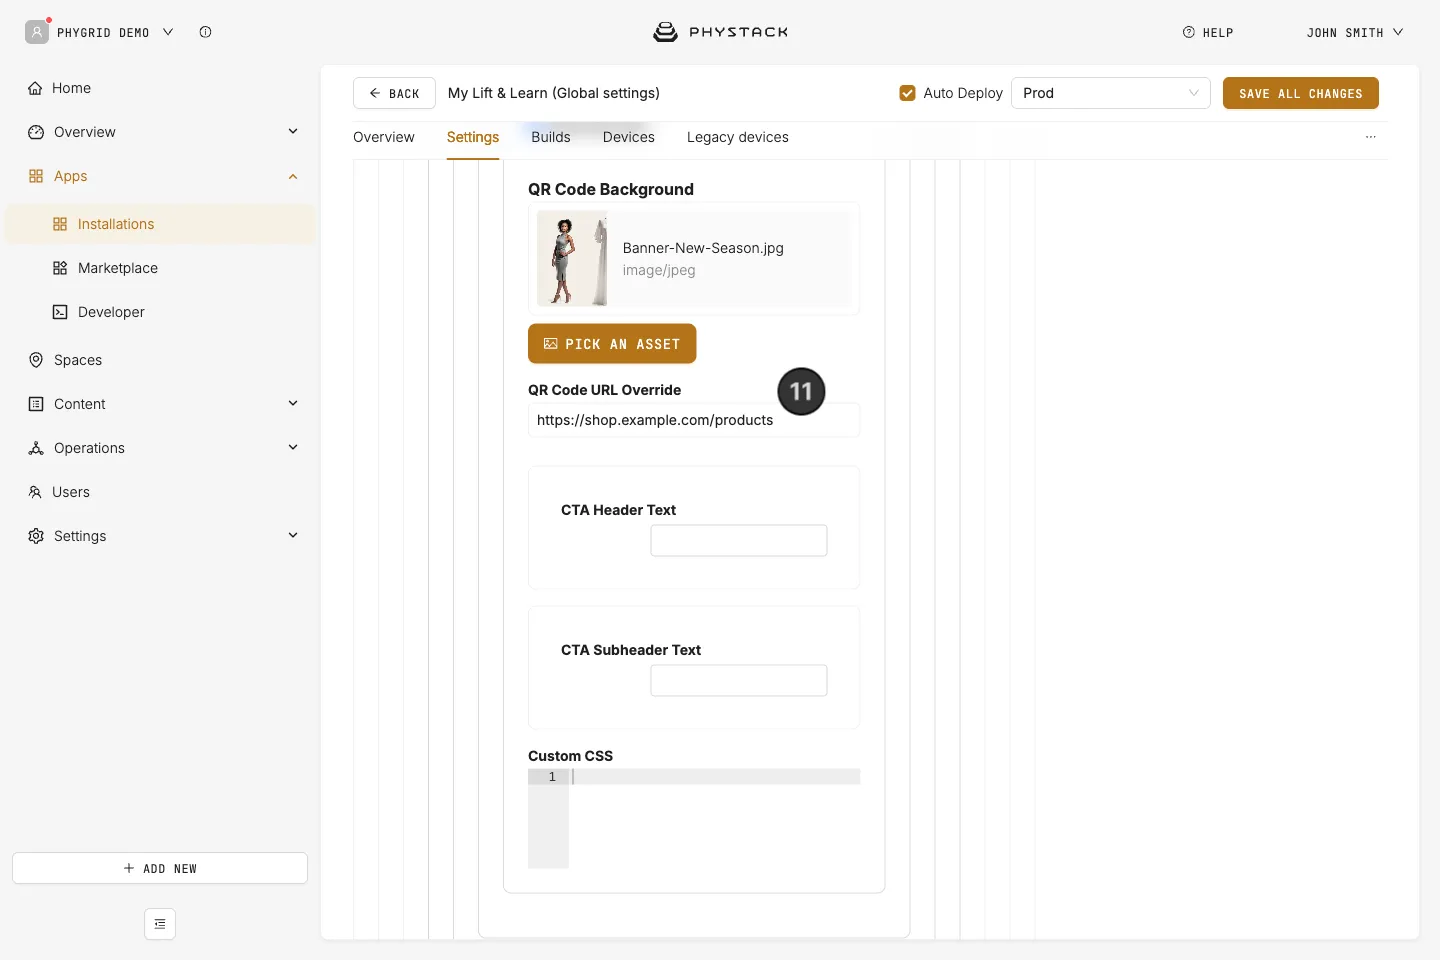
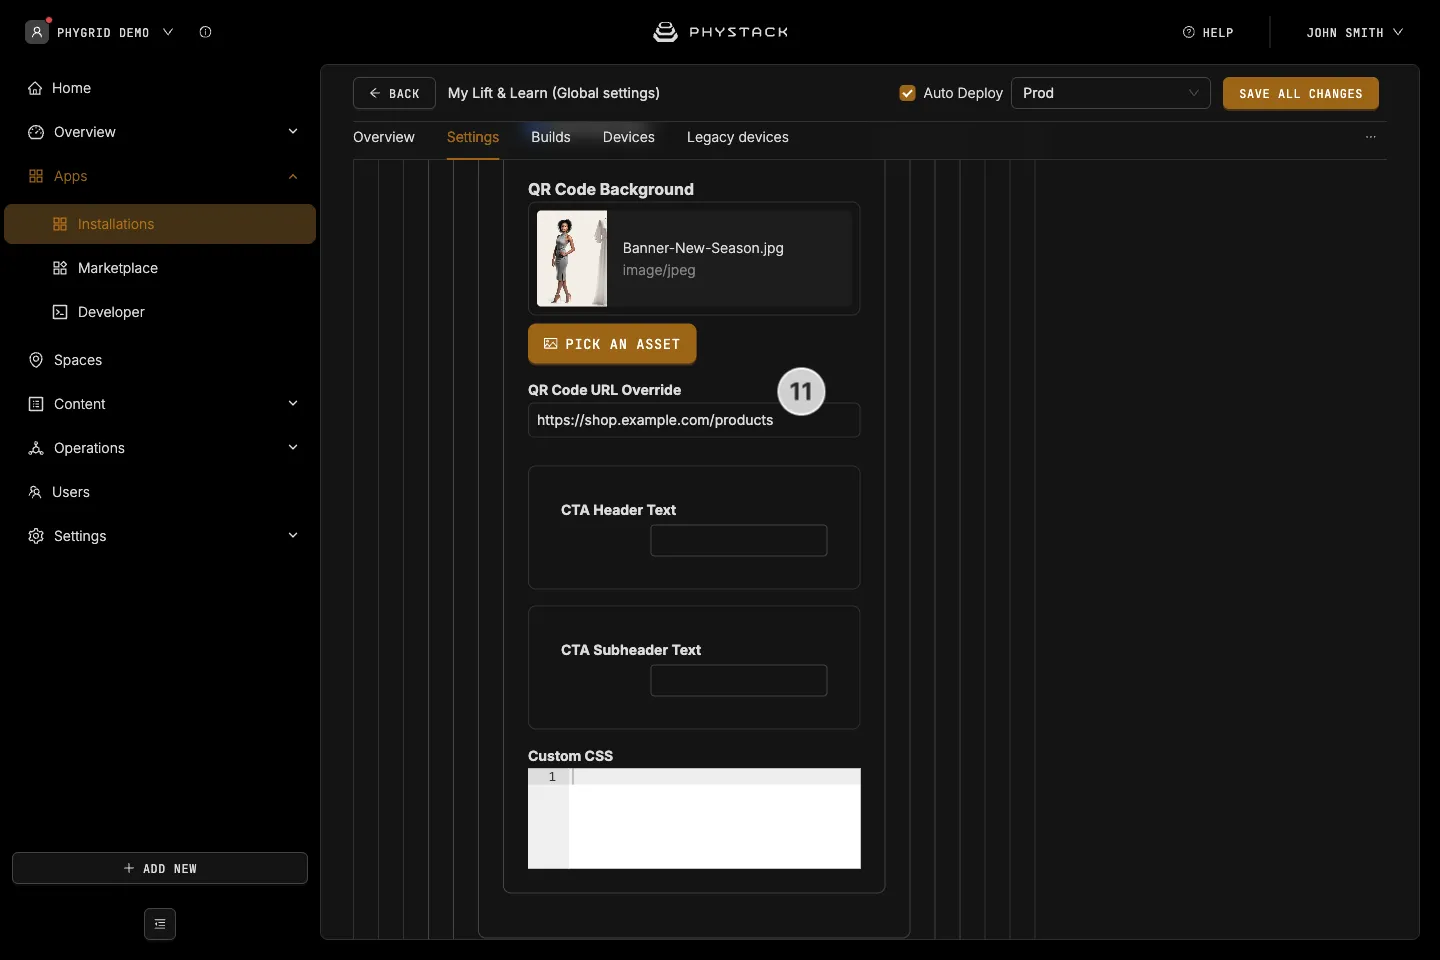
- Set a custom URL that will be displayed as QR code on the product page
How to add products to Lift & Learn
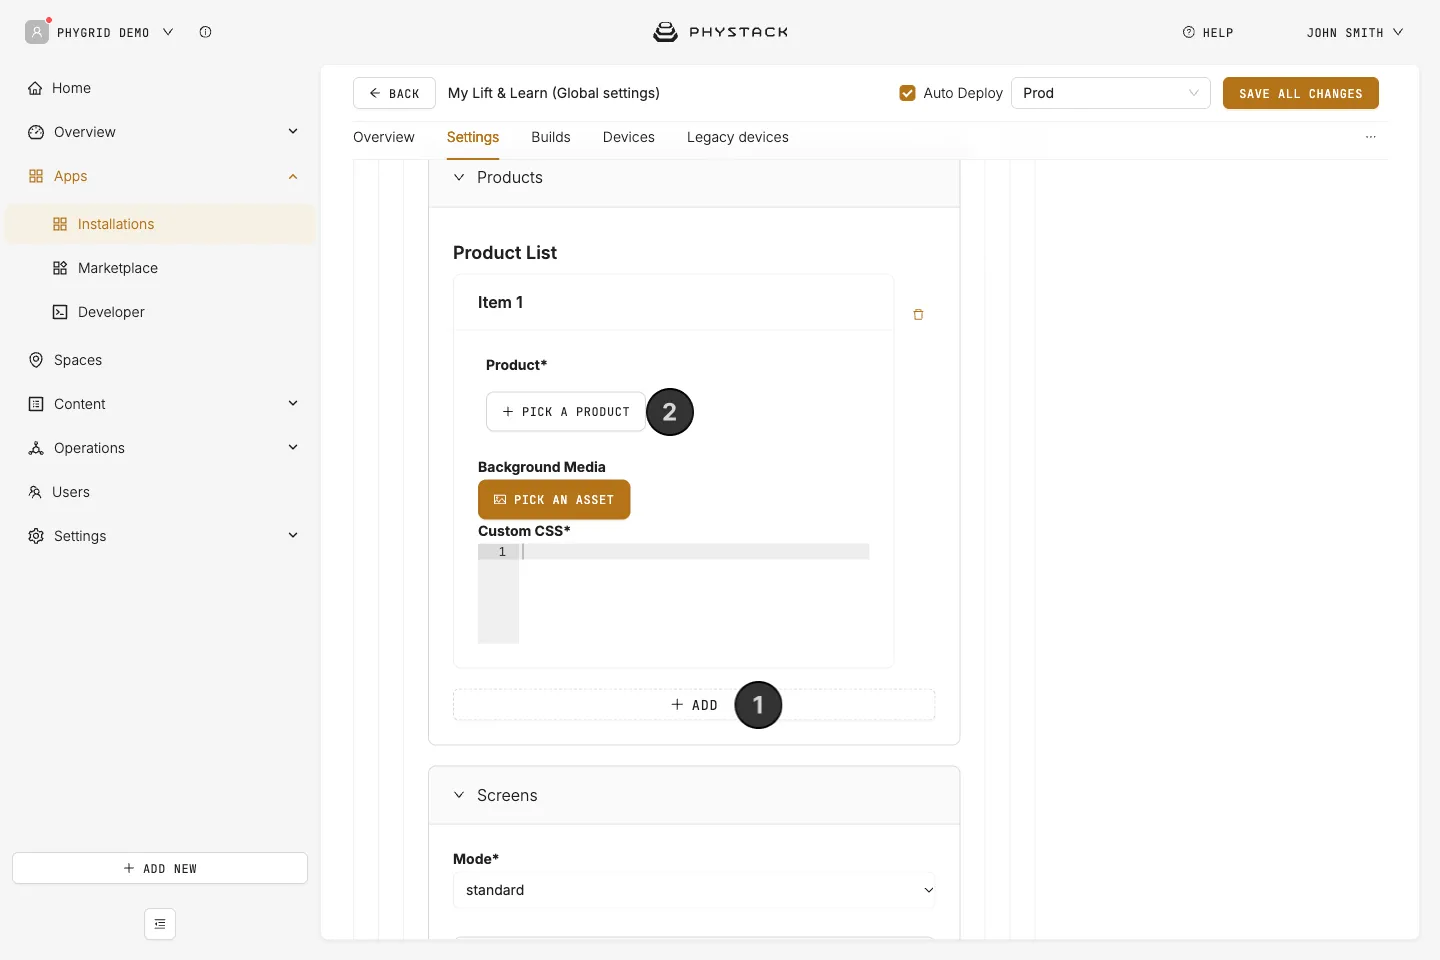
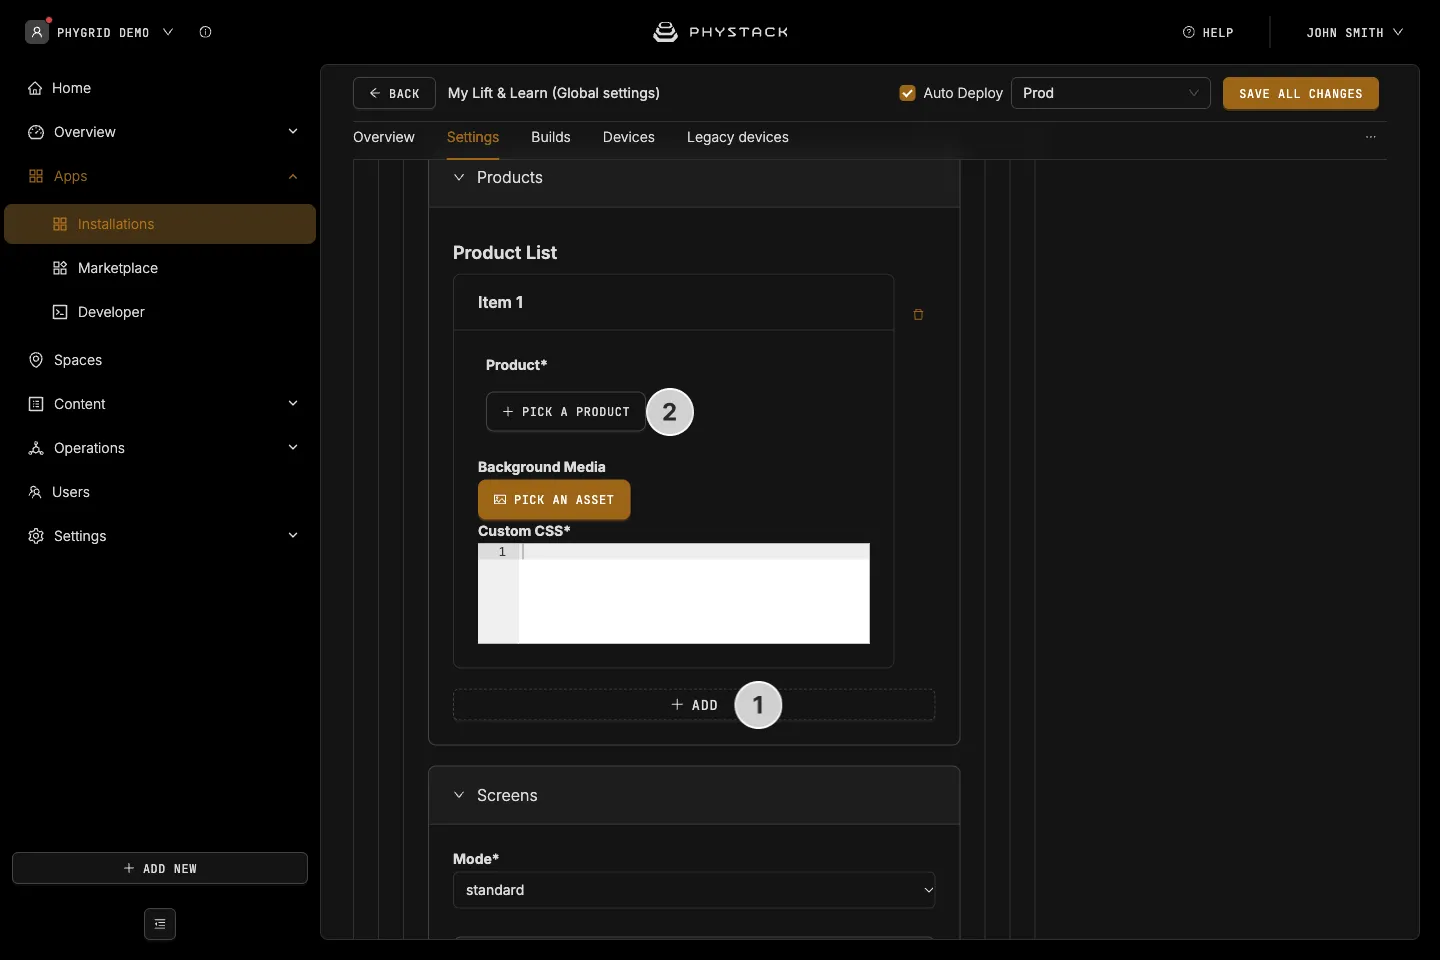
- Scroll to the Product list section and click Add which will create a new product entry
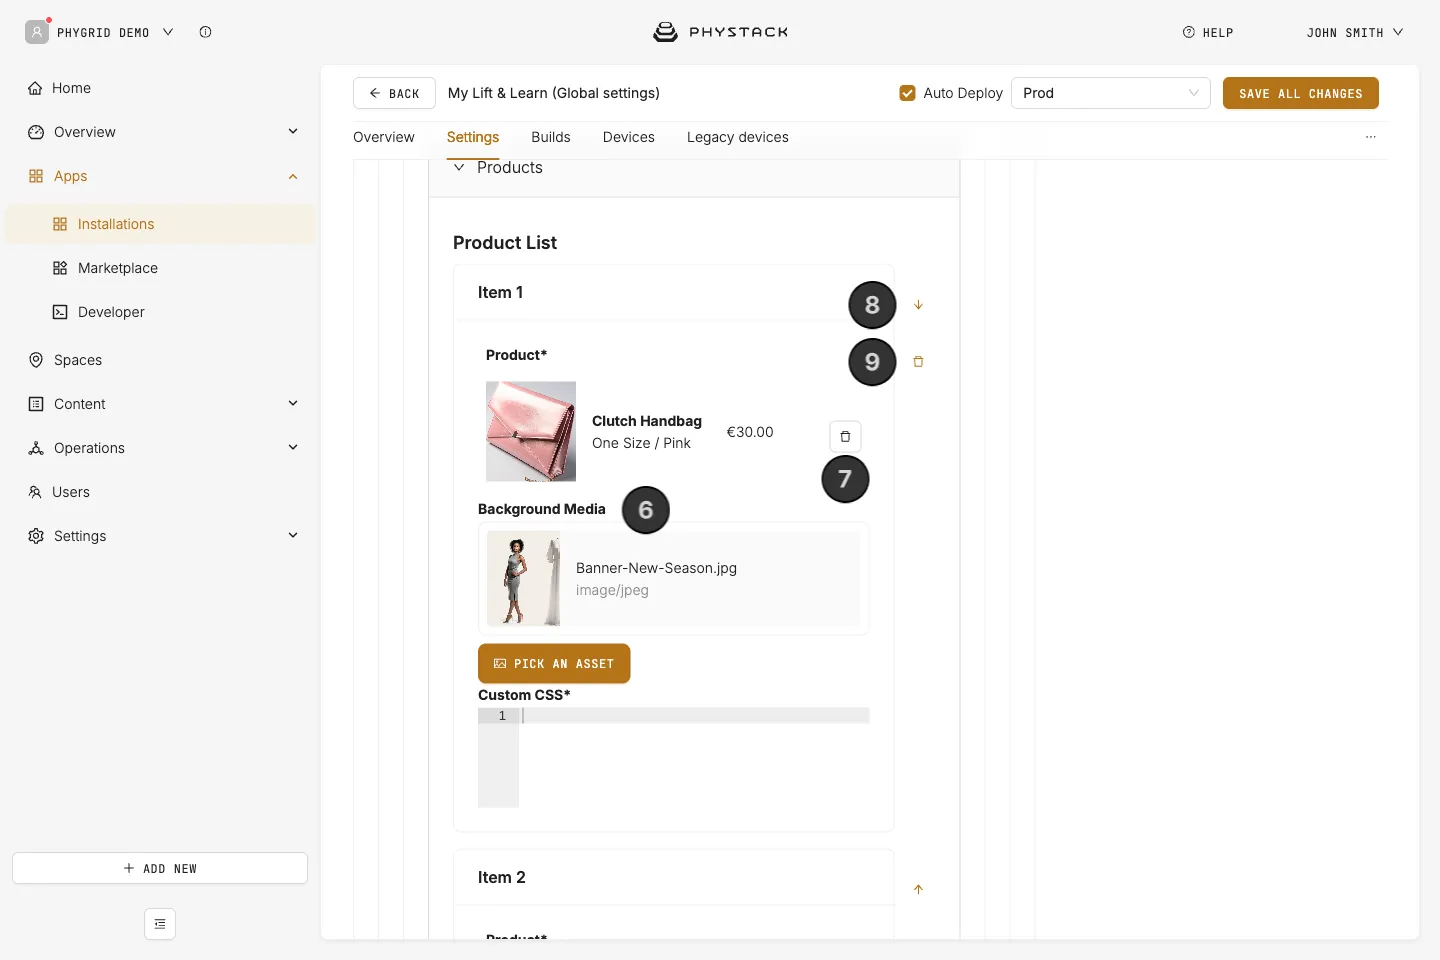
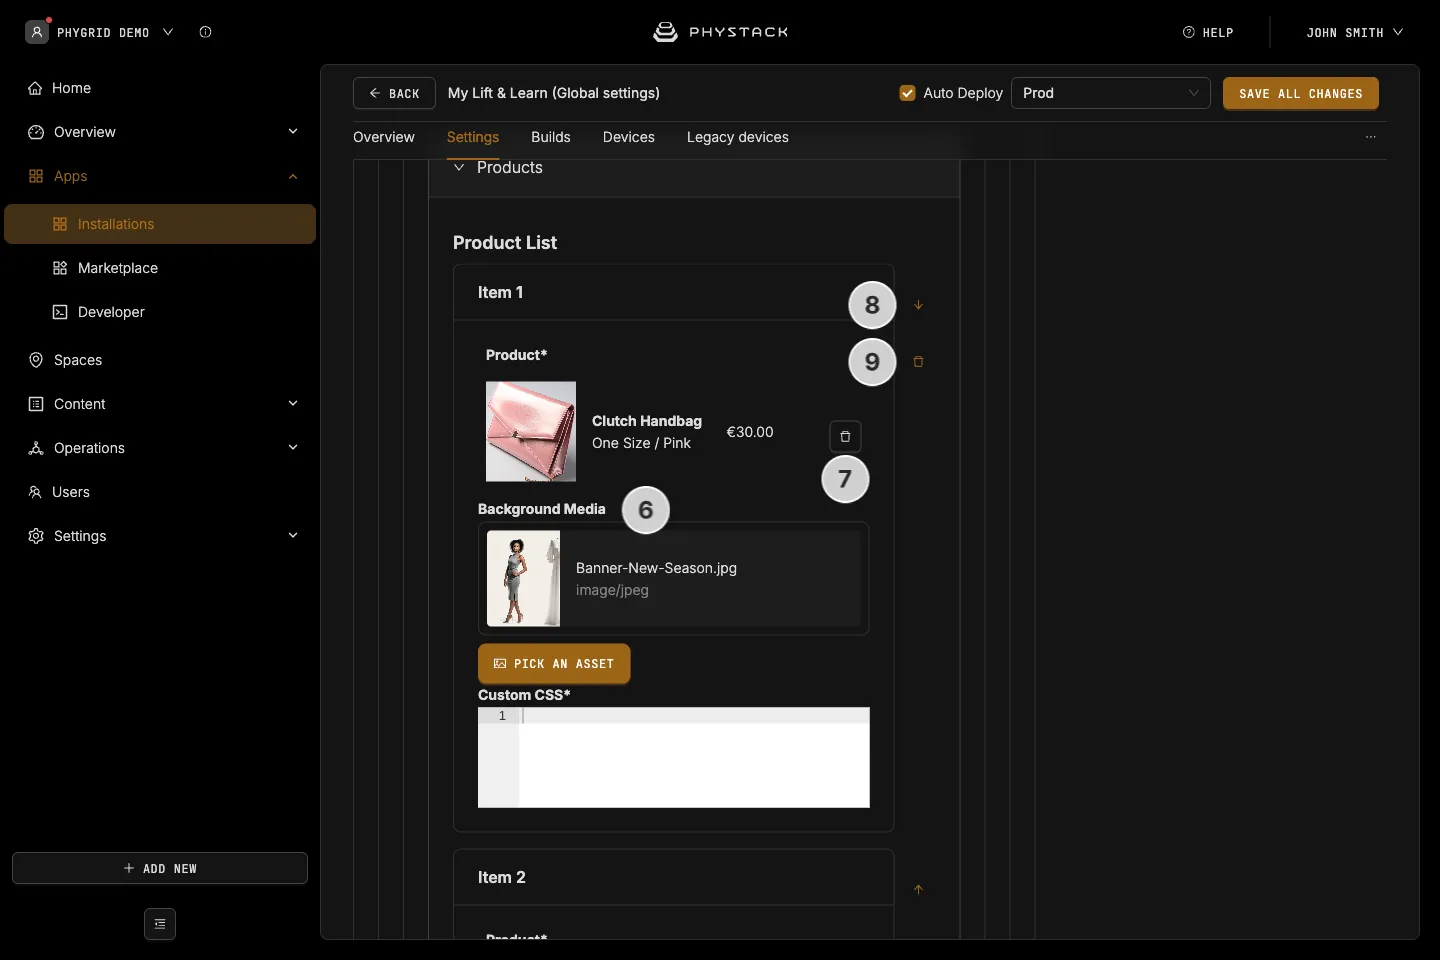
- Each product entry consists of the product and its custom media background
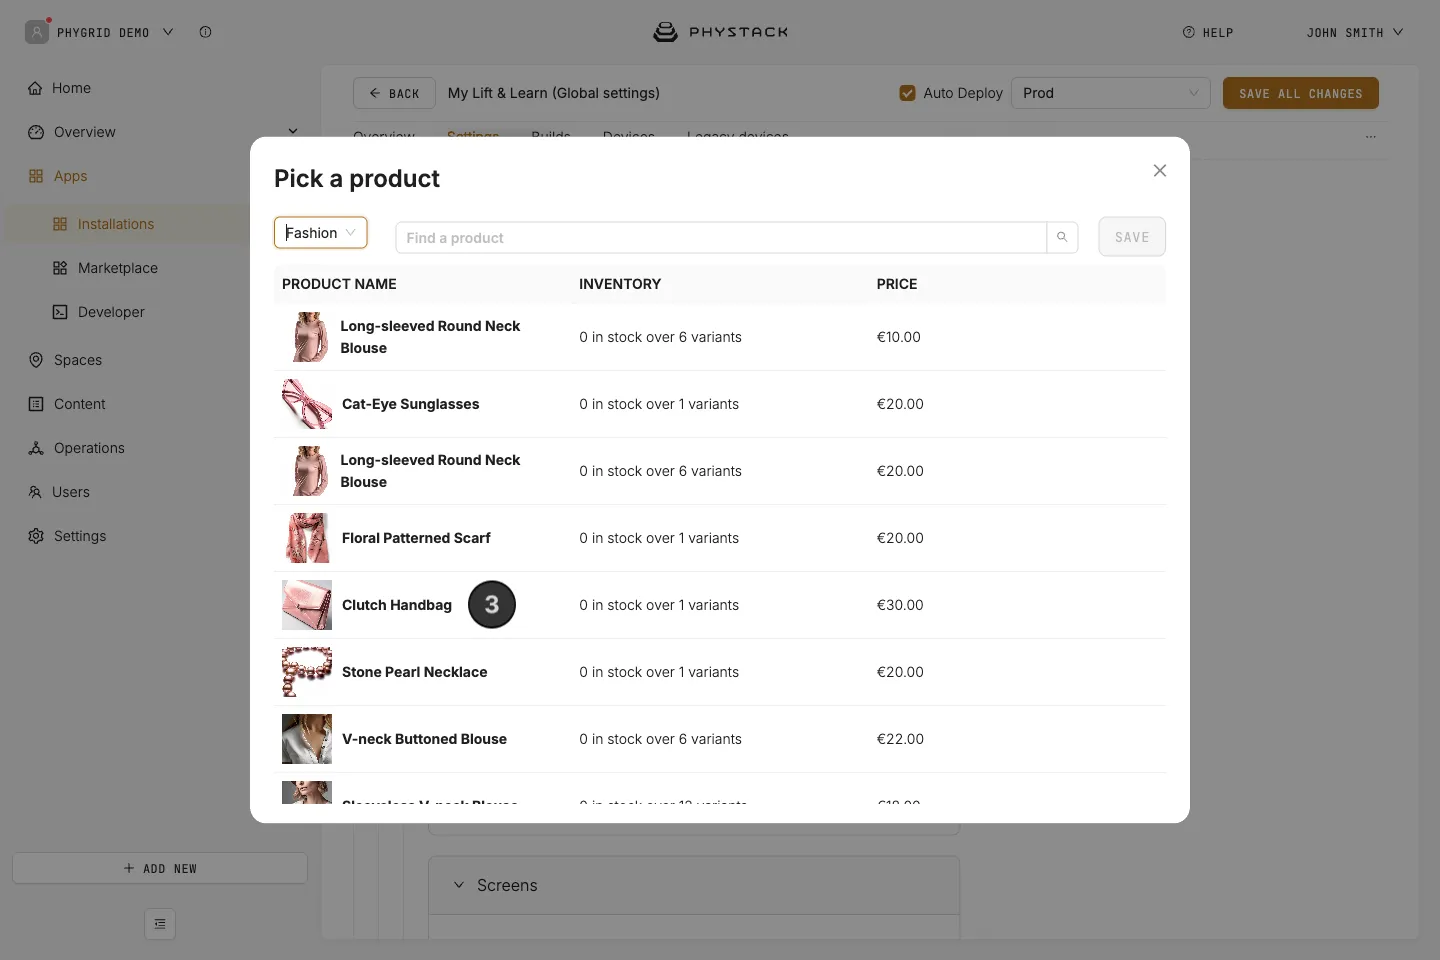
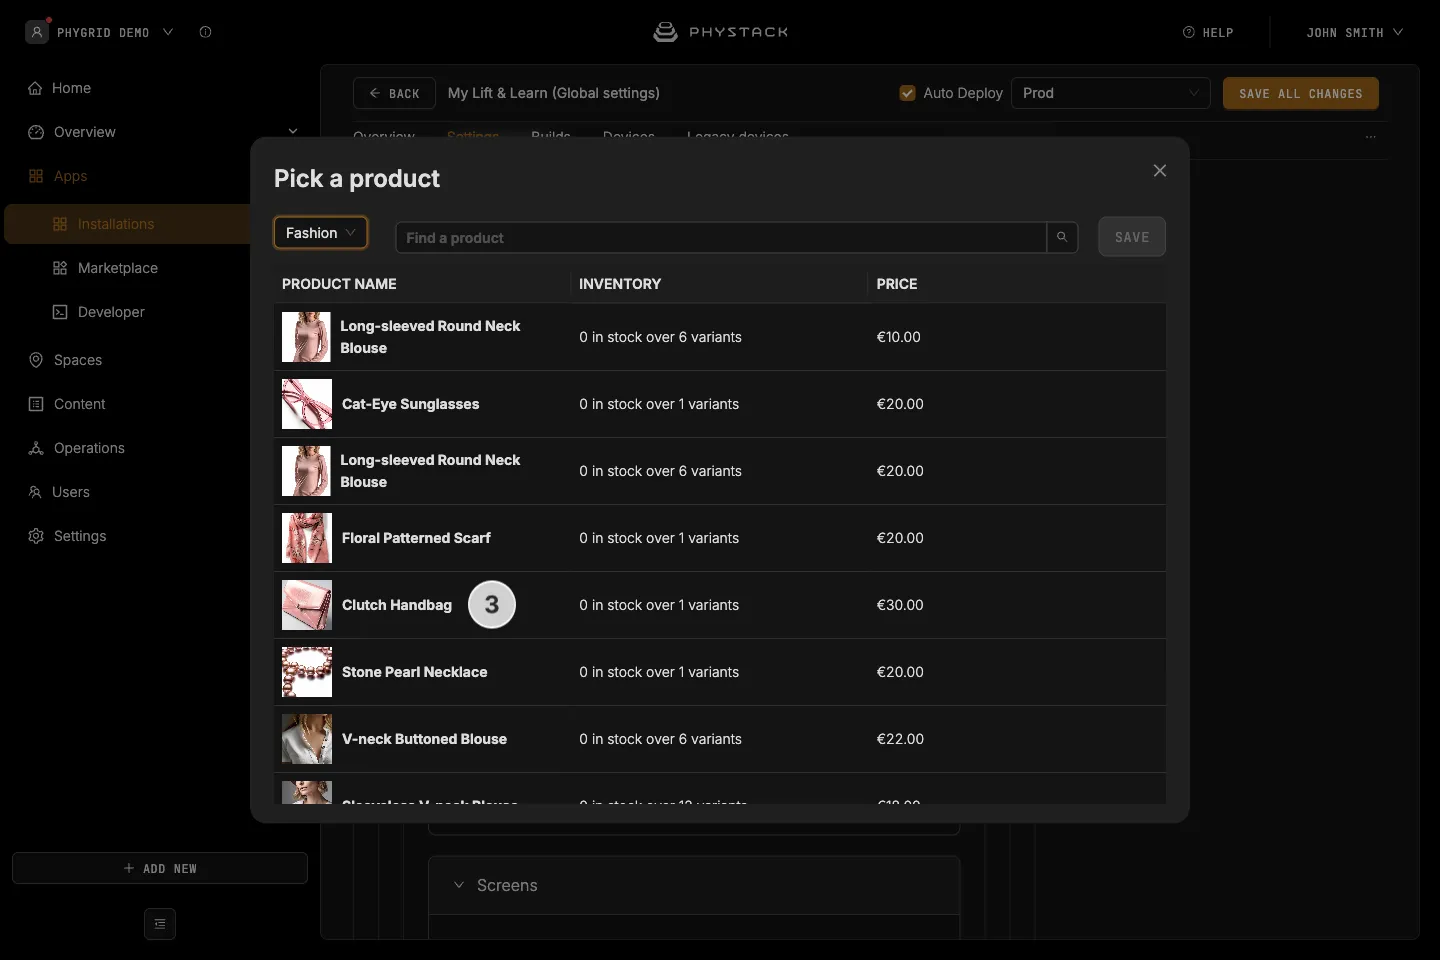
- Set the product by clicking Pick a product
- In the dialog, select the environment that holds your products, then pick a product by clicking on it
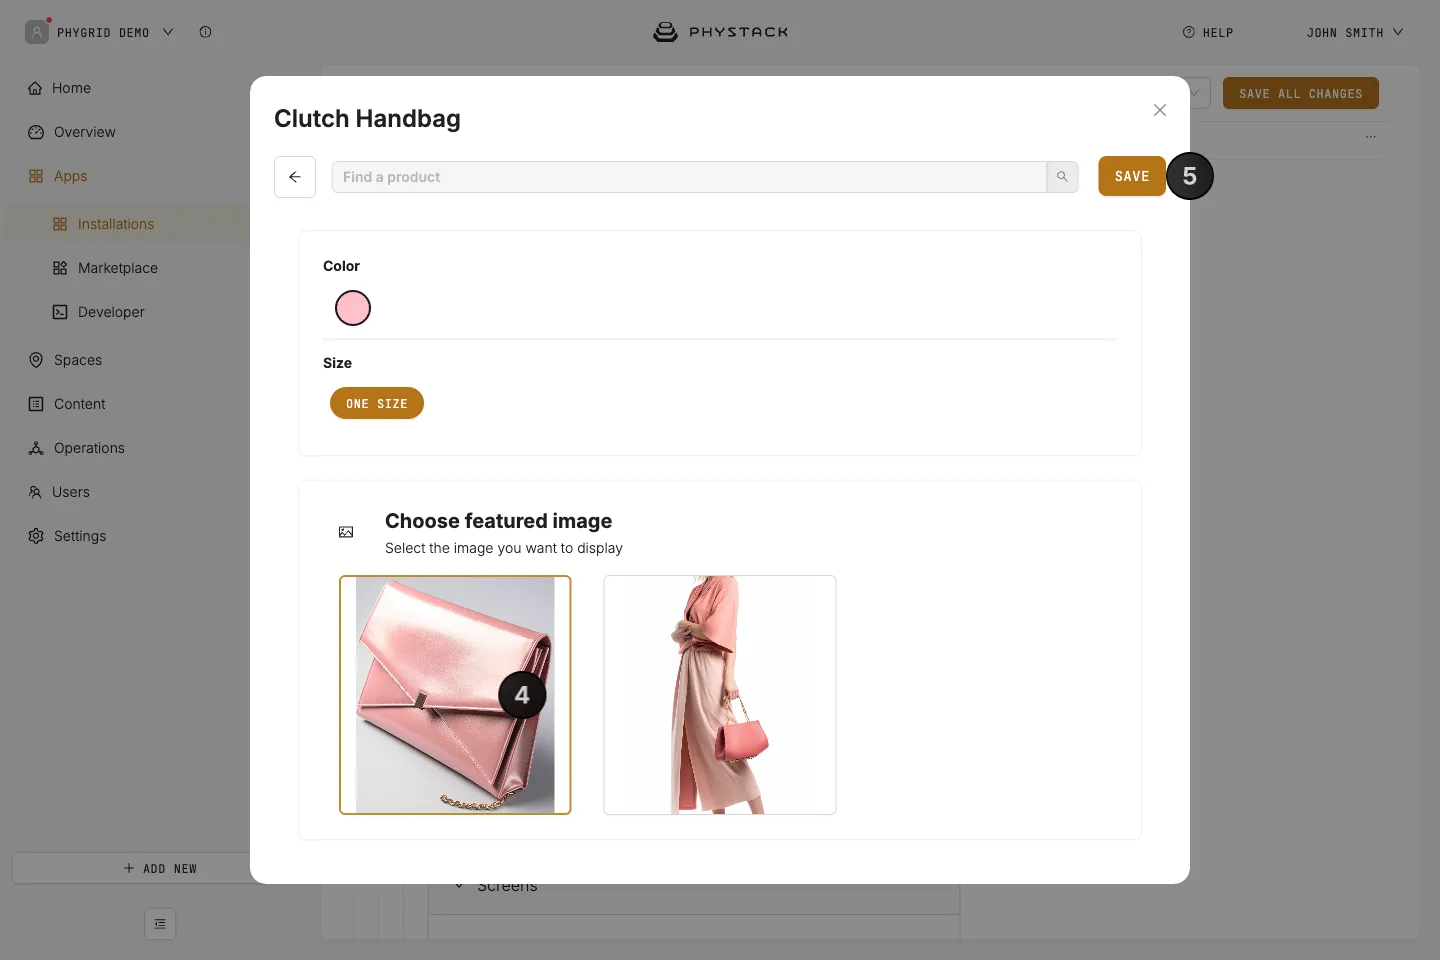
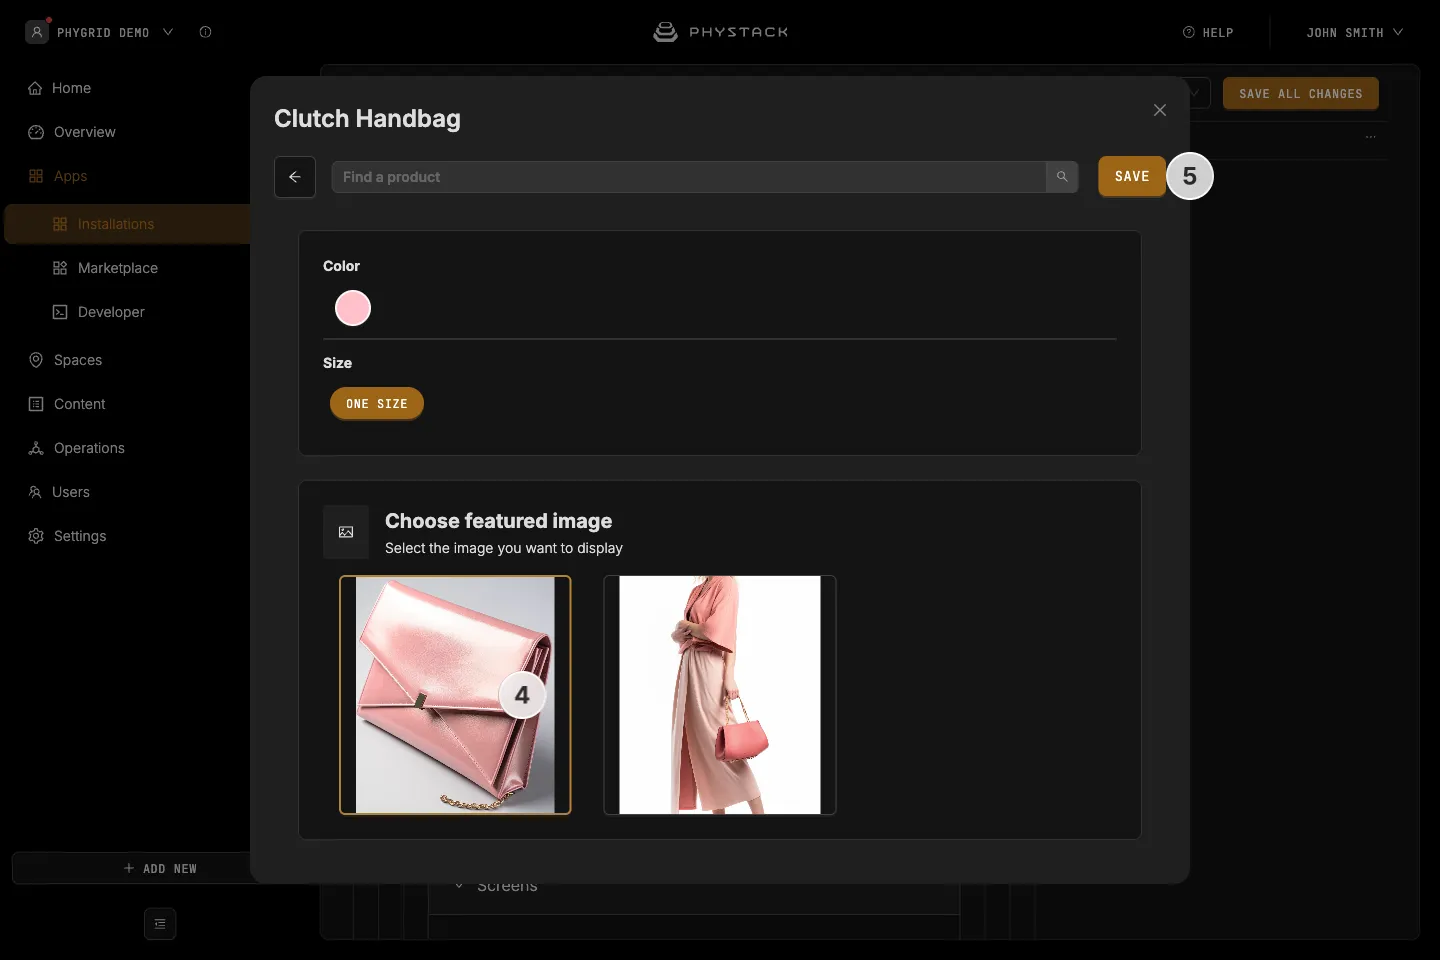
- Set a featured image by clicking on it
- Save the changes by clicking the Save button. The product data is copied into the settings when you pick it, so pick the product again after you change it in Content → Products
- Each product can have a custom background - a video or image that will be shown in the background in full screen
- You can remove the product from the product entry and replace it with a different one by clicking on the trash bin icon next to the product selection
- You can reorder the product entries in the list by using the arrows - note that this does not affect the order of products in the physical setup or the number that is associated with the product
- You can remove the entire product entry by clicking on the trash bin icon
How to customise Lift & Learn appearance
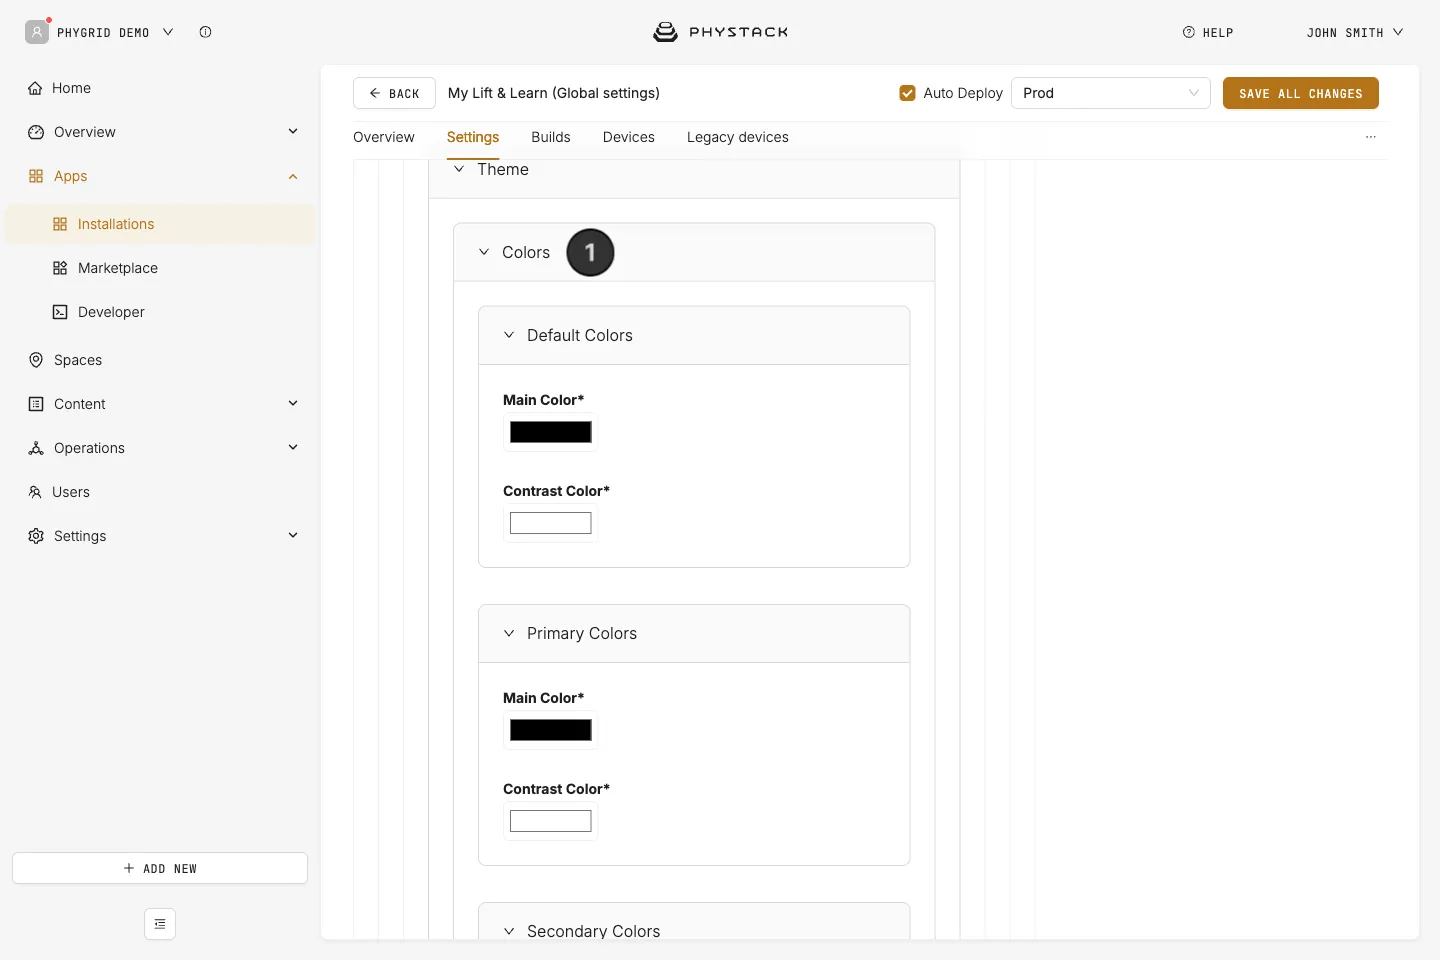
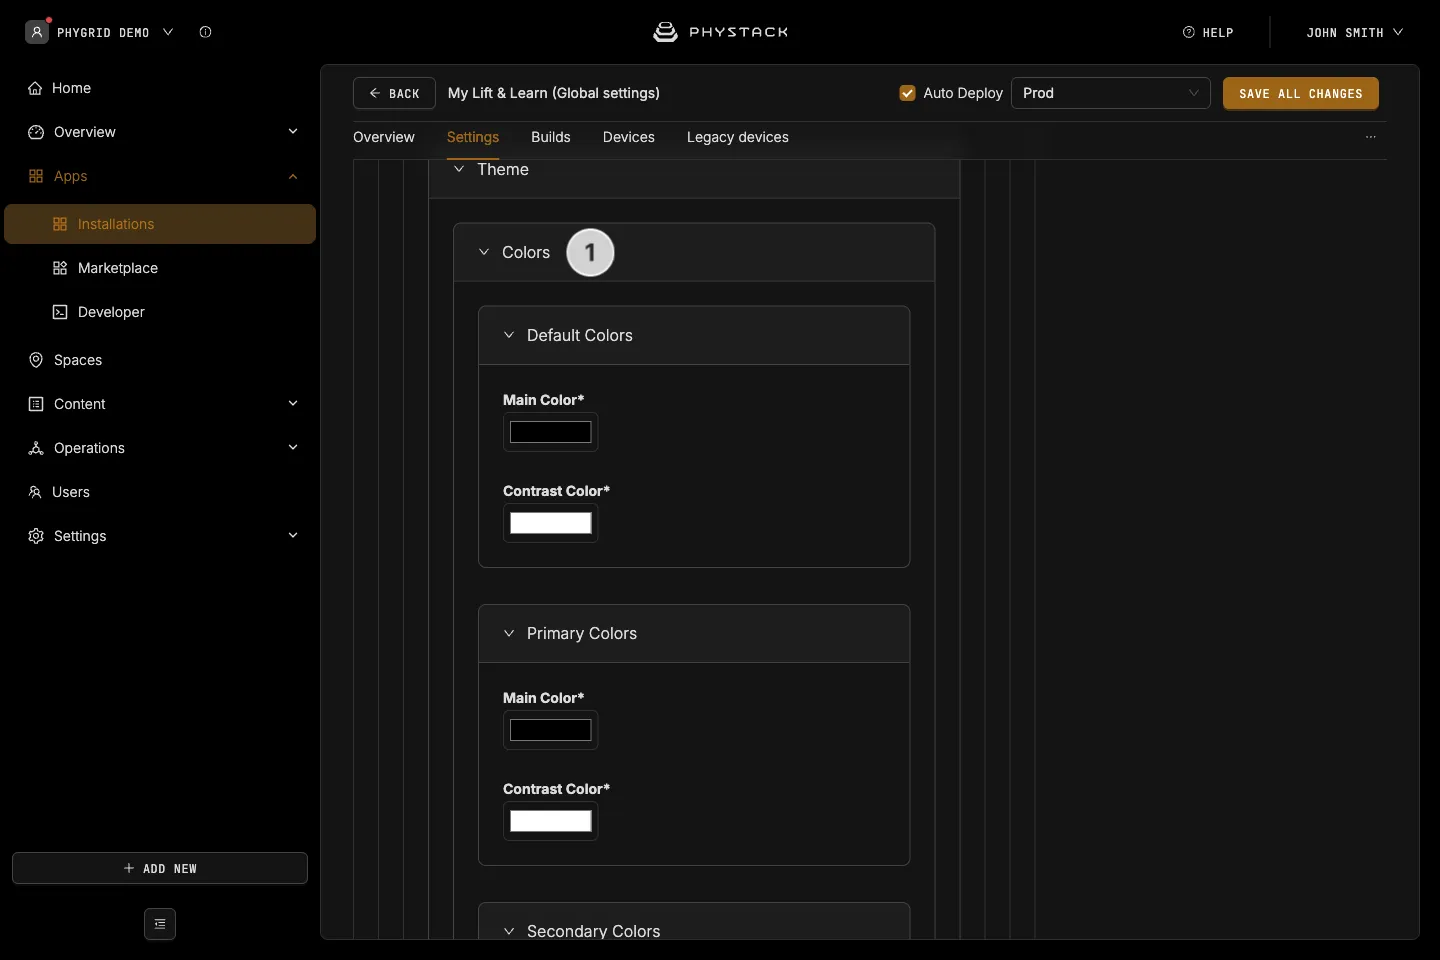
- Set custom colors for the app
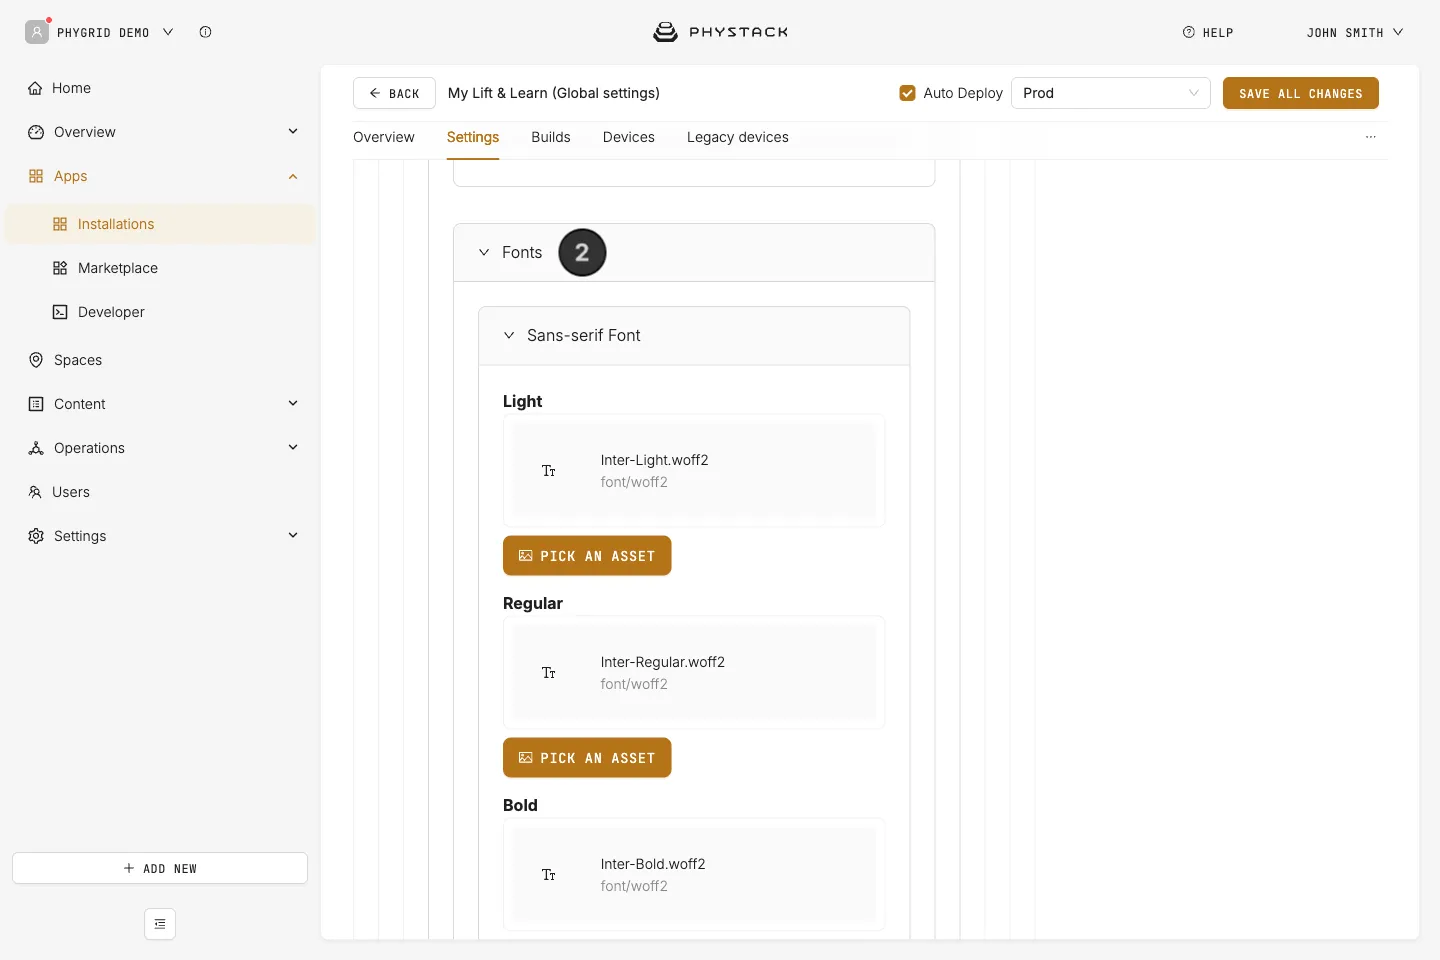
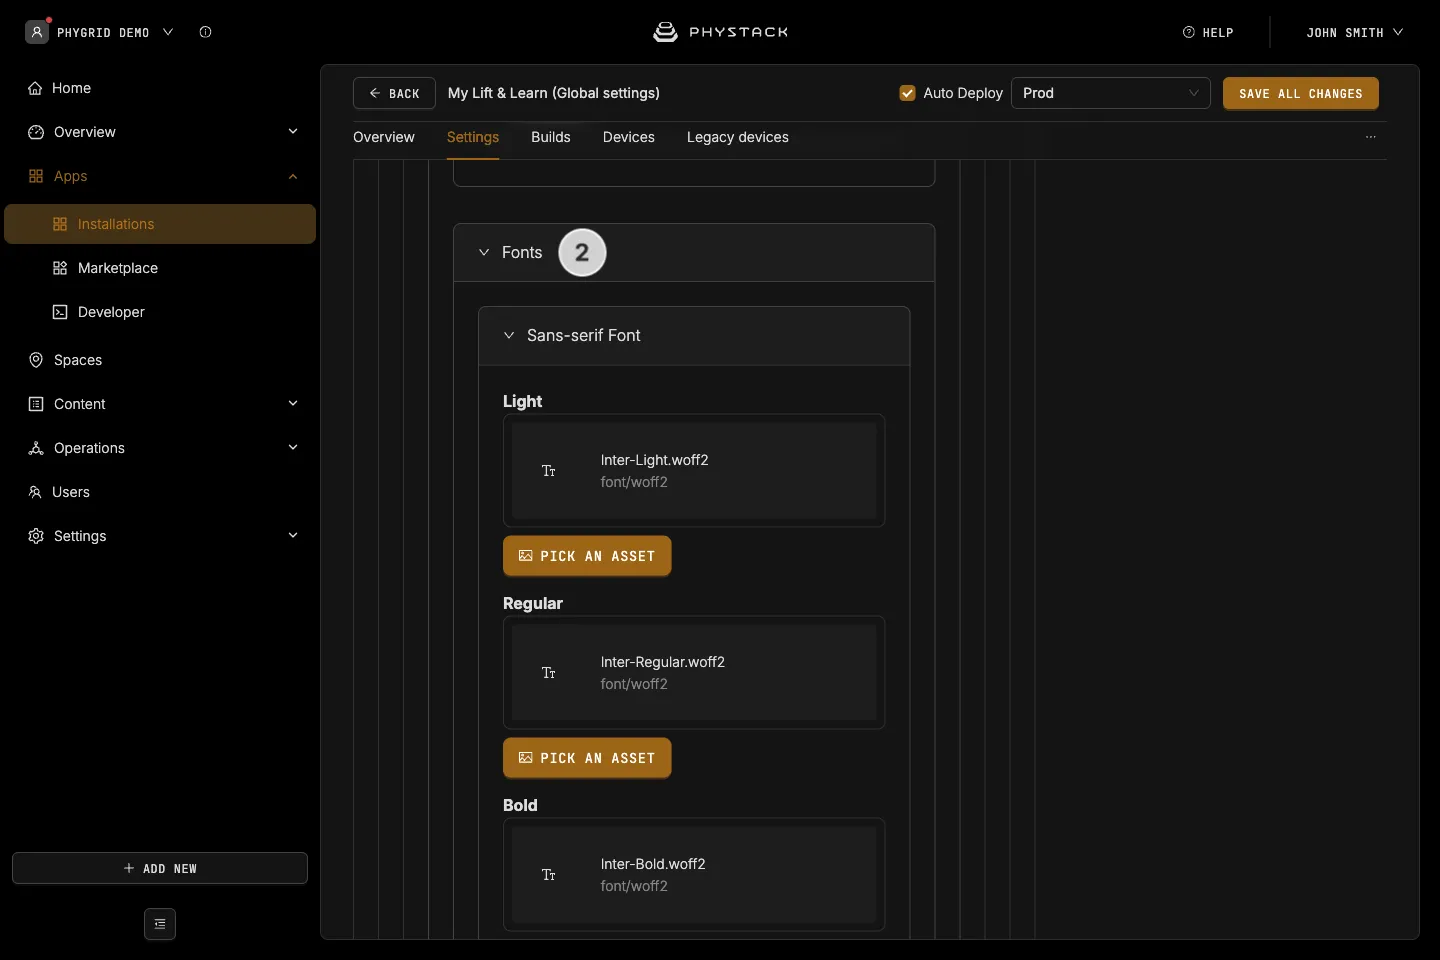
- Set custom fonts for the app
Additional customisations are possible with CSS. Check the settings reference to learn more.
How to customise additional options
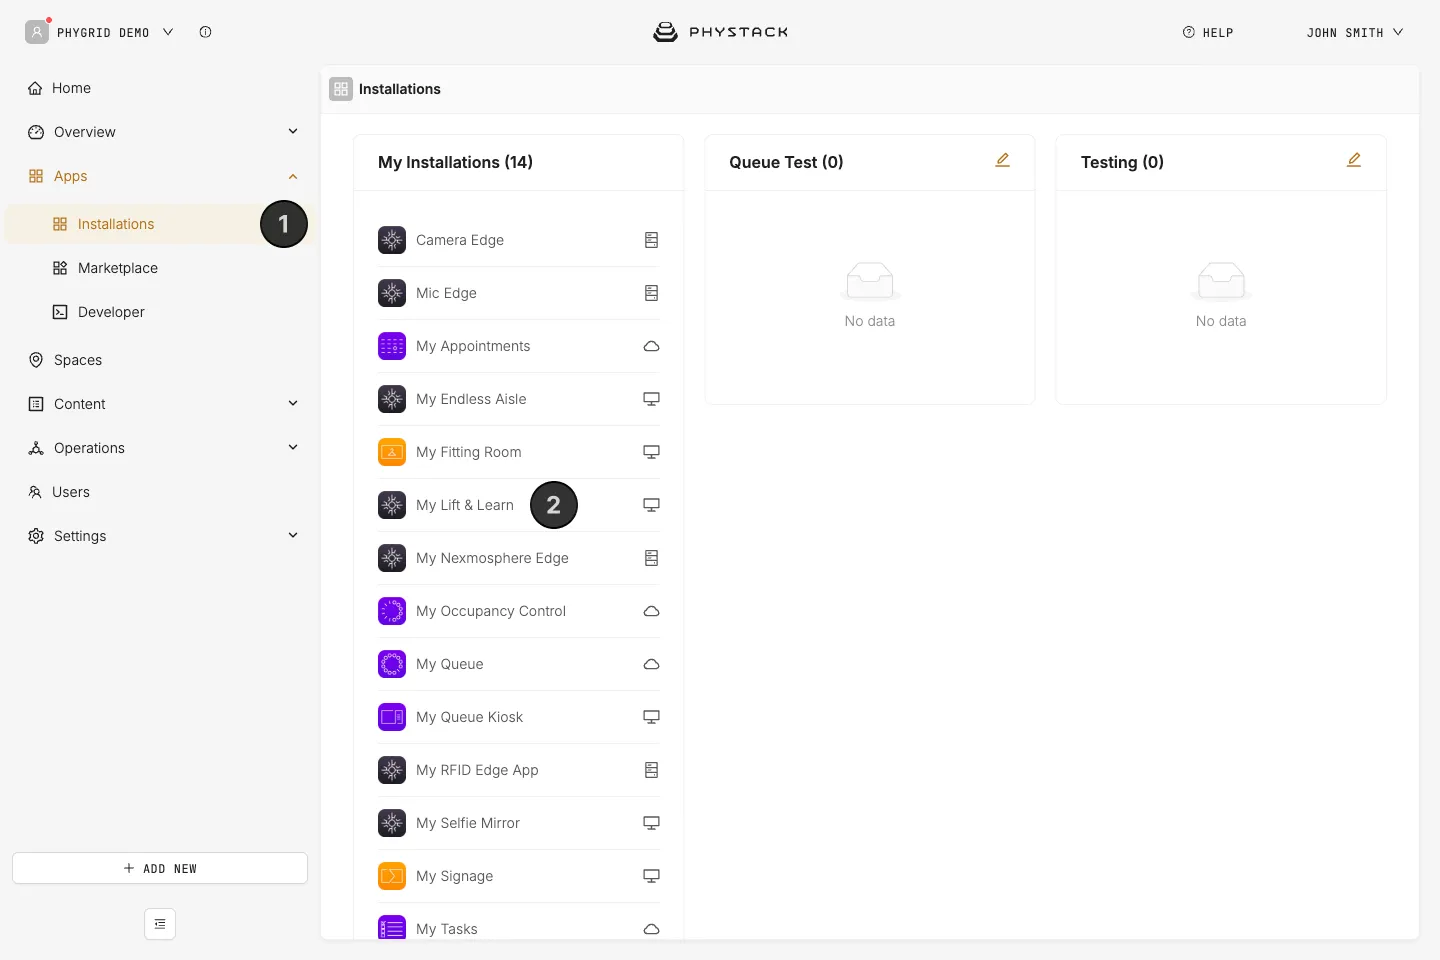
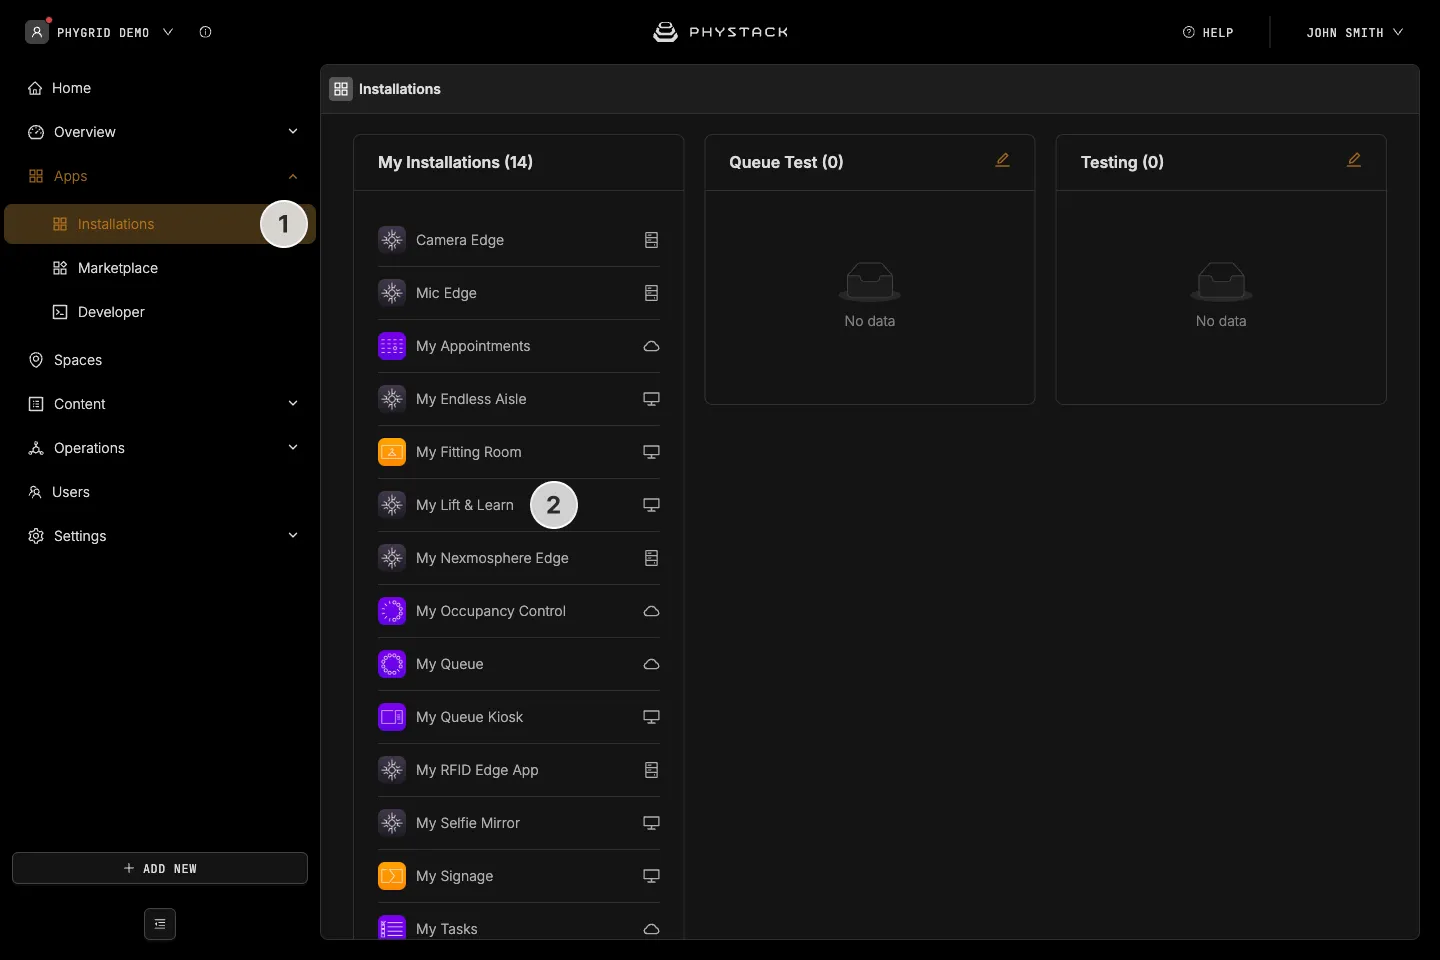
- Set idle screen timeout - the time it takes for the screen to revert to its idle state, if the product wasn’t placed back into its proper position
- Set auto-play speed for the product image gallery slideshow