

Selfie Mirror’s settings follow the visitor’s journey through five screens: 1. Idle, 2. CTA, 3. Capture, 4. Selection, and 5. Share. General, Speech, and Devices apply to the whole app. Every setting is described in Selfie Mirror settings explained.
Before you start, install the camera and microphone peripherals and prepare your cover images.
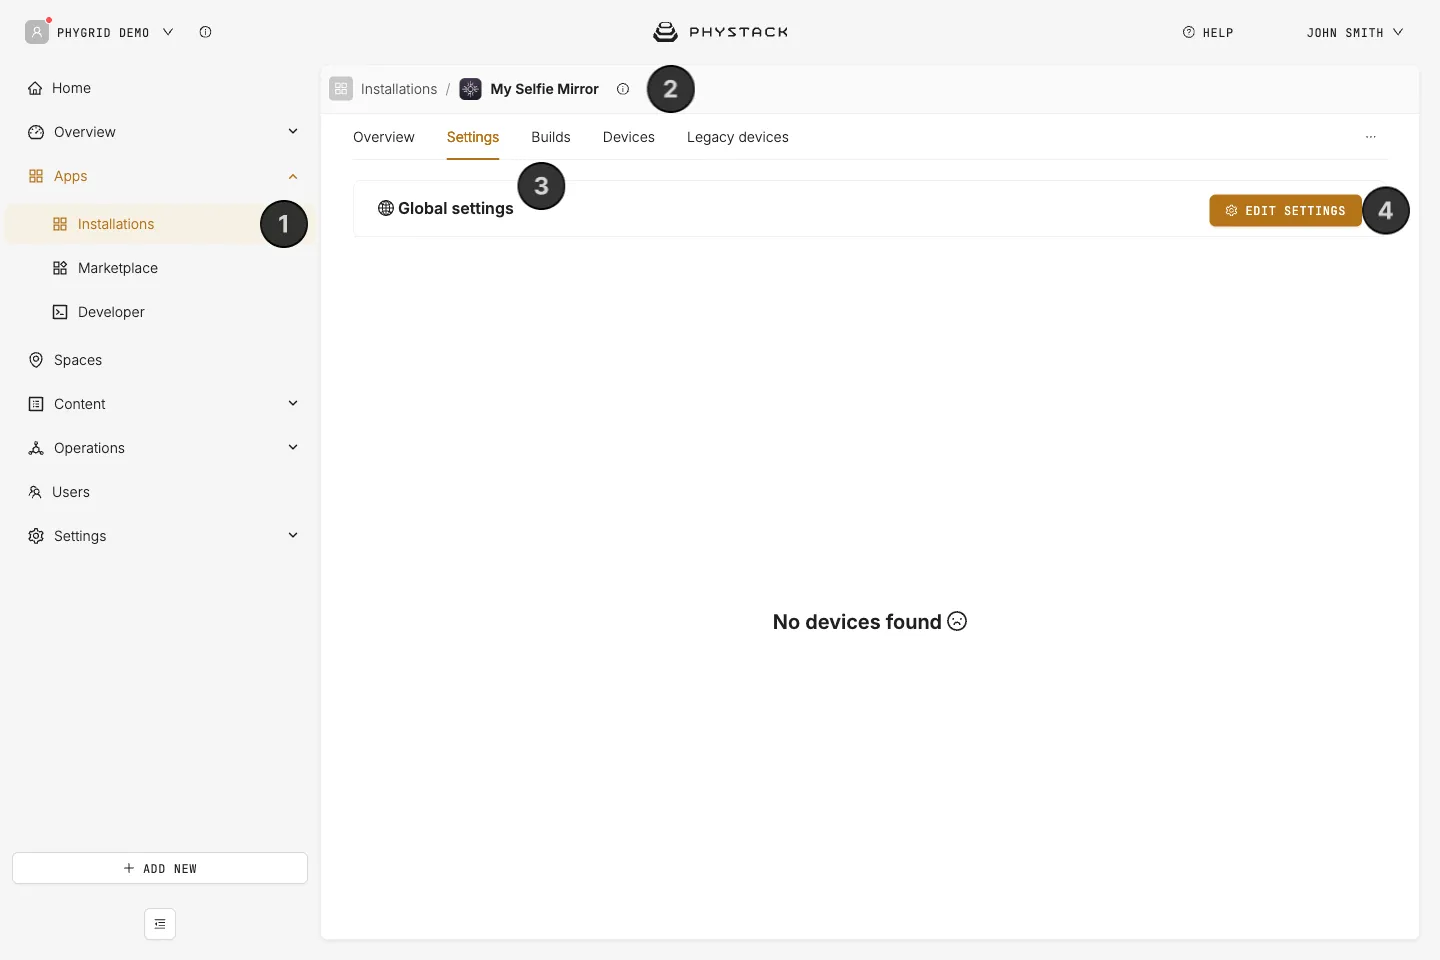
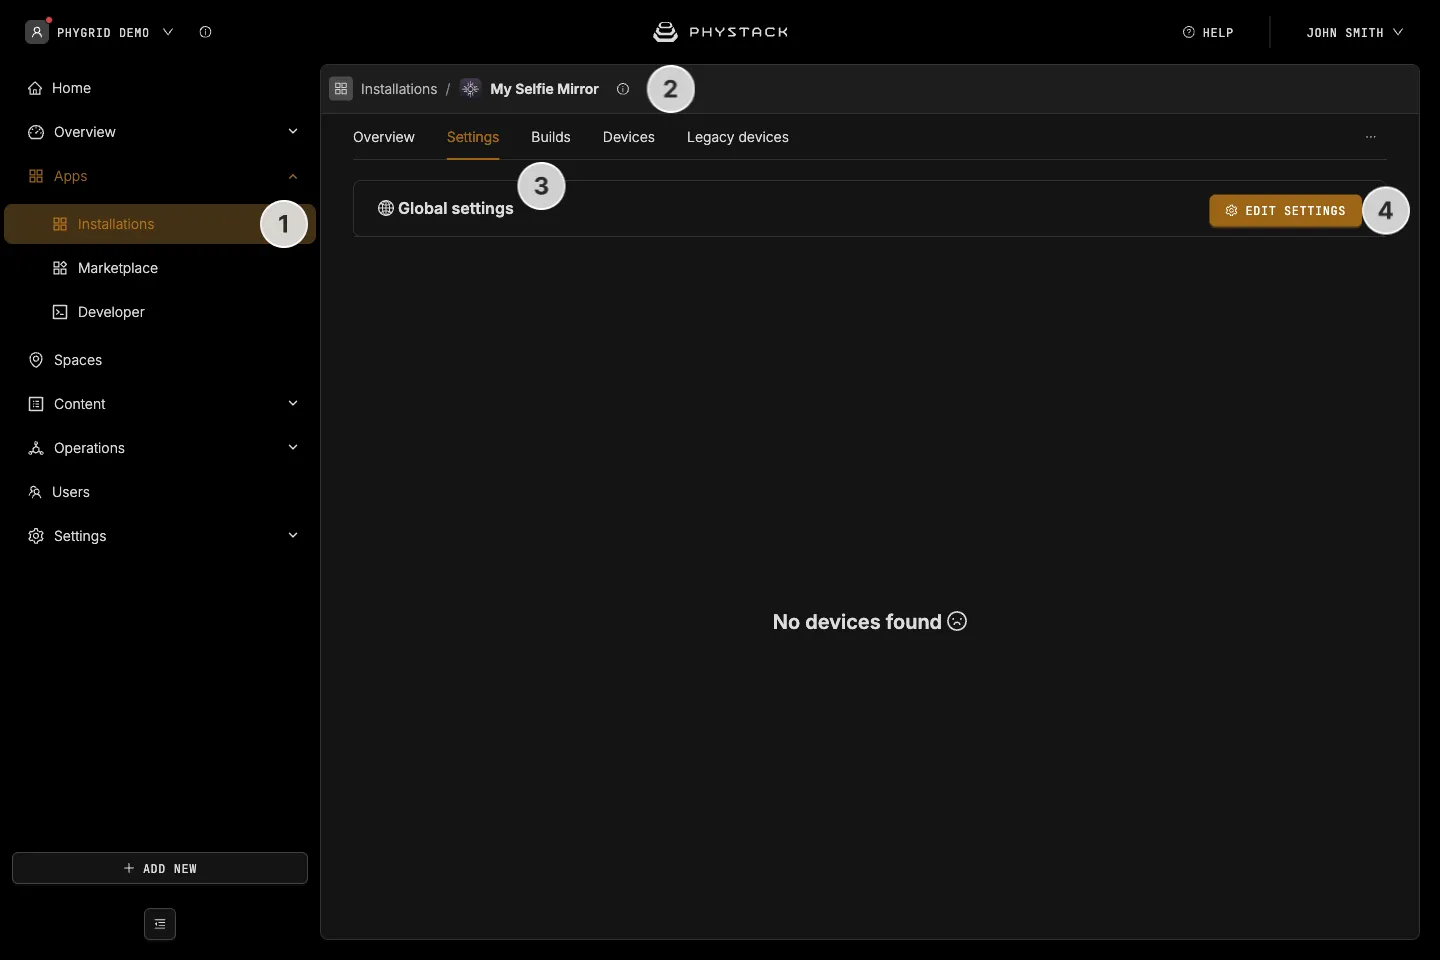
How to access Selfie Mirror settings
- In the sidebar, navigate to Apps → Installations
- Open your Selfie Mirror installation
- Go to the Settings tab
- Under Global settings, click Edit settings
How to choose the language
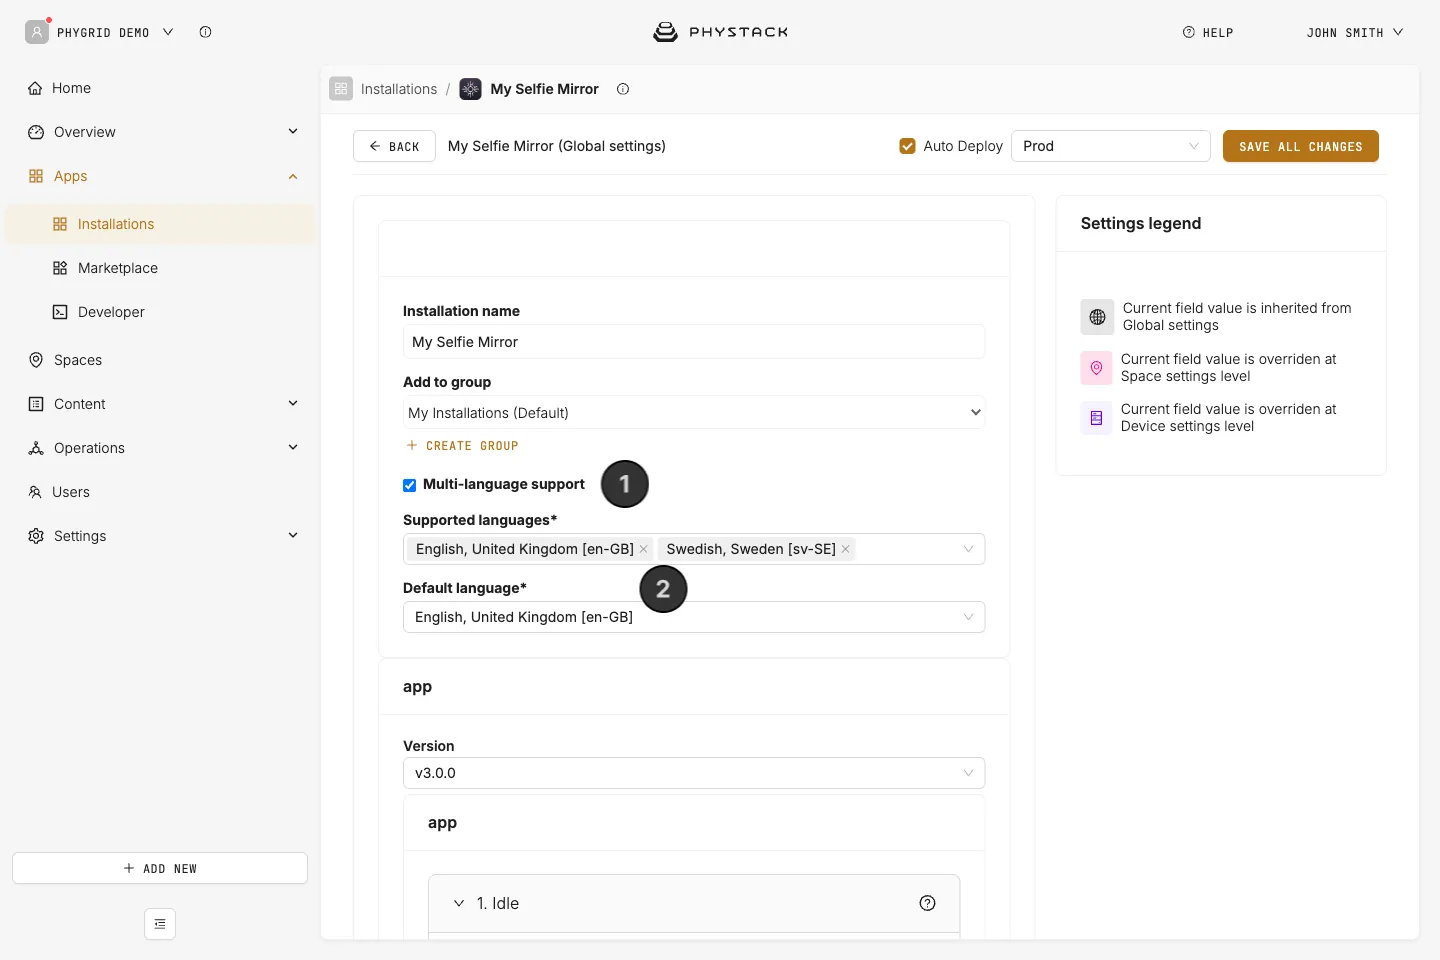
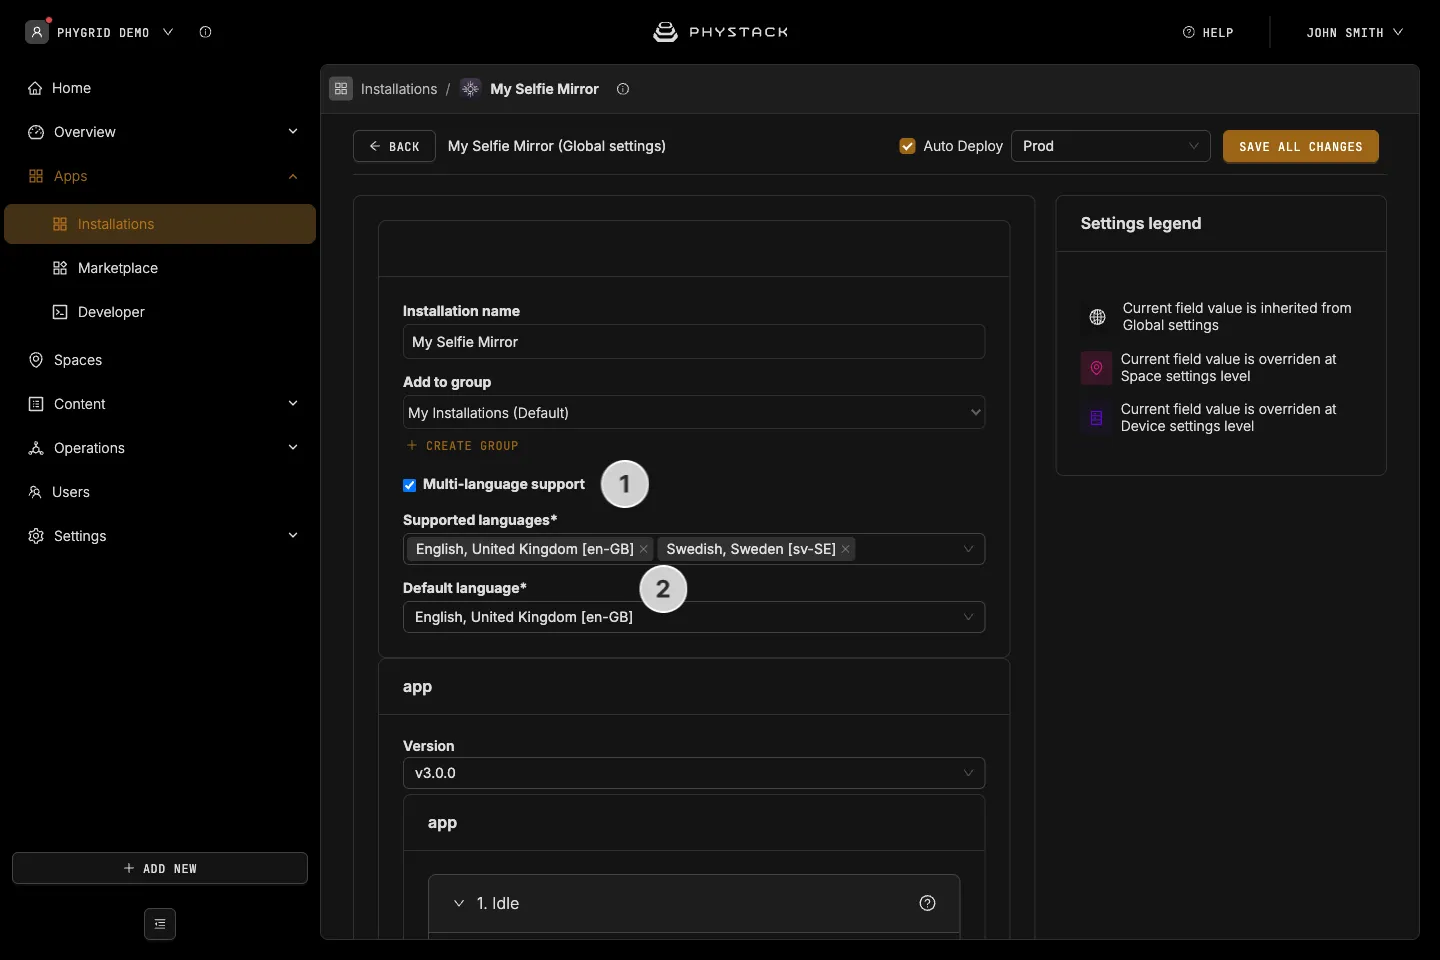
The mirror shows and speaks its texts in the installation’s default language.
- In Multi-language support (see Glossary), enable the languages you want to write texts for
- Set the default language for the mirror
- Fill in the texts in each screen’s settings for that language
Voice answers are understood in English and Arabic for “yes” and “no”. Cover numbers are understood in English, Arabic, Spanish, and French, and as digits.
How to set up the idle screen
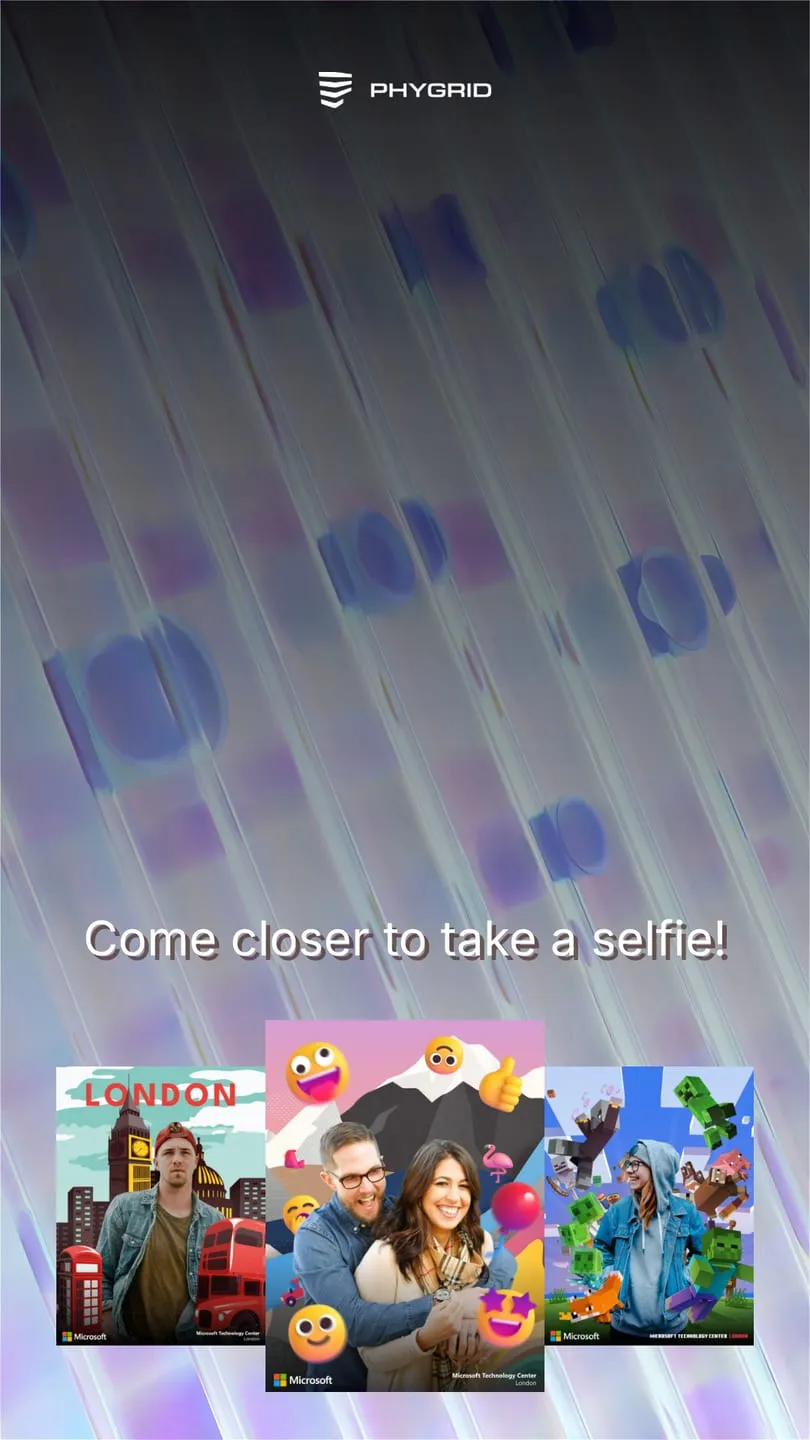
The idle screen runs while nobody is at the mirror. It wakes up when a visitor stands in front of the camera, or when someone taps the screen.
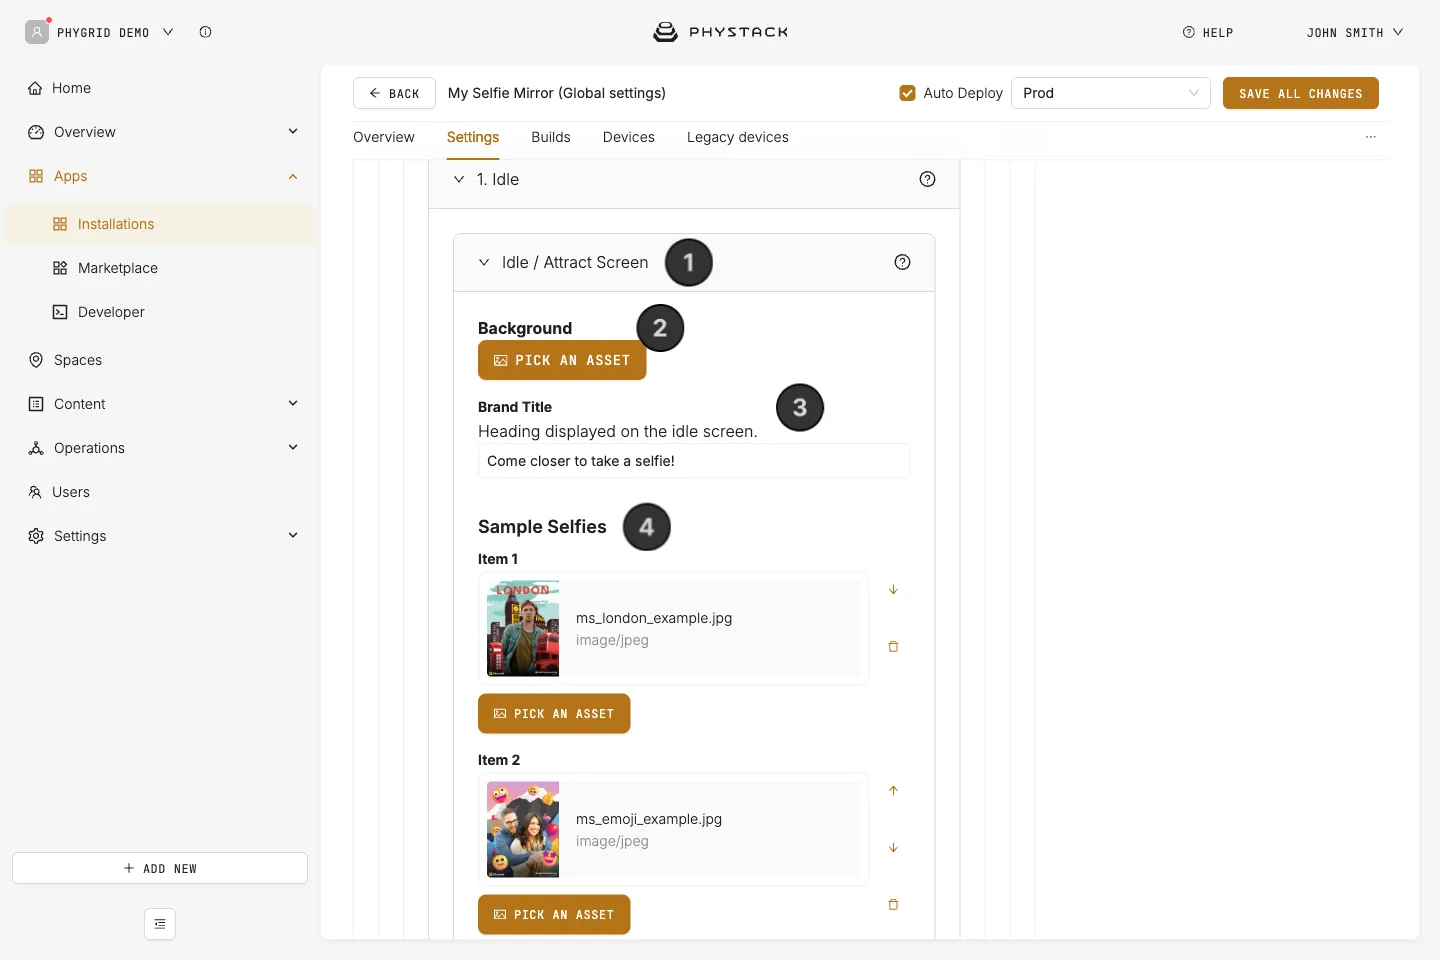
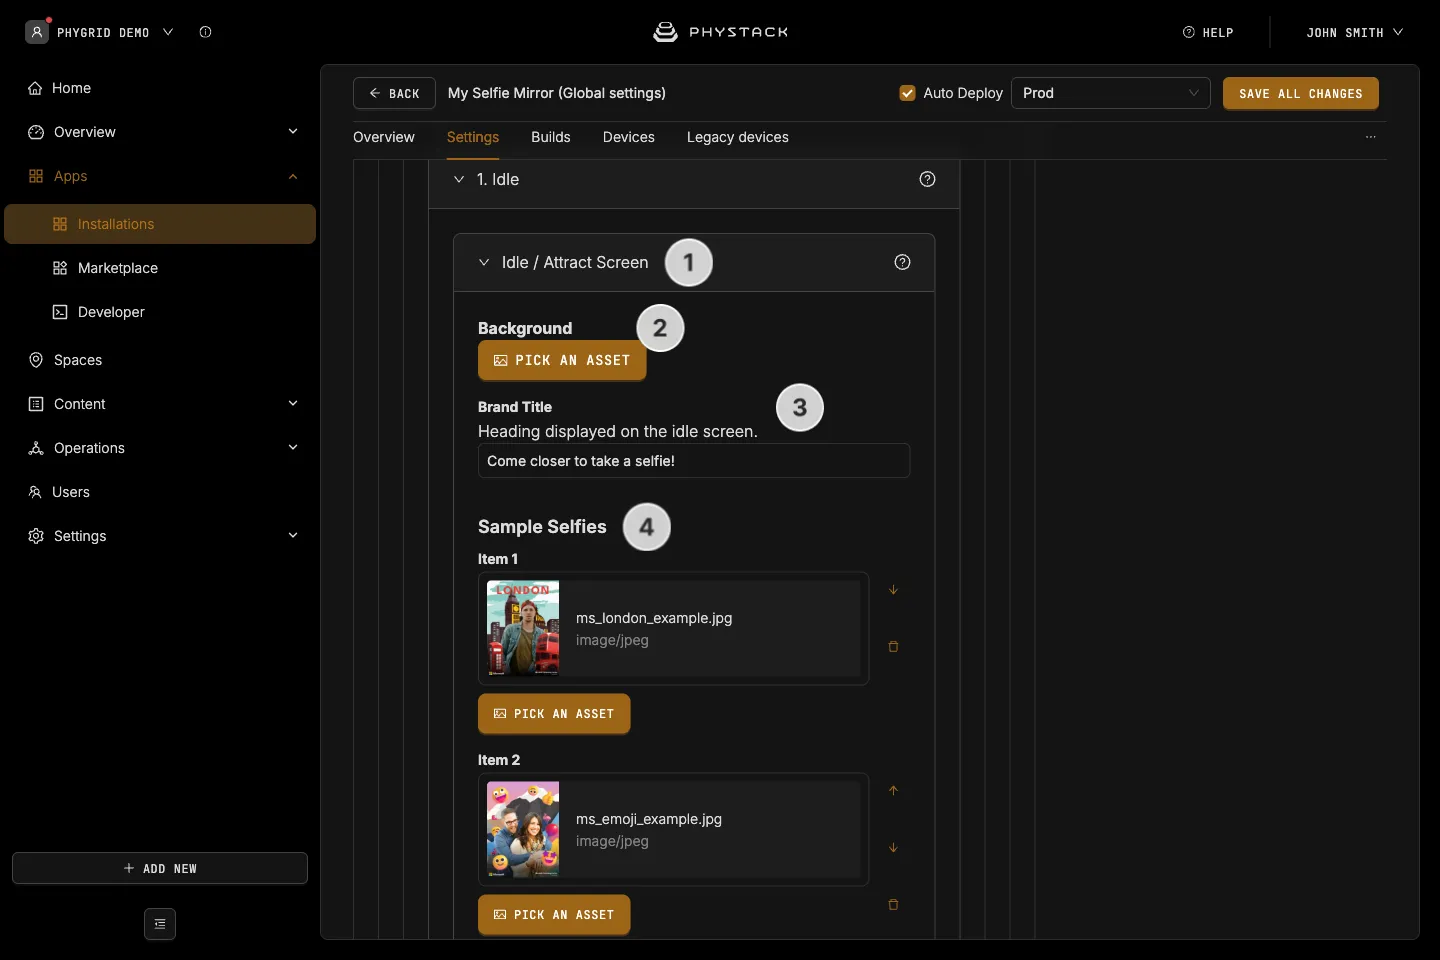
- Expand 1. Idle → Idle / Attract Screen
- Upload a Background image or video. Videos play muted and loop
- Enter a Brand Title, such as “Come closer to take a selfie!”
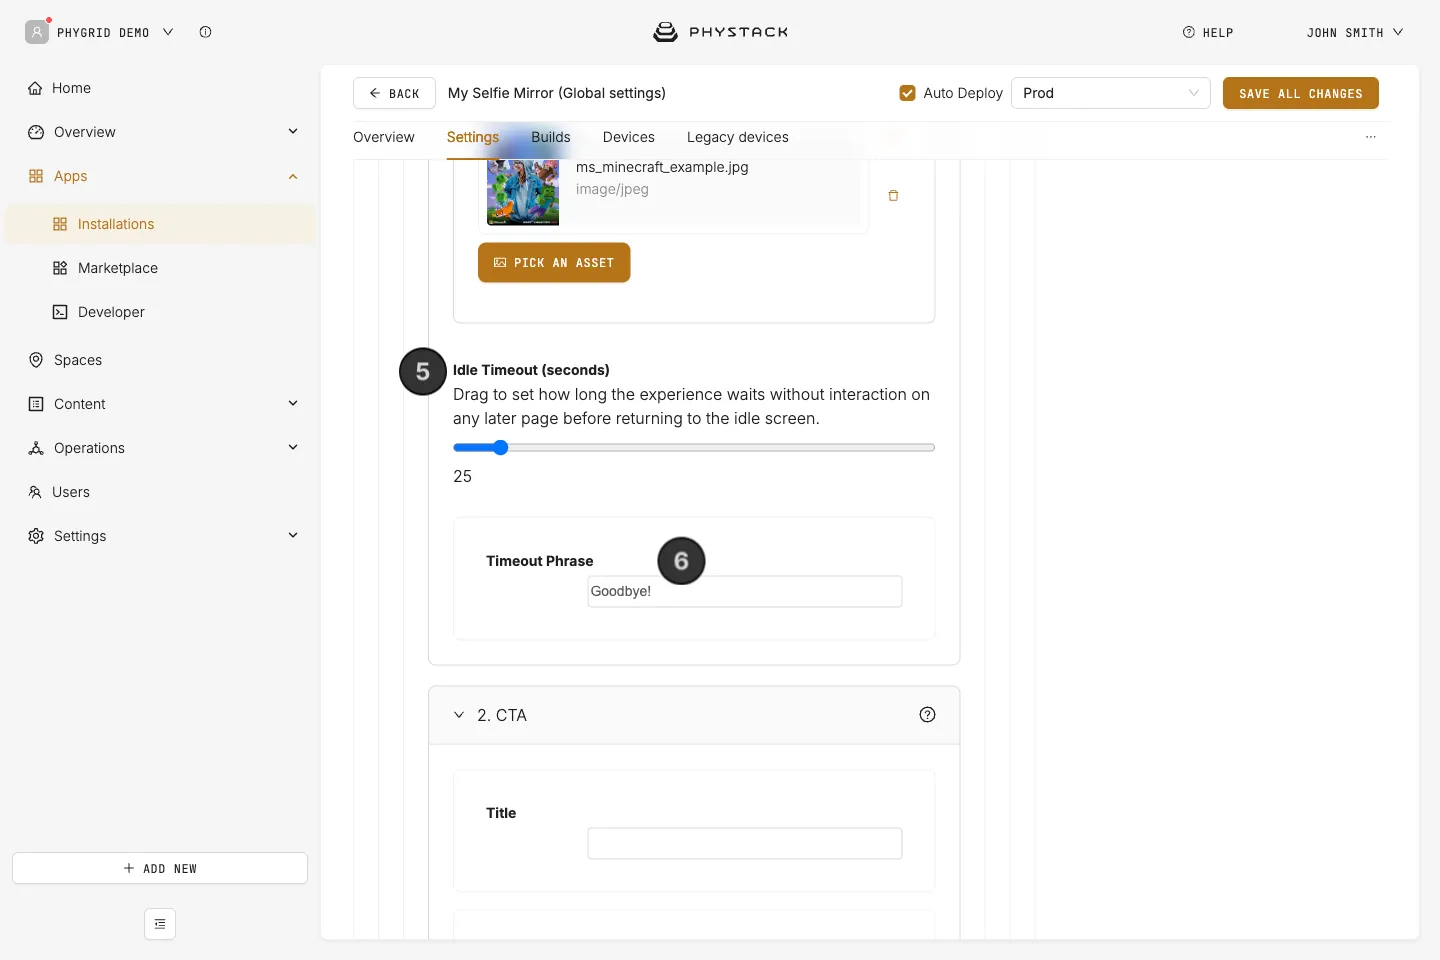
- Optionally, add up to three Sample Selfies to show visitors what to expect
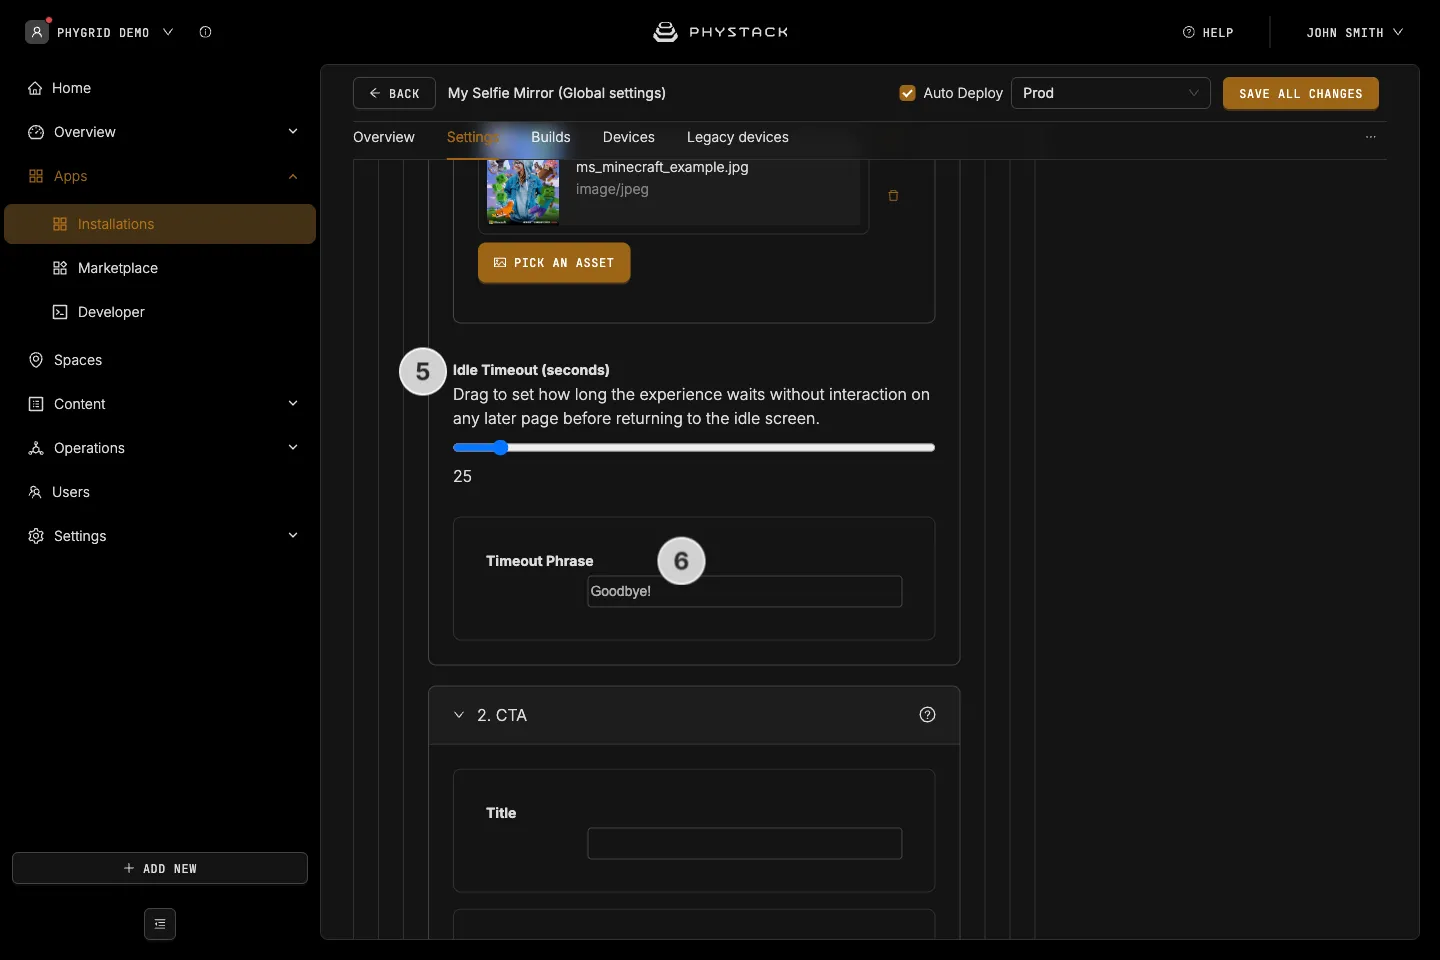
- Set the Idle Timeout (seconds): how long the mirror waits without interaction before returning to the idle screen
- Enter the Timeout Phrase spoken when it returns, such as “Goodbye”
How to set up the selfie prompt
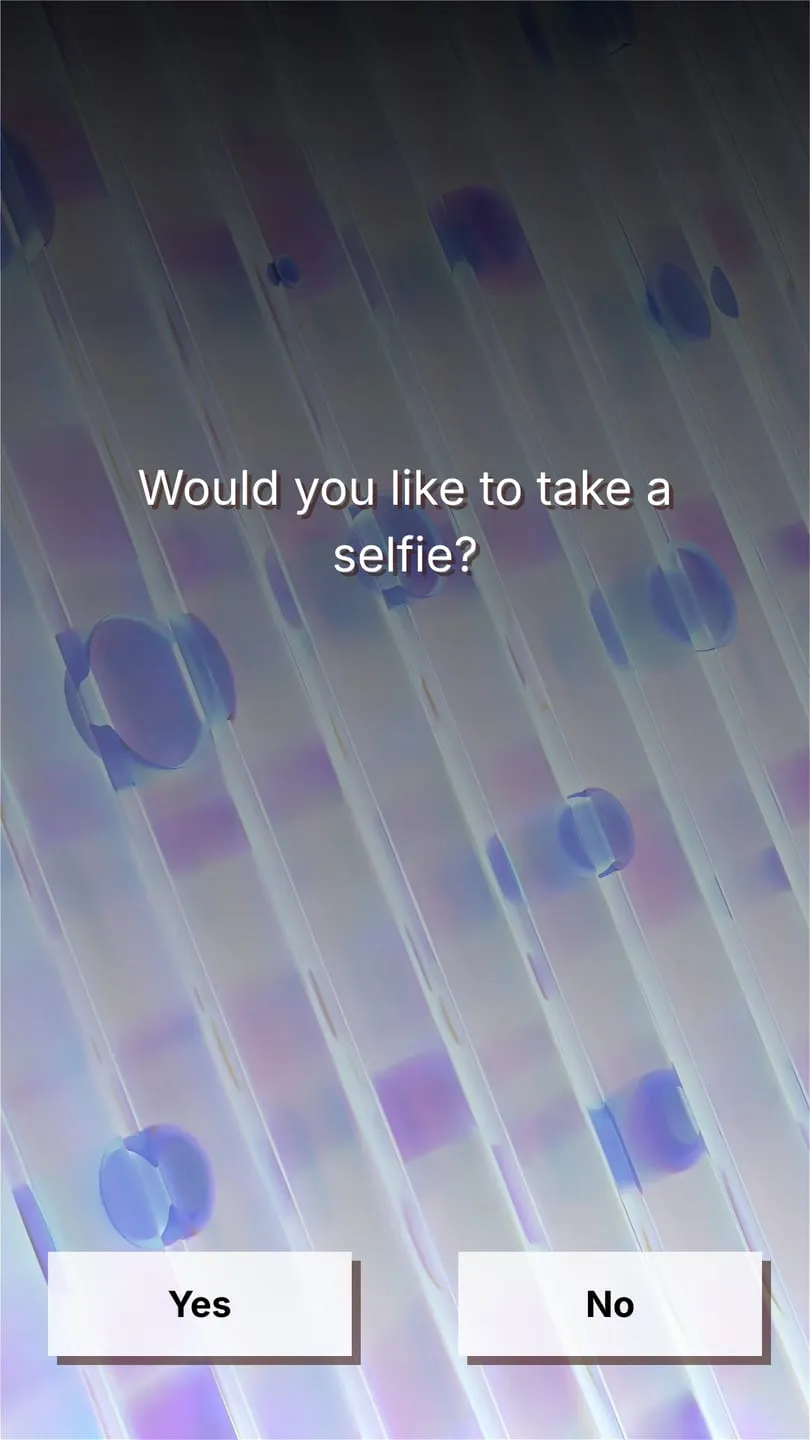
The prompt asks the visitor whether they would like to take a selfie. They answer by voice or by tapping a button.
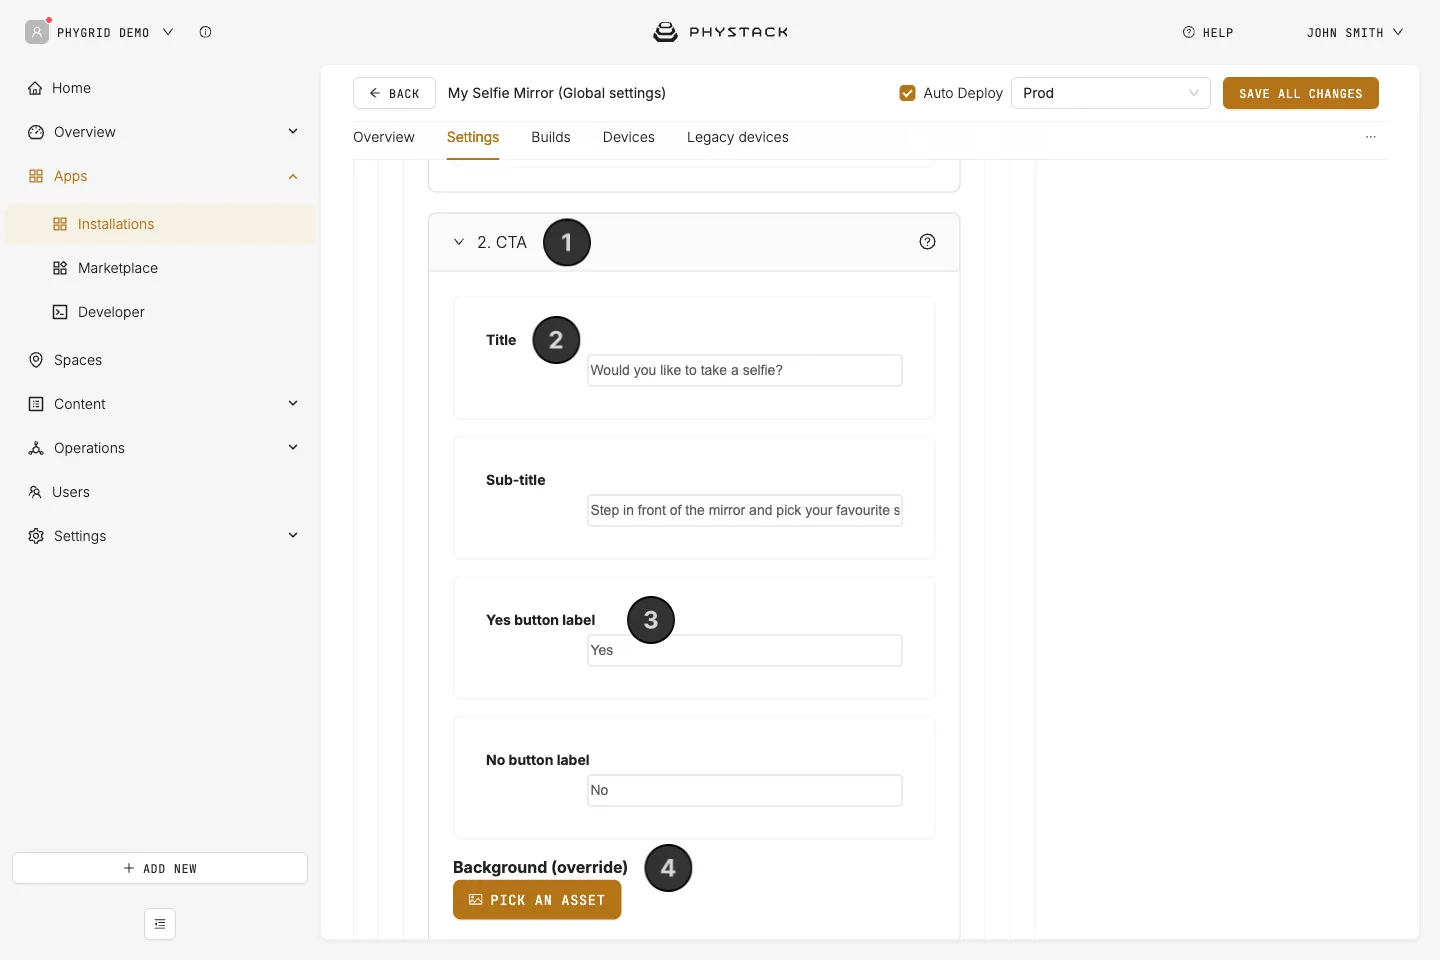
- Expand 2. CTA
- Enter the Title, such as “Would you like to take a selfie?”, and an optional Sub-title
- Enter the Yes button label and No button label
- Optionally, upload a Background (override). Without it, the screen uses the idle background
How to set up covers
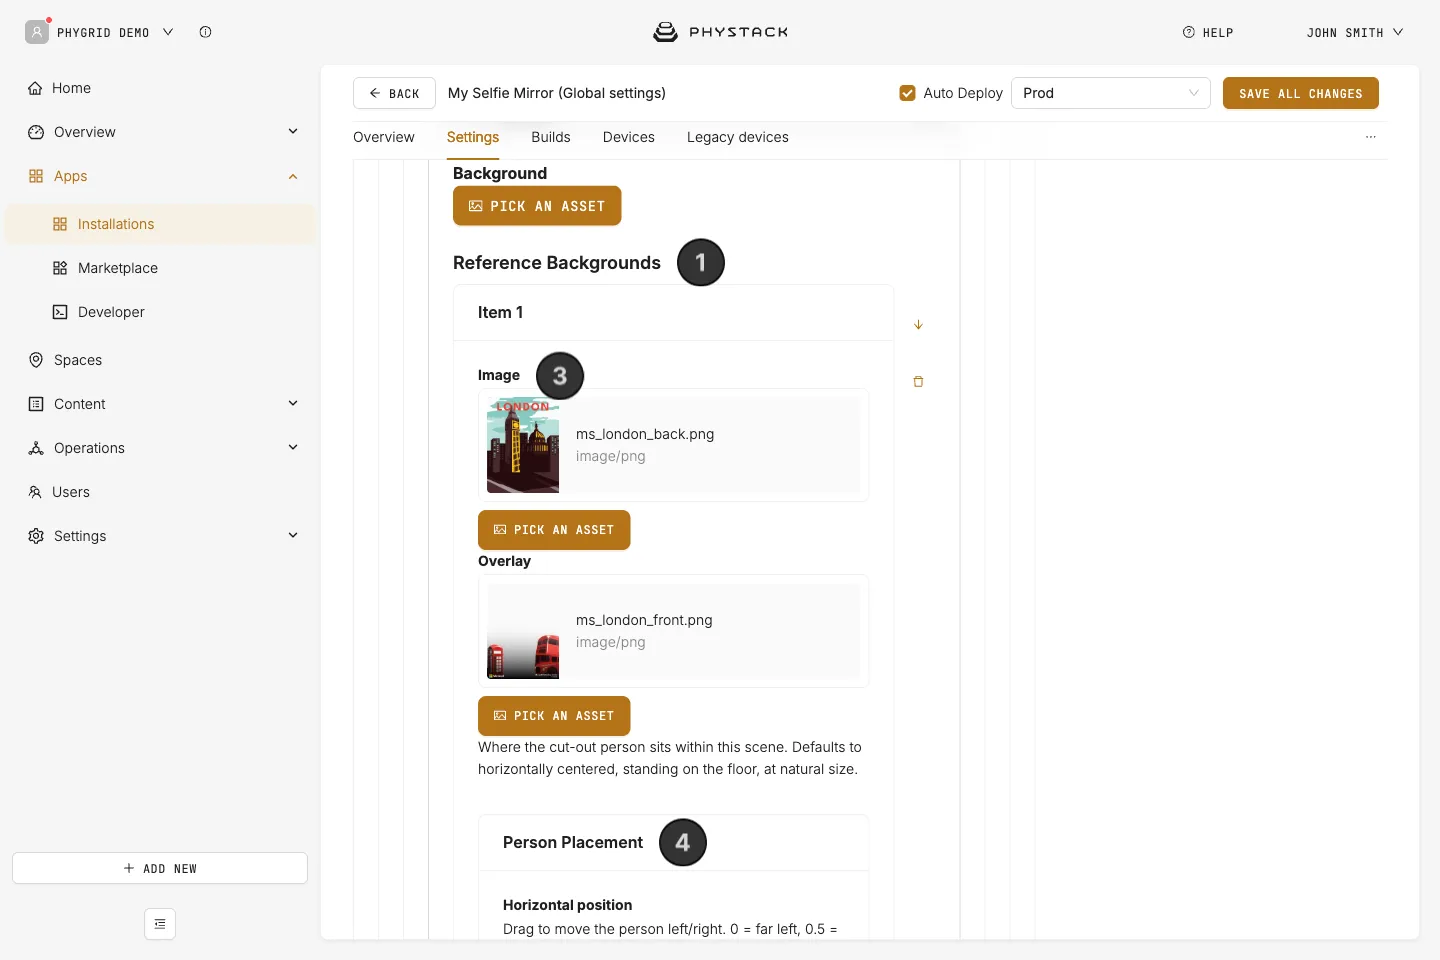
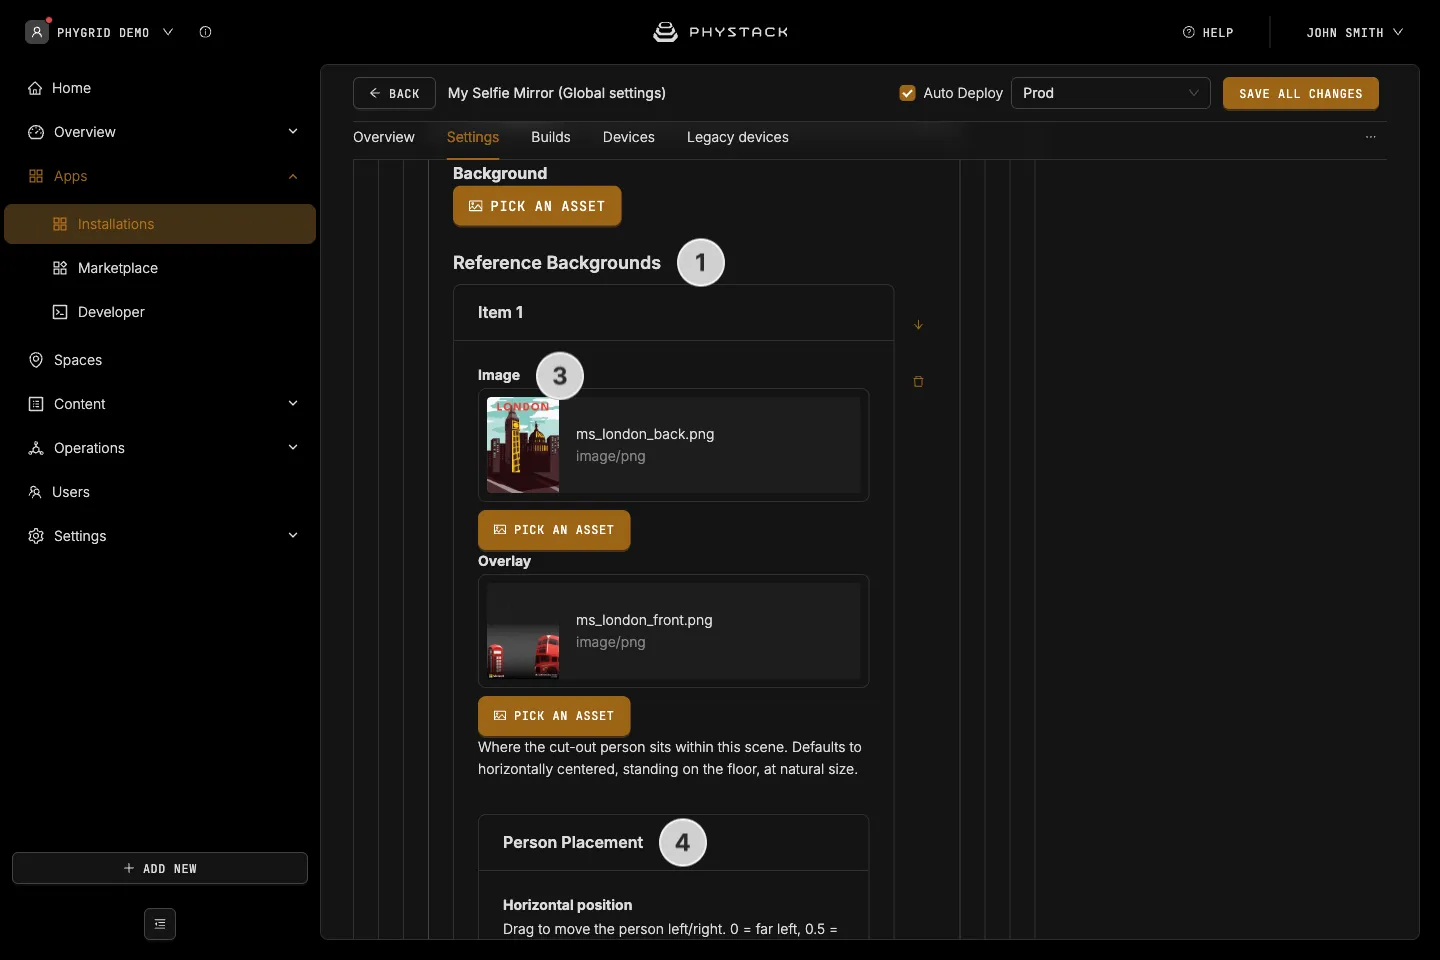
- Expand 3. Capture → Reference Backgrounds
- Add one reference background per cover, up to three
- For each one, upload the Image (the scene) and, optionally, the Overlay (a transparent PNG drawn on top of the person)
- Use Person Placement to position the person in that scene:
- Horizontal position: 0 is far left, 0.5 is centred, 1 is far right
- Vertical position: 0 is the top of the scene, 1 is standing on the bottom edge
- Scale: 1 fits the person to the full height of the scene. Lower values show more of the scene, higher values enlarge the person
- Take a test selfie and adjust the placement until the person sits naturally in each scene
See Prepare cover images for Selfie Mirror for image sizes and formats.
How to set up the capture screen
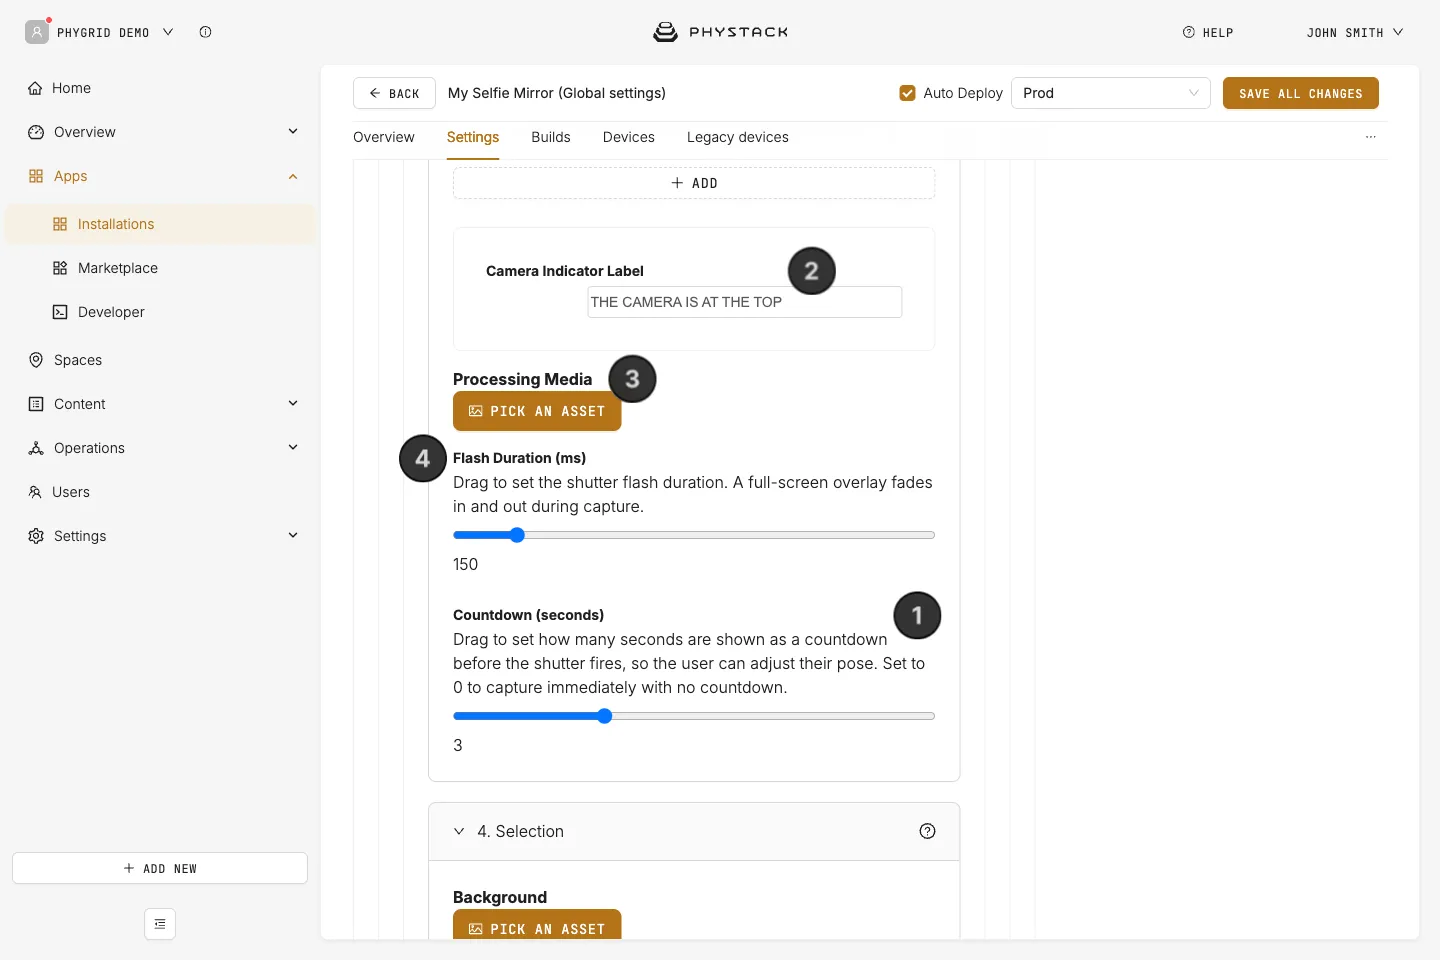
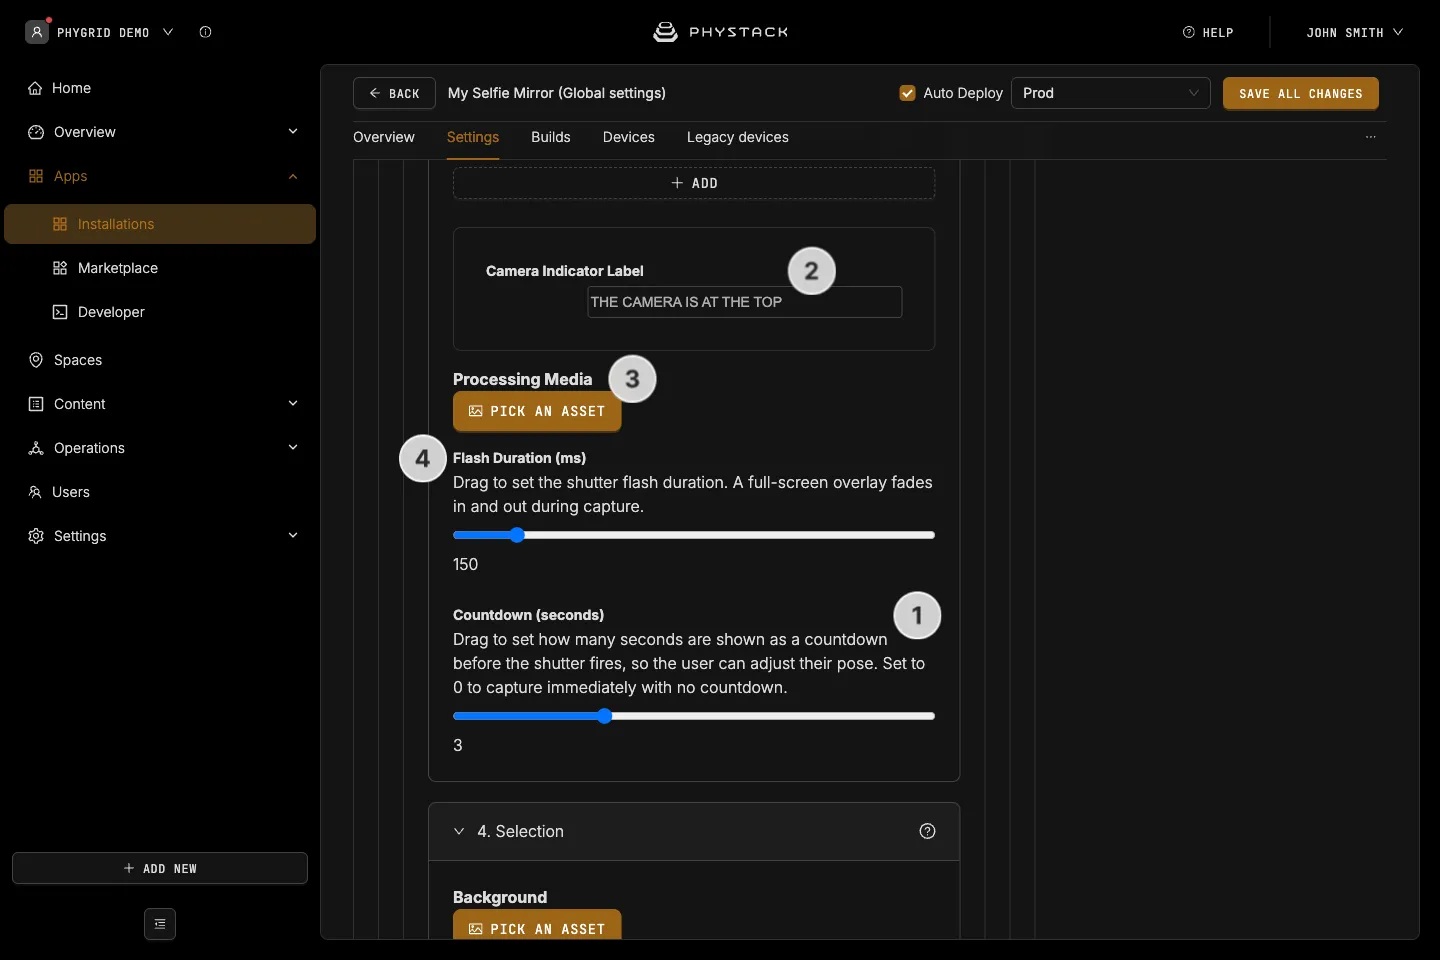
- In 3. Capture, set the Countdown (seconds) the visitor gets to pose. Set it to 0 to take the photo immediately
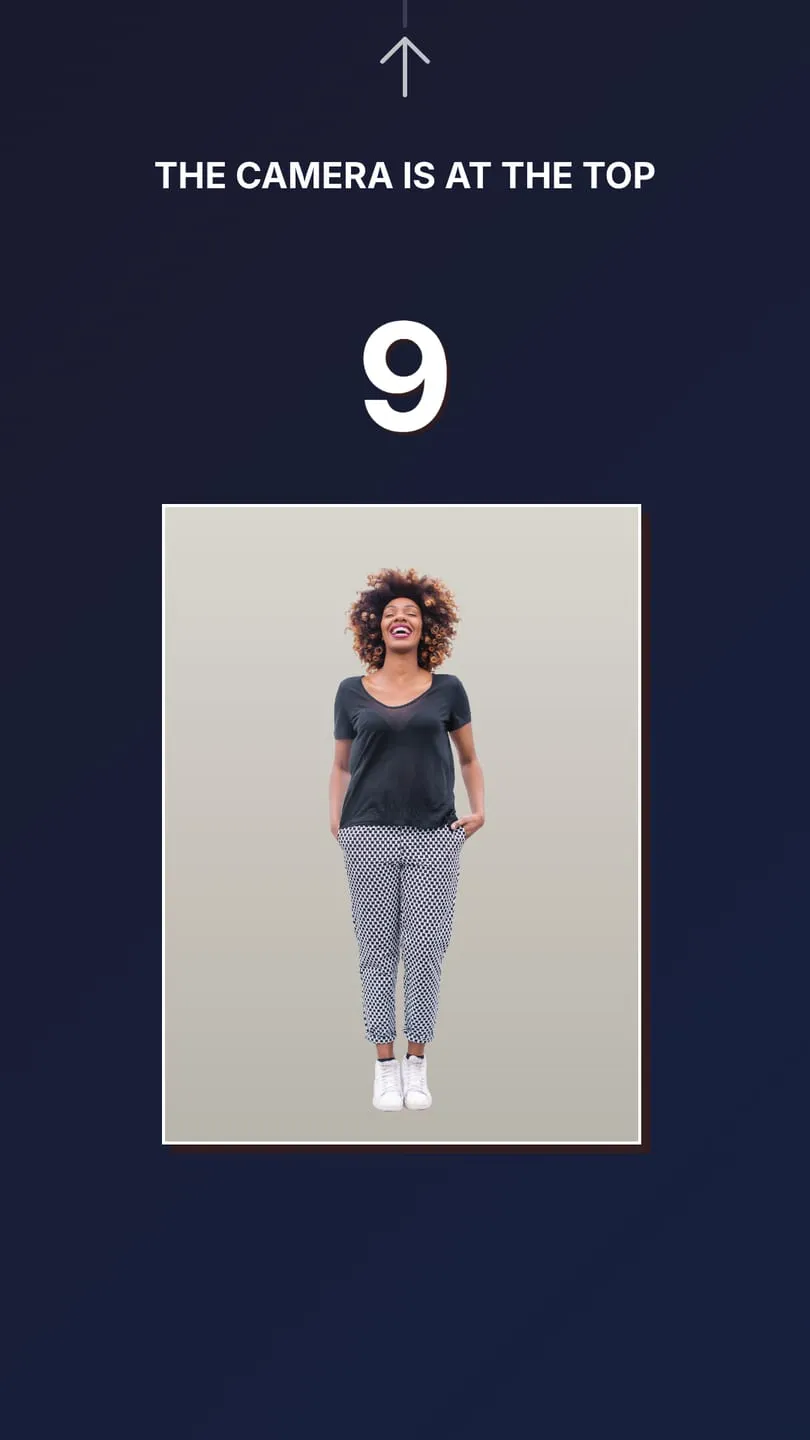
- Enter the Camera Indicator Label that points visitors to the camera, such as “THE CAMERA IS AT THE TOP”
- Optionally, upload a Background shown around the camera preview, and Processing Media shown while the covers are being made
- Adjust the Flash Duration (ms) of the on-screen flash when the photo is taken
How to set up the selection screen
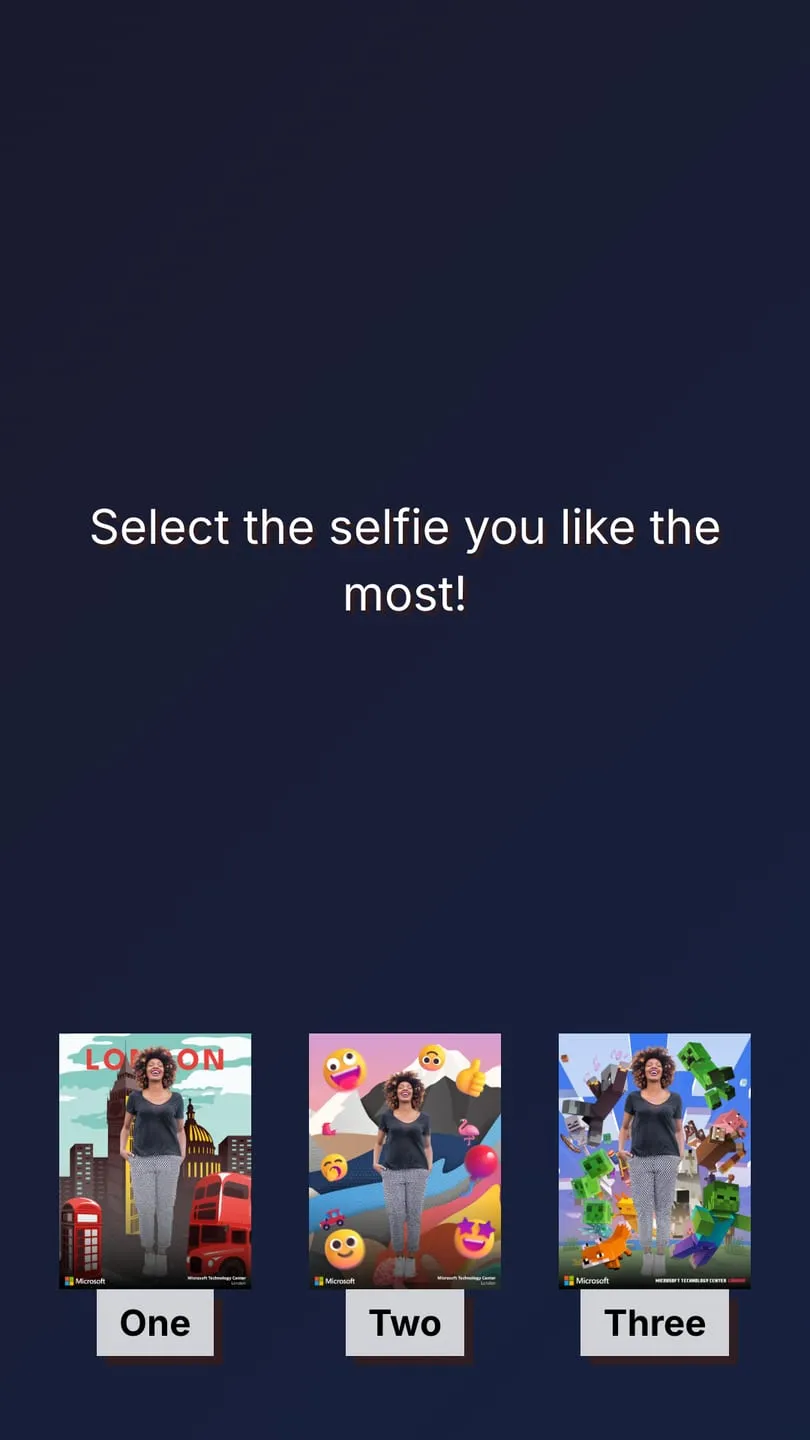
Visitors pick their favourite cover by tapping it or saying its number.
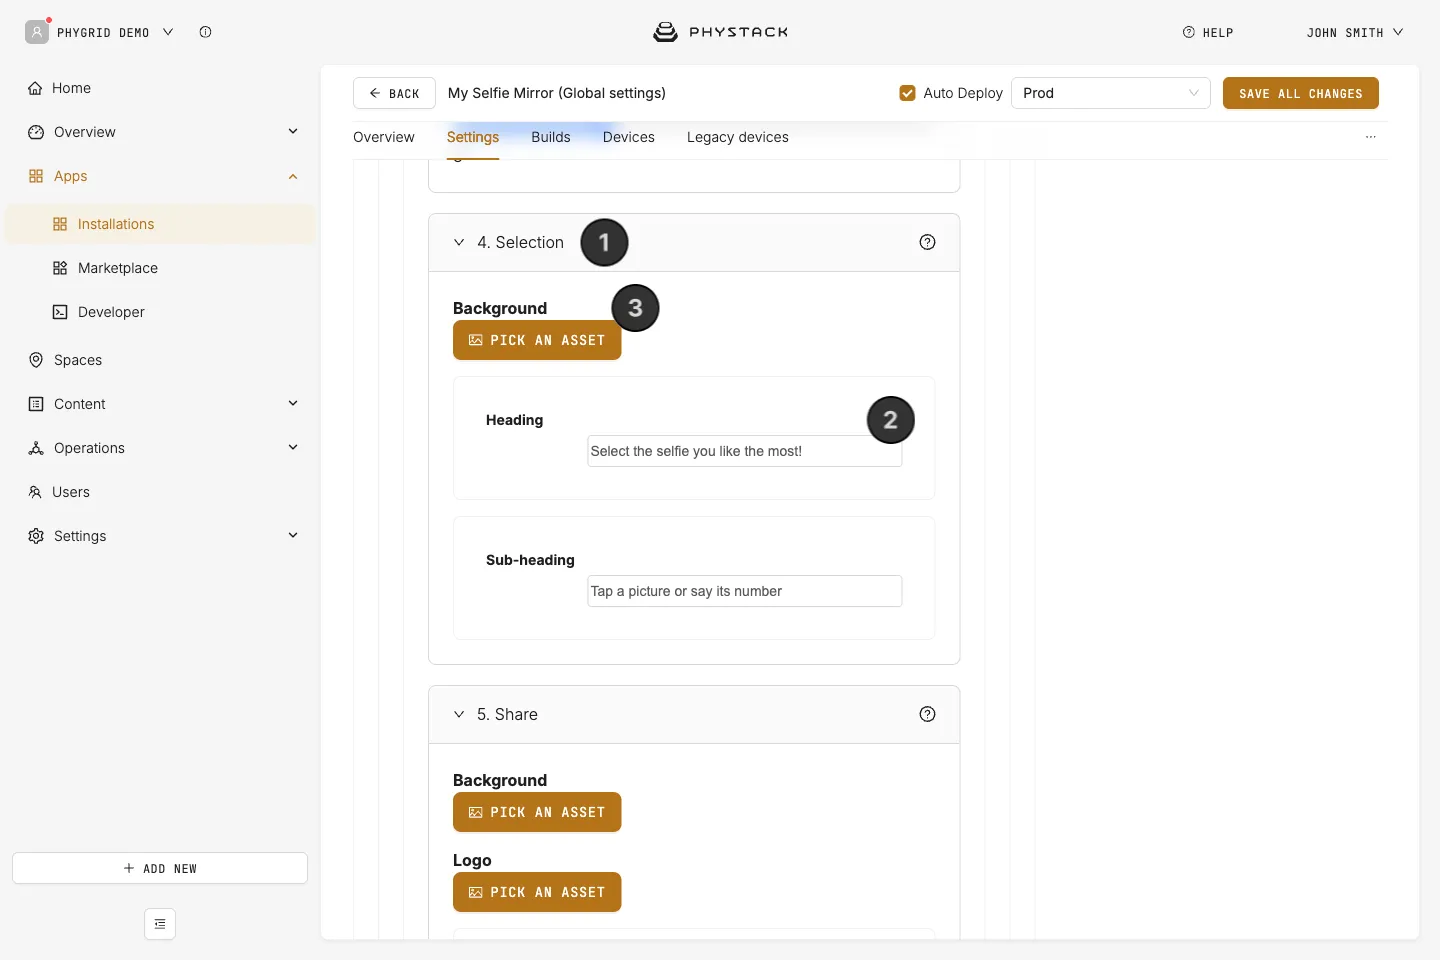
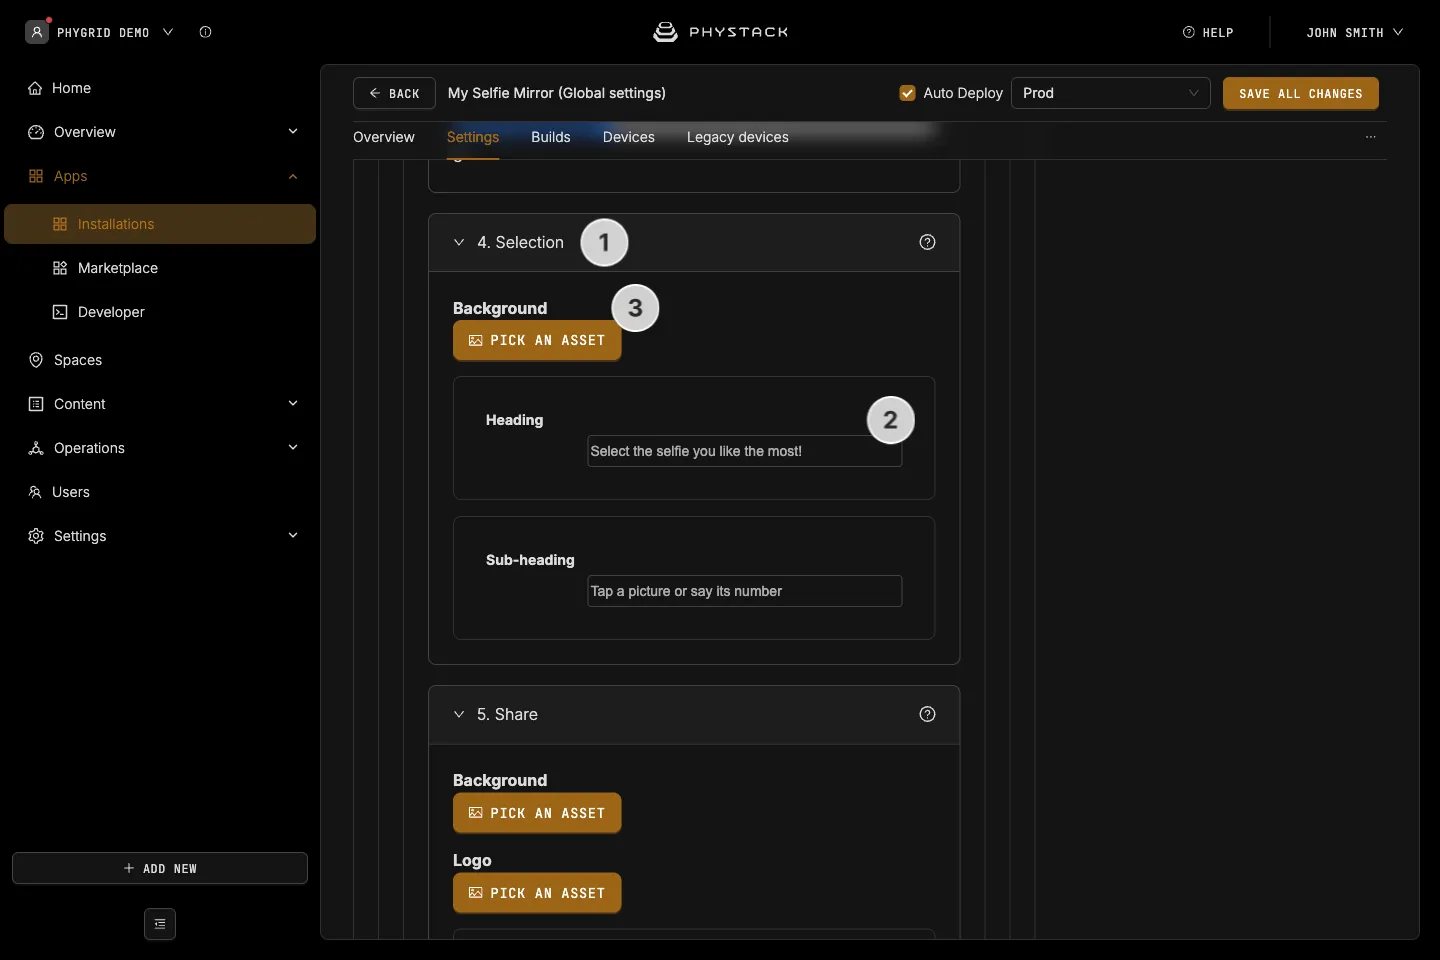
- Expand 4. Selection
- Enter the Heading, such as “Select the selfie you like the most!”, and an optional Sub-heading
- Optionally, upload a Background
How to set up the share screen
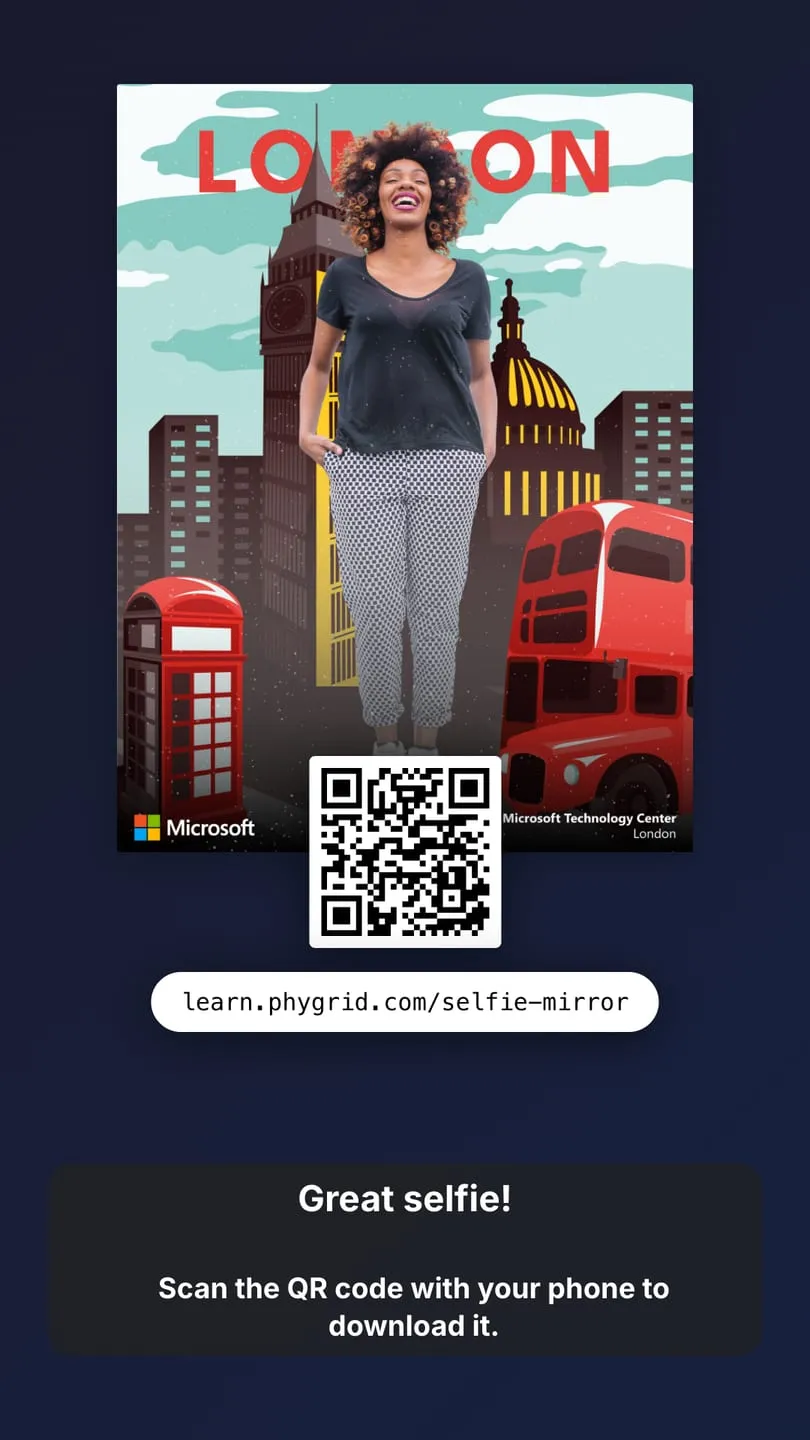
The share screen shows the chosen cover with a QR code. Scanning it opens WhatsApp with a pre-filled message. When the visitor sends it, the cover arrives in the same chat.
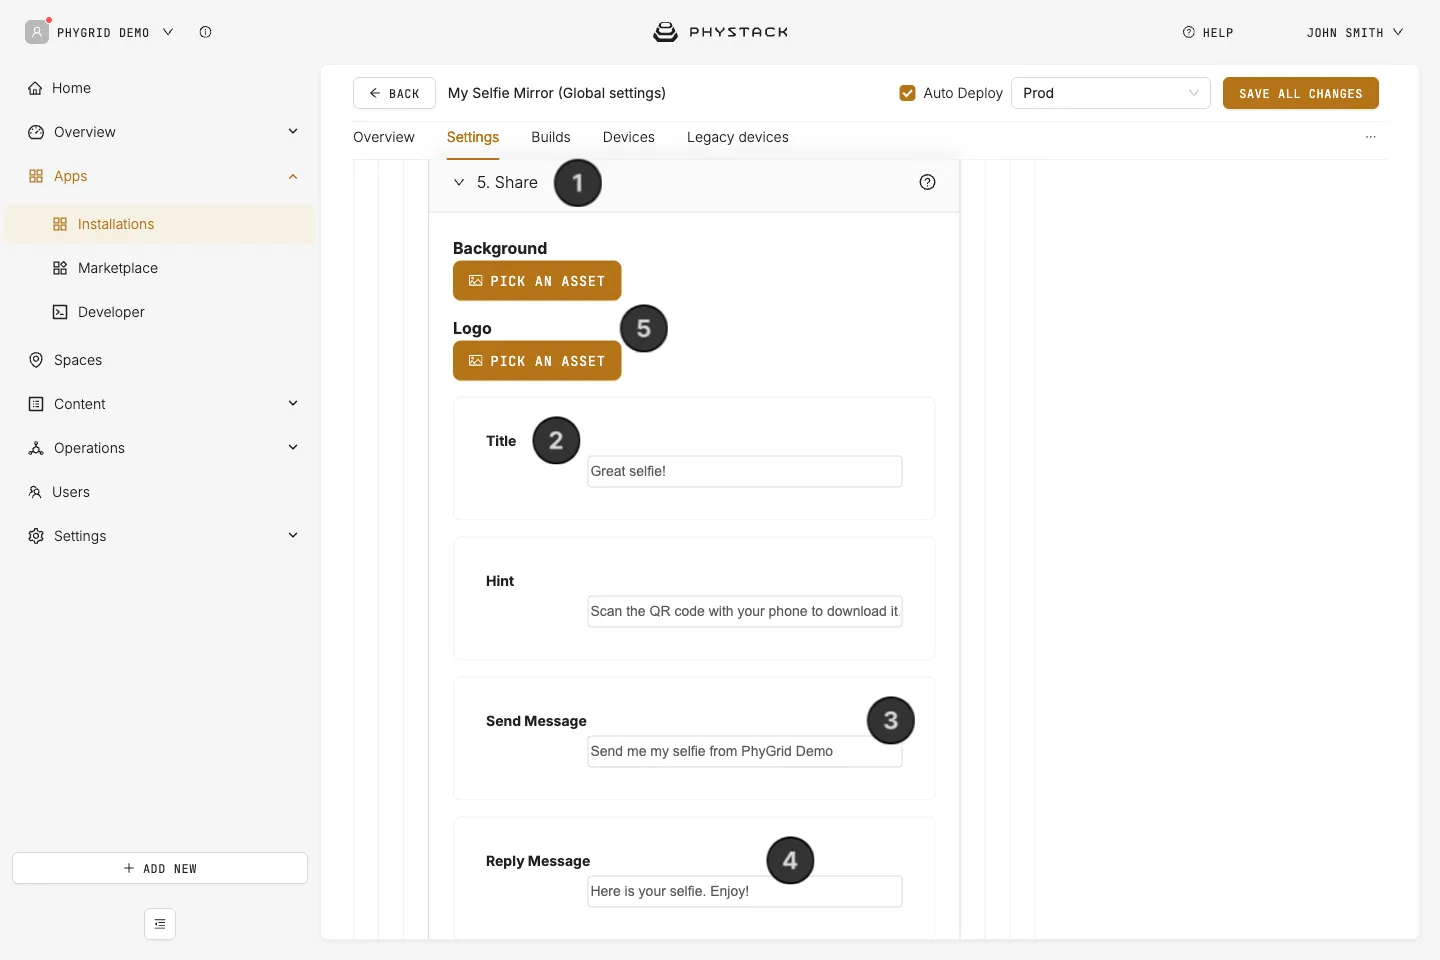
- Expand 5. Share
- Enter the Title, such as “Great selfie!”, and the Hint, such as “Scan the QR code with your phone to download it.”
- Enter the Send Message: the text pre-filled in the visitor’s WhatsApp message
- Enter the Reply Message: the text sent back together with the cover
- Optionally, upload a Logo for the short-link label, typically the WhatsApp logo, and a Background
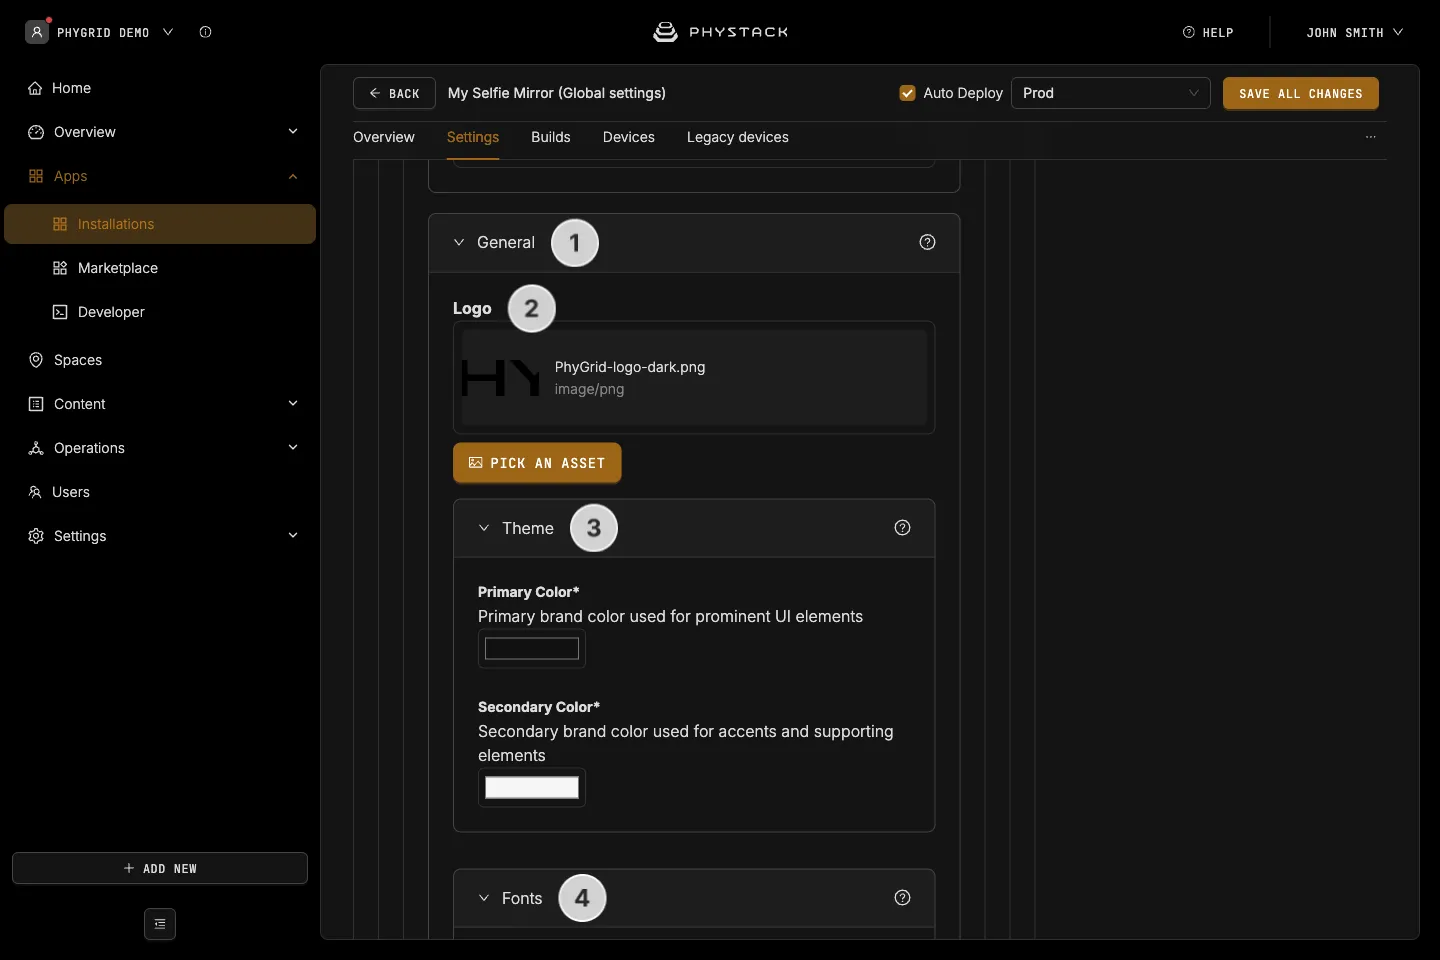
How to set up branding
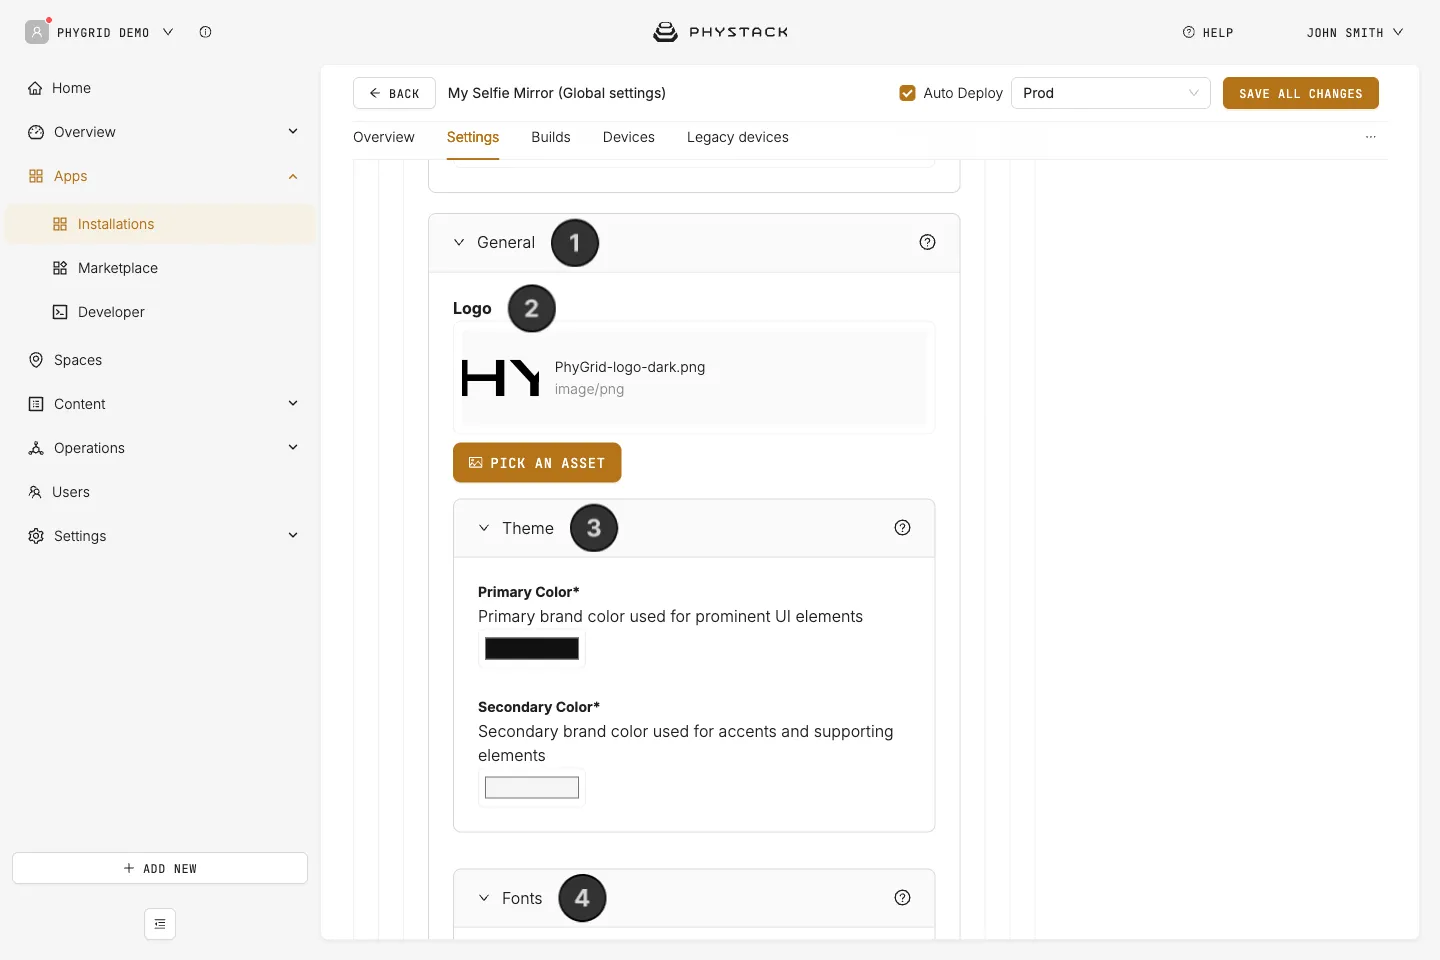
- Expand General
- Upload your Logo, shown at the top of the idle and prompt screens. Use a PNG or SVG with transparency
- Leave Theme (Primary Color and Secondary Color) as it is: the current app version doesn’t use these colours
- In Fonts, optionally upload Light Font, Regular Font, and Bold Font files. Empty weights use the system font
How to set up voice prompts
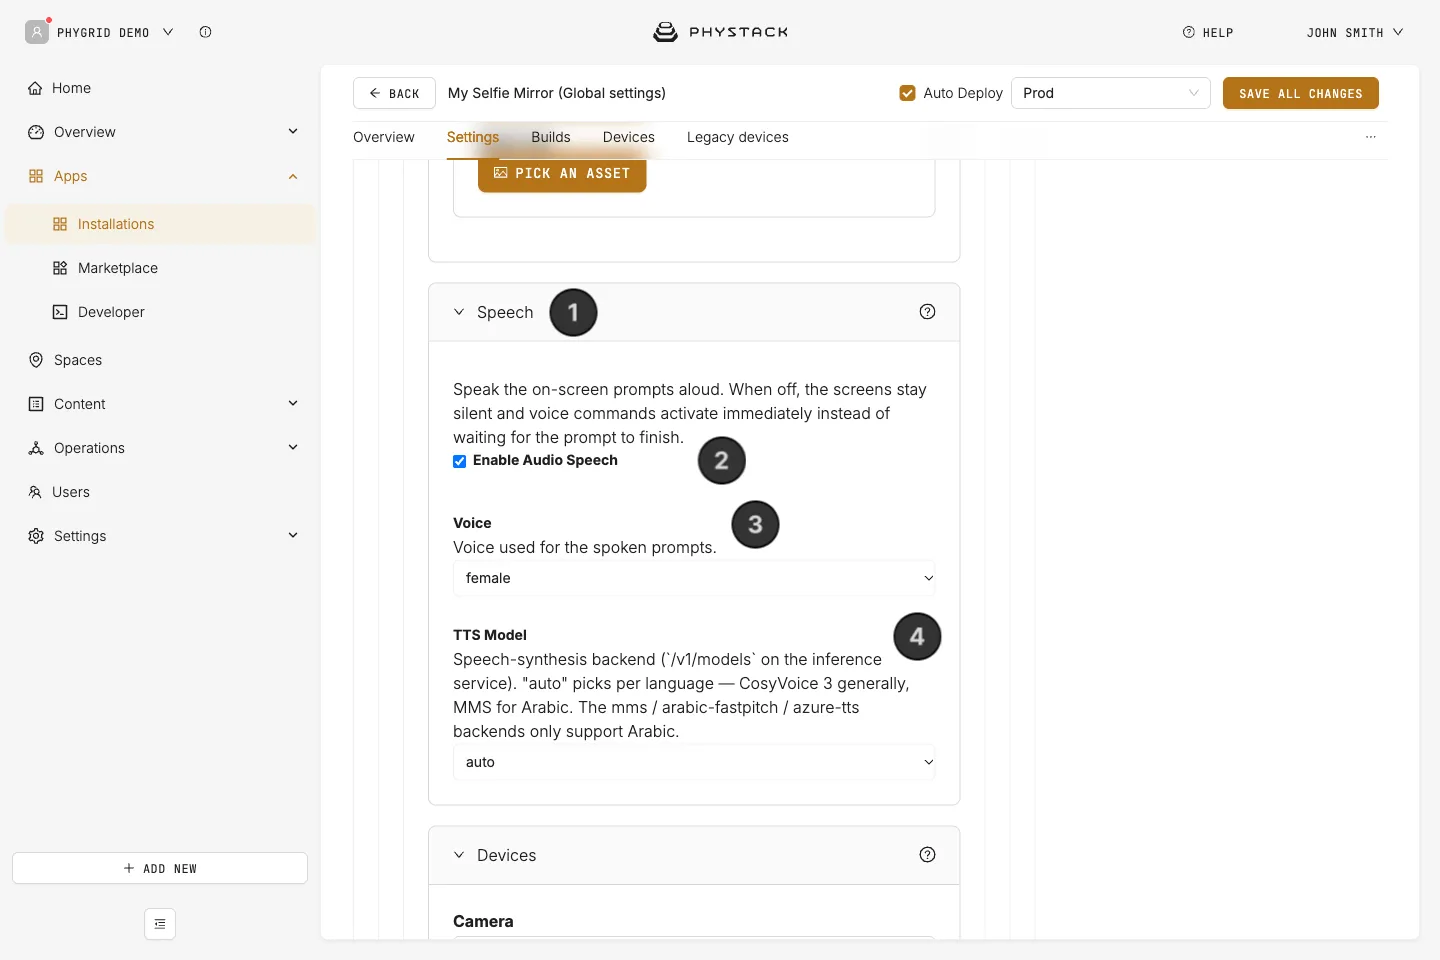
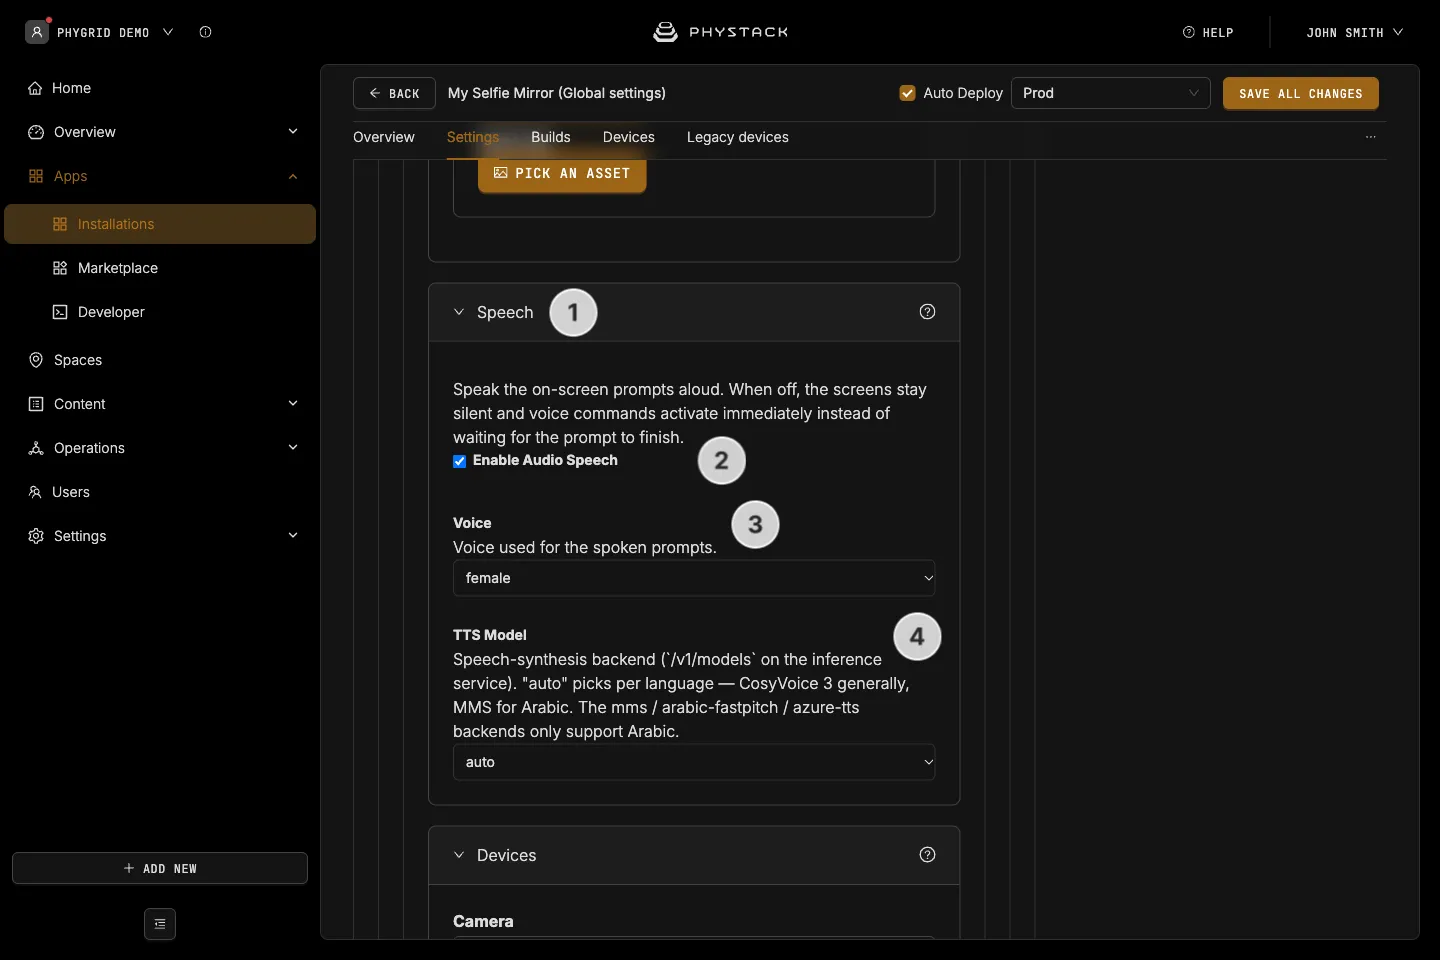
The mirror can read its texts aloud: the prompt title, the countdown, the selection heading, the share title, and the timeout phrase.
- Expand Speech
- Turn Enable Audio Speech on or off. When off, the mirror stays silent and listens for voice answers right away
- Choose a female or male Voice
- Leave TTS Model on auto unless PhyGrid support advises otherwise
How to save and test
- Click Save all changes
- Stand in front of the mirror and go through the whole flow: answer the prompt, pose, pick a cover, and scan the QR code
- Check that the cover arrives on WhatsApp and looks as intended. Adjust Person Placement if needed