Quick Start: Queue Management
How to install a queue
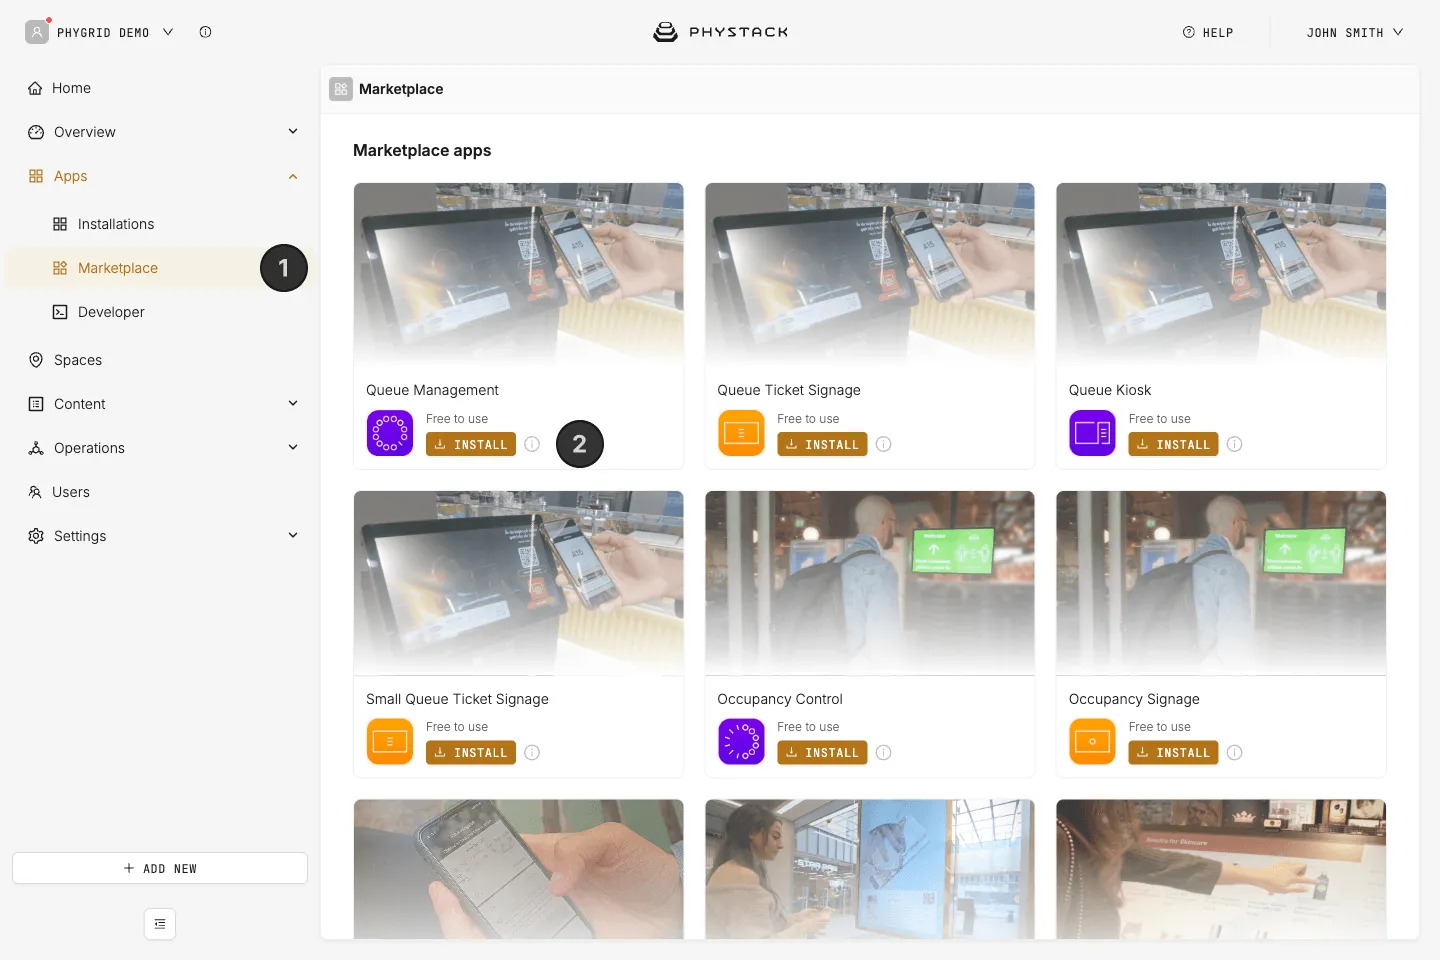
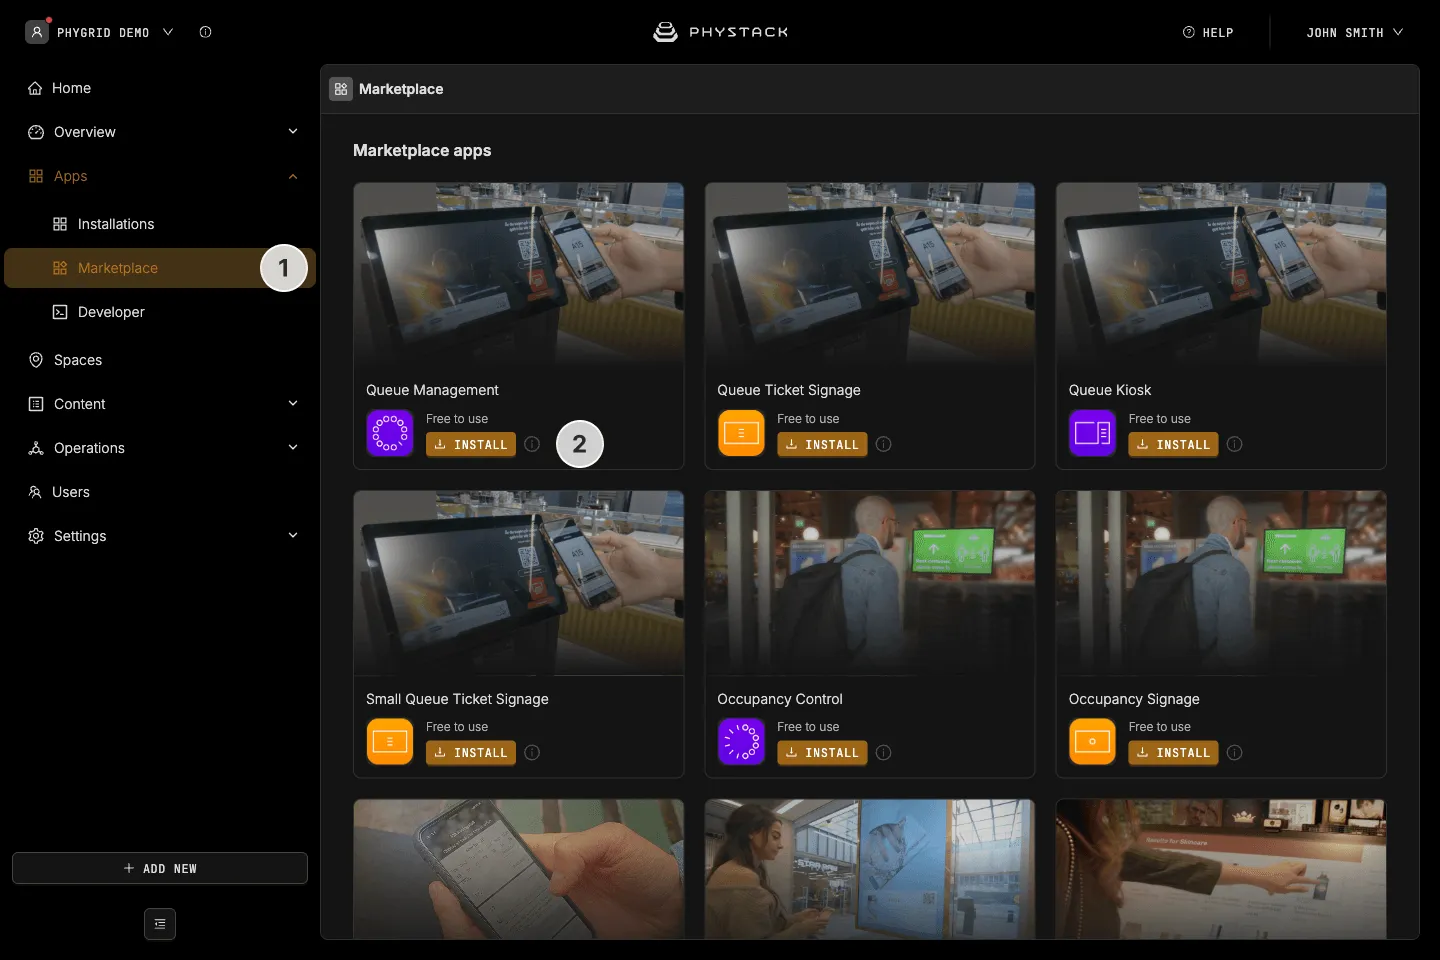
- In the sidebar, navigate to Apps → Marketplace
- Look for Queue Management in the list of applications and click on the Install button to open the installation dialog
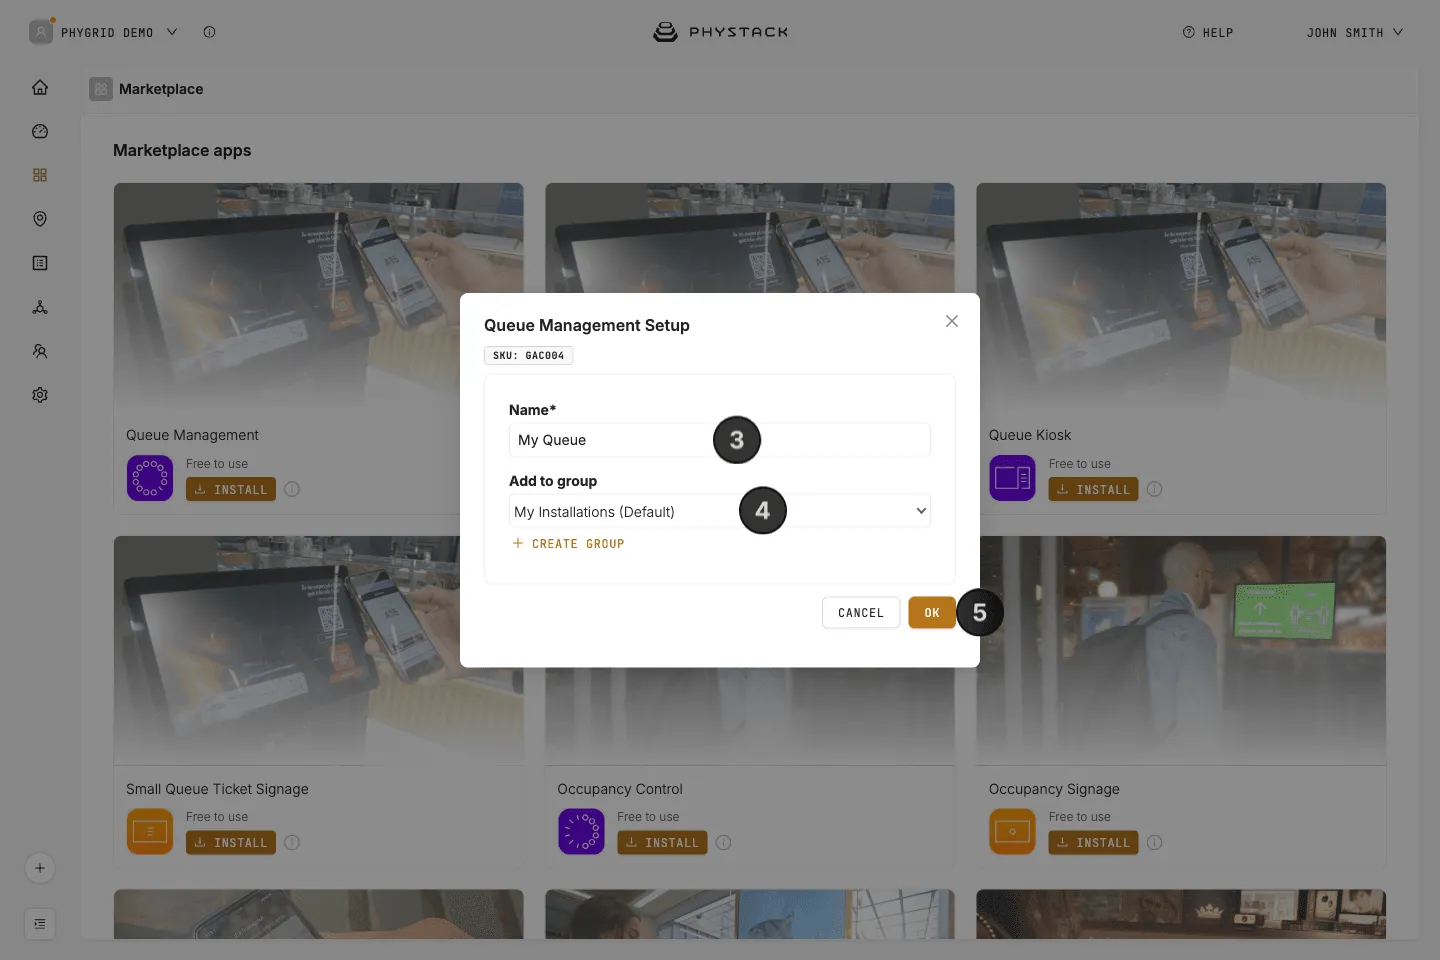
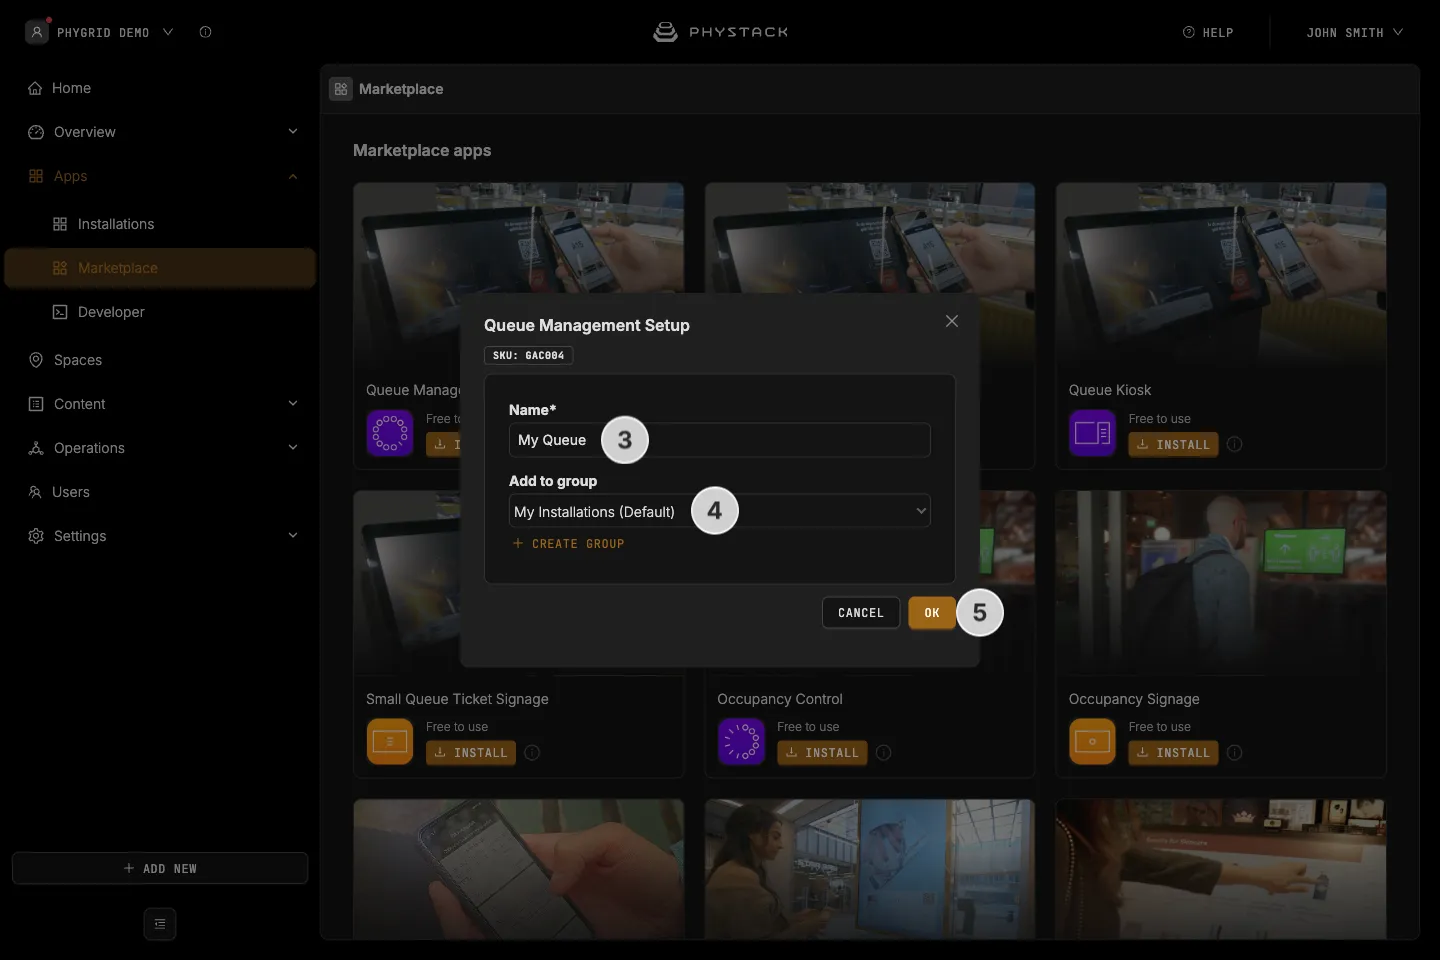
- In the installation form, enter a Name for your Queue Management installation
- Optionally, pick a group in Add to group, or click Create group to make a new one, to organise your installations
- Click OK to create the Queue Management installation
How to access queue settings
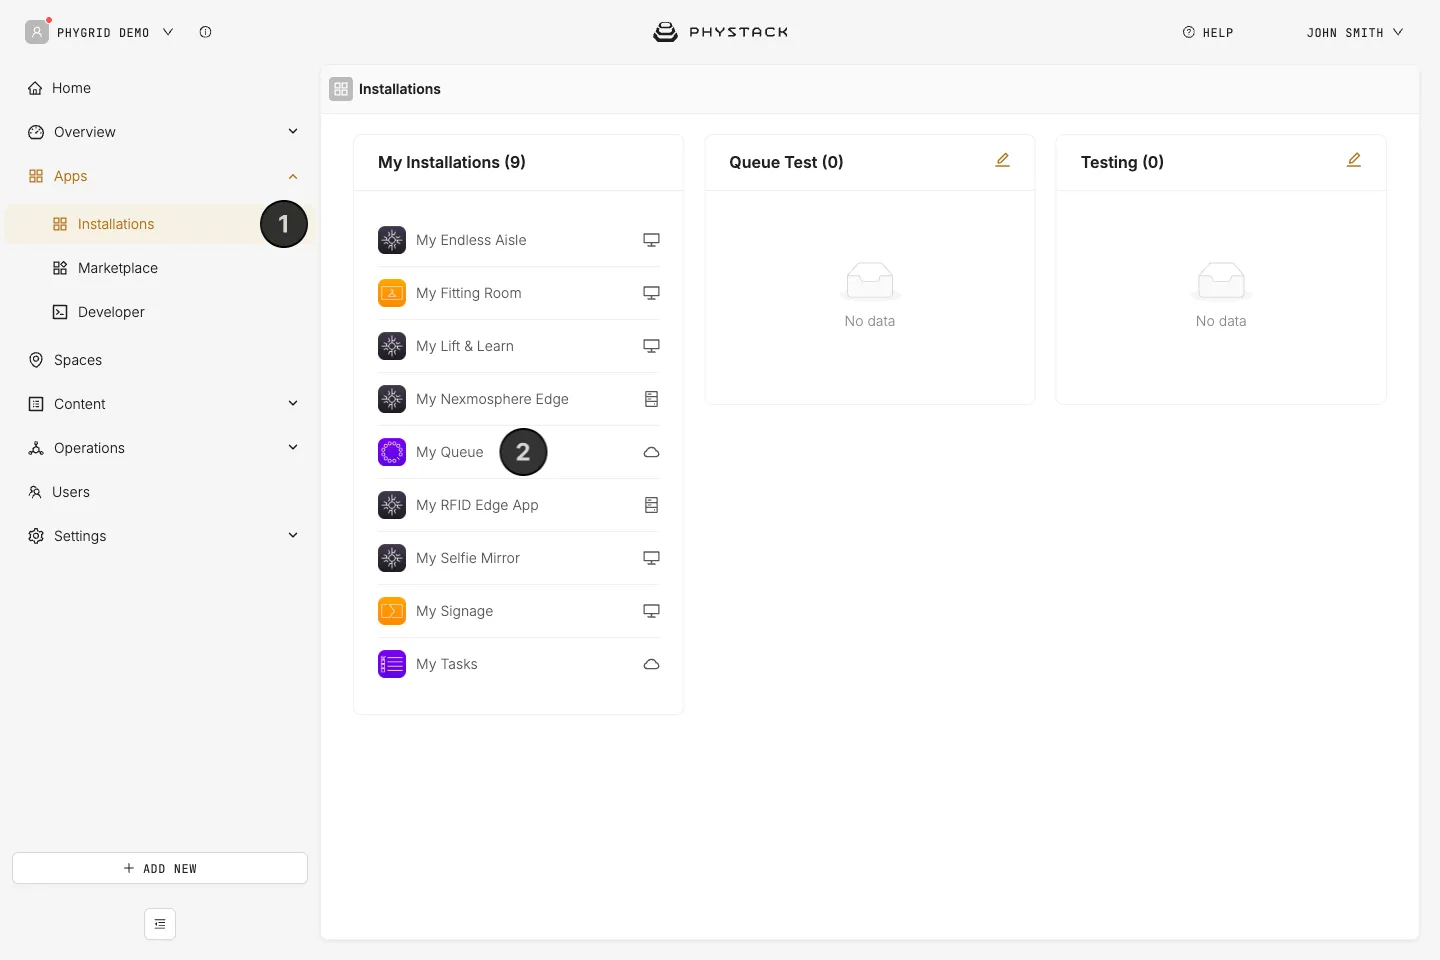
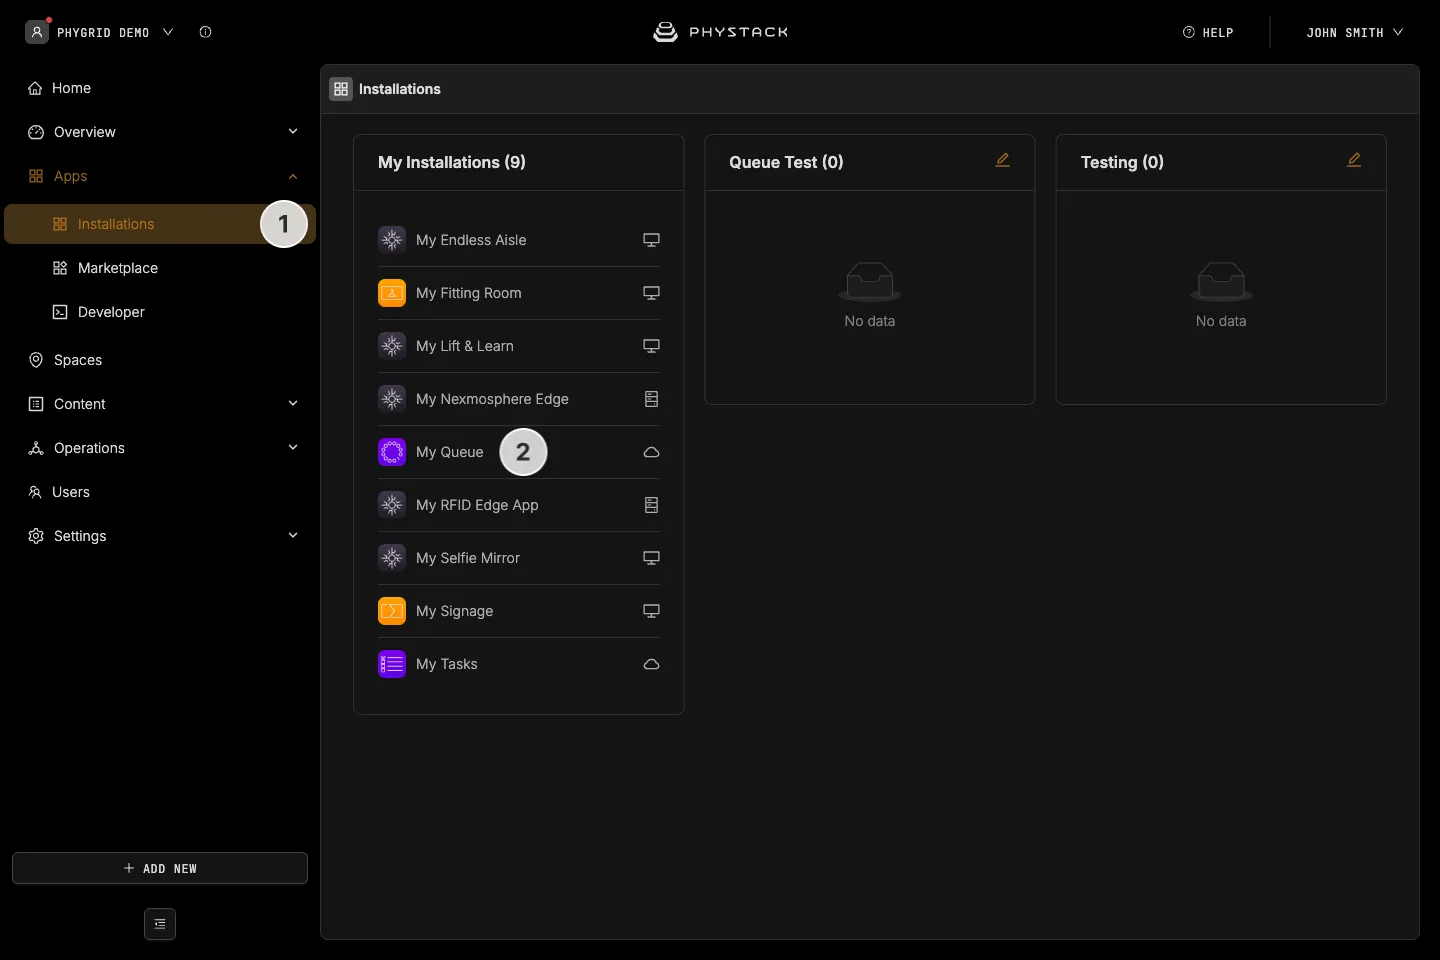
- Your new installation will be available in the sidebar under Apps → Installations
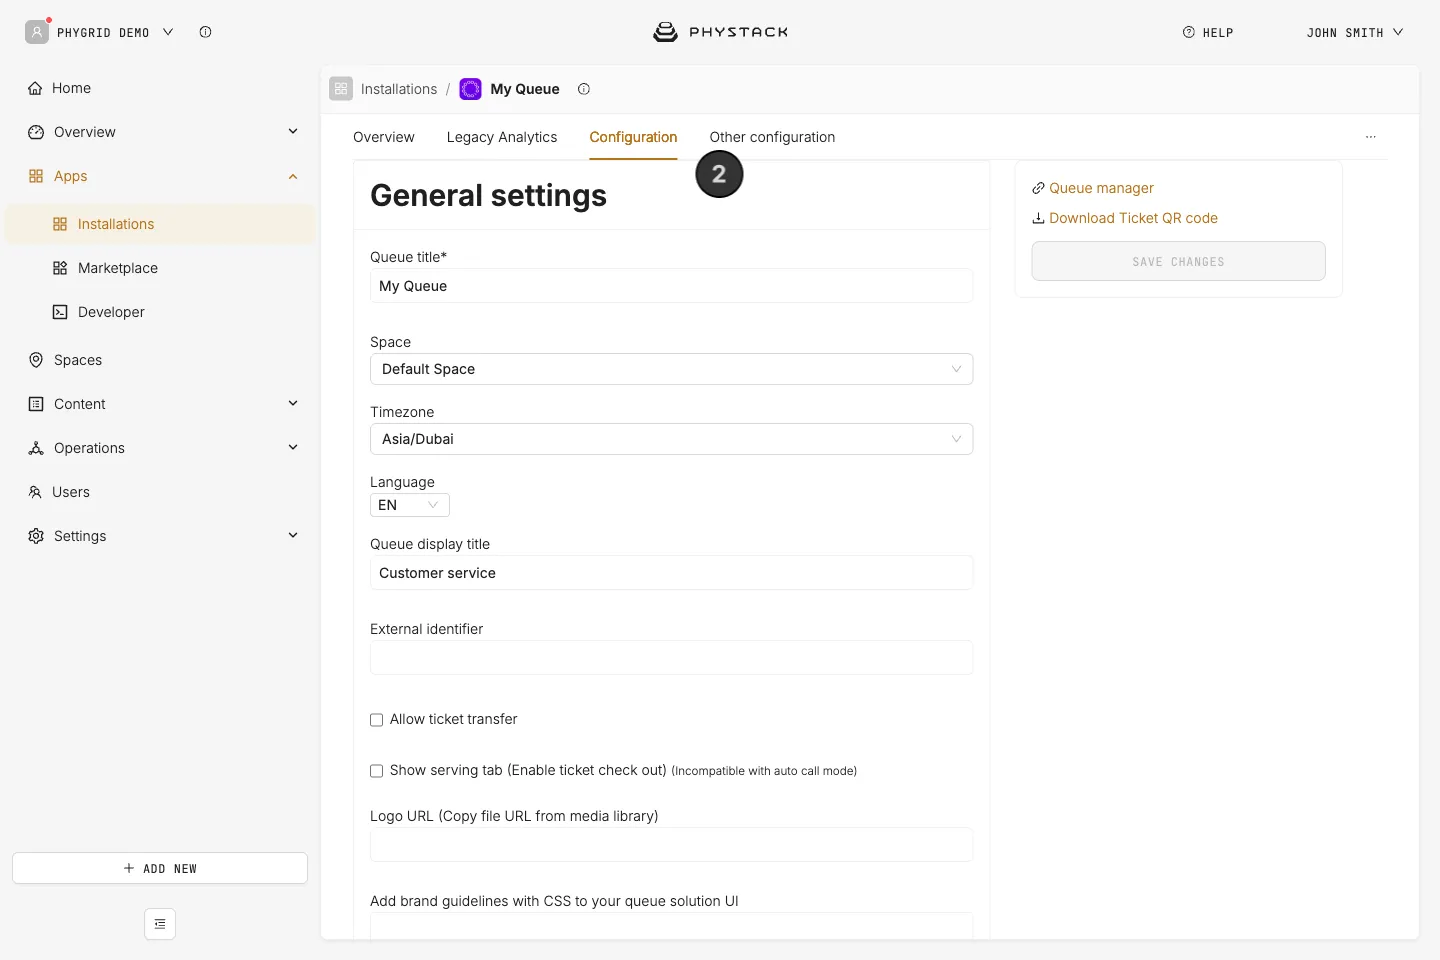
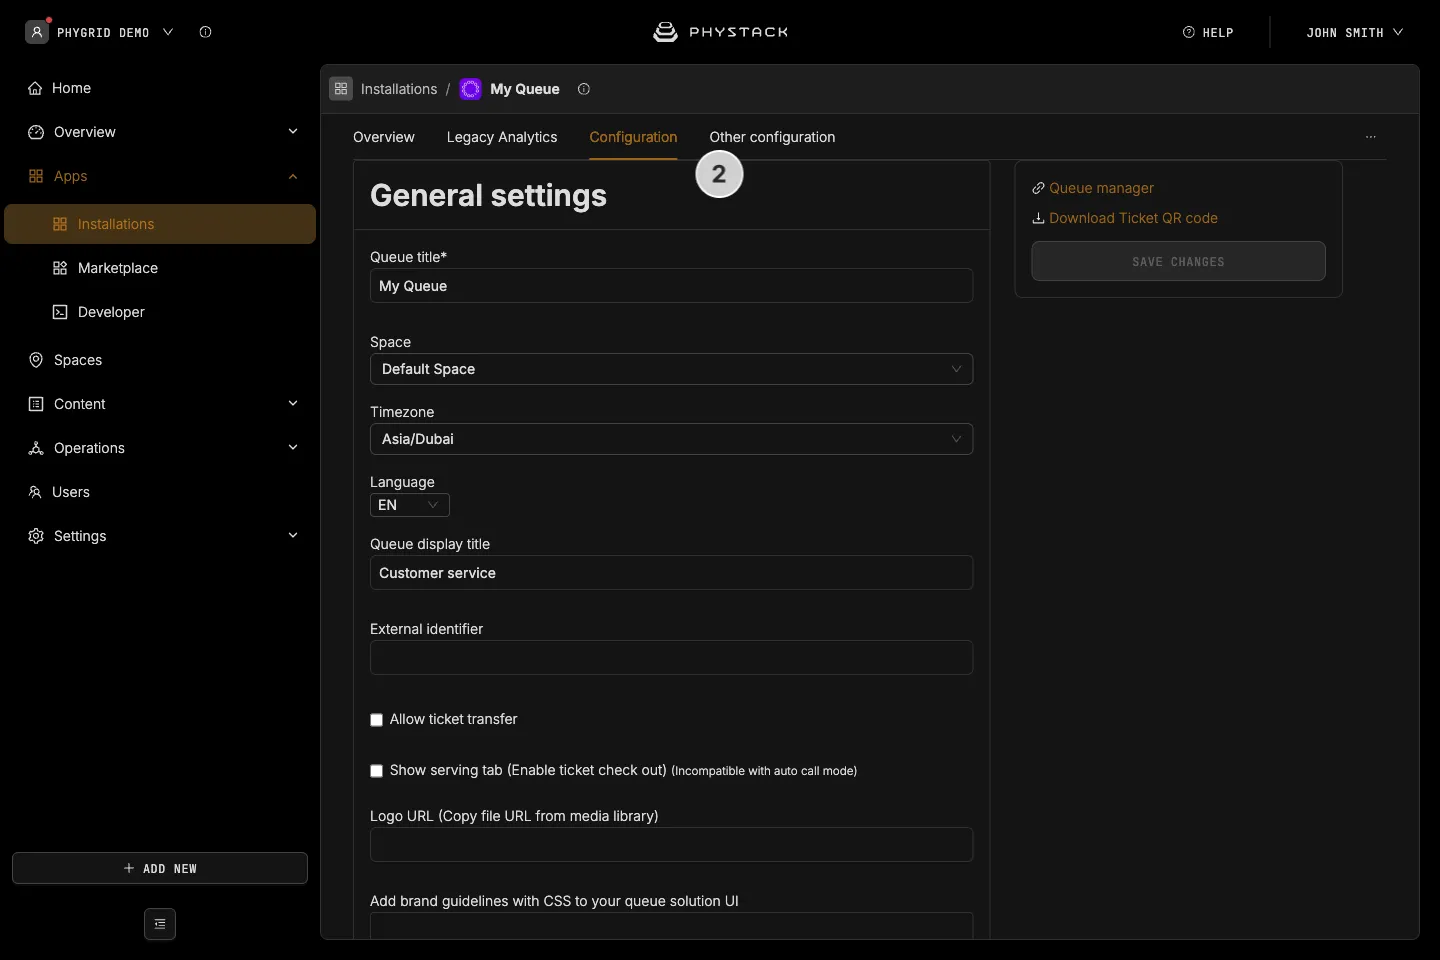
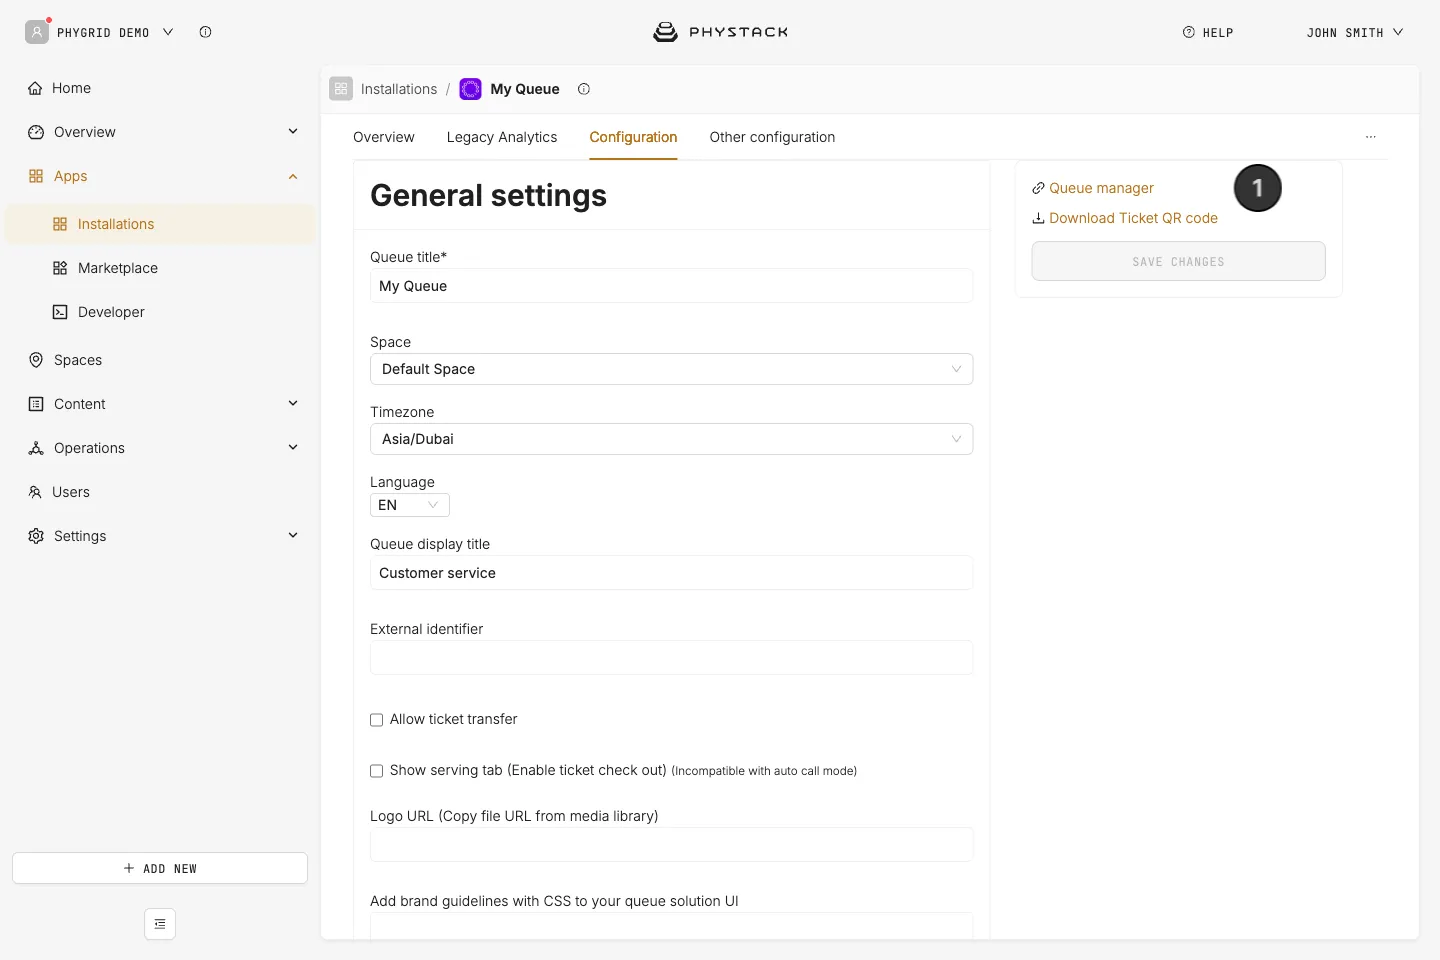
- Open the installation and select the Configuration tab to access your queue’s options
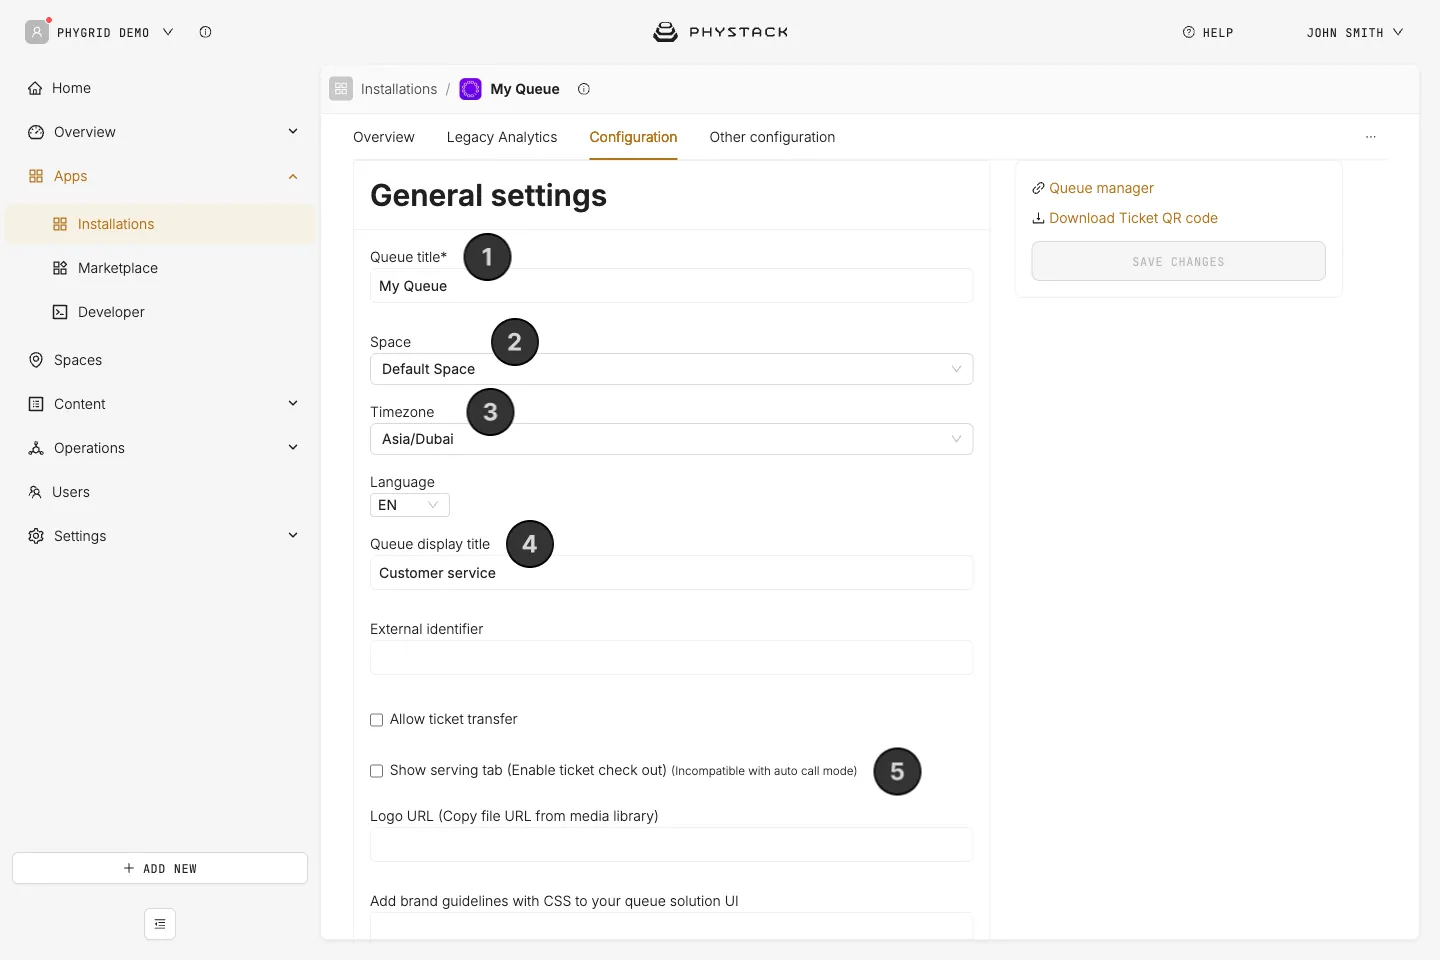
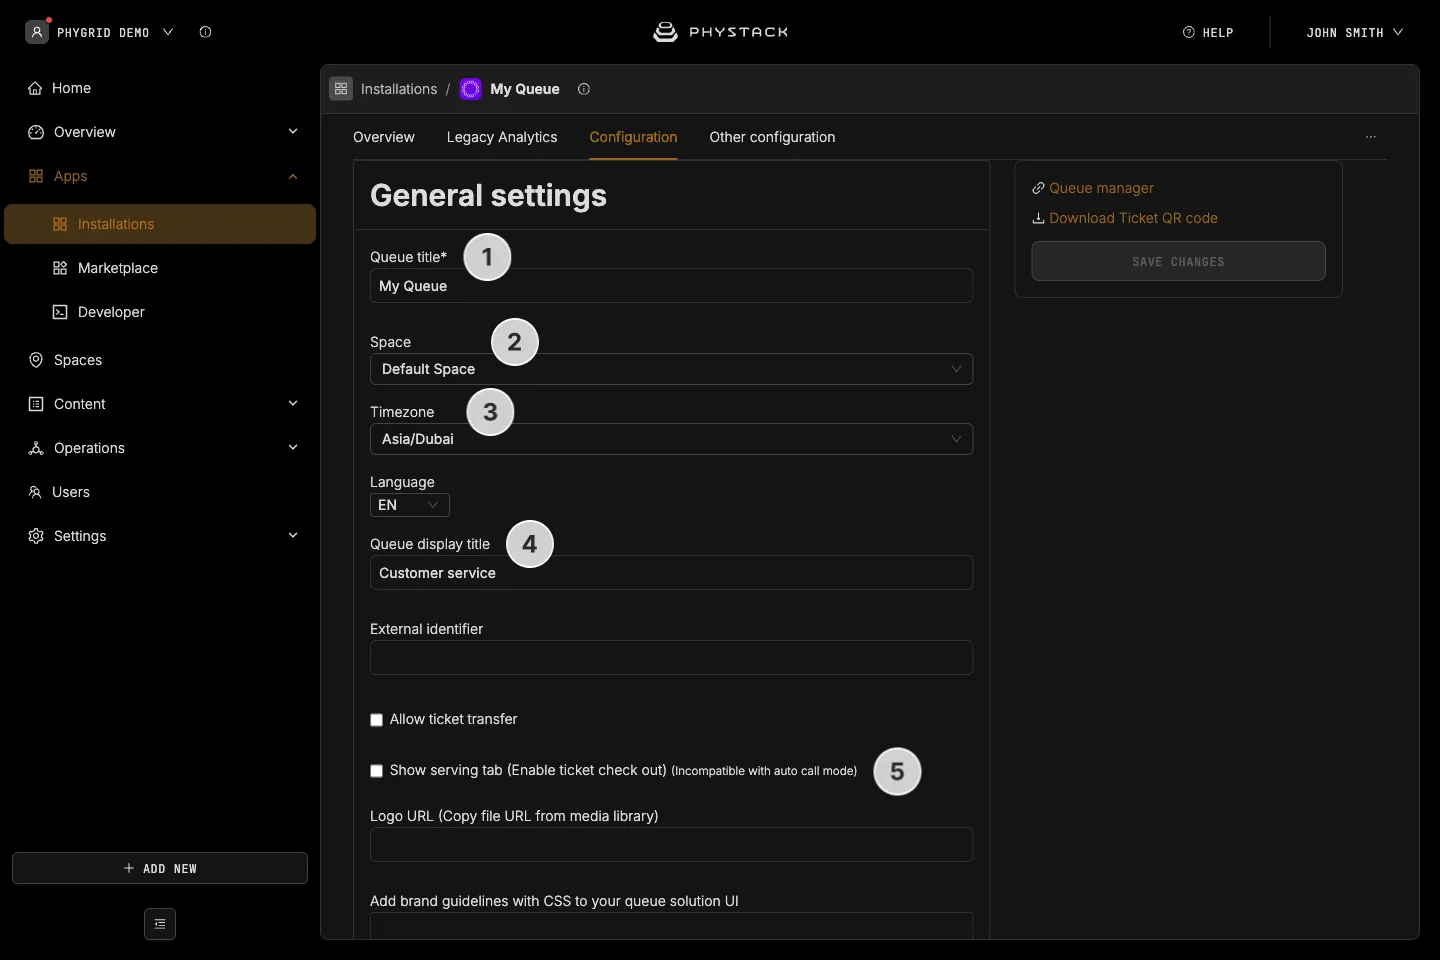
- Set or change the Queue title. This is the title visible in Apps → Installations
- Set the Space for your queue. Setting the correct Space is important if you utilise multiple queues in one location (Space), because it will aggregate analytics properly for the entire location, in addition to each individual queue.
- Set the correct Timezone for the queue’s location
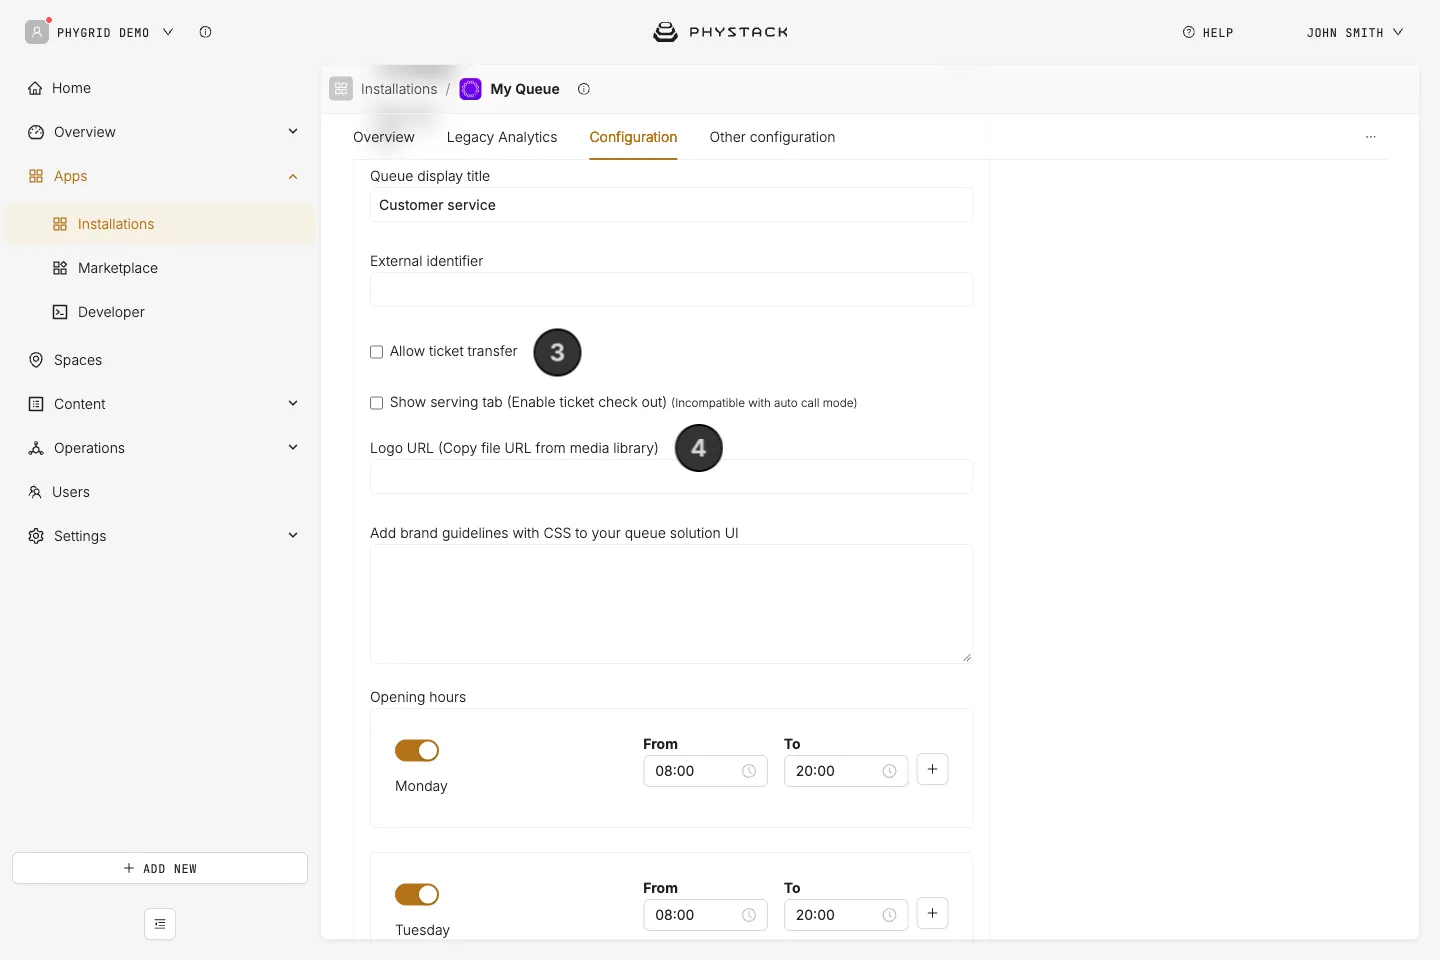
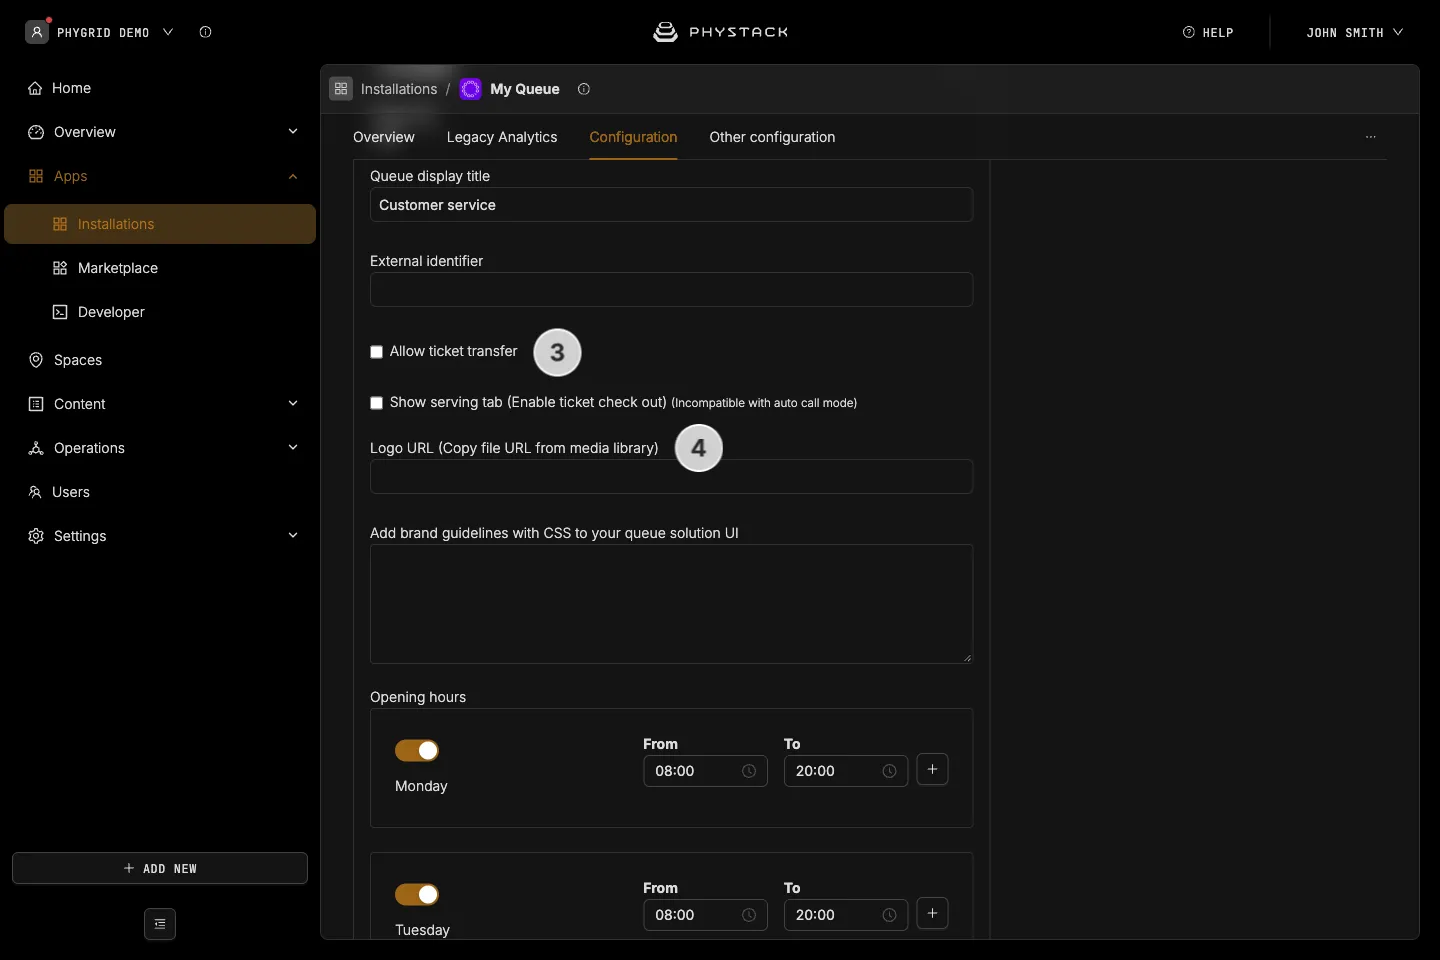
- Set the Queue display title. This title is visible to staff in the Queue Manager, and to your visitors on their tickets. The title is set per language: pick a language in the Language field, then enter the title for that language
- For service and time-sensitive related operations, you can track the exact time it took for the visitor to complete their visit. Enable Show serving tab (Enable ticket check out), and you can control the full customer journey, from walk-in, to check-out. This option can’t be combined with auto call mode
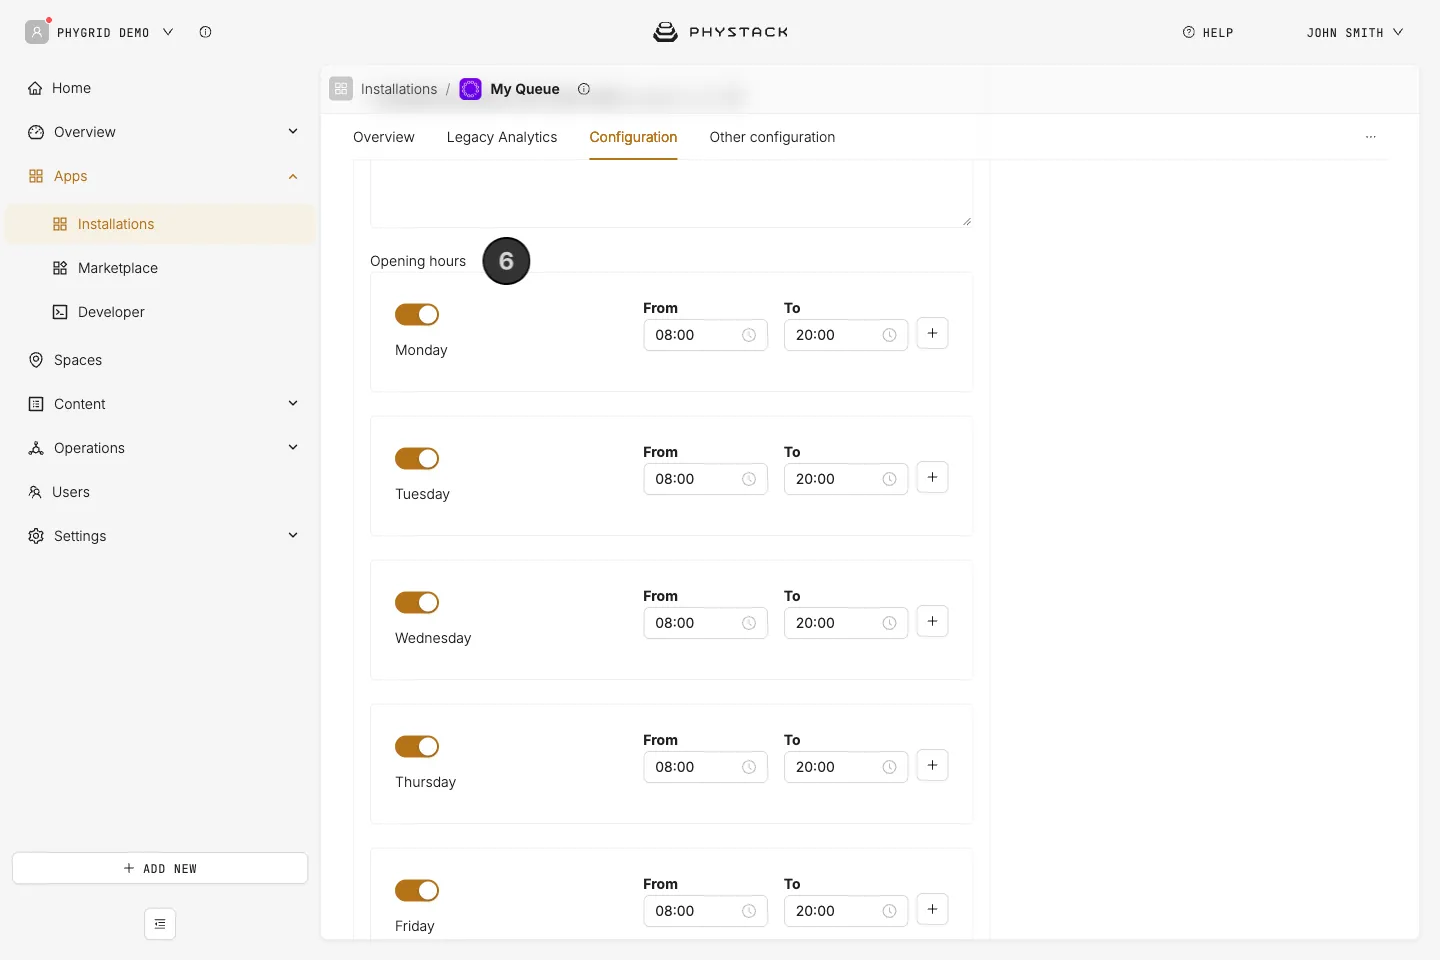
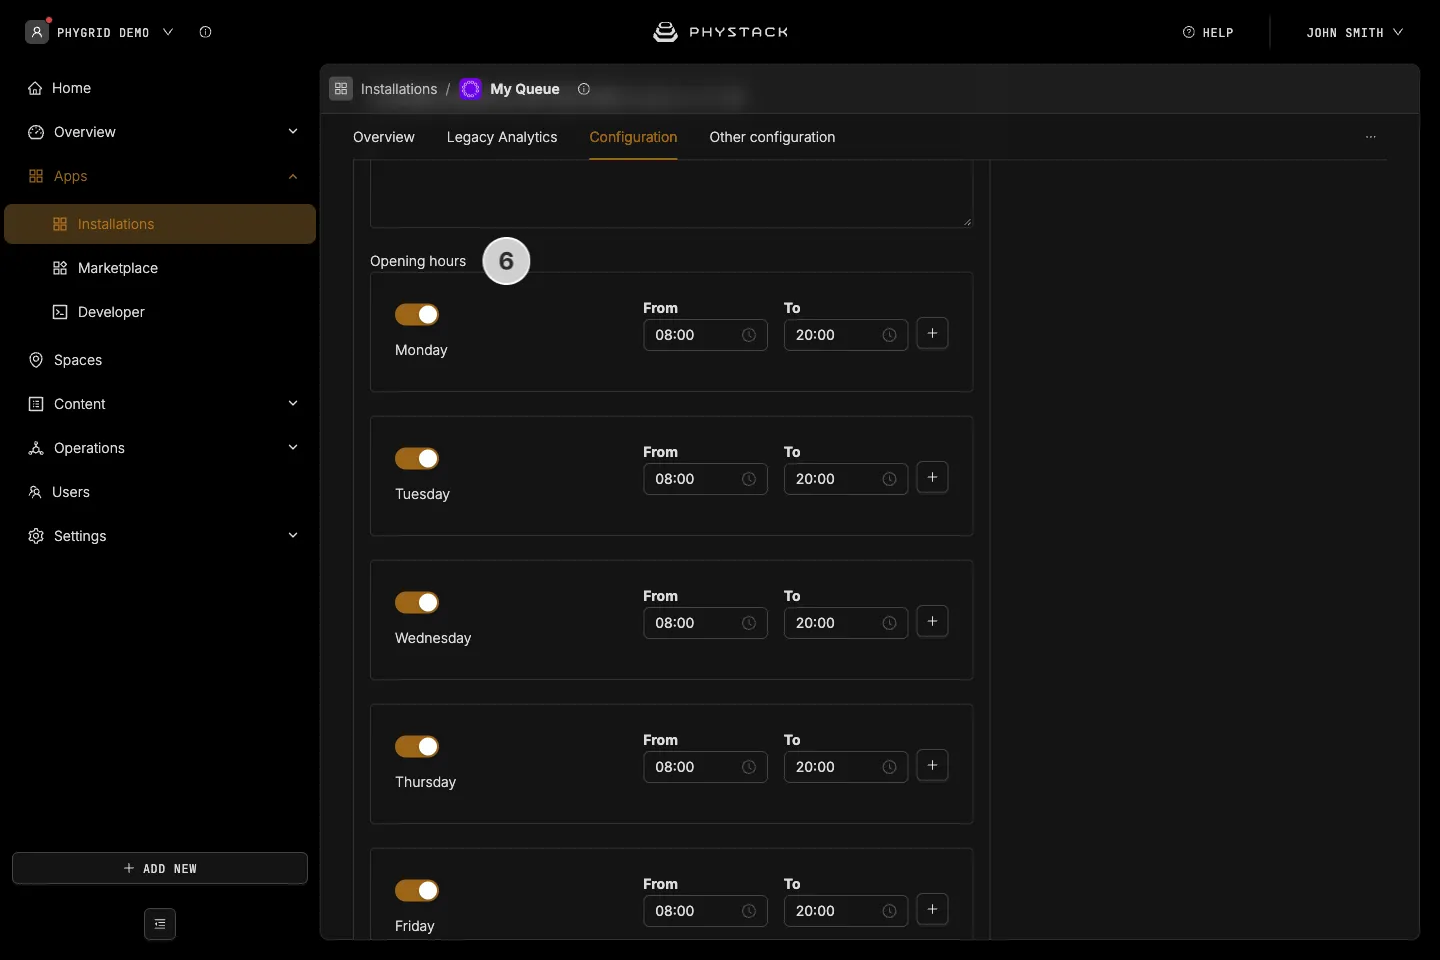
- Set the Opening hours for your location. These hours don’t open or close the queue: staff open and close the queue manually in the Queue Manager. Opening hours enable displaying proper waiting times for early visitors.
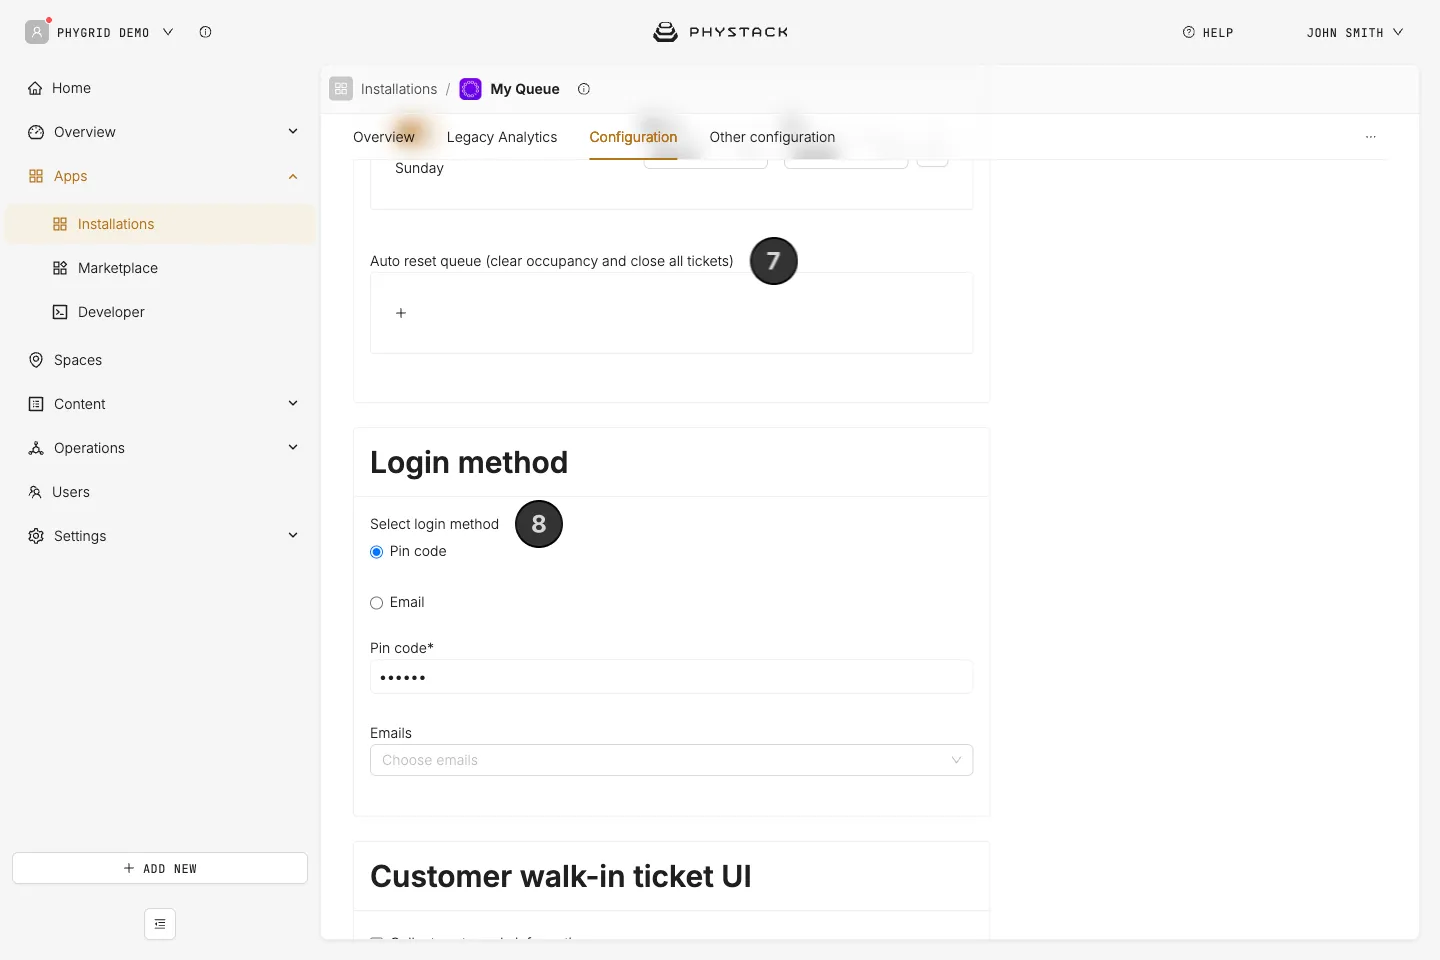
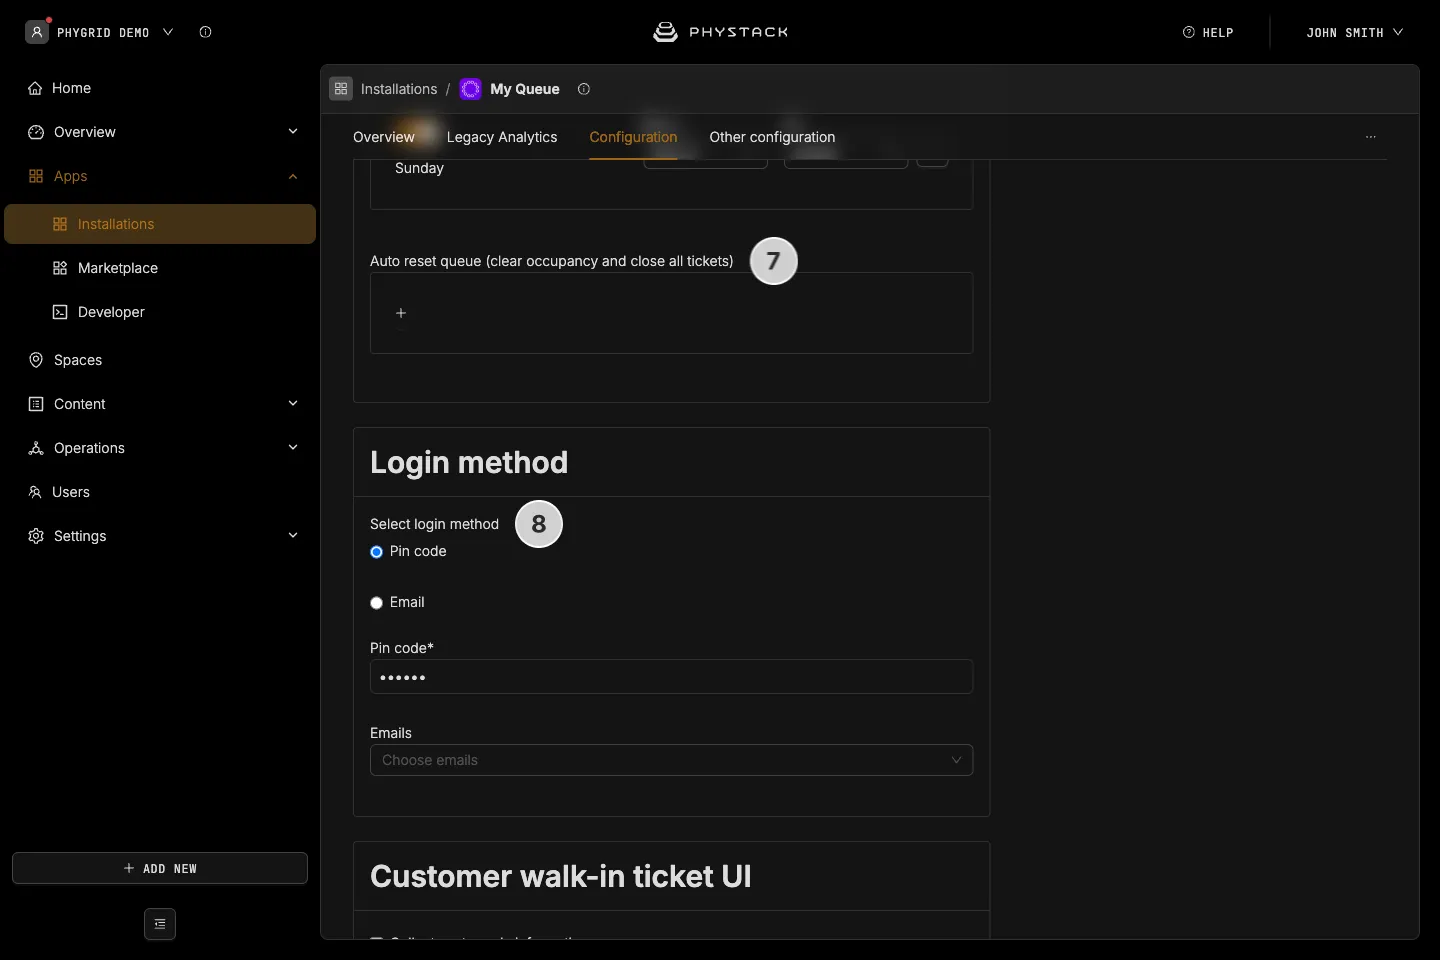
- If you don’t want to have tickets from previous days showing up in the Queue Manager, click + under Auto reset queue and set a time (recommended outside of opening hours) when the queue will clear occupancy and close all tickets. You can add more than one time
- Set the login method that the staff will use to access the Queue Manager
- Pin code doesn’t require any additional setup, and you can start using the Queue Manager immediately
- Email login requires you to first invite users to the tenant, then select them in Emails
Enable additional options for your queue
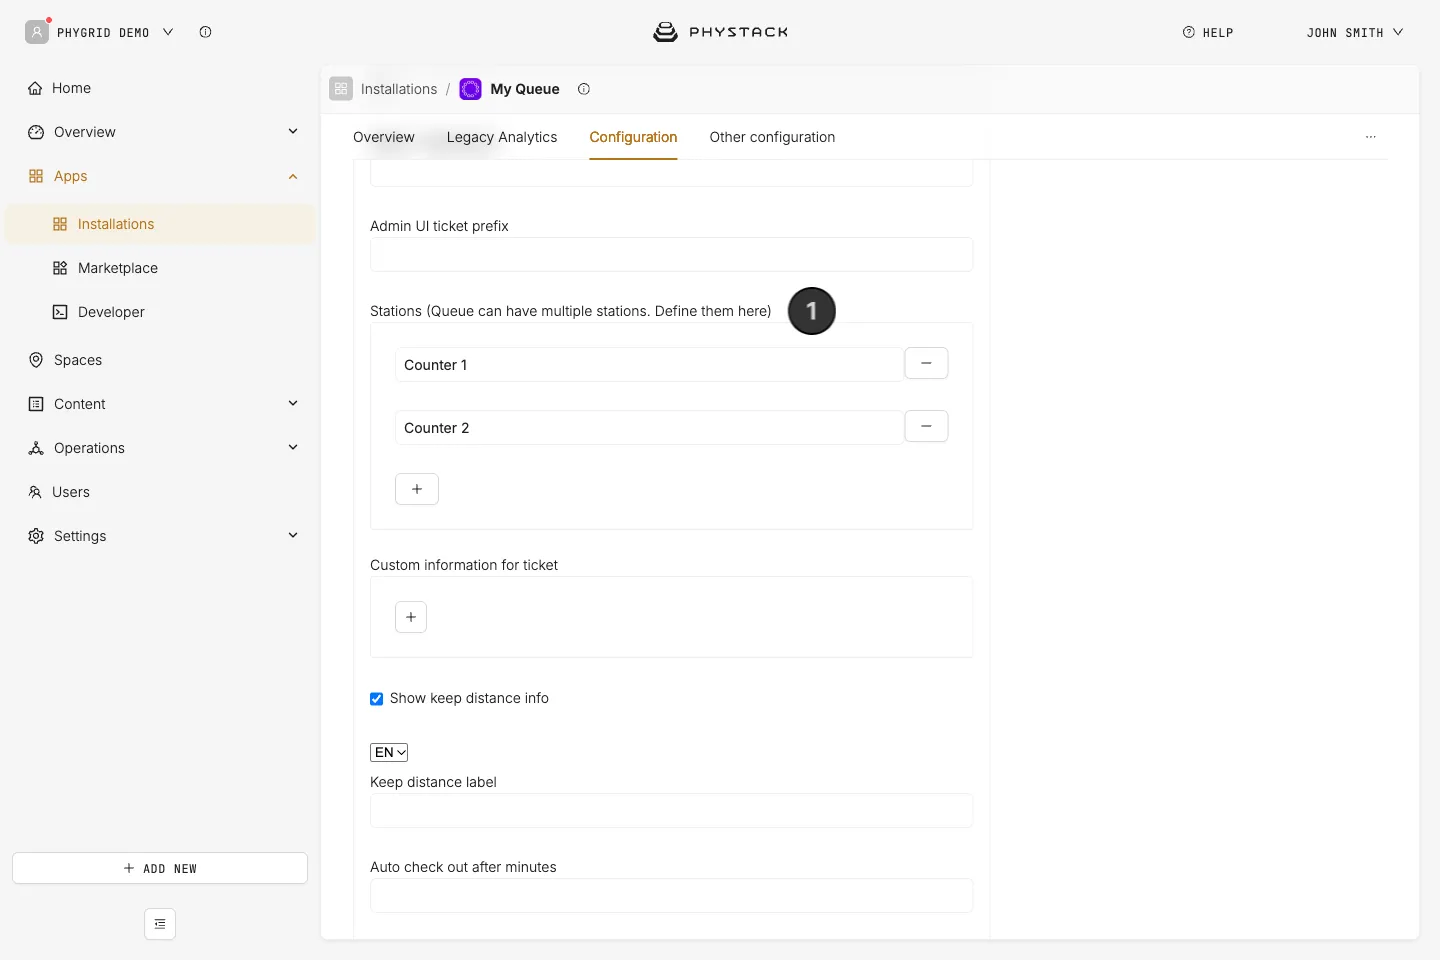
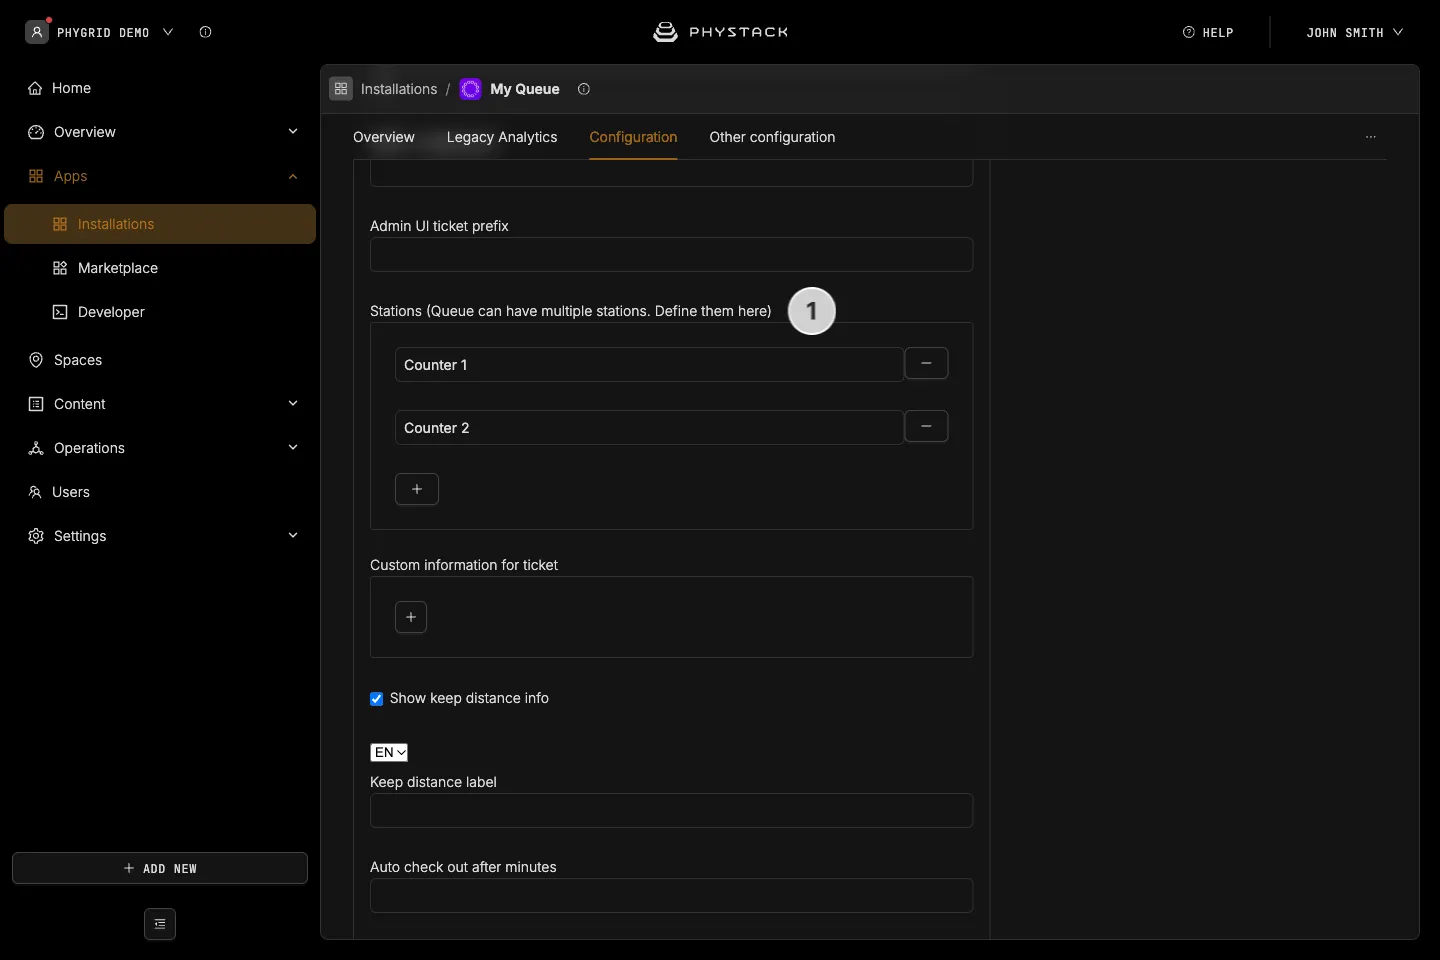
- Add Stations in the Customer walk-in ticket UI section to guide the visitor to the exact location (counter, desk, office) they need to go to
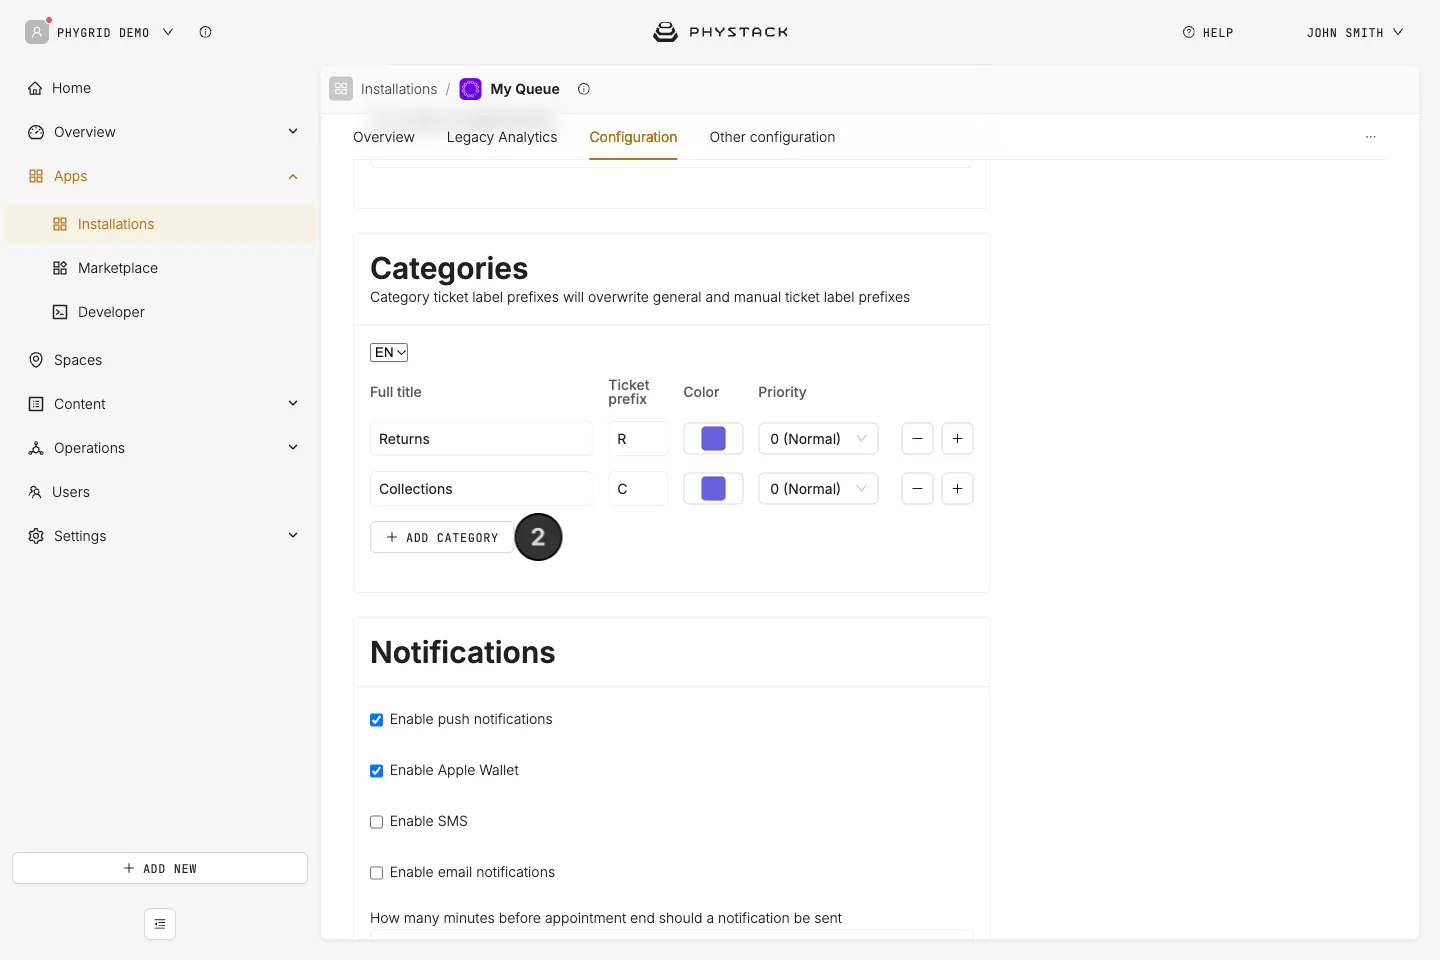
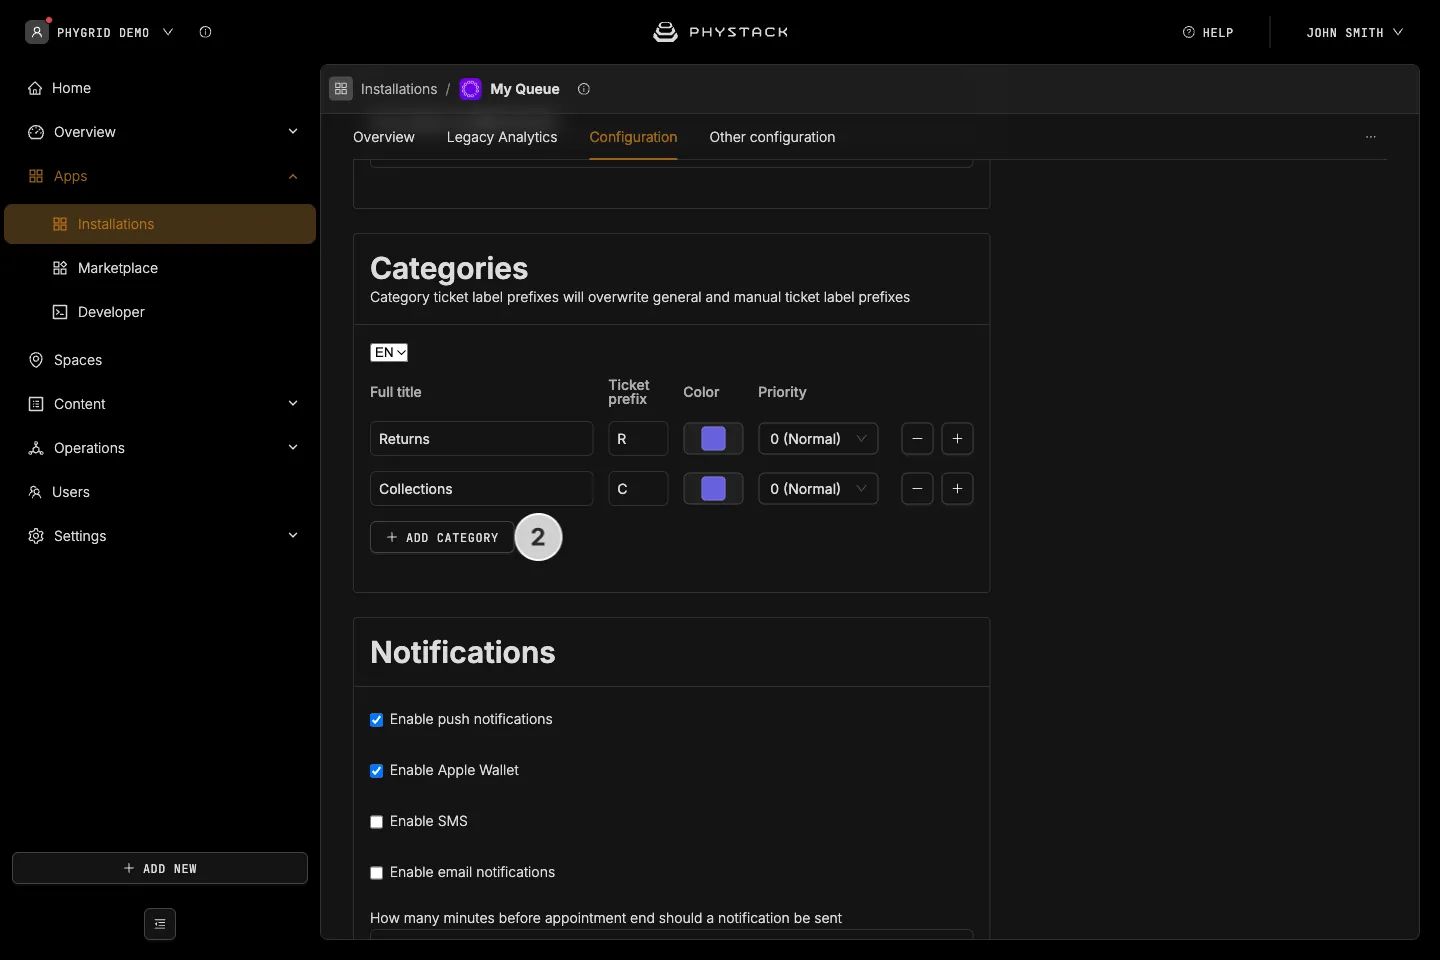
- Add Categories with Add category to make your services better organised and easier to access
- Allow ticket transfer gives you the option to transfer one ticket from one station to another, from one category to another, and even from one queue to another queue, if you have multiple Queue Management installations set up in the same tenant
- Add a custom logo for your queue by uploading an image file to your Media Library, then copying its URL and pasting it here
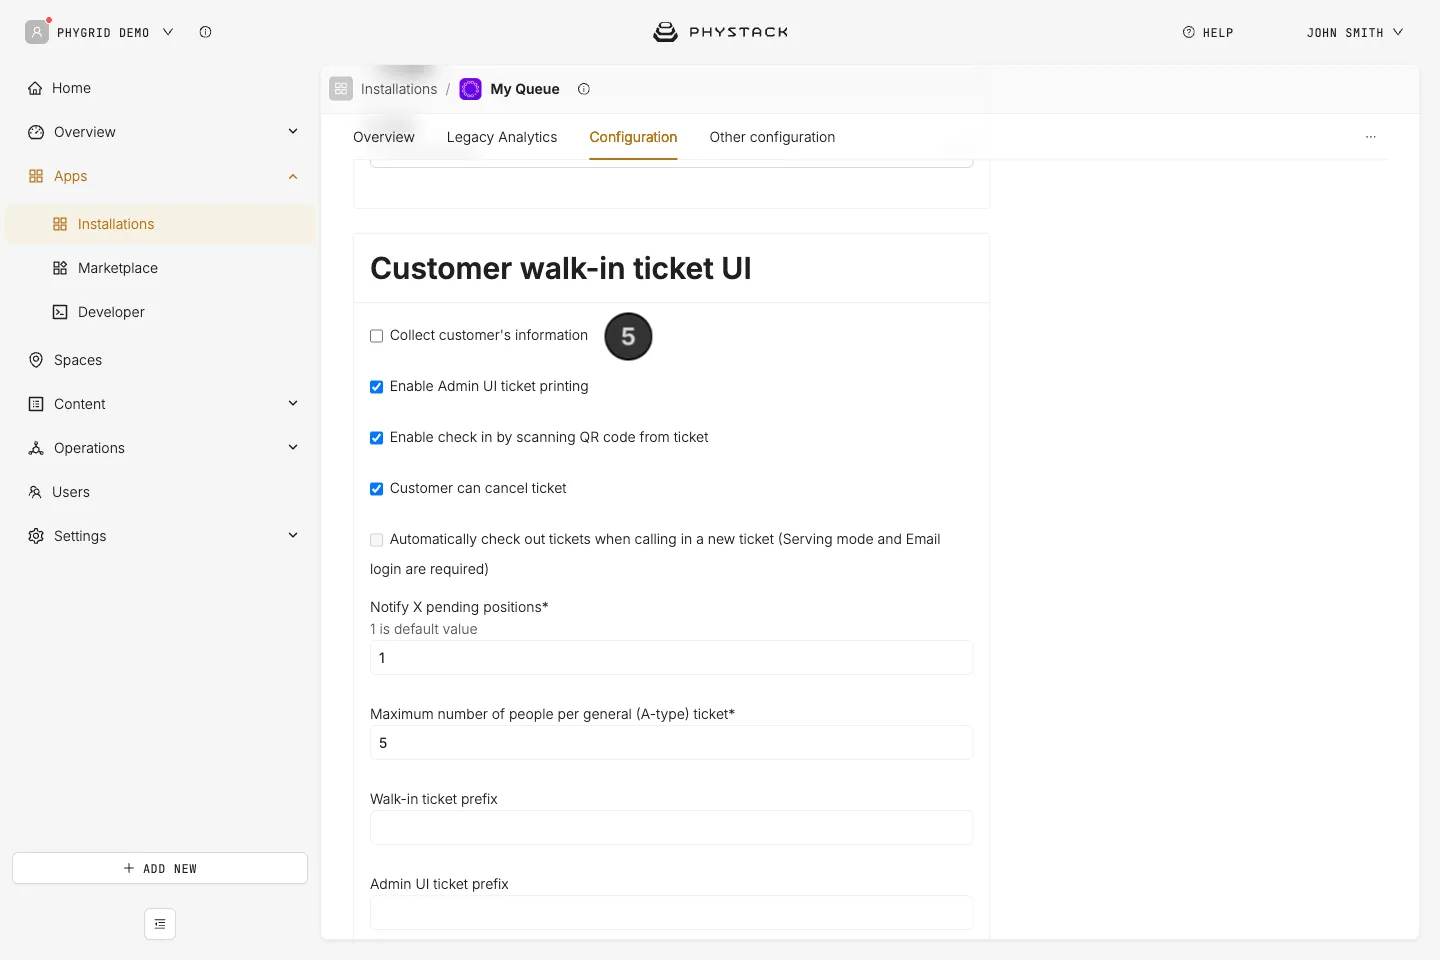
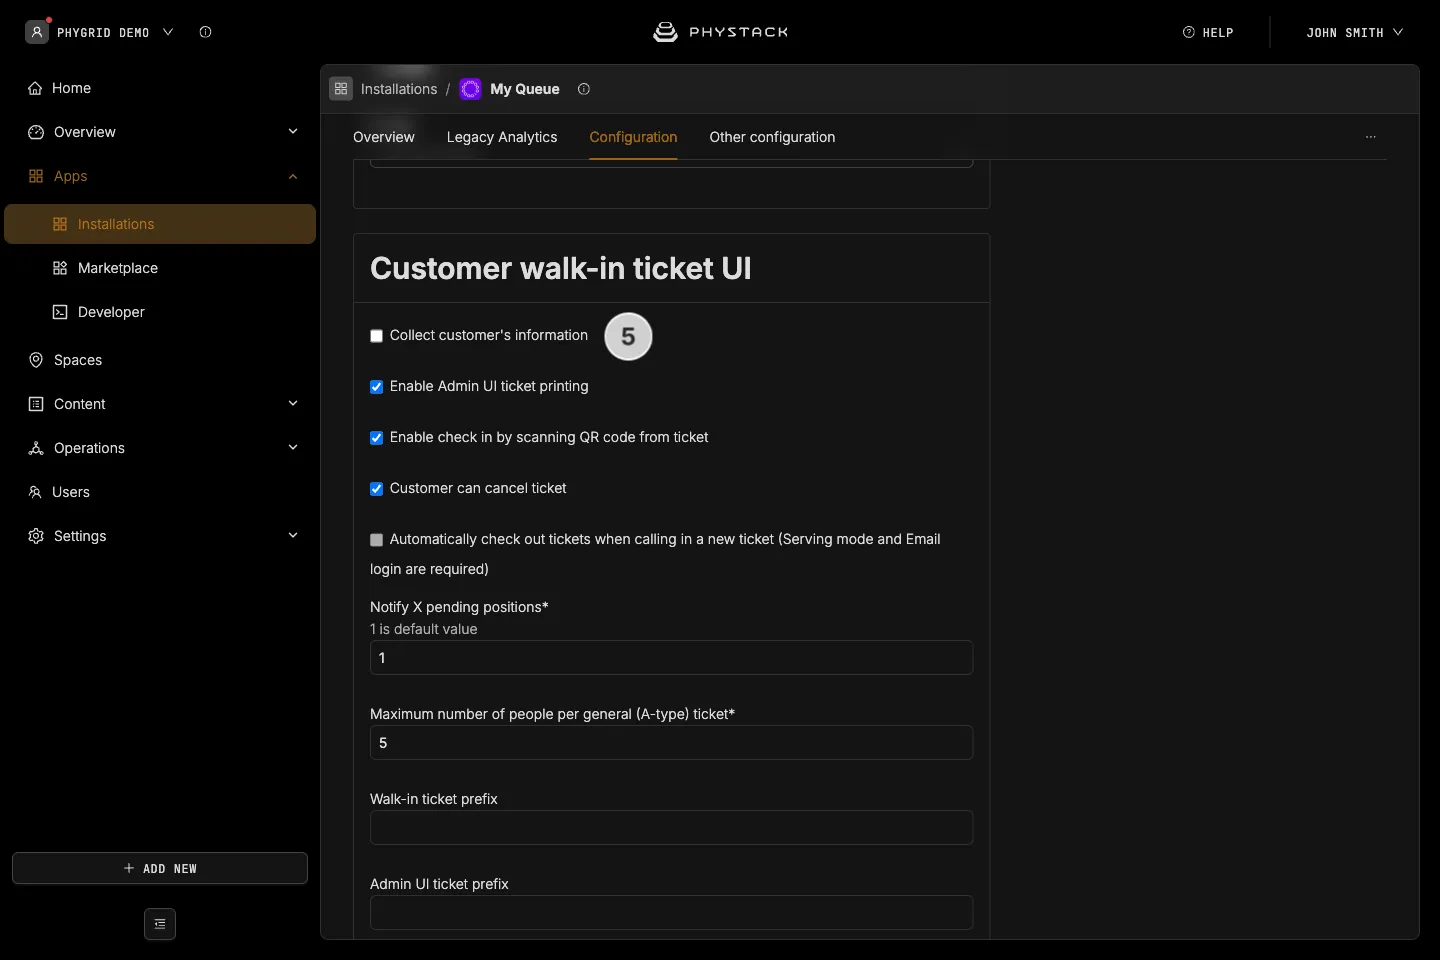
- Collect customer’s information during ticket registration means you can request the visitor to leave certain information in order to receive a ticket
- If you have categories enabled, you can request the visitors to select a category during registration
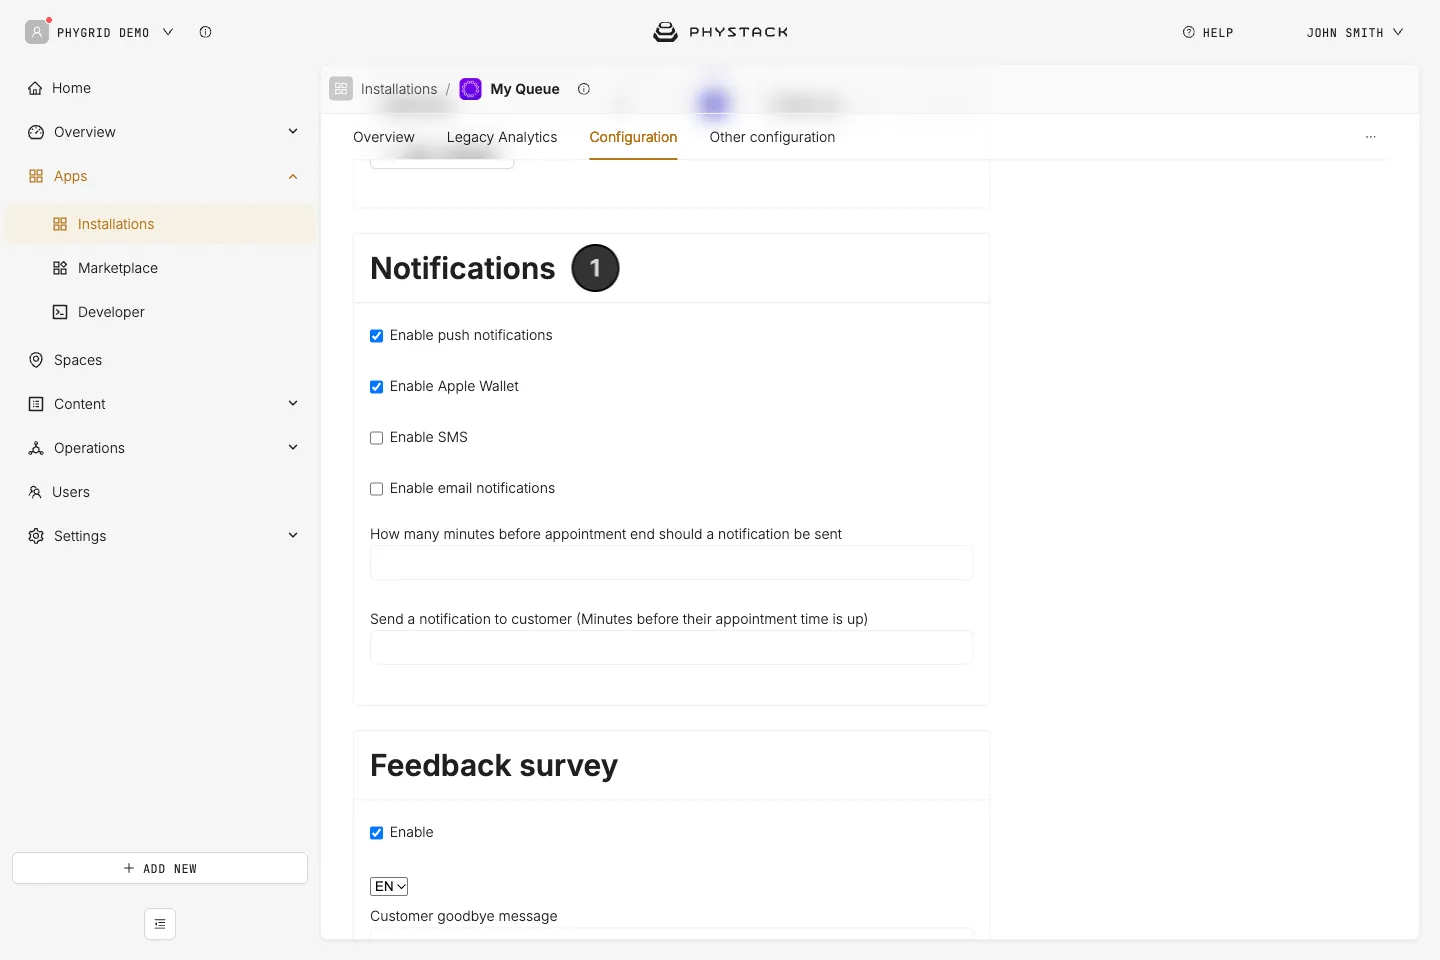
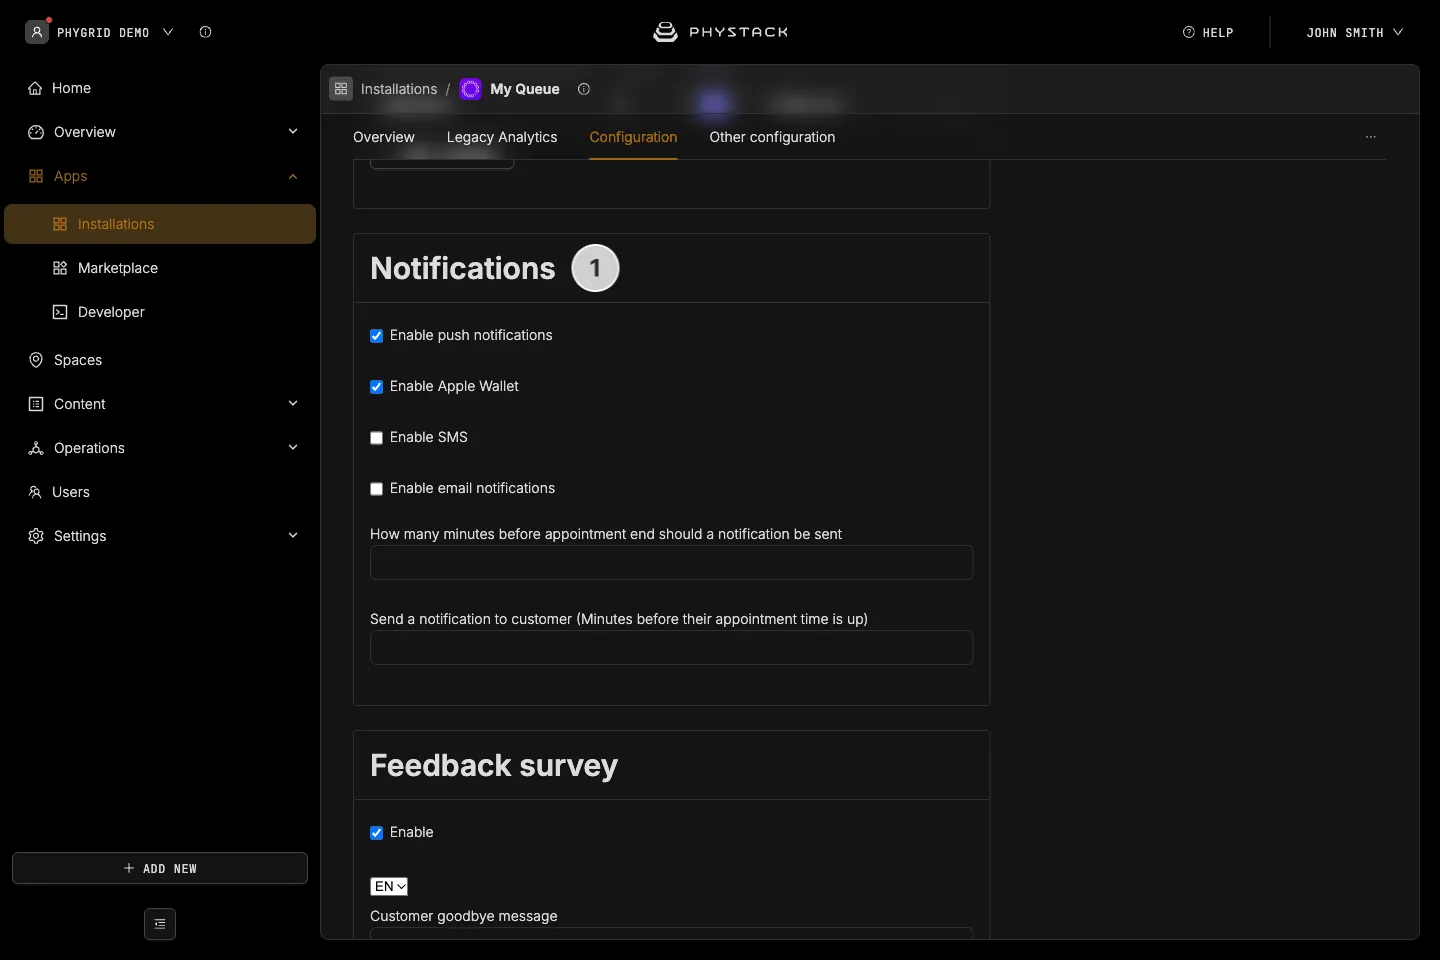
- Select which notifications you want enabled for your queue
- Email and SMS notifications require additional backend configuration by PhyGrid
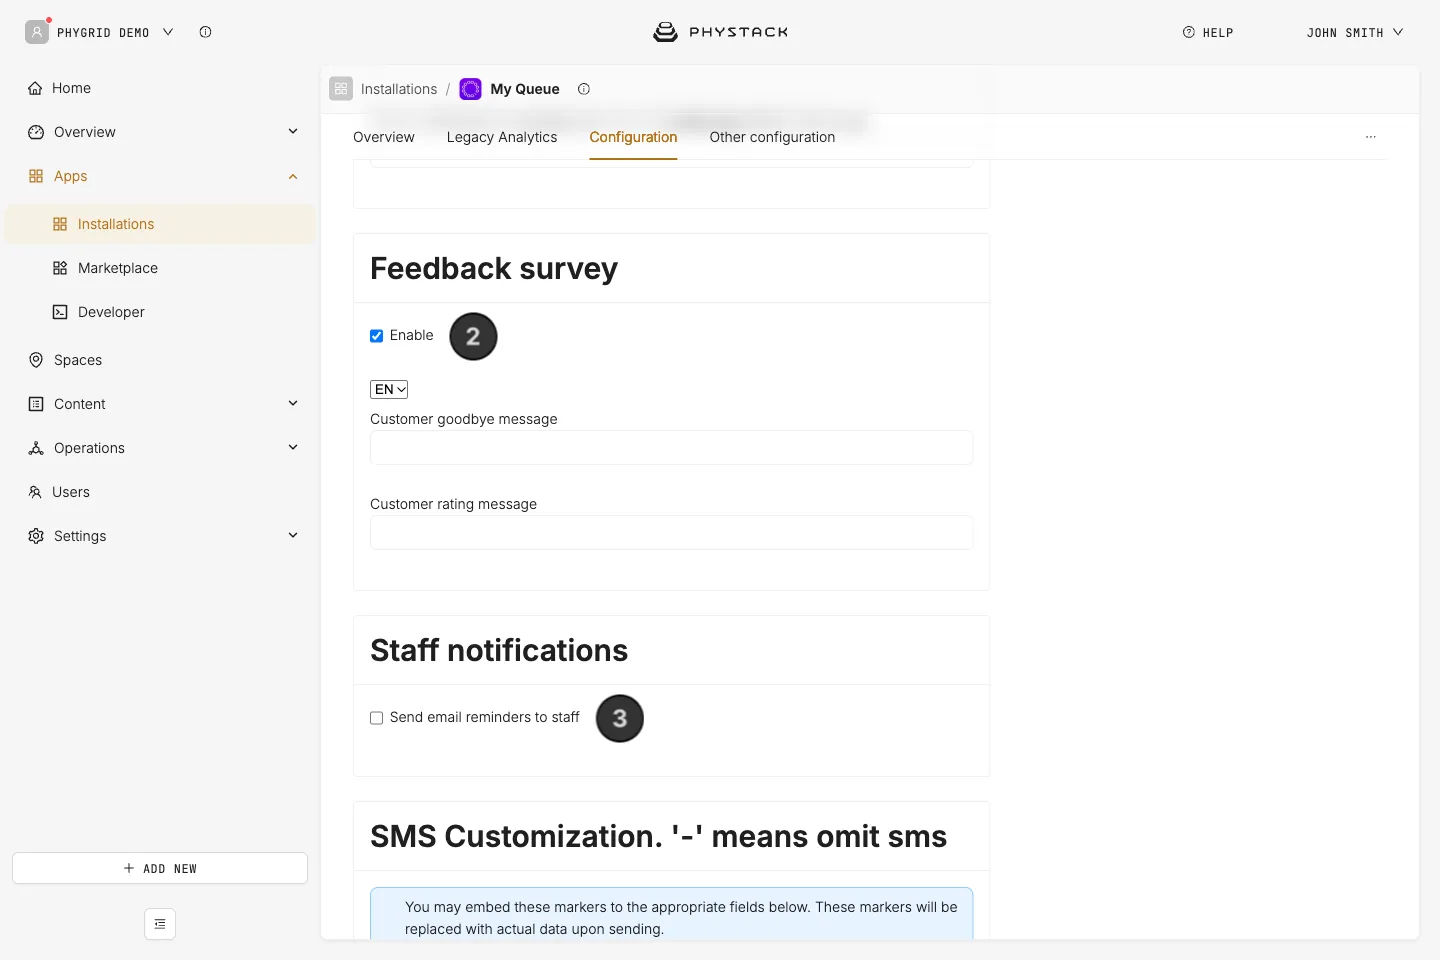
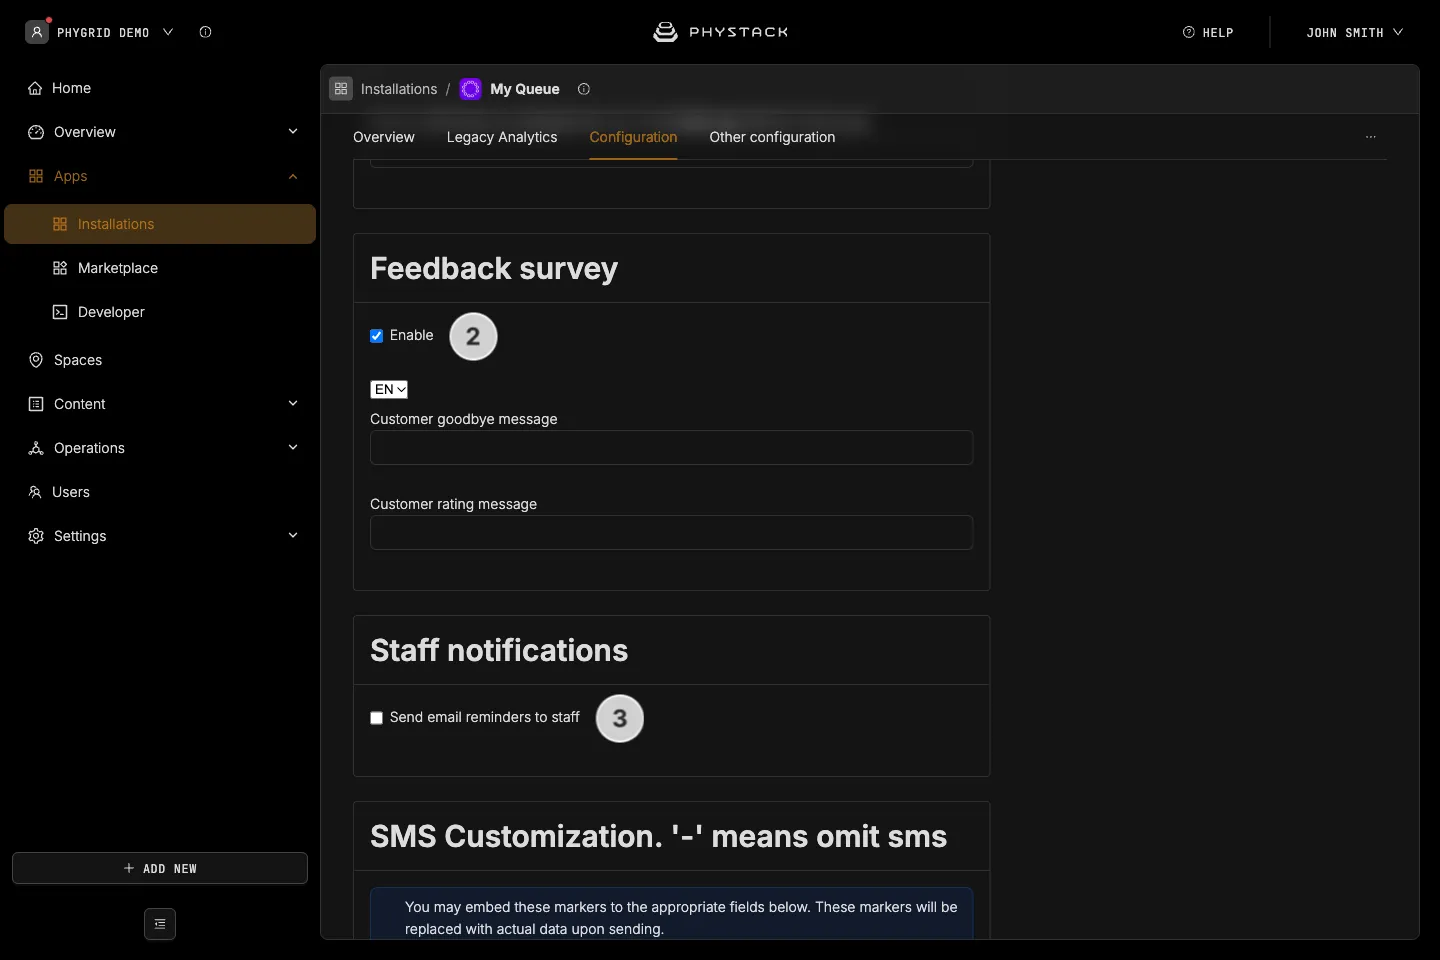
- Enable or disable the feedback survey that shows up on the digital ticket after the visitor has completed the journey
- Enable Send email reminders to staff to email selected staff when the queue’s average waiting time reaches a threshold (set in seconds), or when the number of people waiting reaches a set number
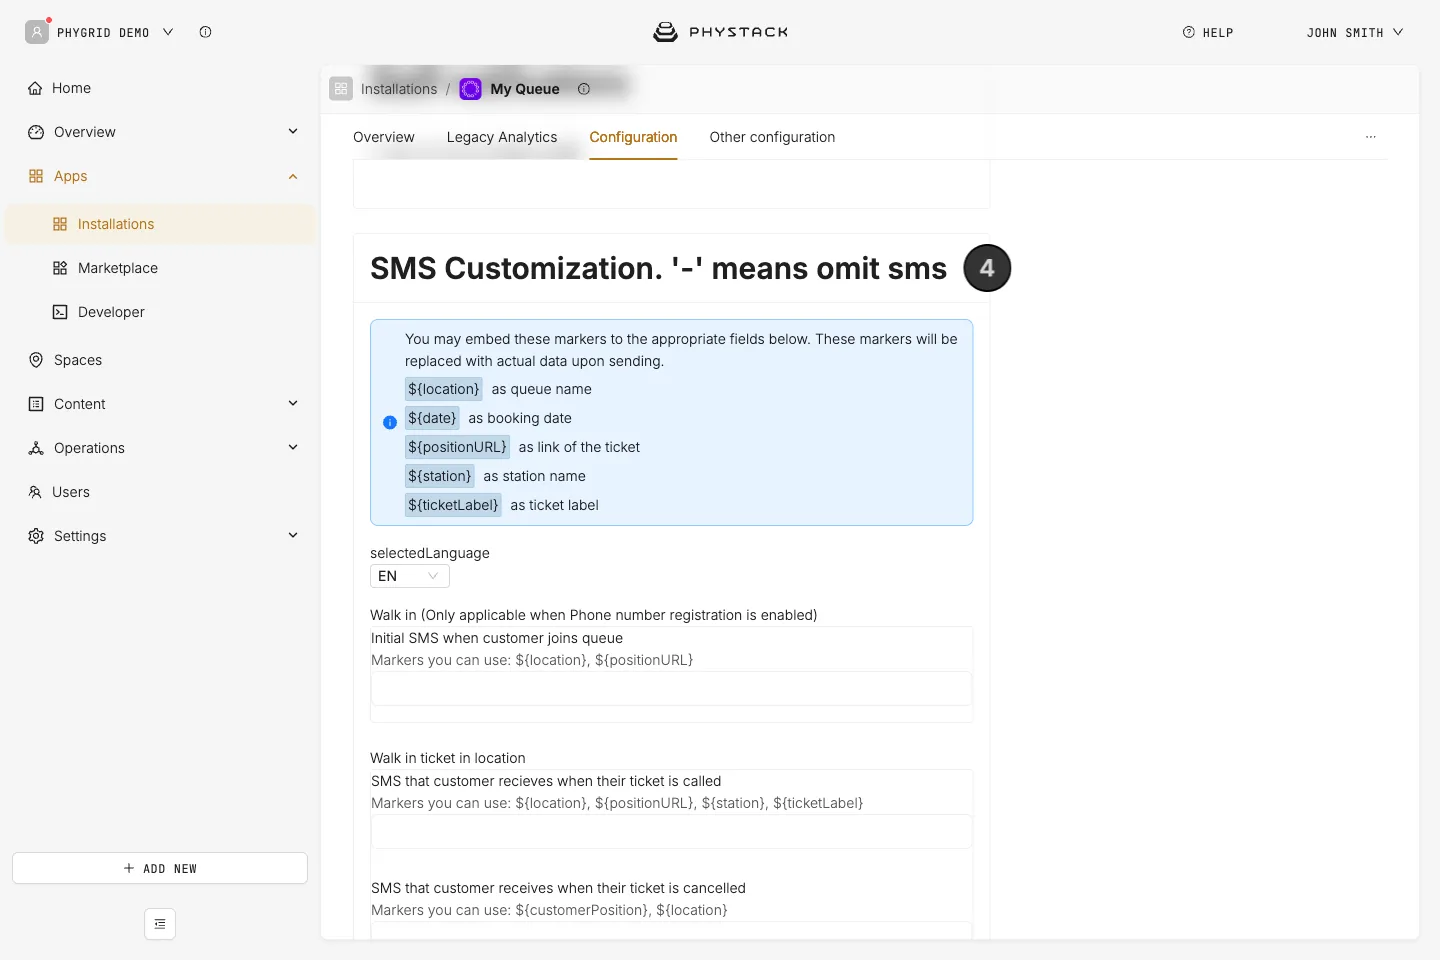
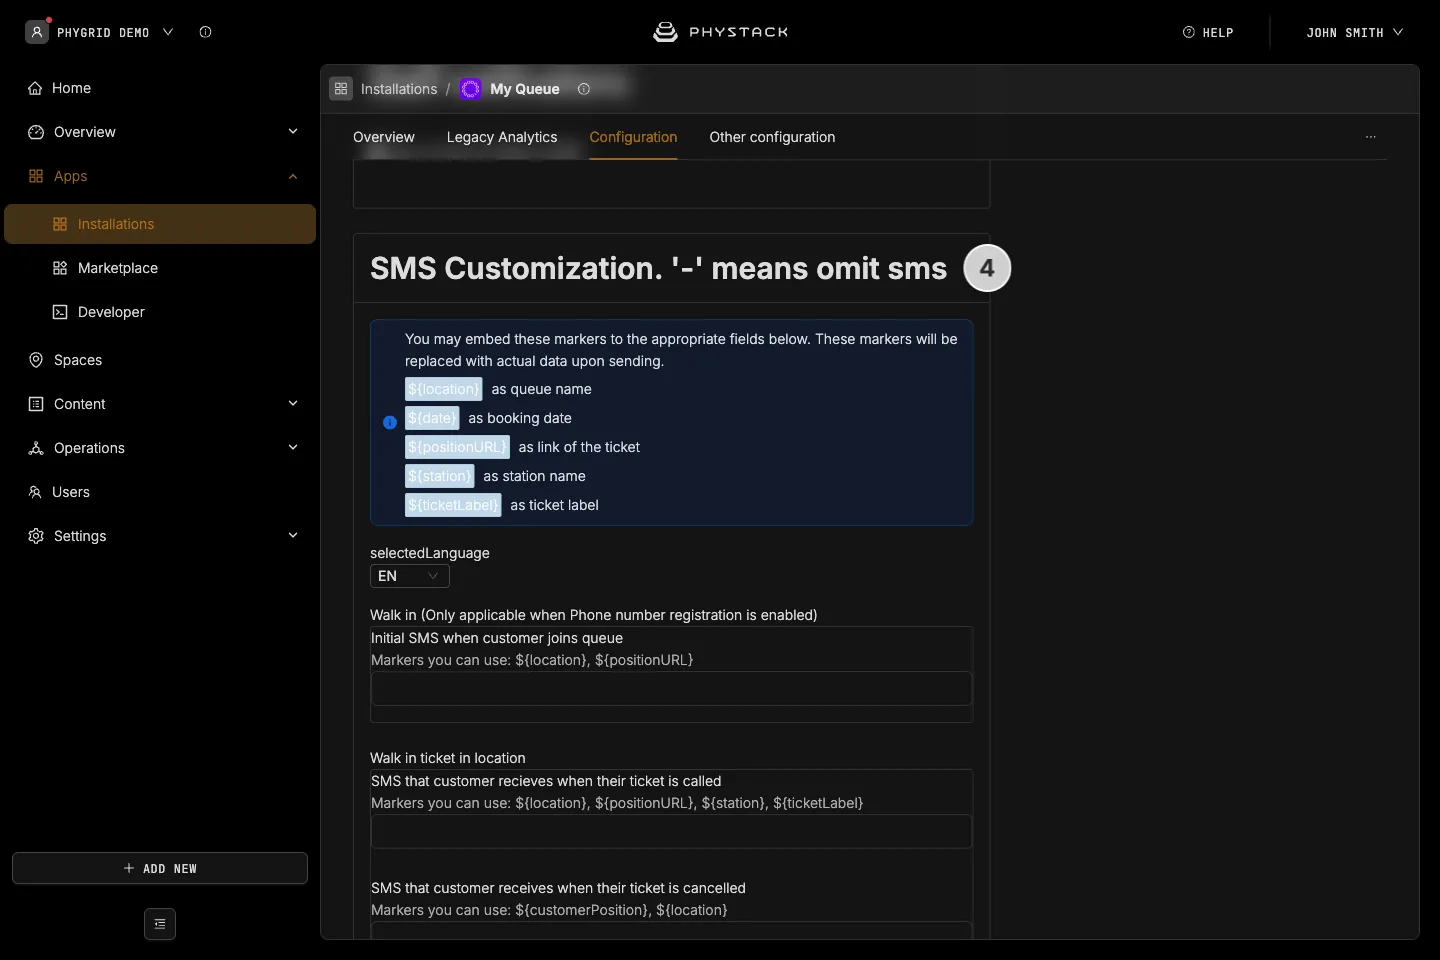
- Customise the text of the SMS notifications for the visitors, if you have enabled the option for SMS notifications. The walk-in texts are only used when phone number registration is enabled
How to save your queue settings
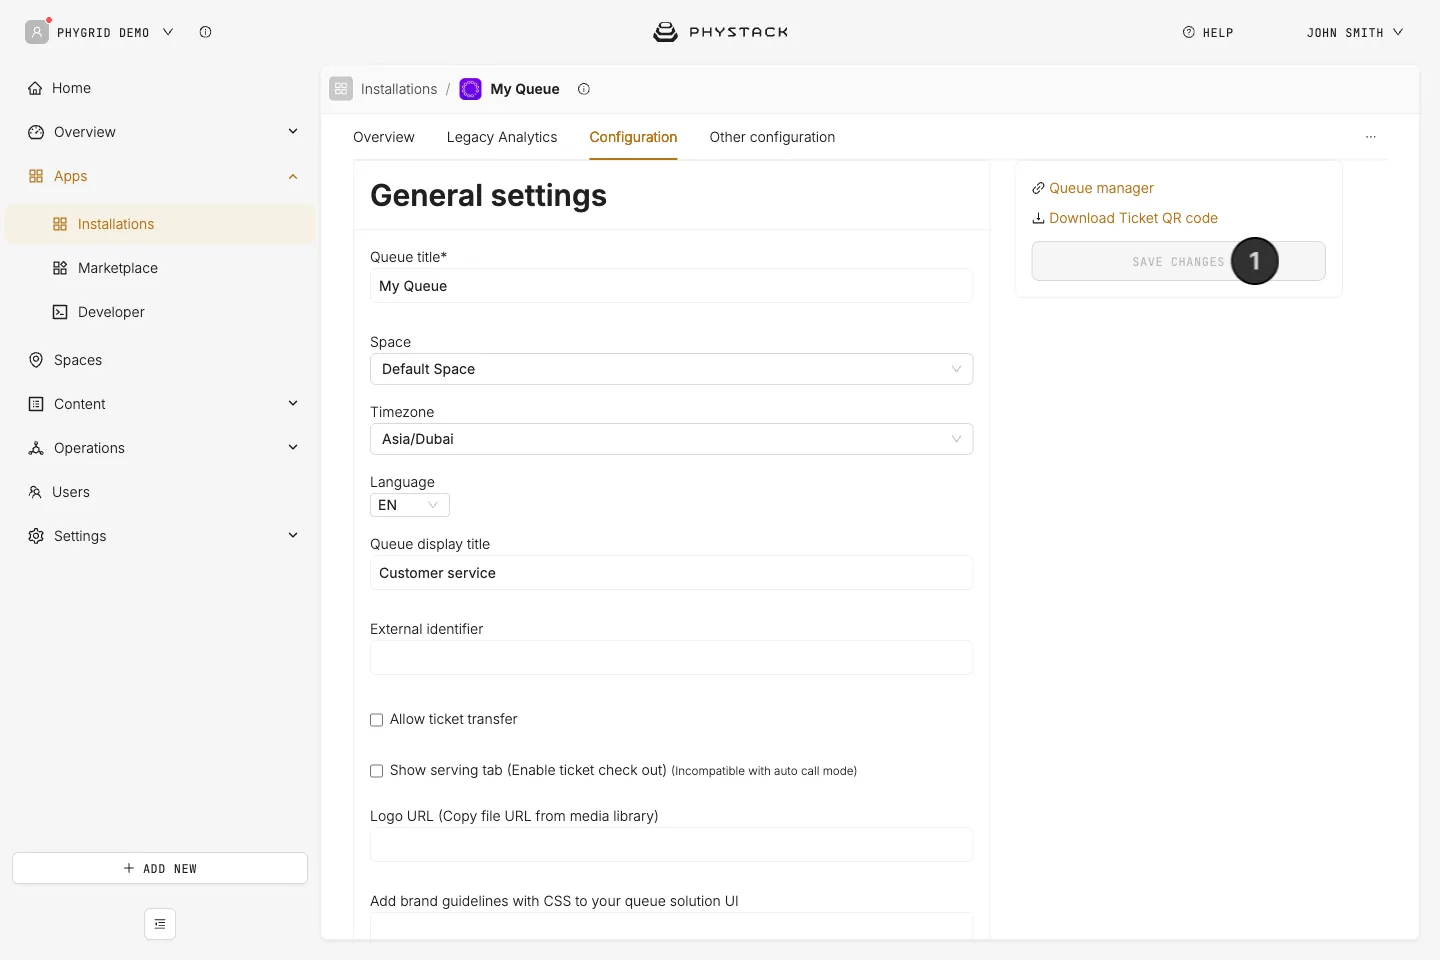
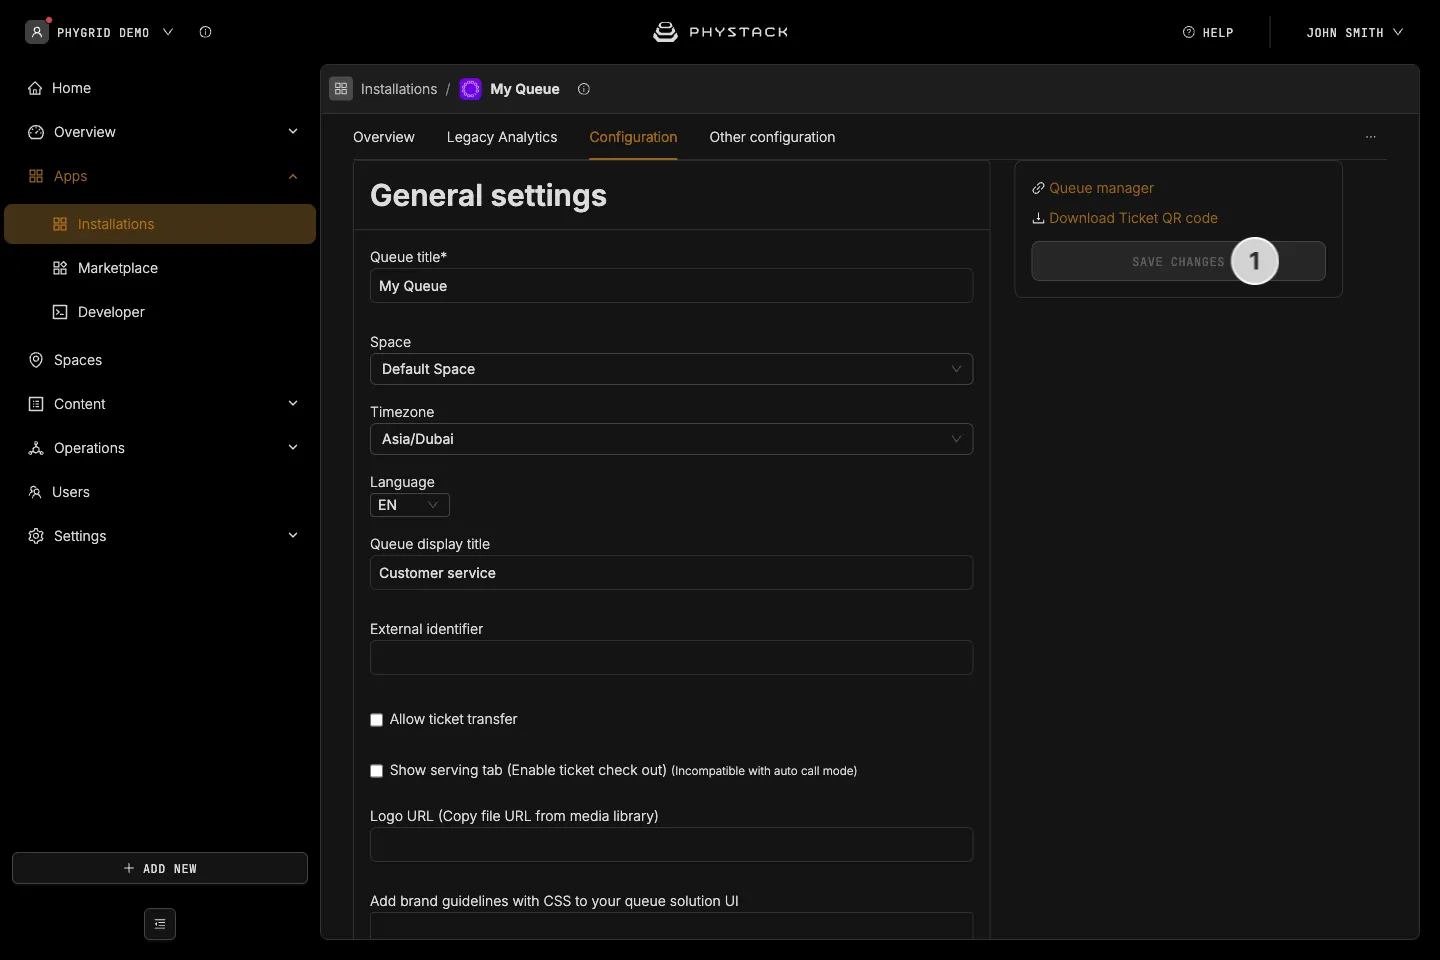
- Click Save changes in the right-hand panel of the Configuration tab. The button is enabled once you have changed a setting, and your changes are not applied until you save them
How to organise a queue in a physical location
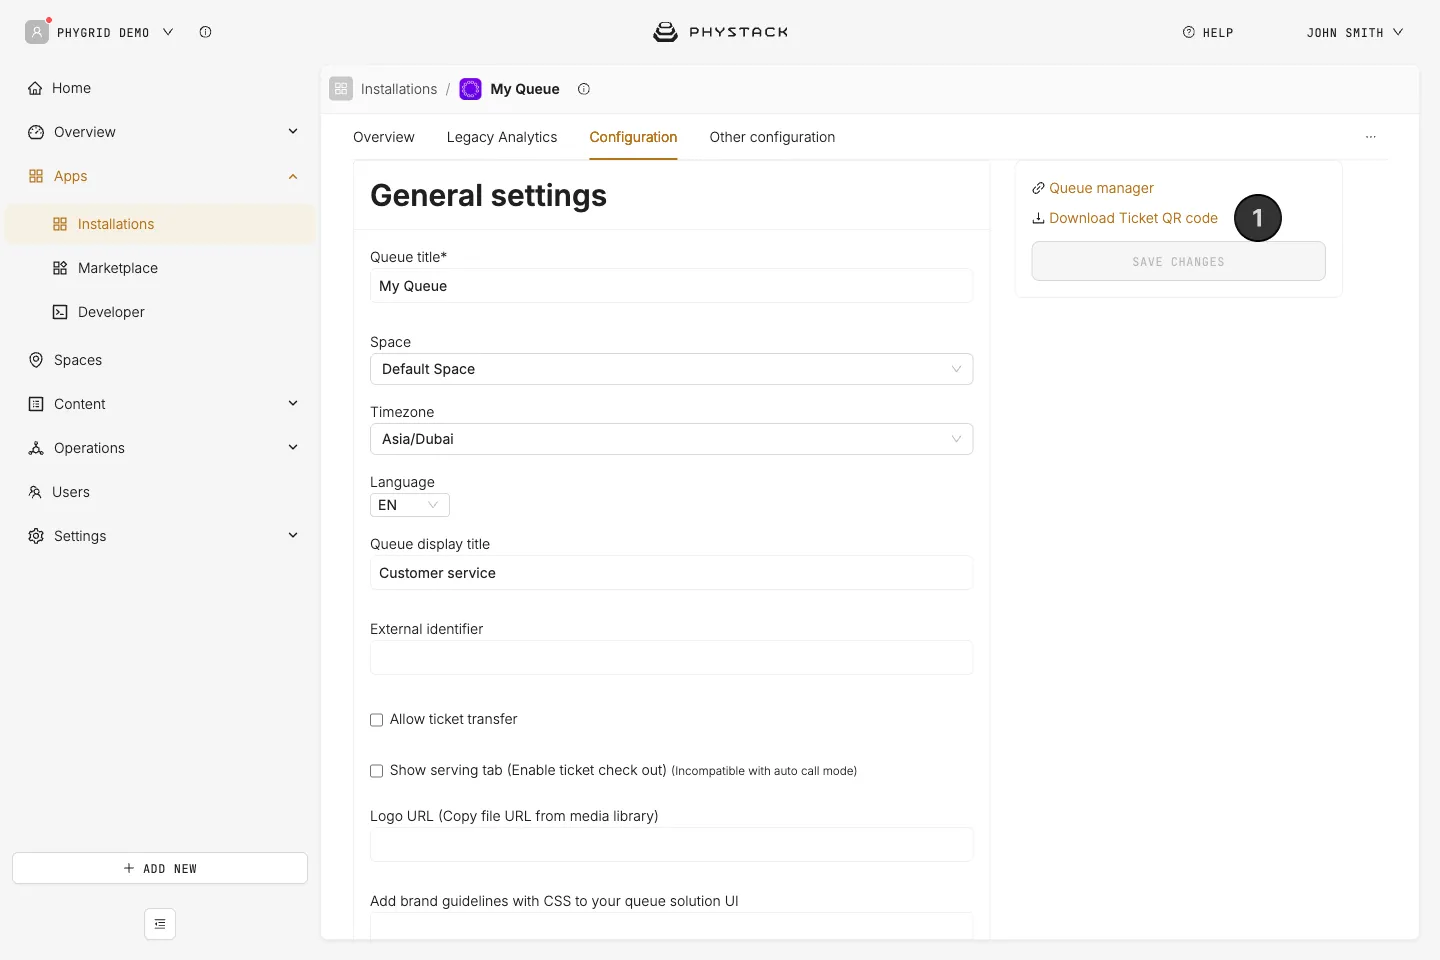
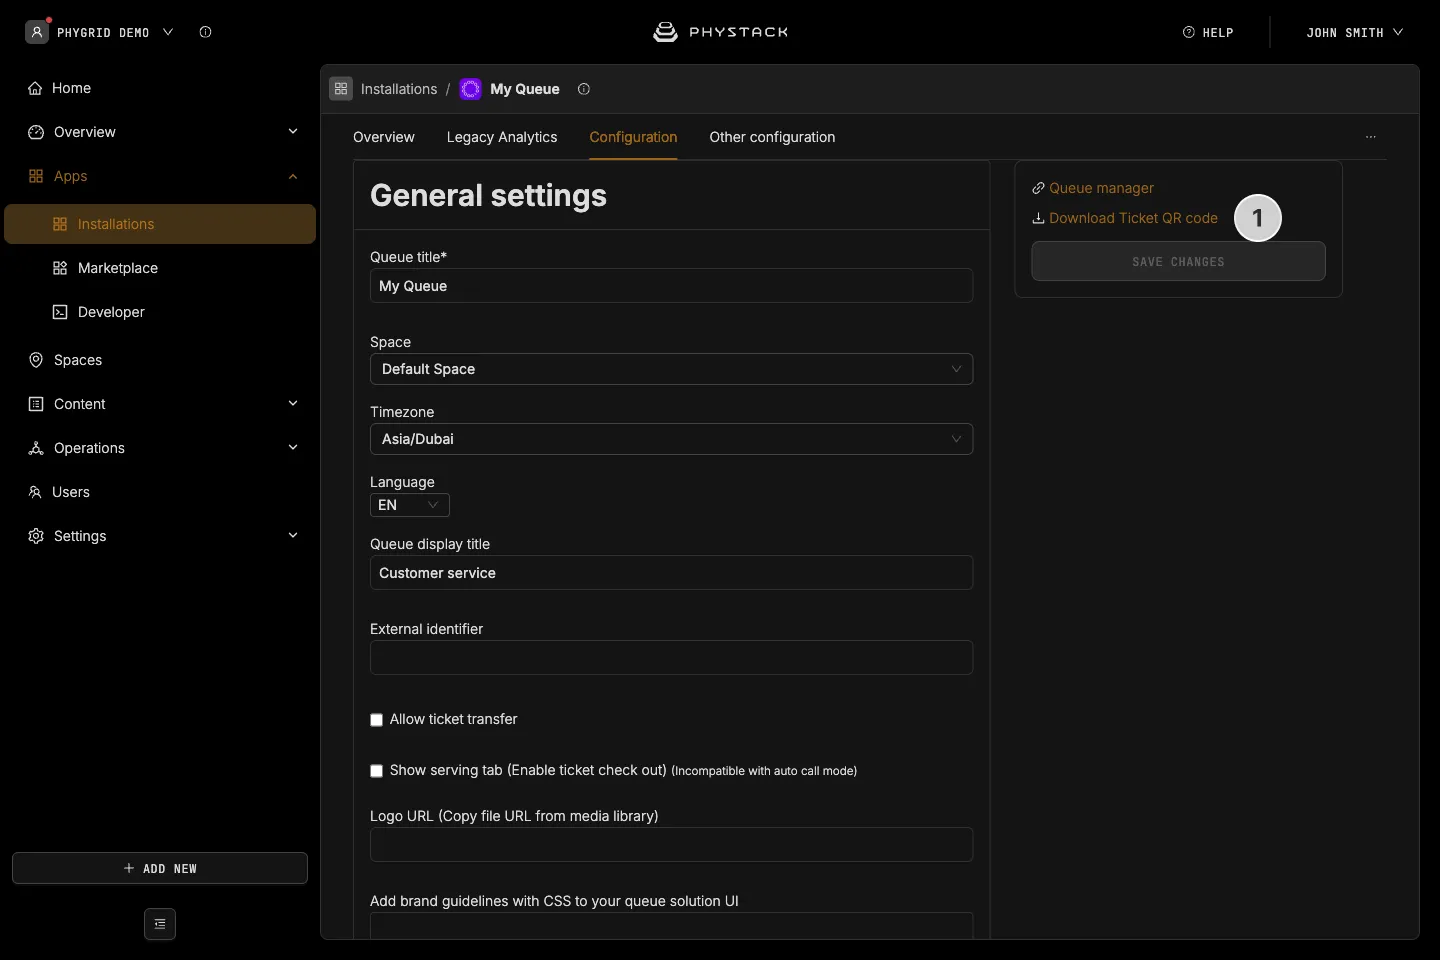
- Let the visitors join the queue by Downloading the ticket QR code
- Print the QR code alongside additional instructions and place it prominently at the entrance to your location
- To further grab the visitor’s attention, you can utilise a Signage Playlist and show the QR code through a digital display
- If you utilise the Ticket Signage optional component for Queue Management, you can enable the option to show a QR code to join the queue
How to manage a queue
- Copy the link to the Queue Manager and share it with the staff that is managing the queue
- Depending on the selected login method, you might also need to share the login pin code