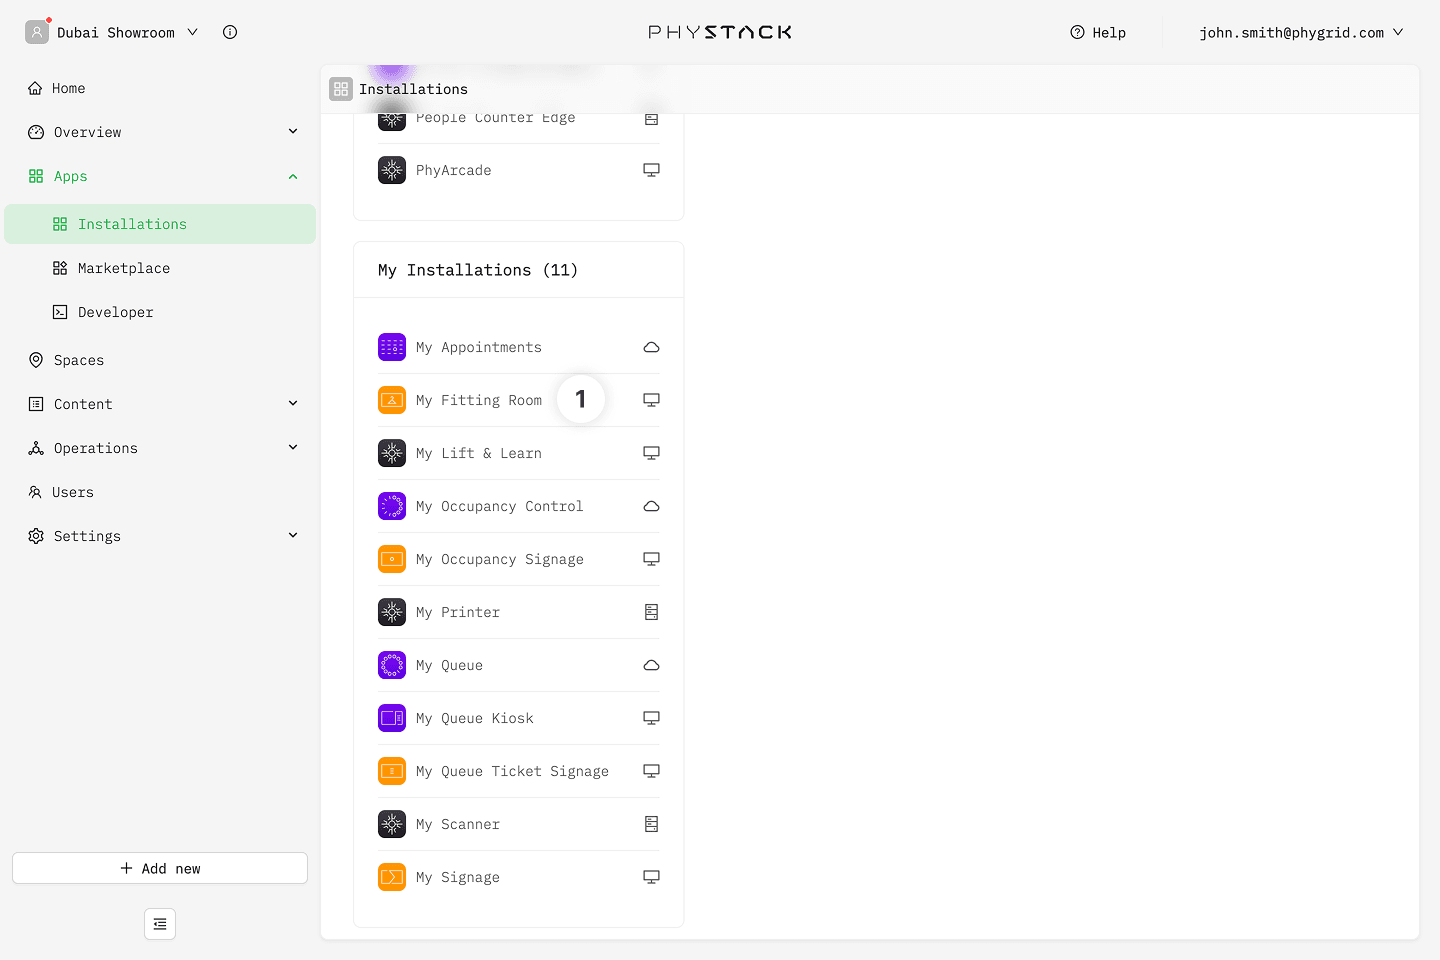
Your new installation will be available in the sidebar under Apps → Installations
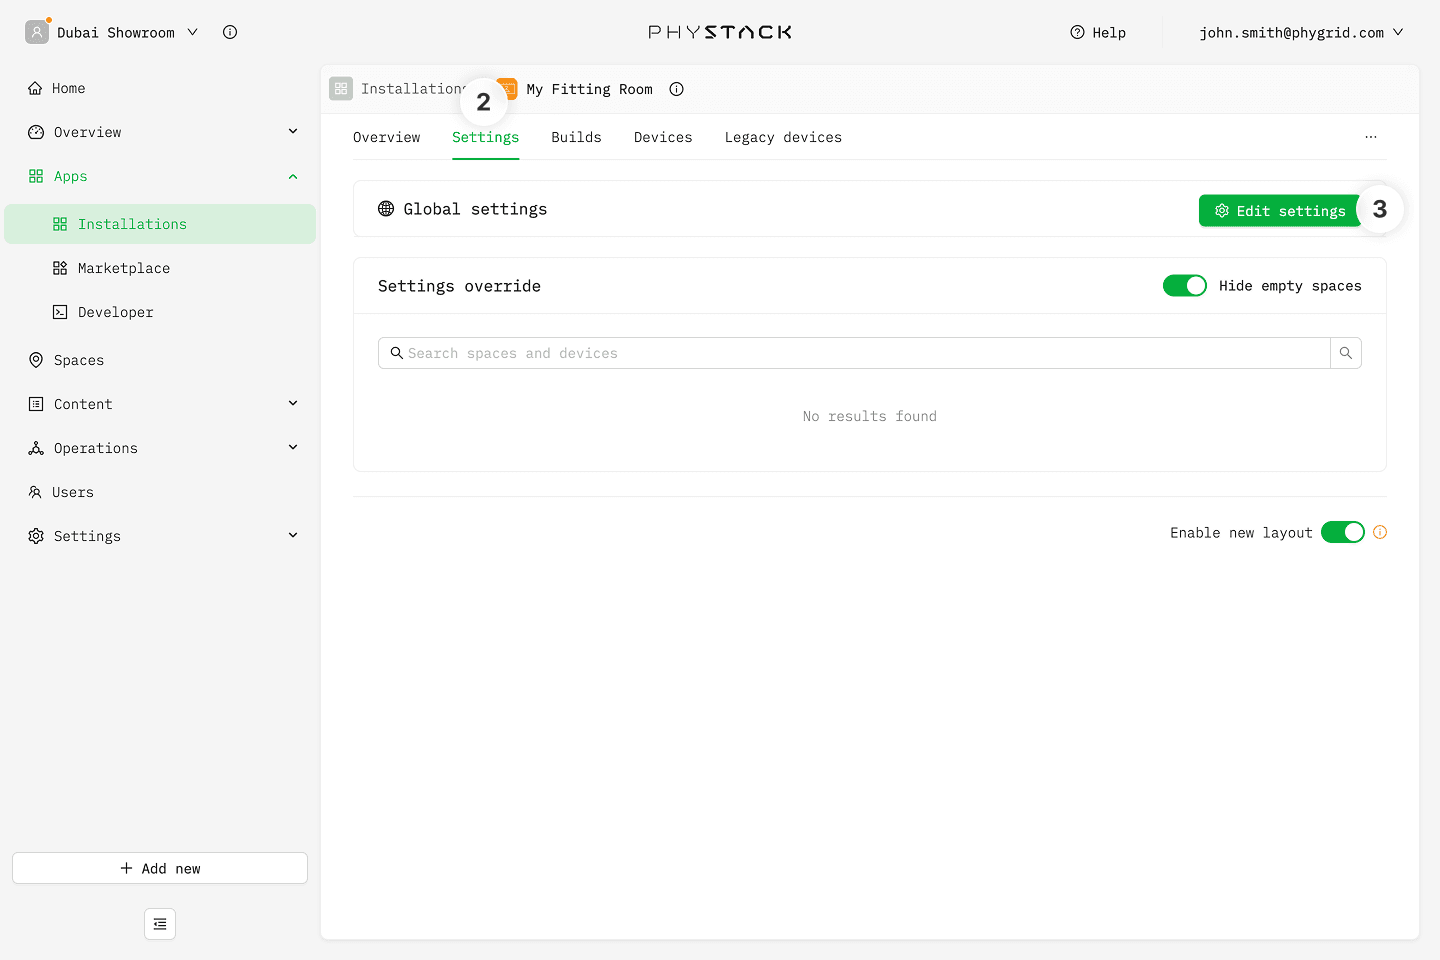
Open the installation and select the Settings tab to access Smart Fitting Room options
For the initial setup, go to the Global Settings section and click Edit Settings. You will be able to provide device-specific overrides after you add devices to the installation.
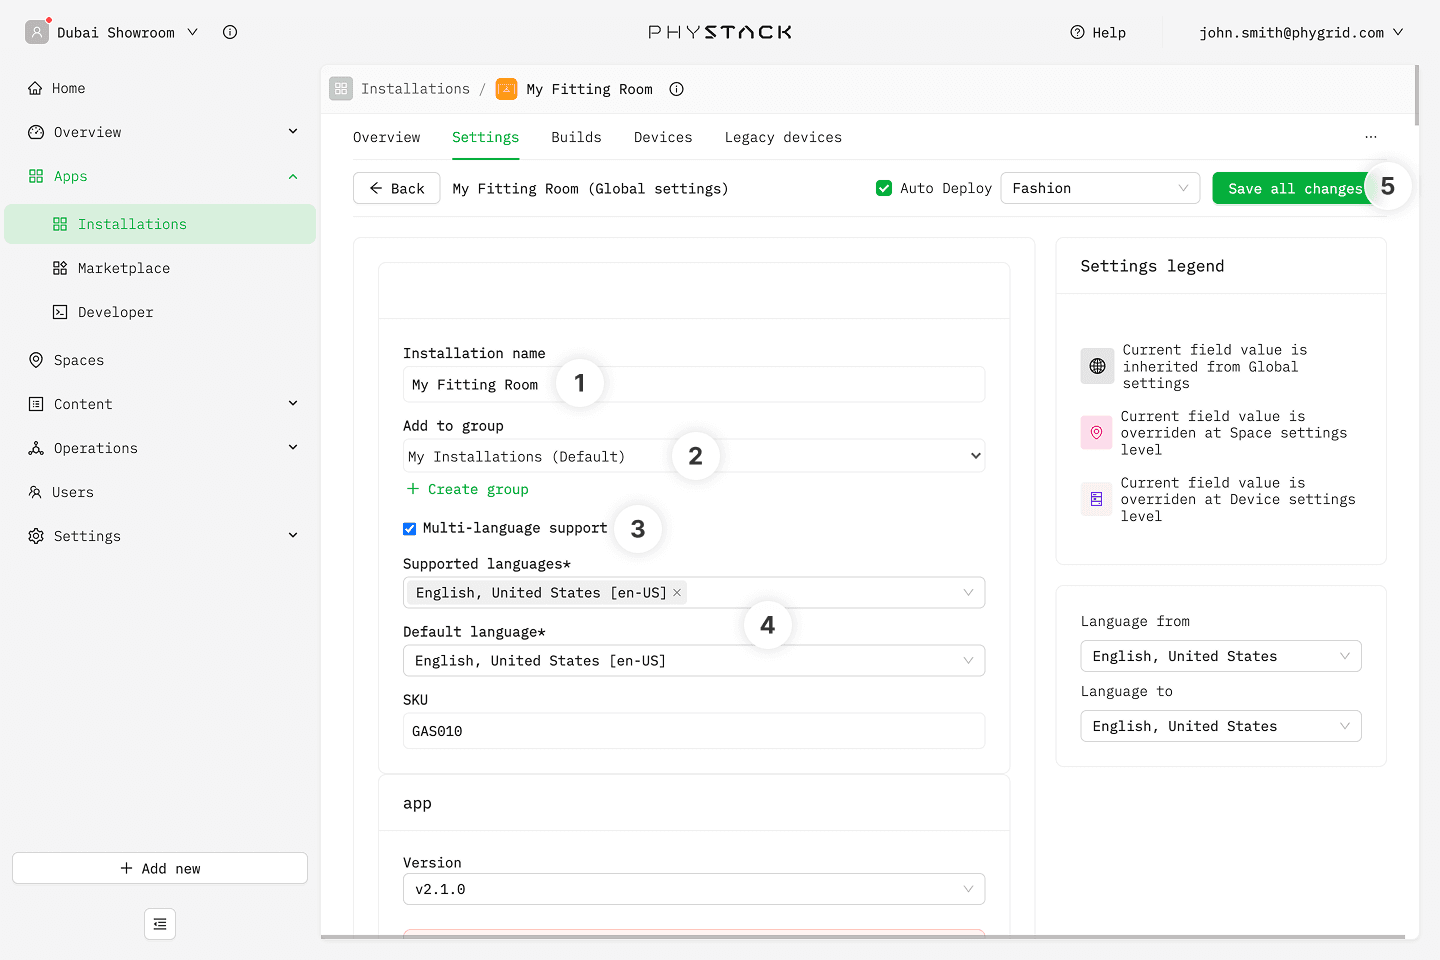
How to configure Smart Fitting Room basics
Set or change the installation name. This is the title visible in Apps → Installations
Pick an existing or create a new installation group that this installation belongs to. This is also visible in Apps → Installations
Enable at least one language for the queue by clicking on Multi-language support
Select the language(s) for the app. Make sure the app languages are supported by products
Save the changes and refresh the page to properly enable language support
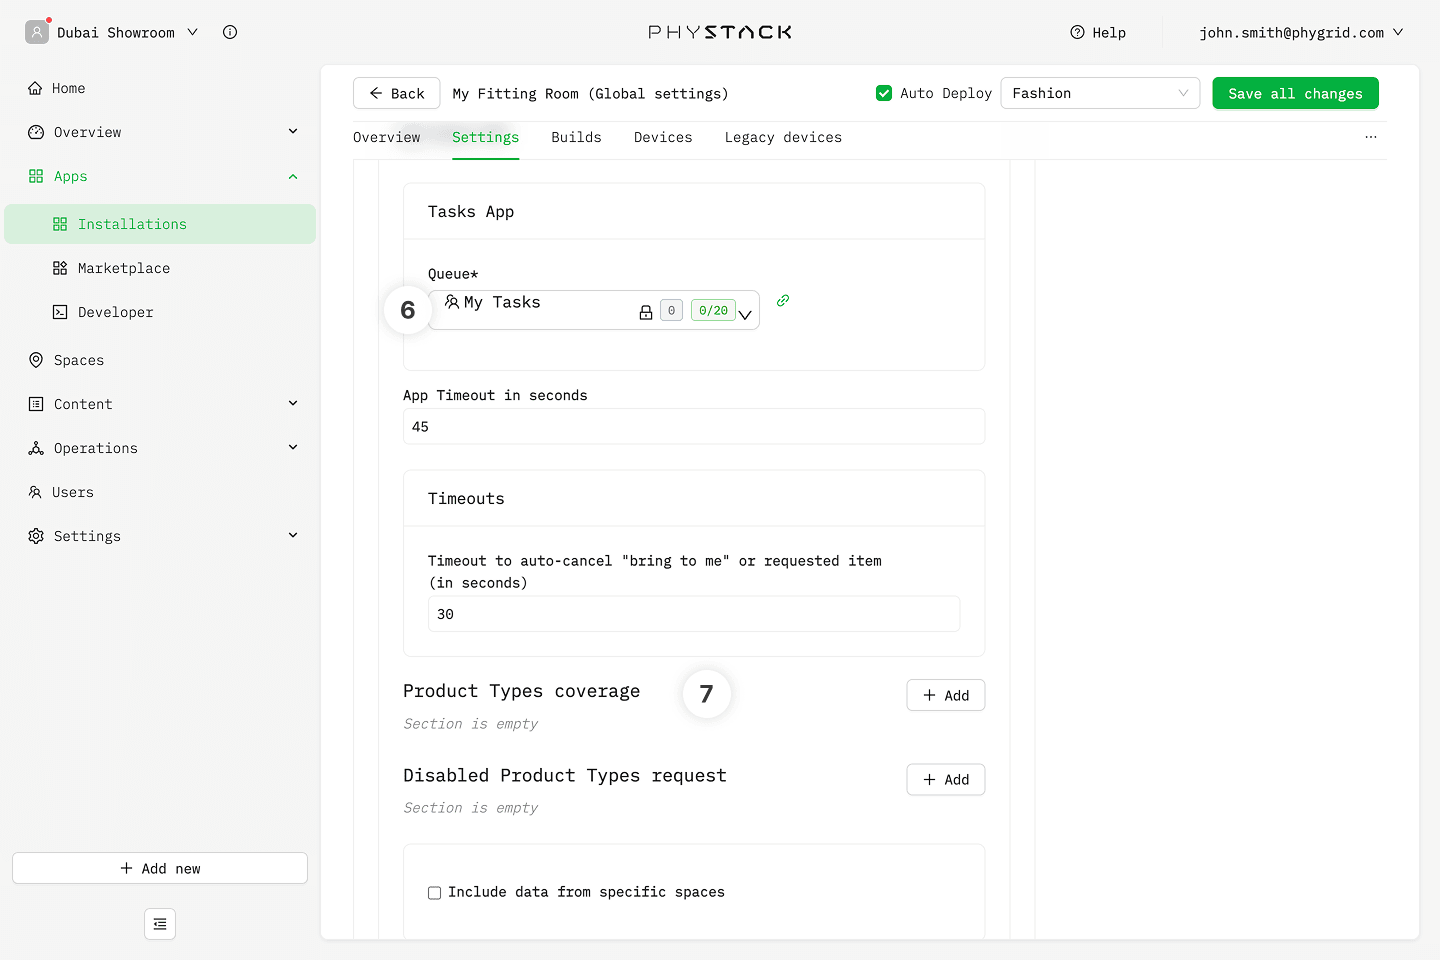
Select Tasks queue: Pick the Tasks queue that will pick up created orders. Select the Tasks installation you set up in the previous step
Product Types Coverage: Limit the products to only a subset of your Grid Products inventory
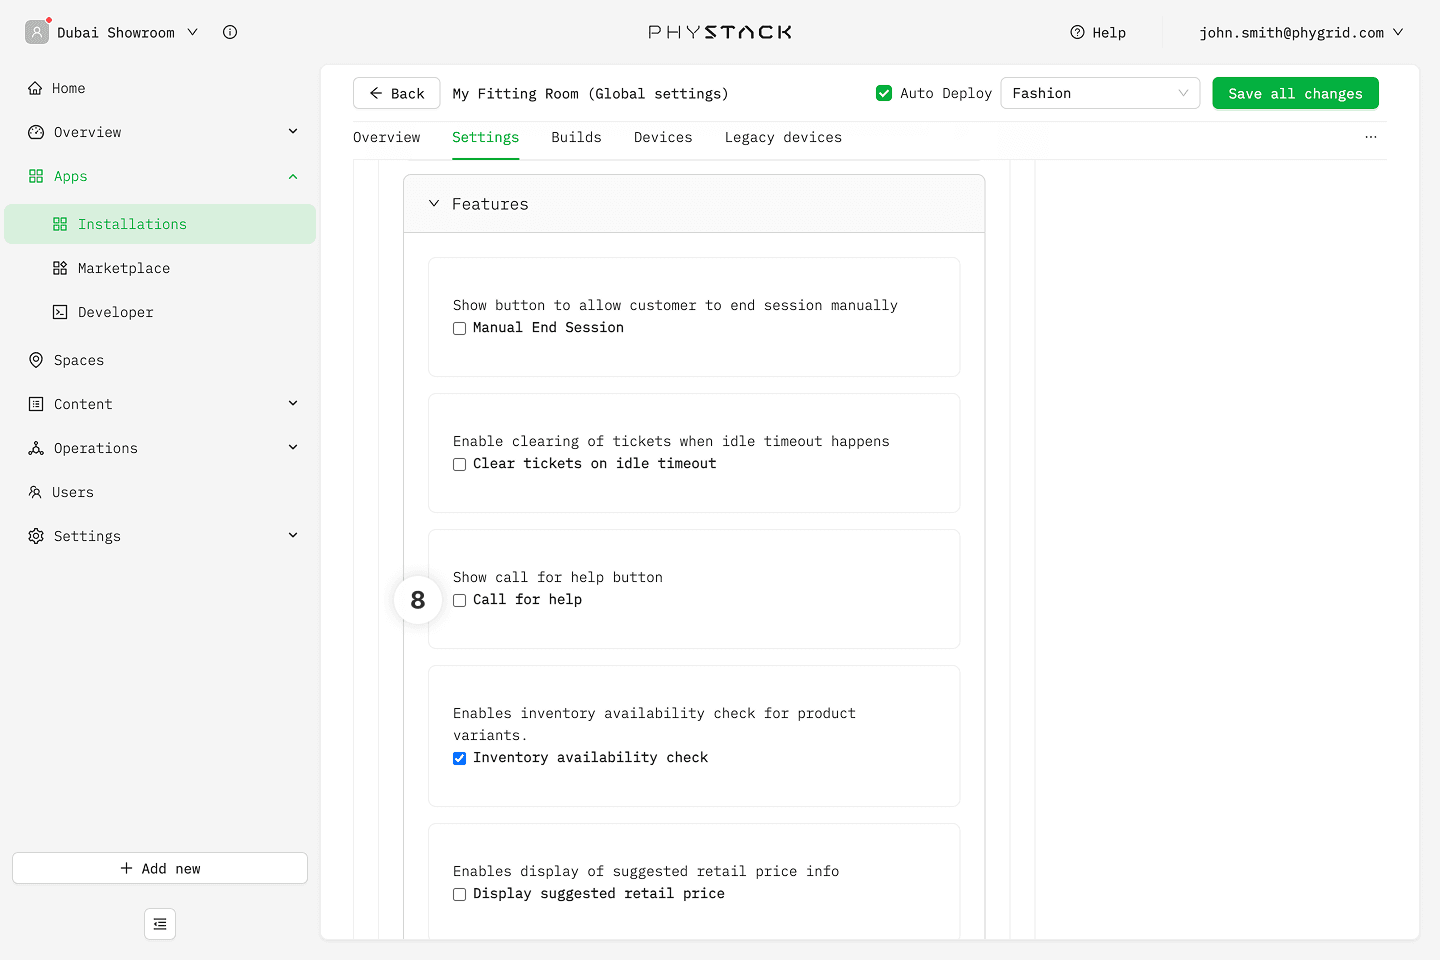
Show call for help button: Enable customers to request assistance without attaching items
How to customize Smart Fitting Room appearance
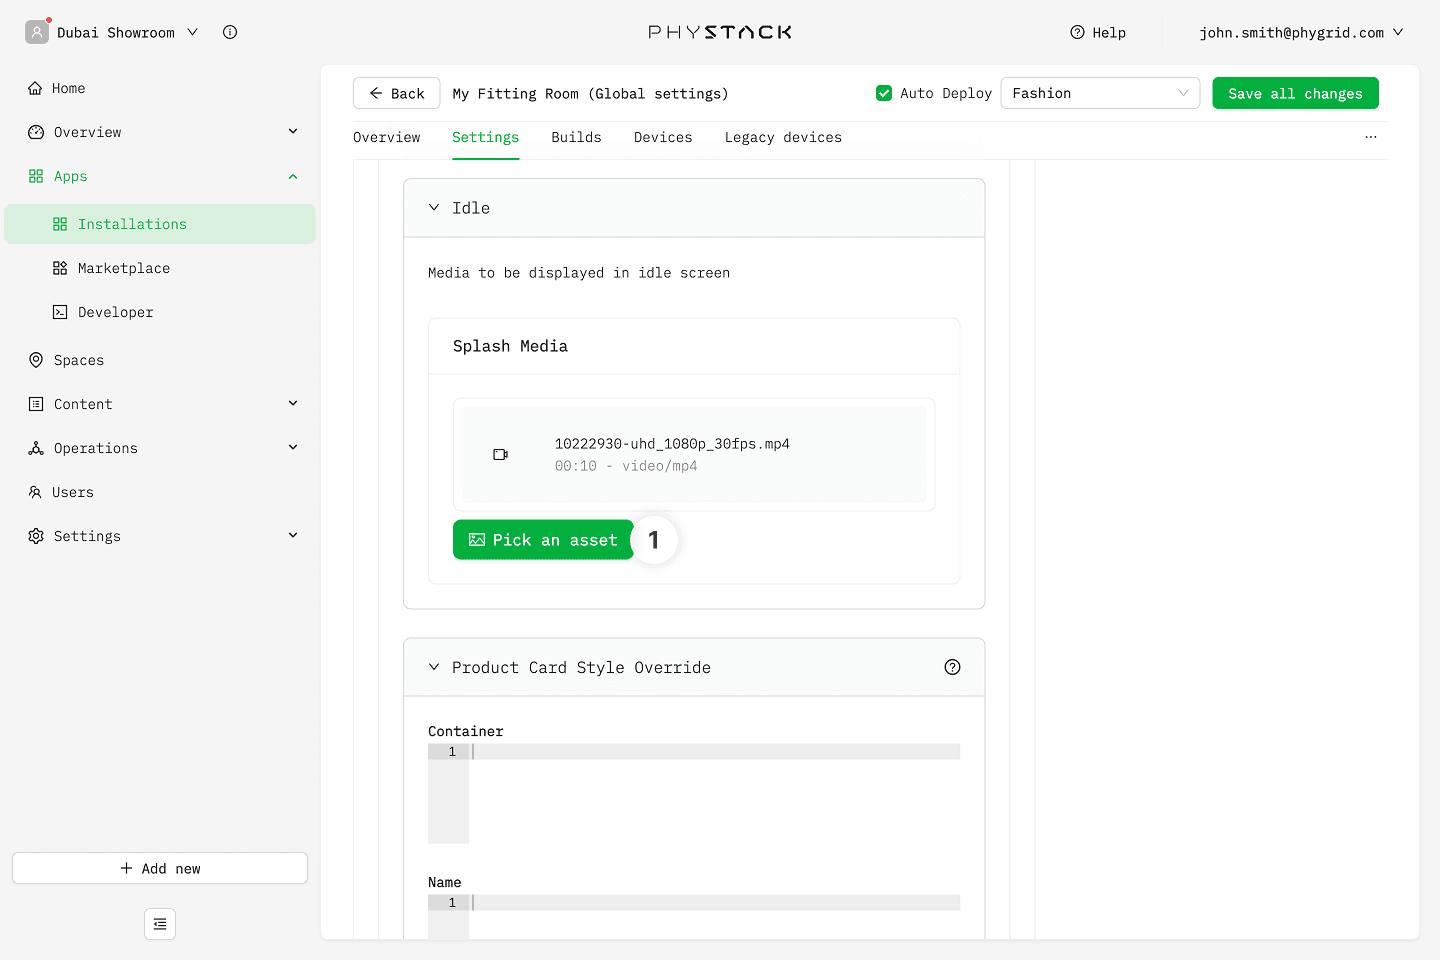
Idle Screen: Show a video when the device is not used (when no active RFID tags have been read)
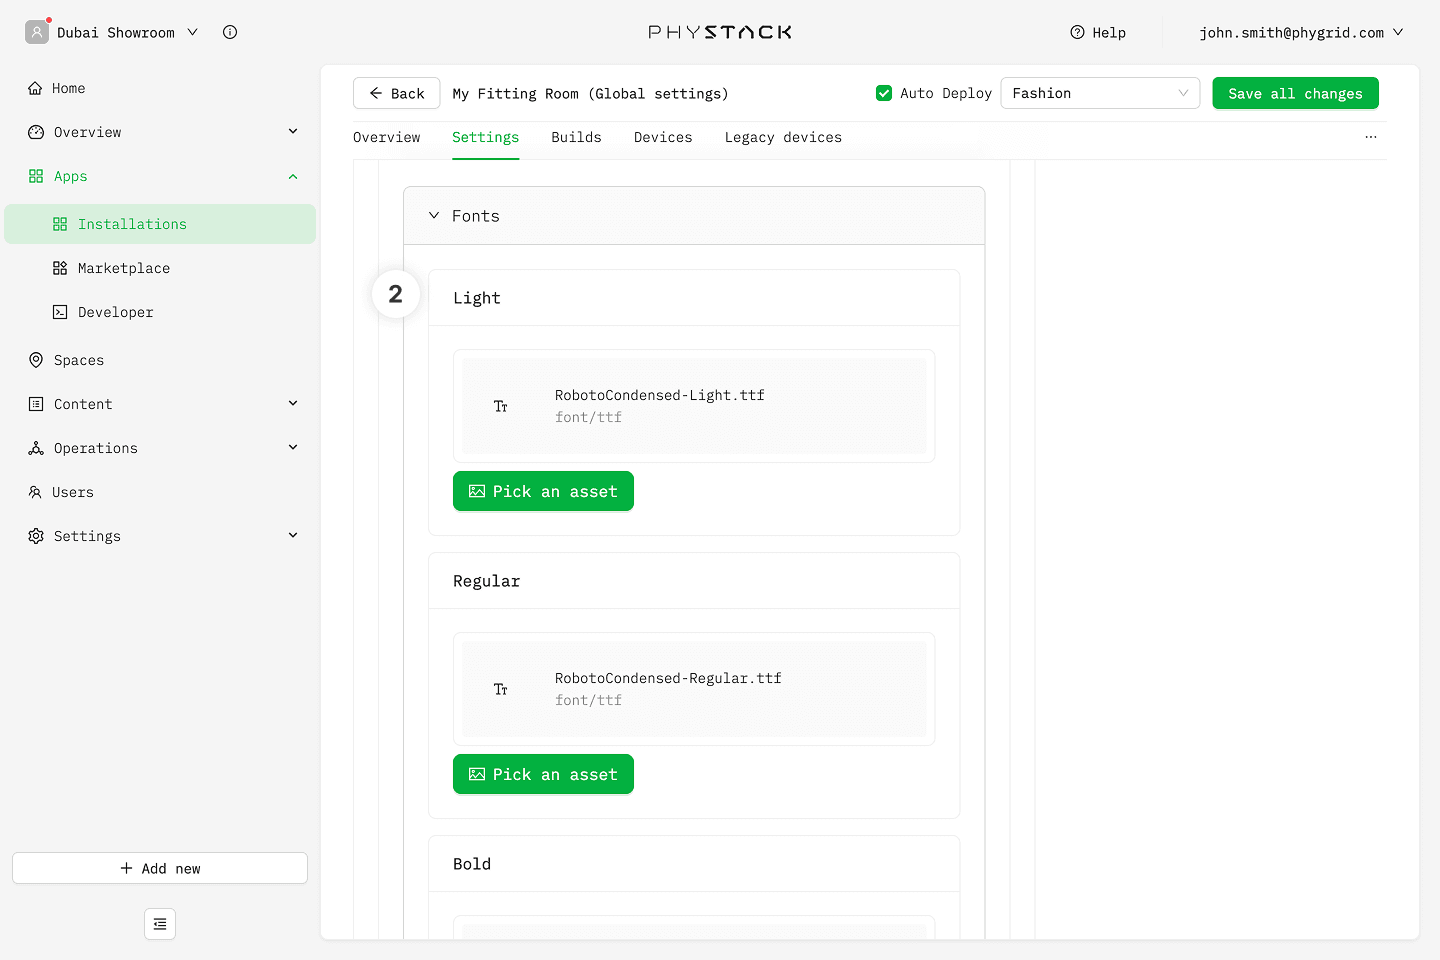
Upload custom fonts for the app
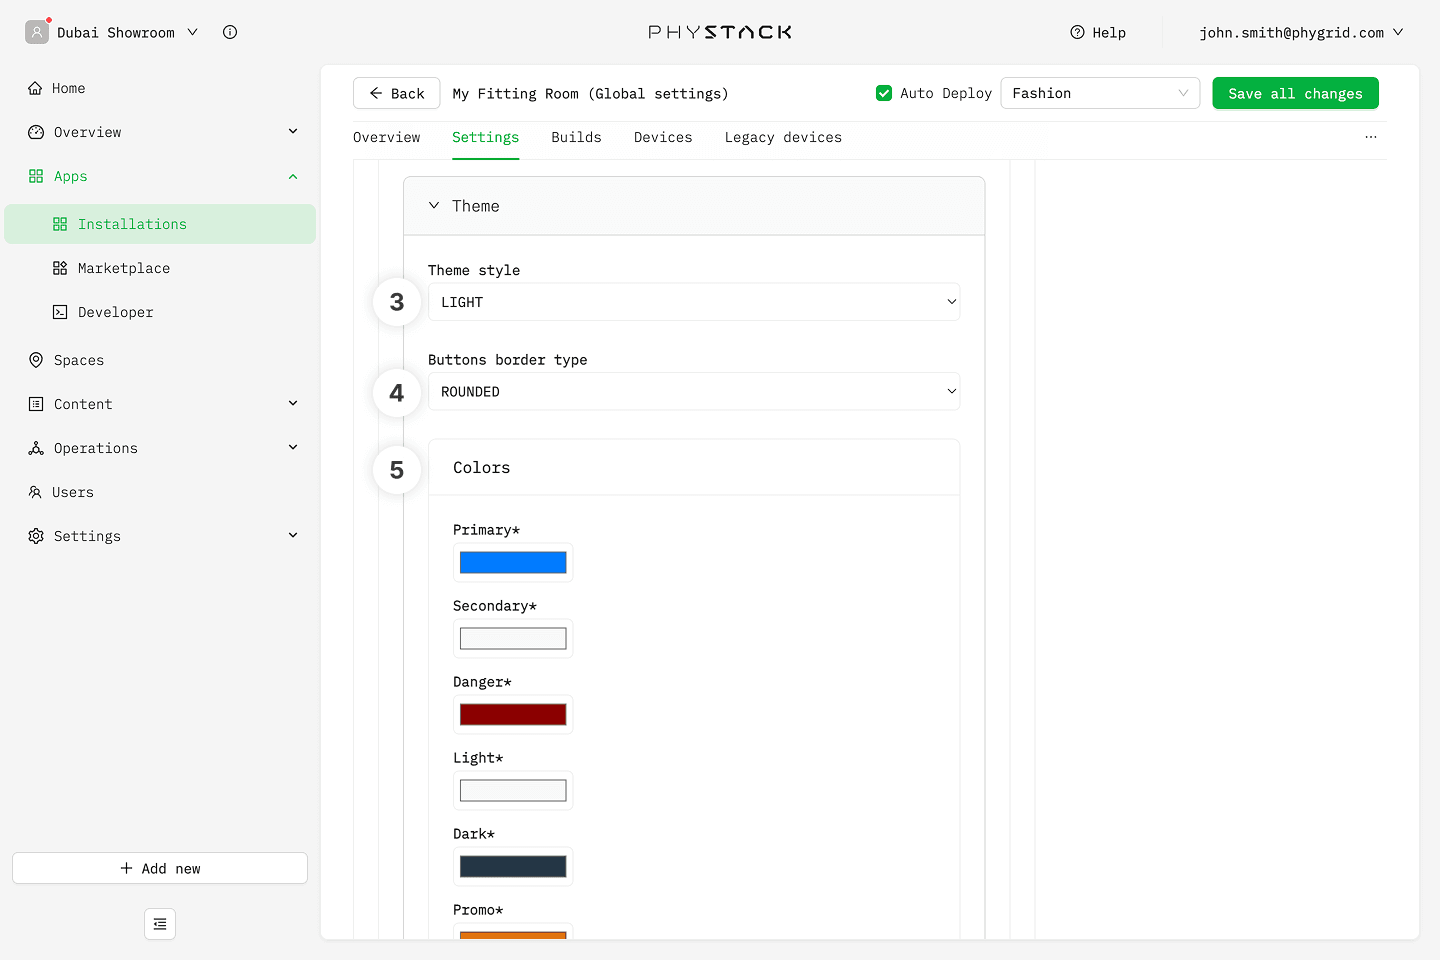
Choose a theme style - light or dark
Choose a button style - rounded or straight corners