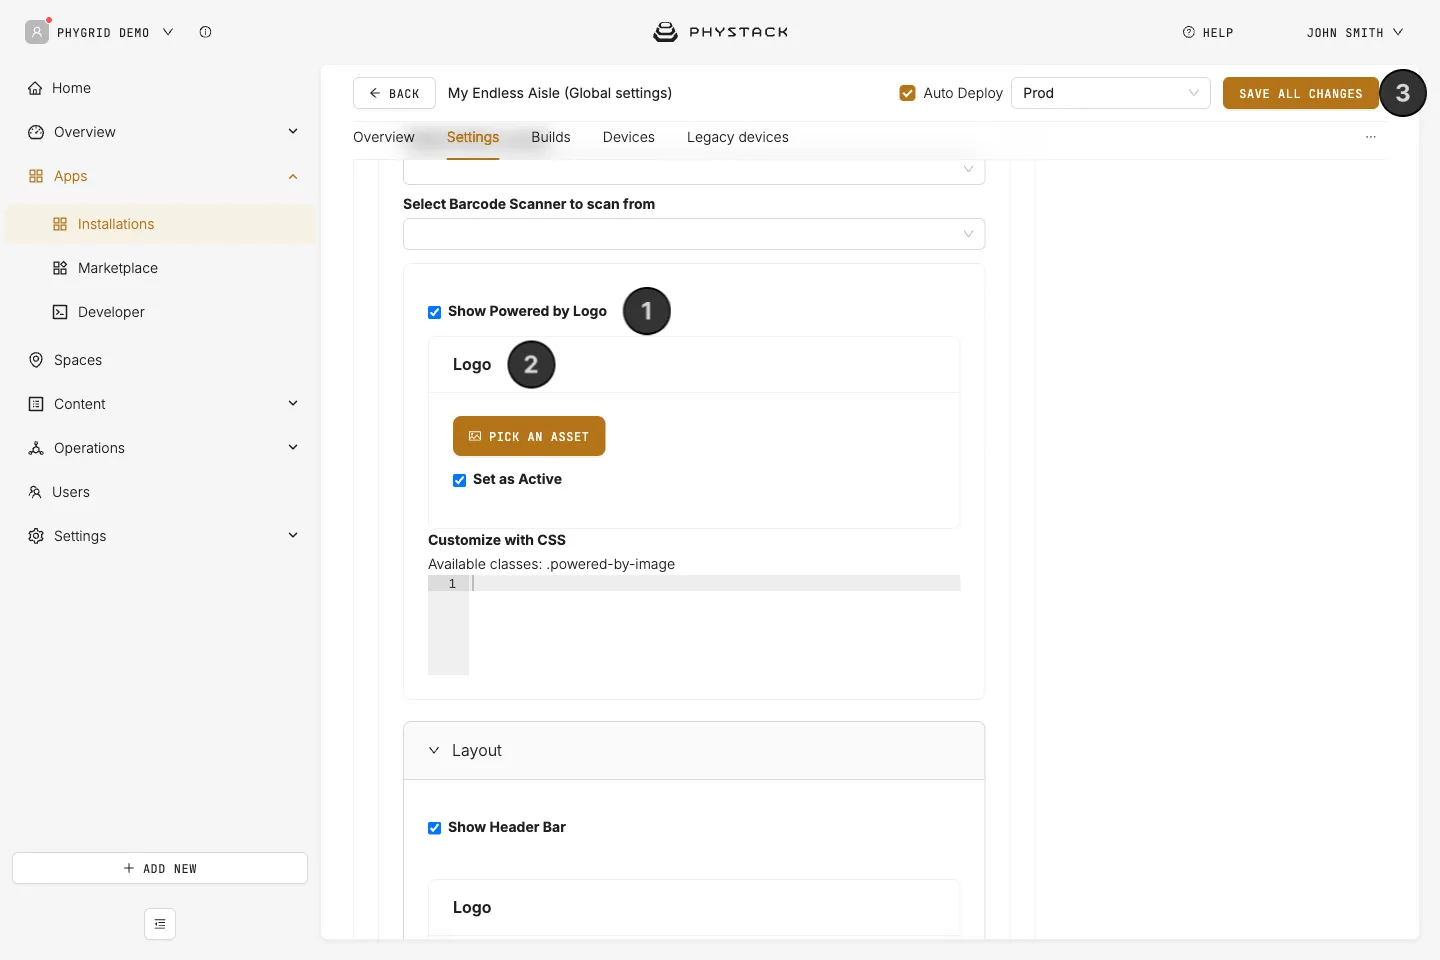

The idle screen shows while nobody is using the kiosk. A tap anywhere starts browsing on the home screen. The kiosk returns to the idle screen after App Timeout in seconds without a touch, and after each checkout, and empties the bag when it does.
How to choose the idle screen style
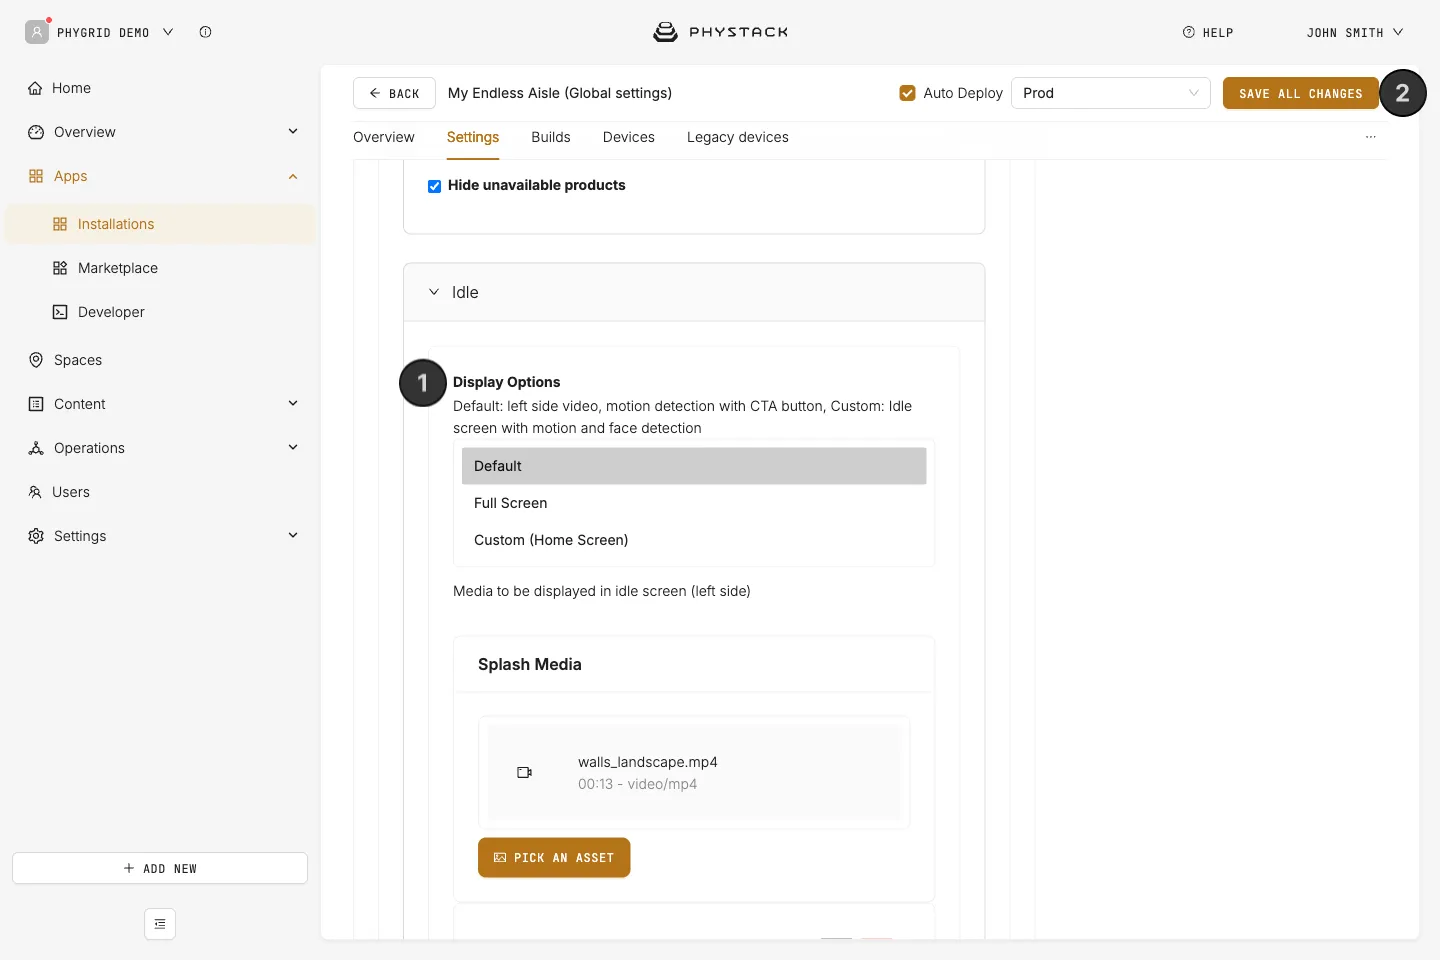
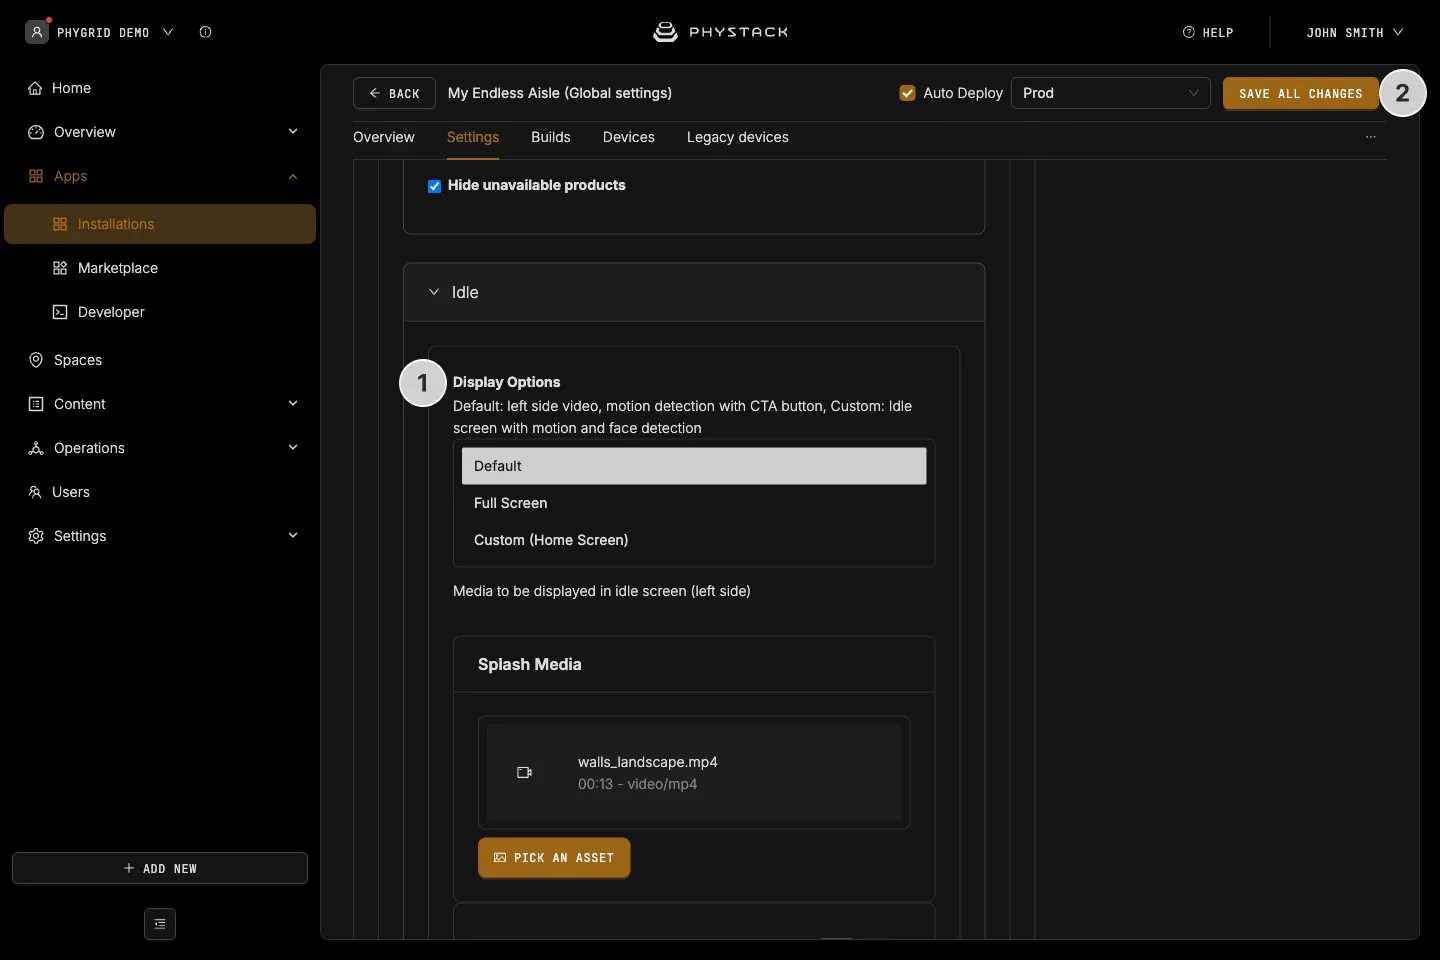
- Expand Idle and choose a Display Options style:
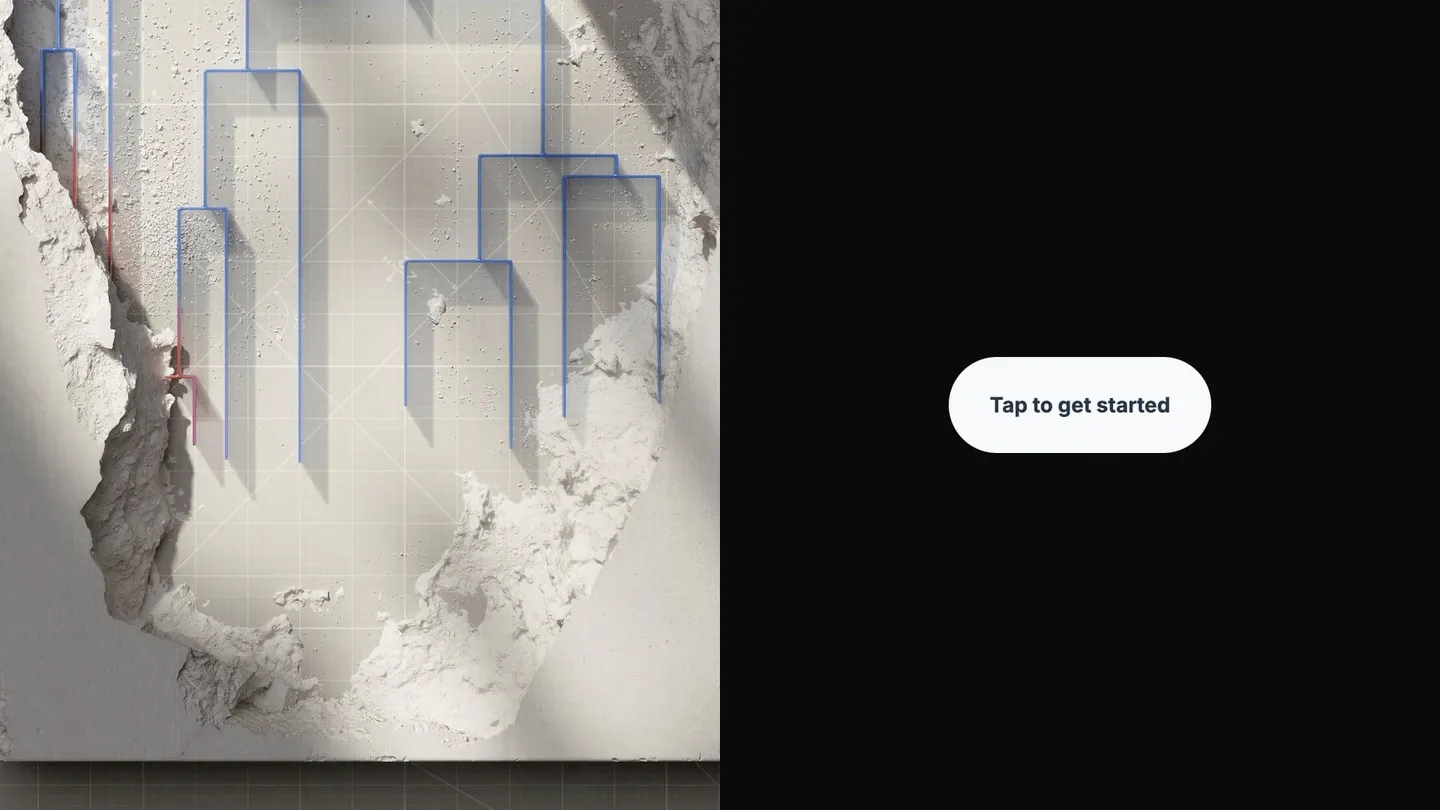
- Default: your media on one side, and a call-to-action button on a coloured panel on the other
- Full Screen: your media fills the screen, with an optional call-to-action button on top
- Custom (Home Screen): the home screen’s banners and categories stay on screen, and a tap opens what the customer touched
- Click Save all changes
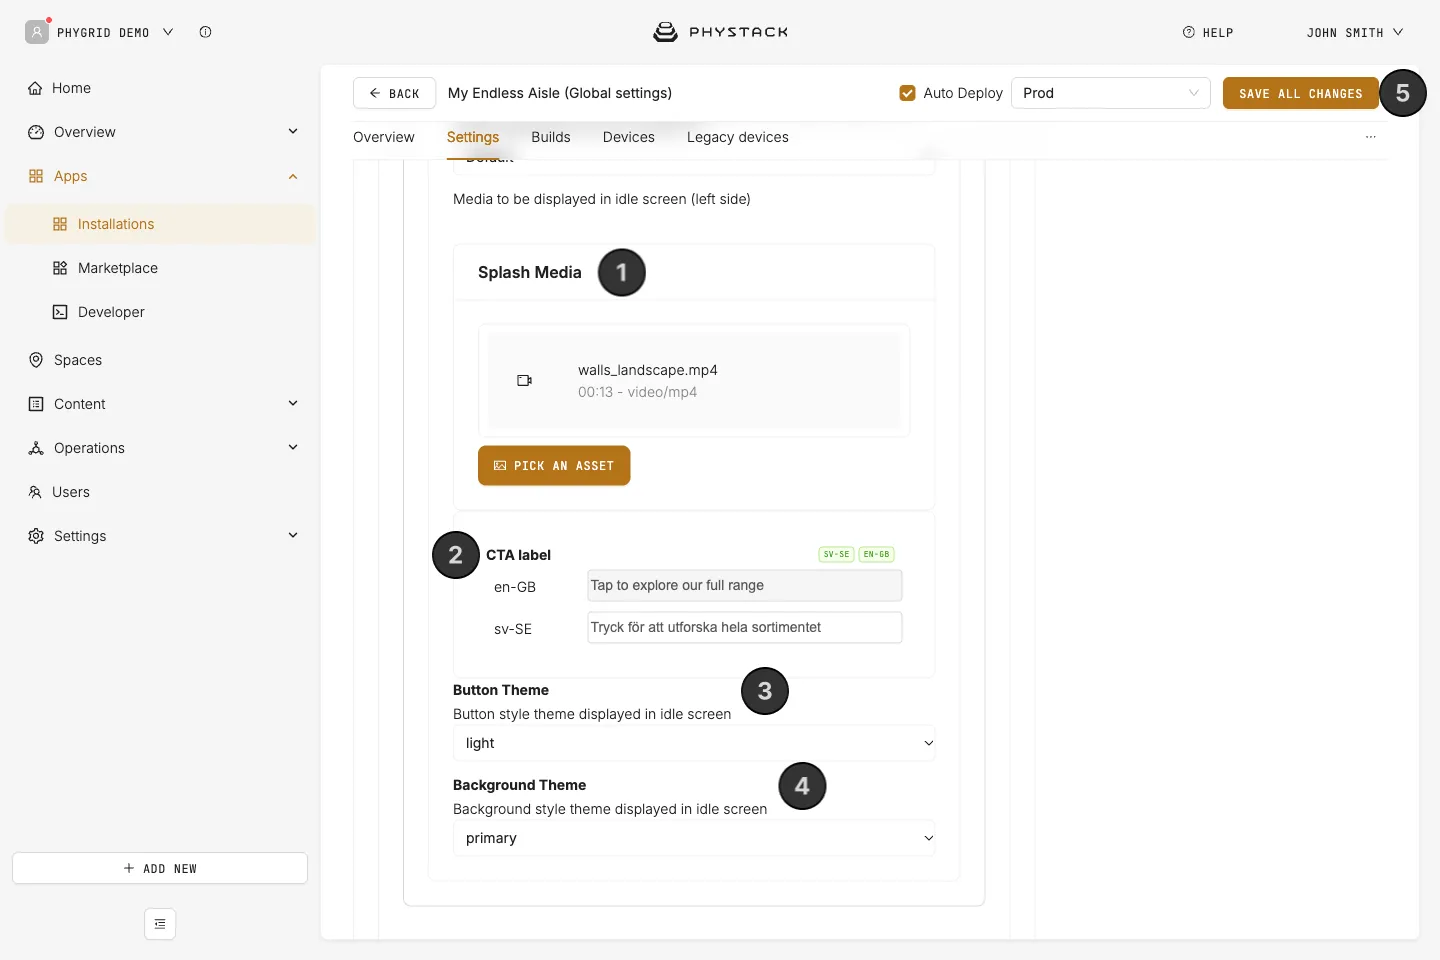
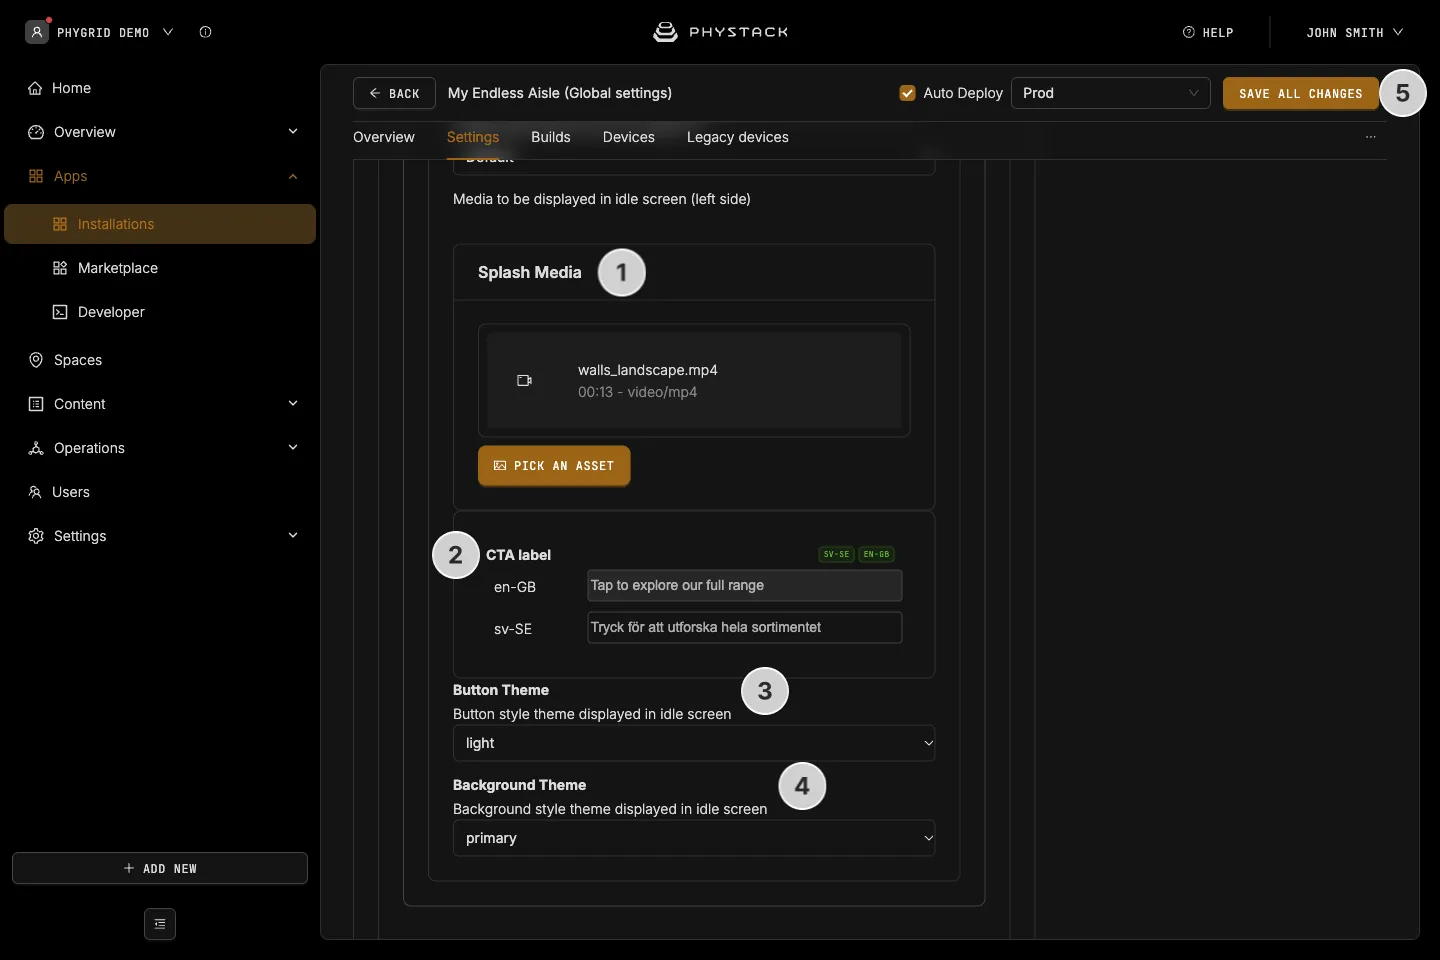
How to set up the Default style
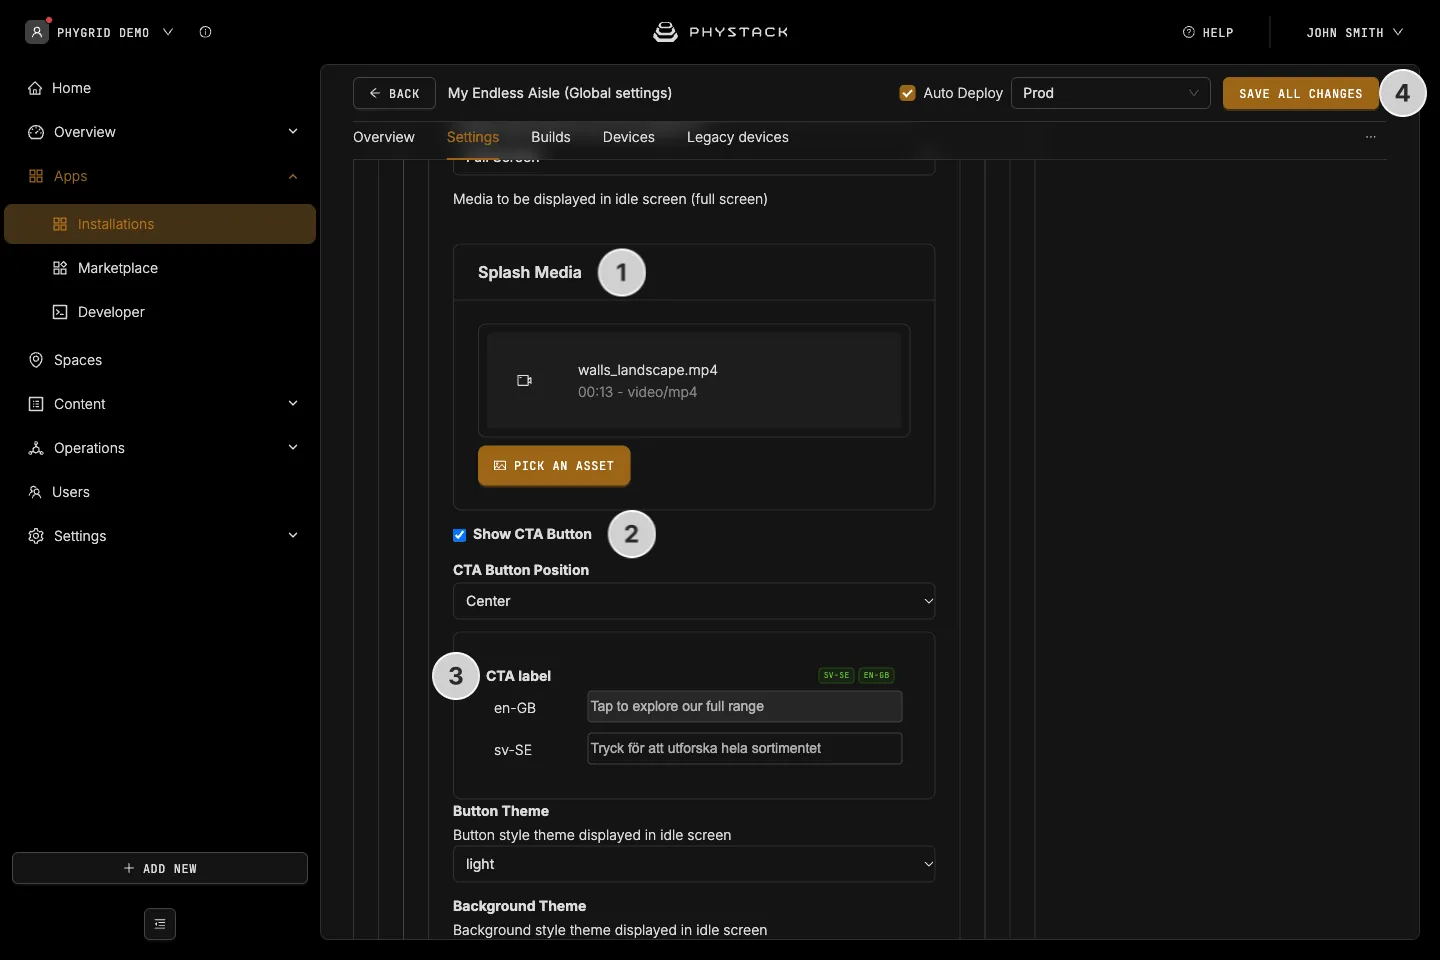
- Upload the Splash Media: an image or a video. Videos play muted and loop
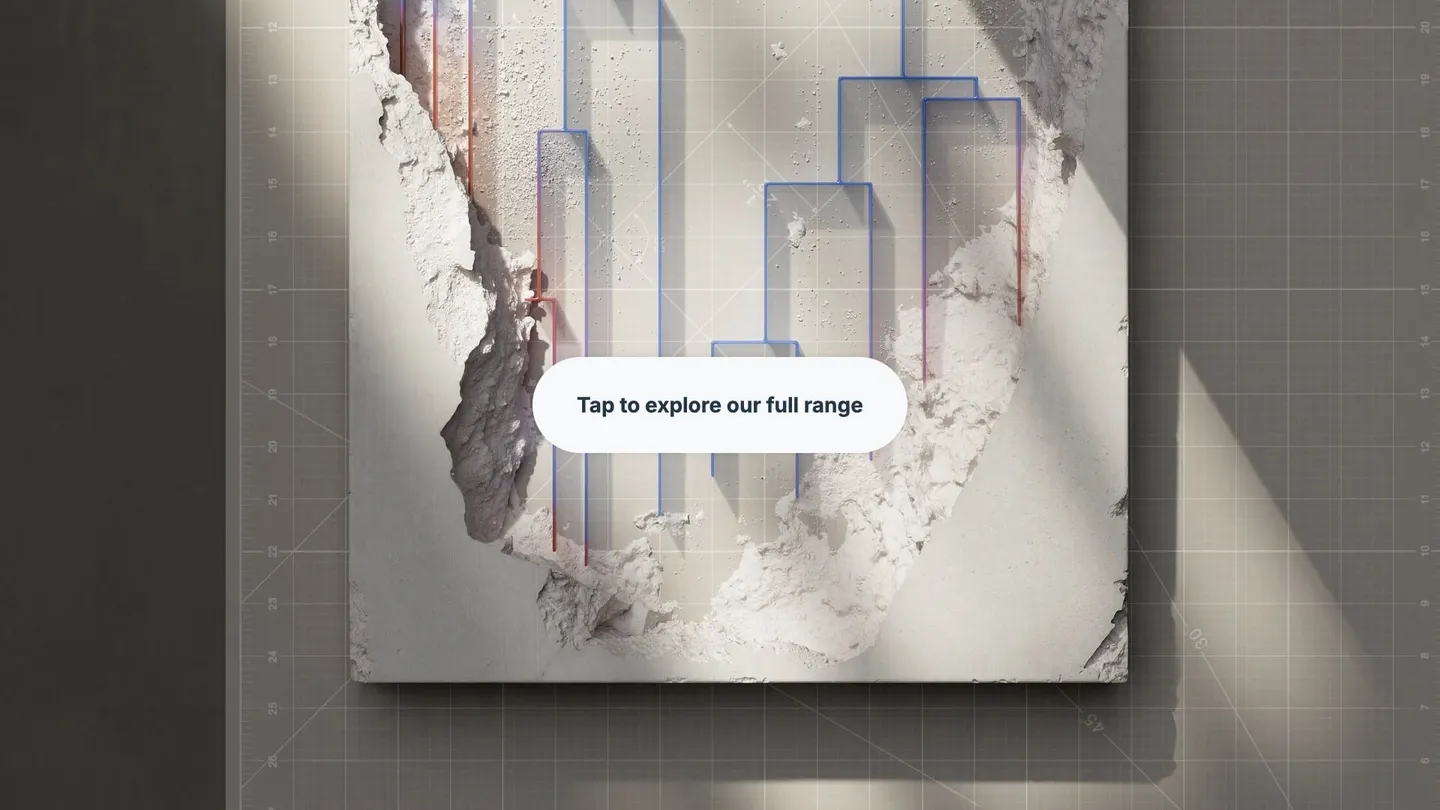
- Enter the CTA label in each language, for example “Tap to explore our full range”. Without it, the button says “Tap to get started”
- Choose the Button Theme: which of your theme colours the button uses
- Choose the Background Theme: the colour of the panel behind the button
- Click Save all changes
How to set up the Full Screen style
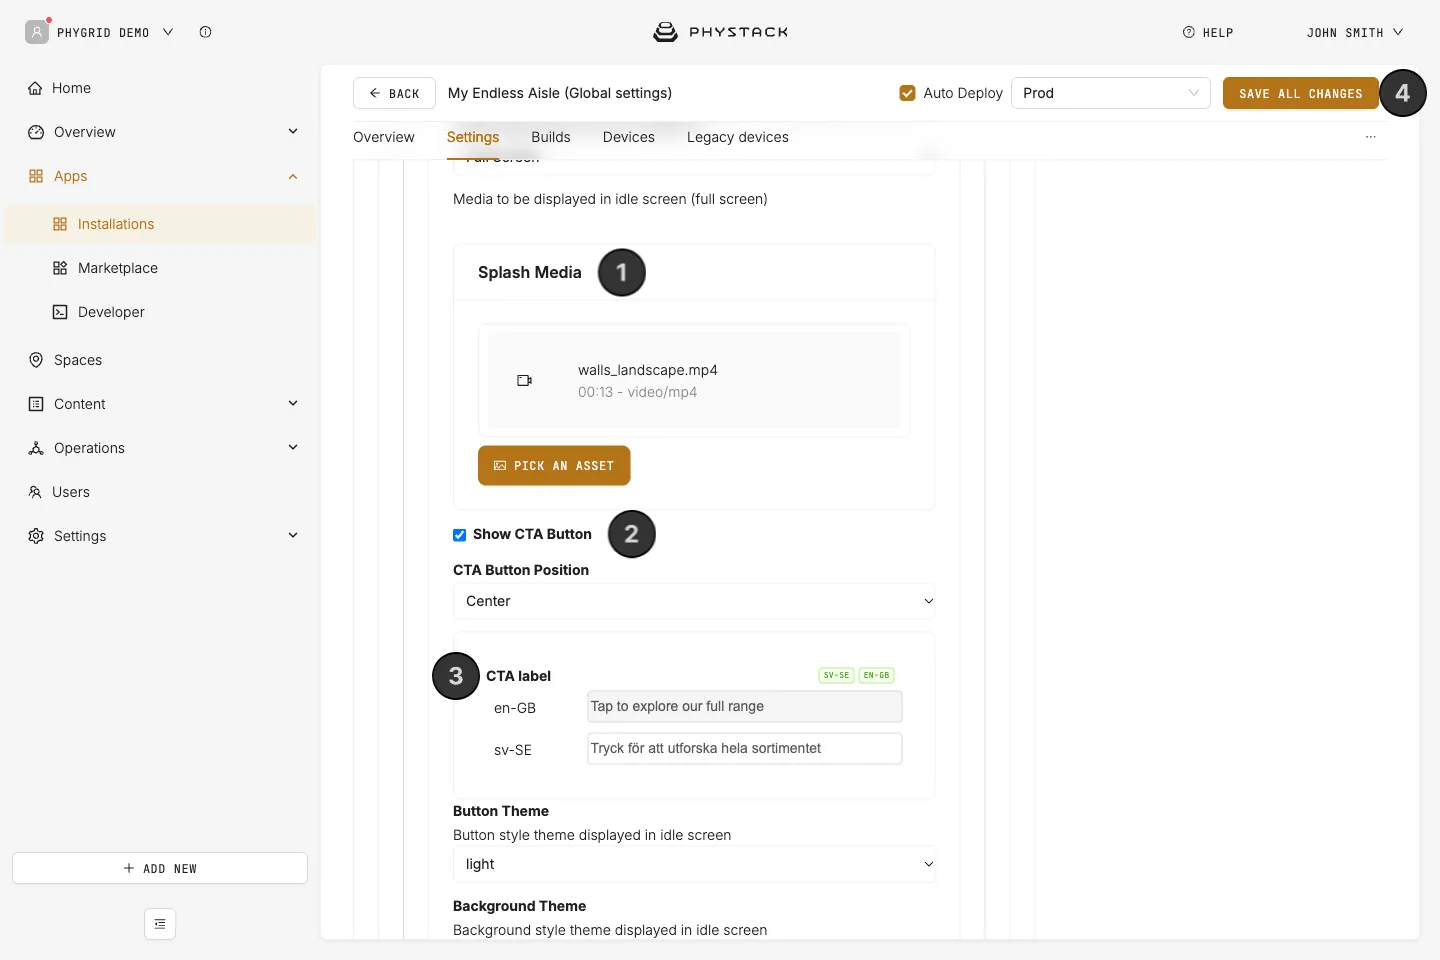
- Upload the Splash Media. Use media that matches the screen’s orientation, so it isn’t cropped
- Leave Show CTA Button on to show a button, and choose its CTA Button Position: top, centre, or bottom. The whole screen reacts to a tap either way
- Enter the CTA label and choose the Button Theme
- Click Save all changes
How to wake the kiosk when someone approaches
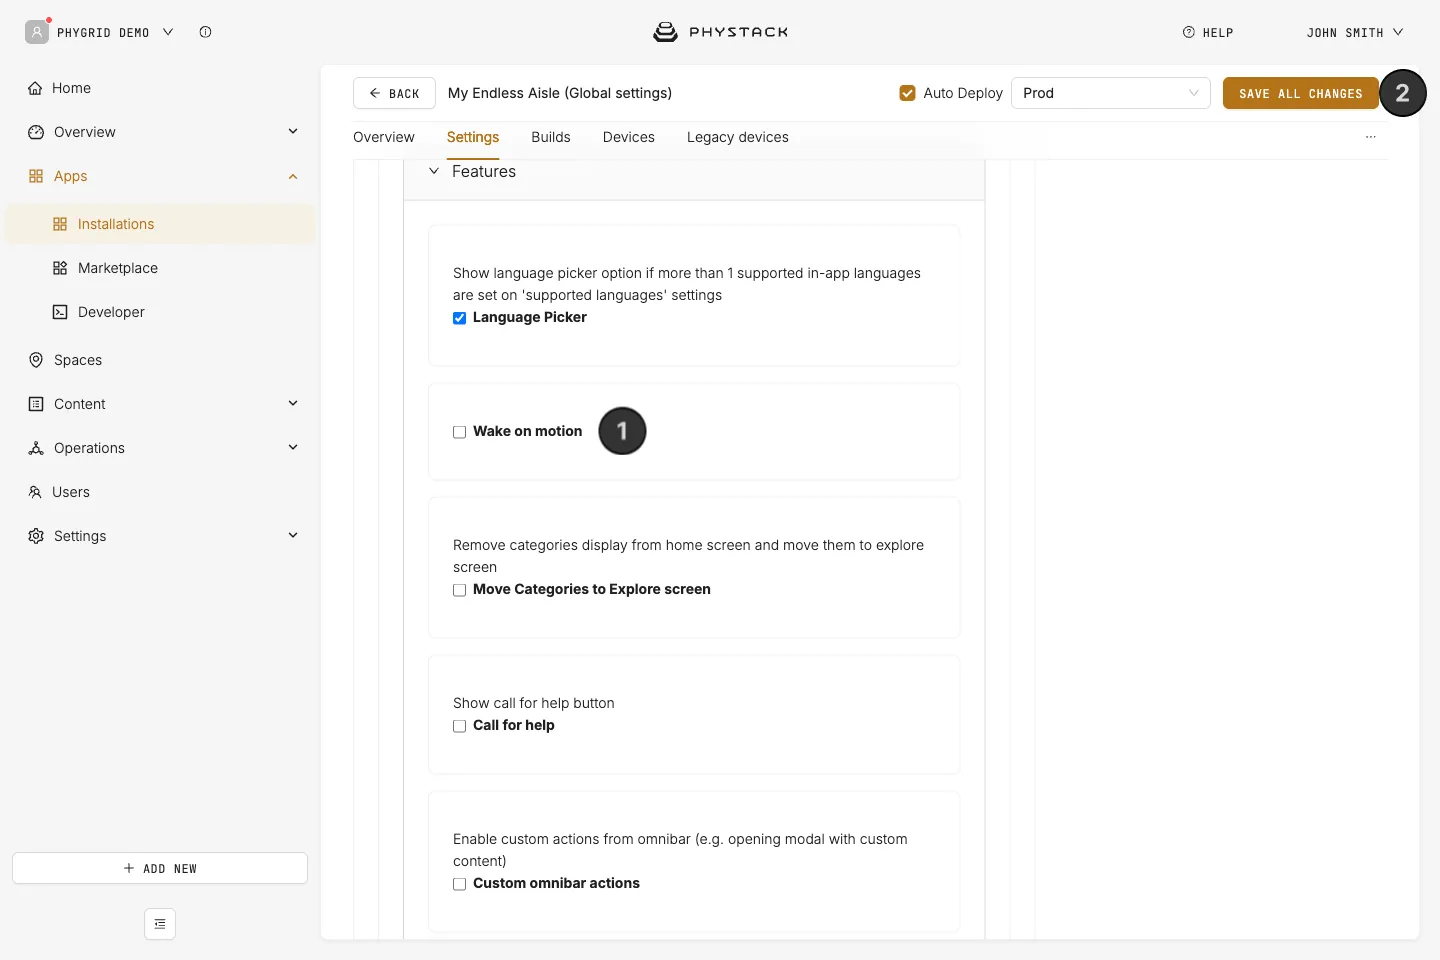
With a camera connected to the kiosk device, the kiosk can start when it sees a customer’s face instead of waiting for a tap.
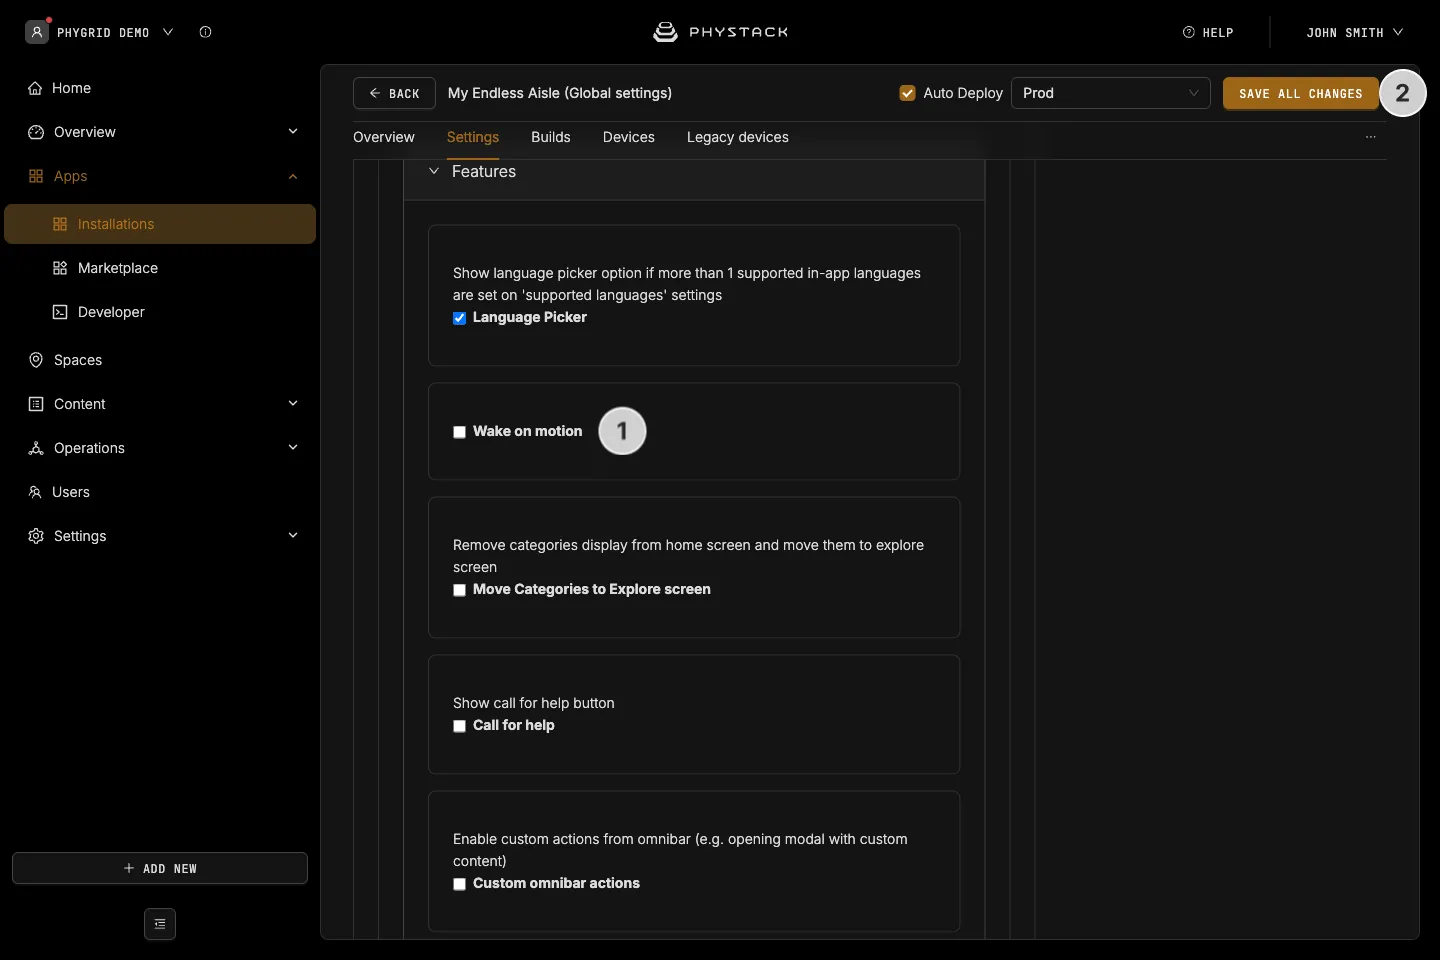
- Expand Features and turn on Wake on motion
- Click Save all changes
How to show a “powered by” logo
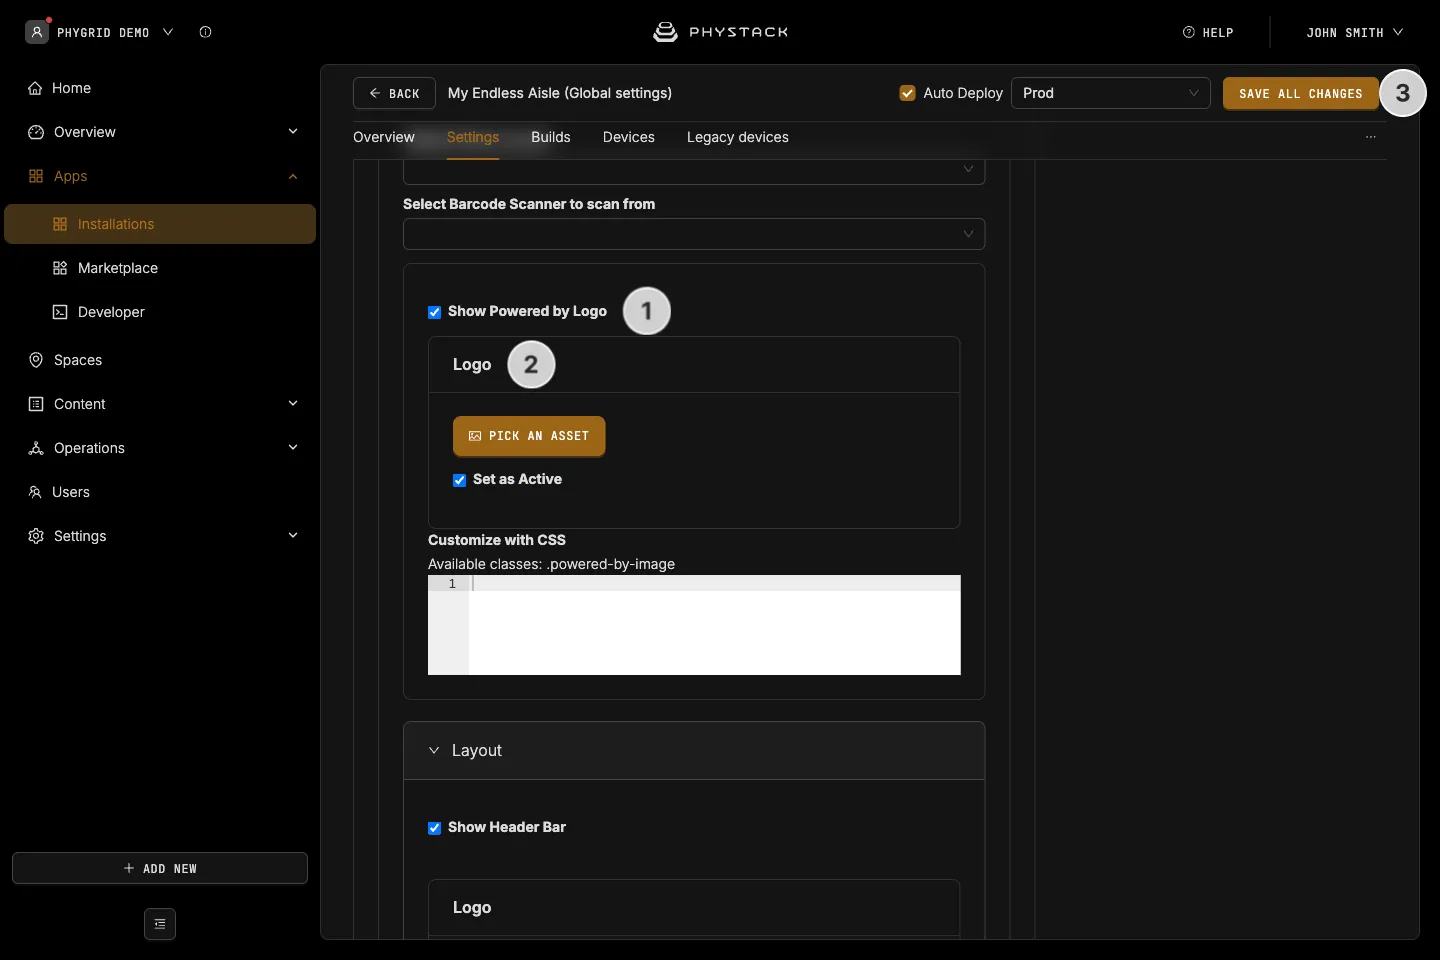
- Turn on Show Powered by Logo to show a small logo at the bottom of the idle screen
- Optionally, upload your own Logo to replace the default one
- Click Save all changes