

Before you proceed
Counter Display Signage is a screen app for one service point. Each screen belongs to one counter (a station in your queue) and shows:
- The counter: the counter number, for example “1”
- The ticket: your logo and the number of the ticket being called to this counter
- A status strip between the two: red while a ticket is being called to this counter, green when the counter is free
When staff call a ticket from the Queue Manager at this station, the ticket number appears on the screen. It disappears when the ticket leaves the Now calling tab, for example when staff click Check-in or Remove. If several tickets are called to the same counter, the screen shows the one called first. The screen plays no sound or voice announcement.
To show called tickets for many counters on one waiting-area screen, use Queue Ticket Signage instead.
Set up a queue with Stations first. Follow Quick start: Queue Management, then come back here.
How to install Counter Display Signage
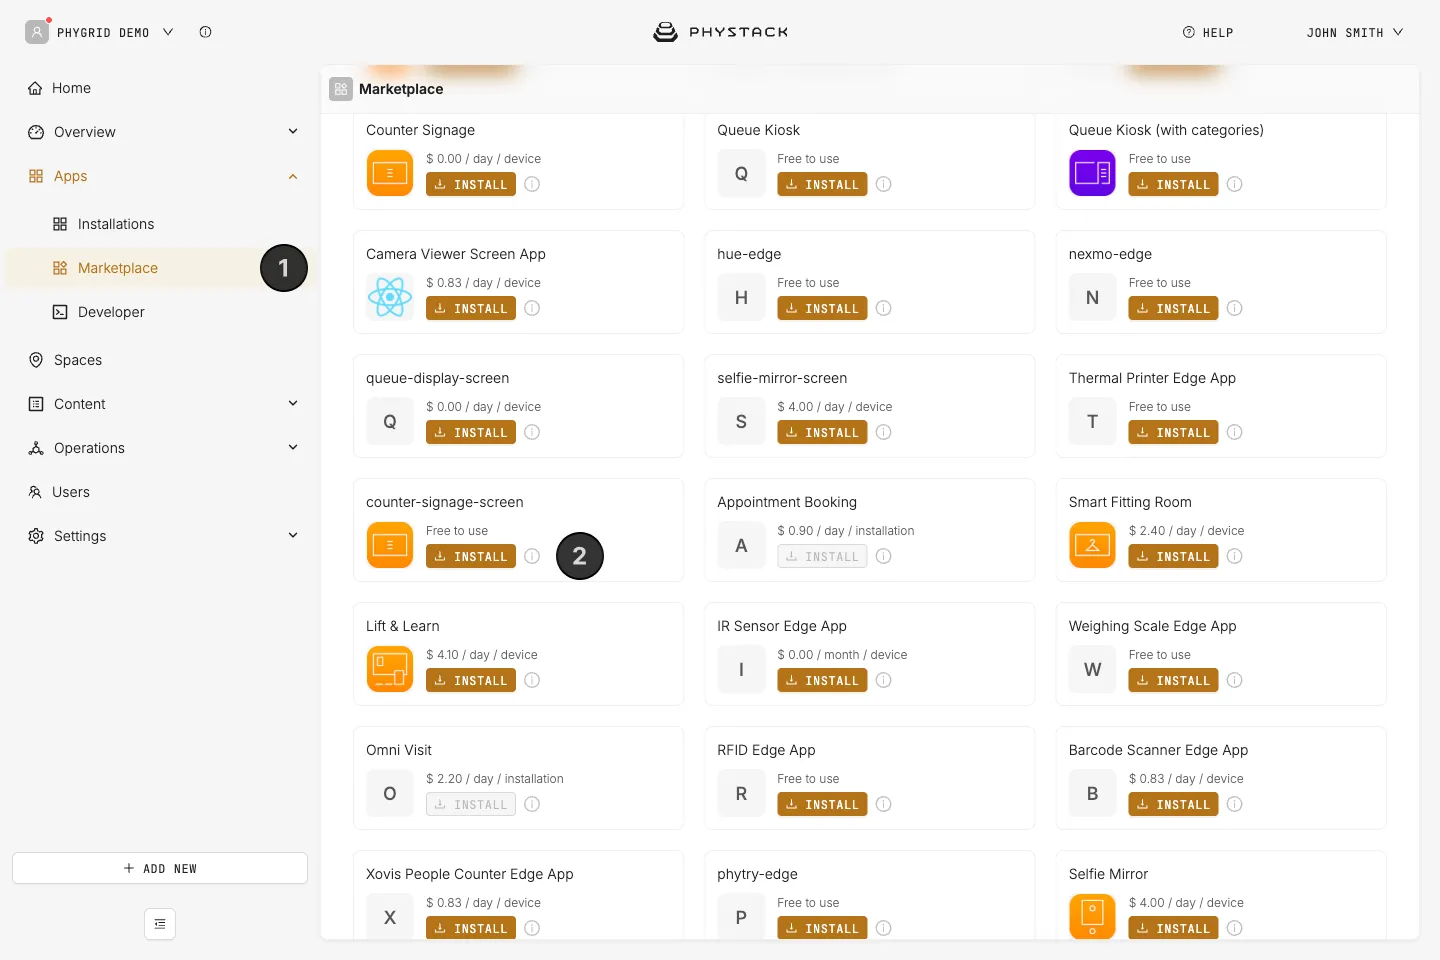
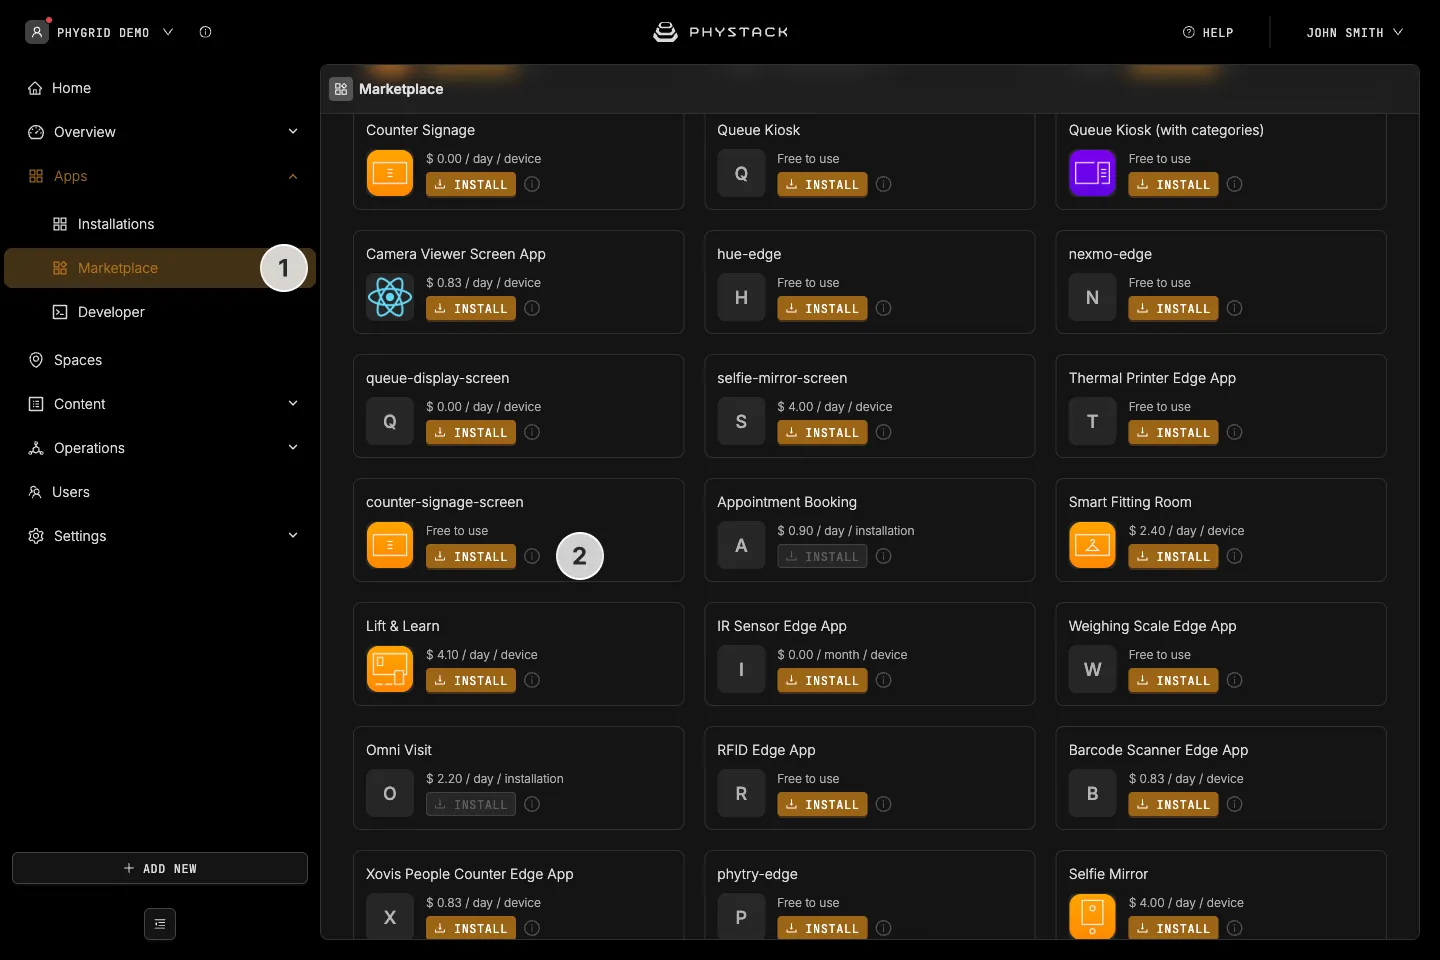
- In the sidebar, go to Apps → Marketplace
- Find counter-signage-screen and click Install
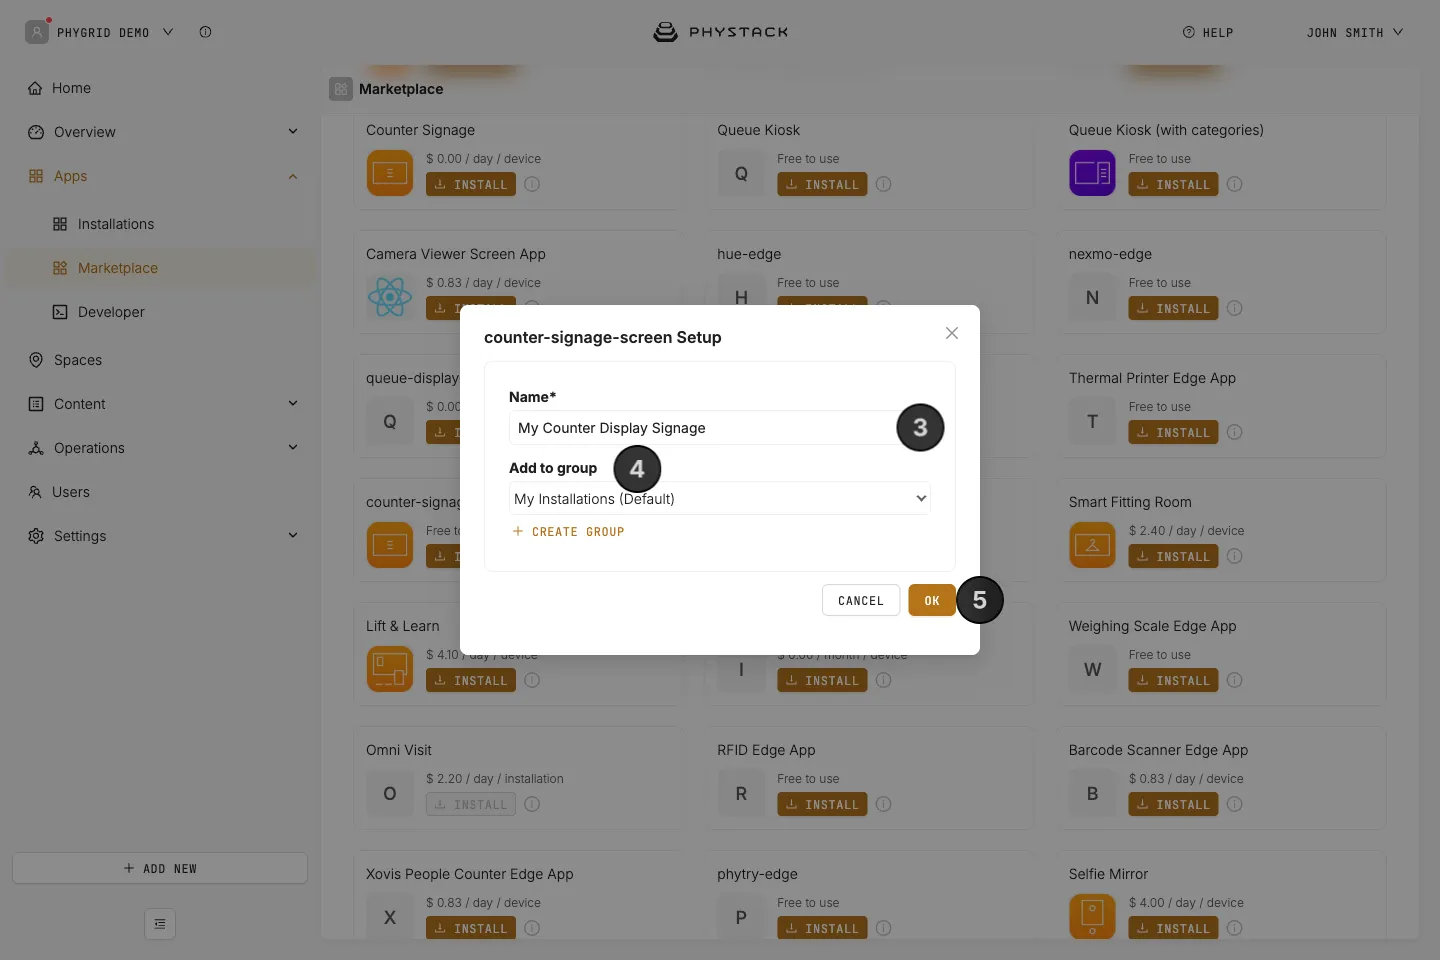
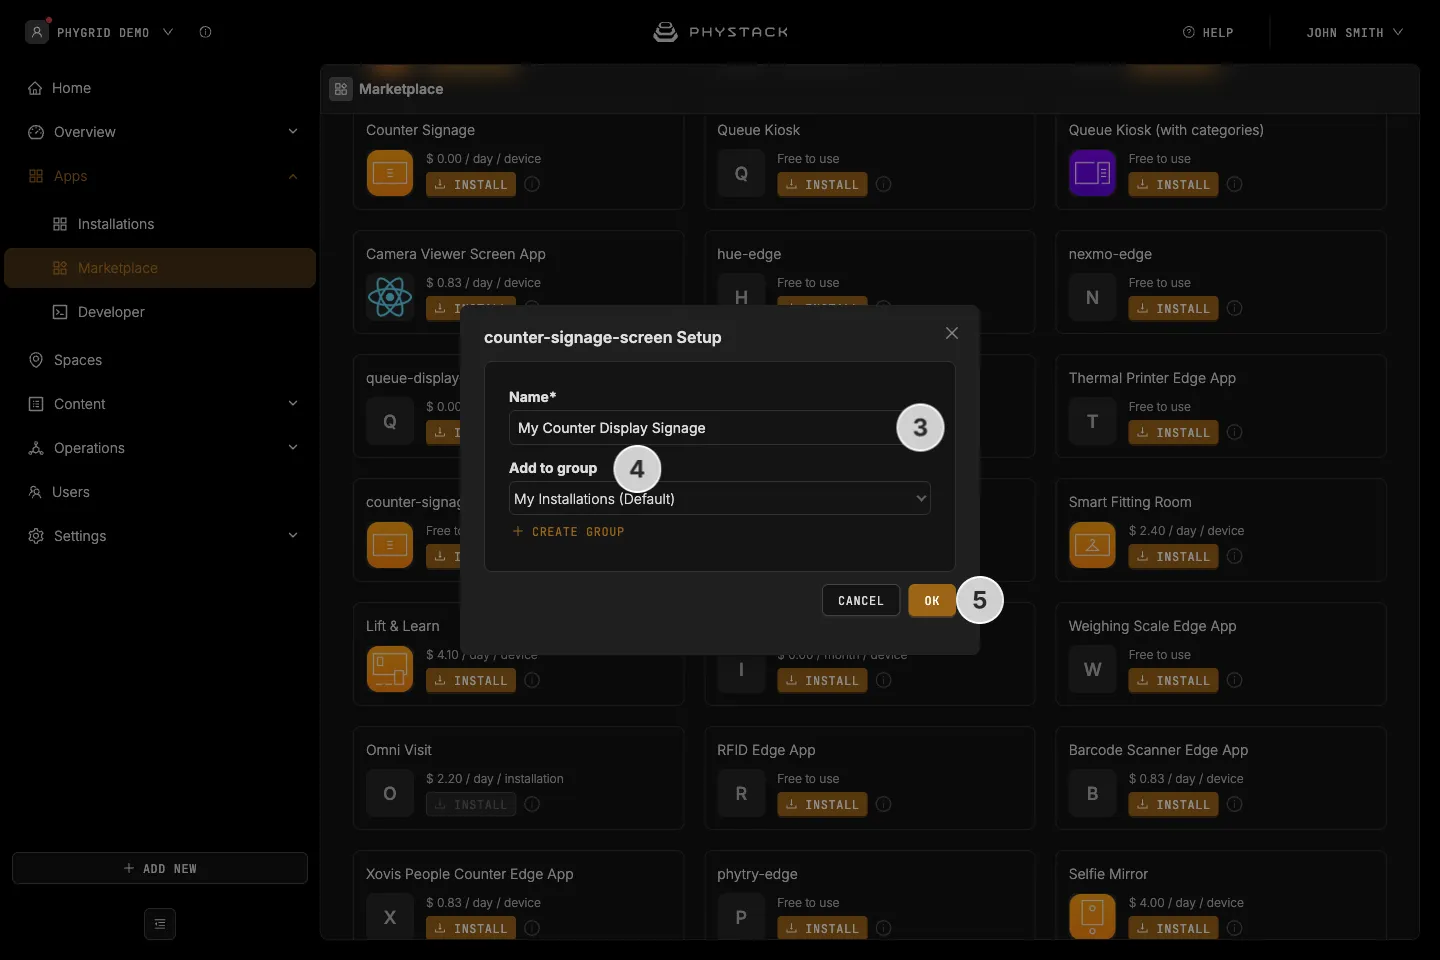
- In the installation form, enter a Name for your Counter Display Signage installation
- Optionally, add the installation to a group in Add to group. To make a new group, click Create group
- Click OK to create the Counter Display Signage installation
How to access Counter Display Signage settings
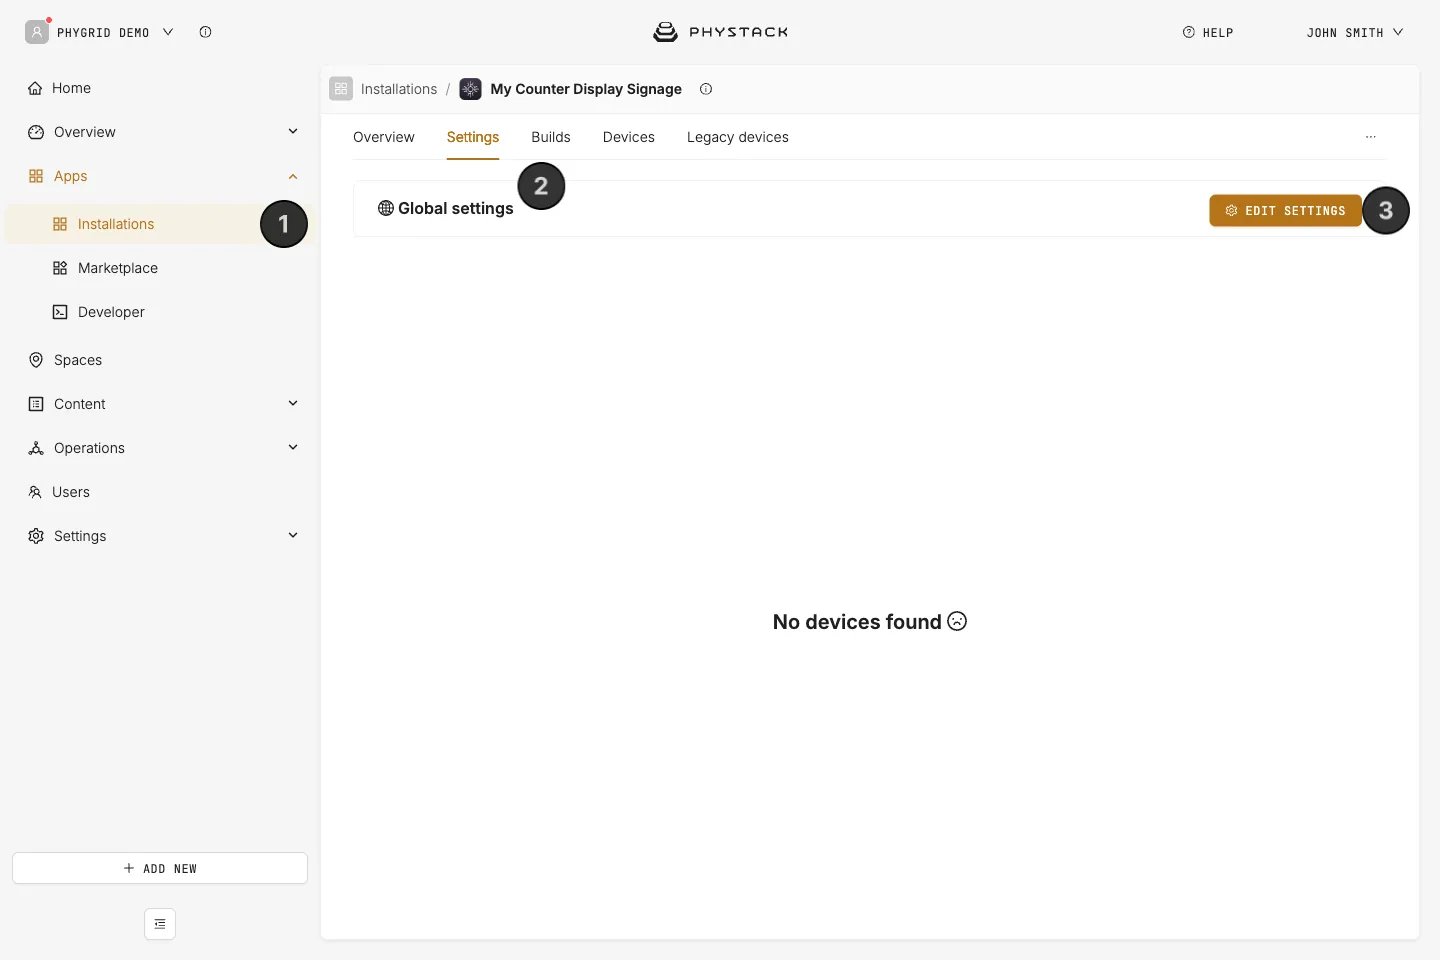
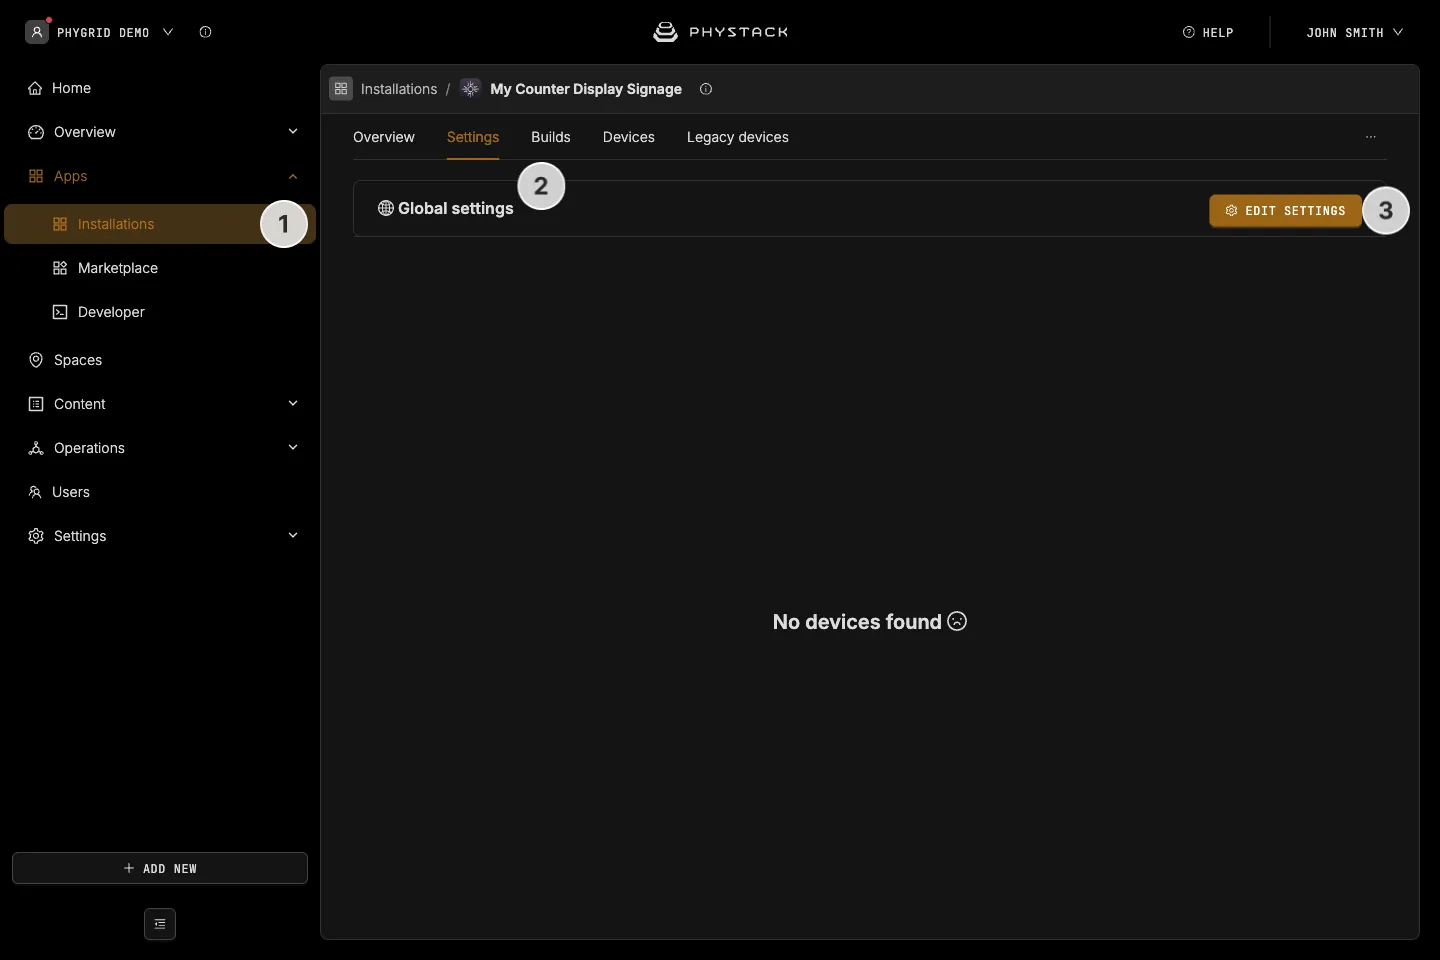
- Find your new installation in the sidebar under Apps → Installations
- Open the installation and select the Settings tab
- For the initial setup, go to the Global settings section and click Edit settings. After you add devices, you can set space and device overrides
How to set the Counter Display Signage languages
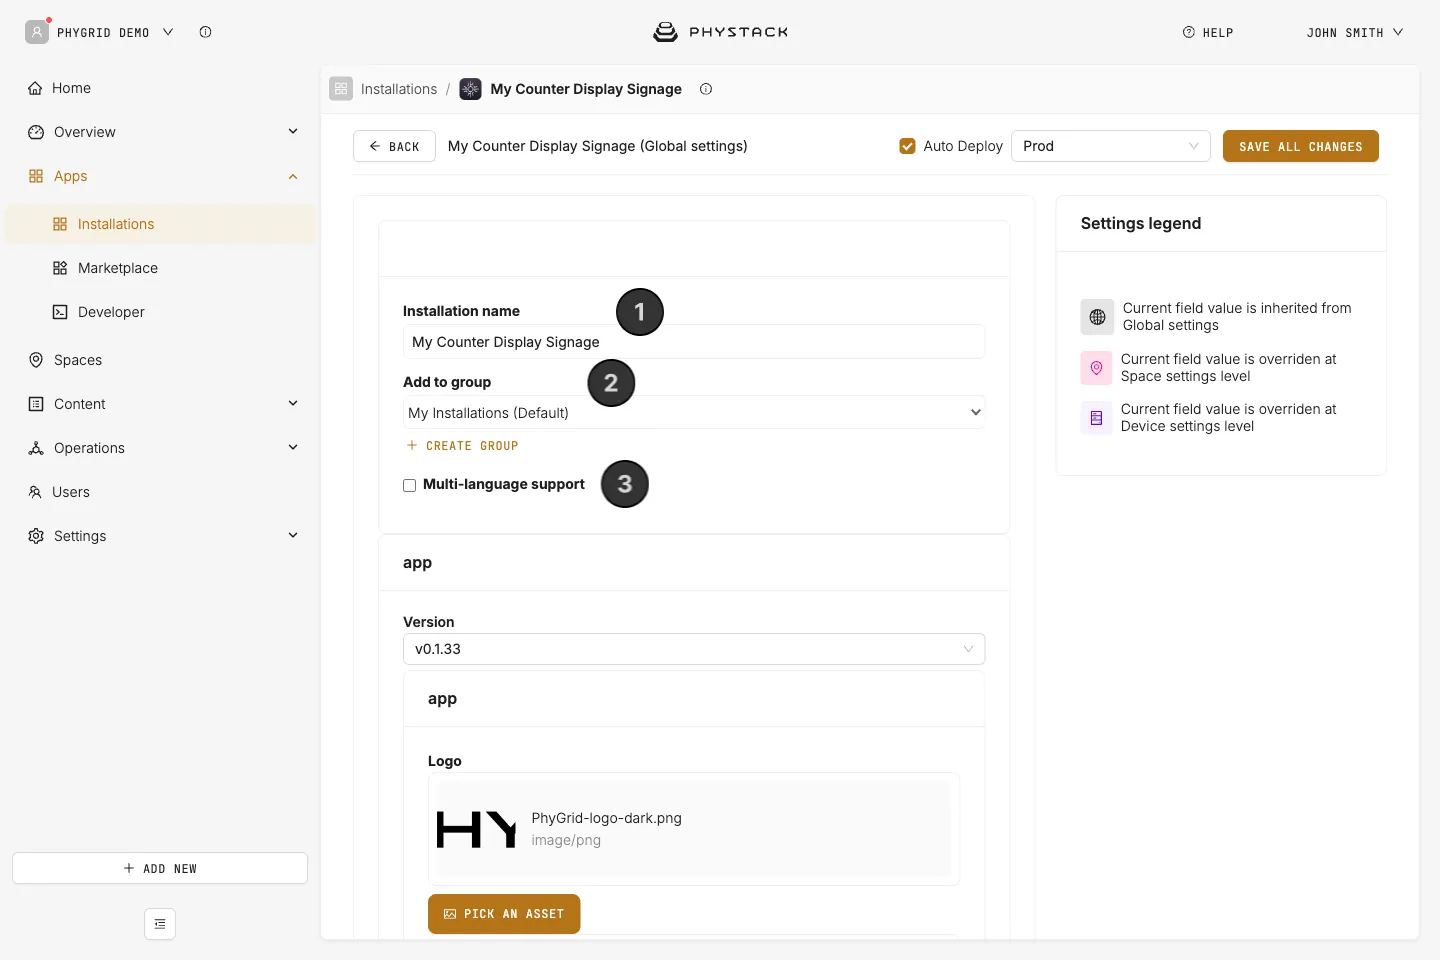
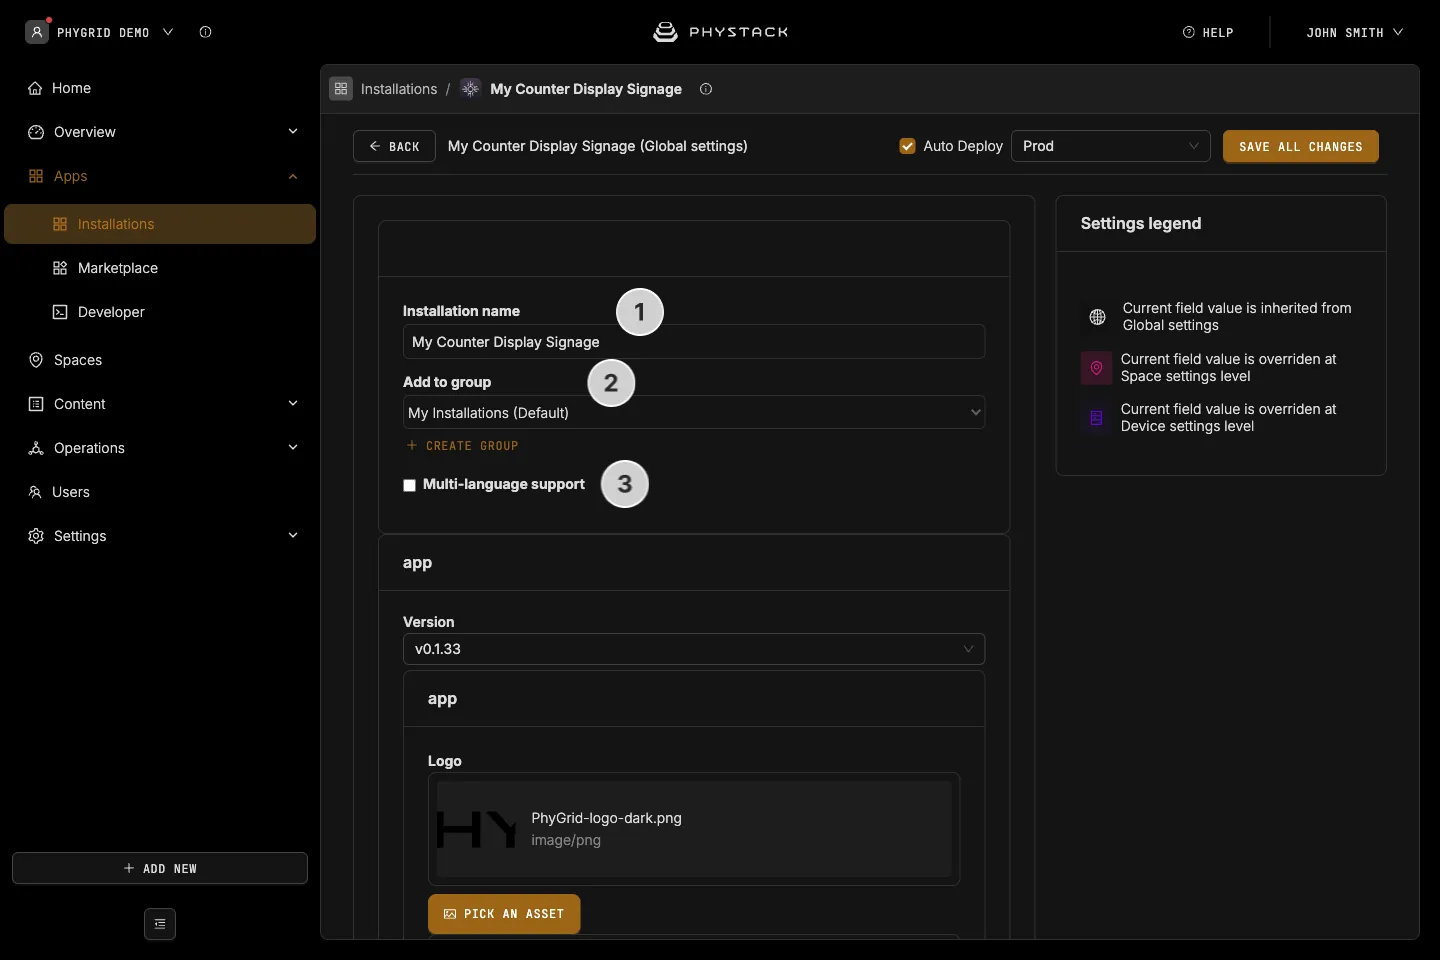
- Set or change the Installation name. It shows in Apps → Installations
- Optionally, change the installation group in Add to group
- Enable at least one language for the app by clicking on Multi-language support (see Glossary)
- Select the language(s) for the app and choose the default language. The screen shows its built-in messages in the default language
How to connect Counter Display Signage to your queue and counter
Find the queue ID and the organisation in the Queue manager link of your Queue Management installation. Open the installation’s Configuration tab and copy the link in the right-hand panel. It has the form https://queue.<region>.ombori.com/<organisation>/queues/<queue ID>/admin.
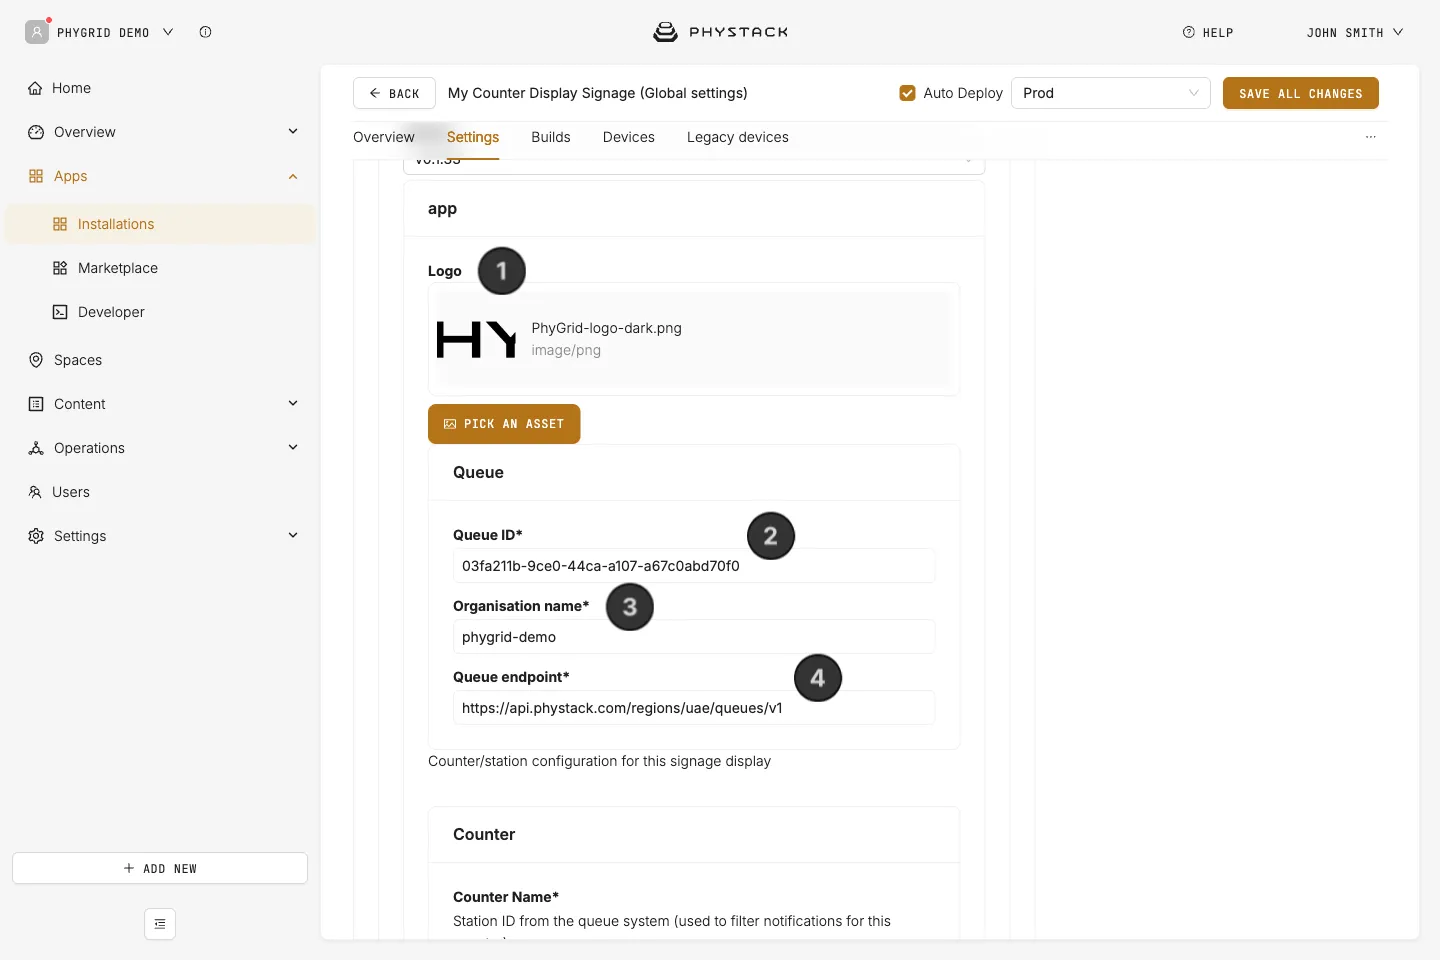
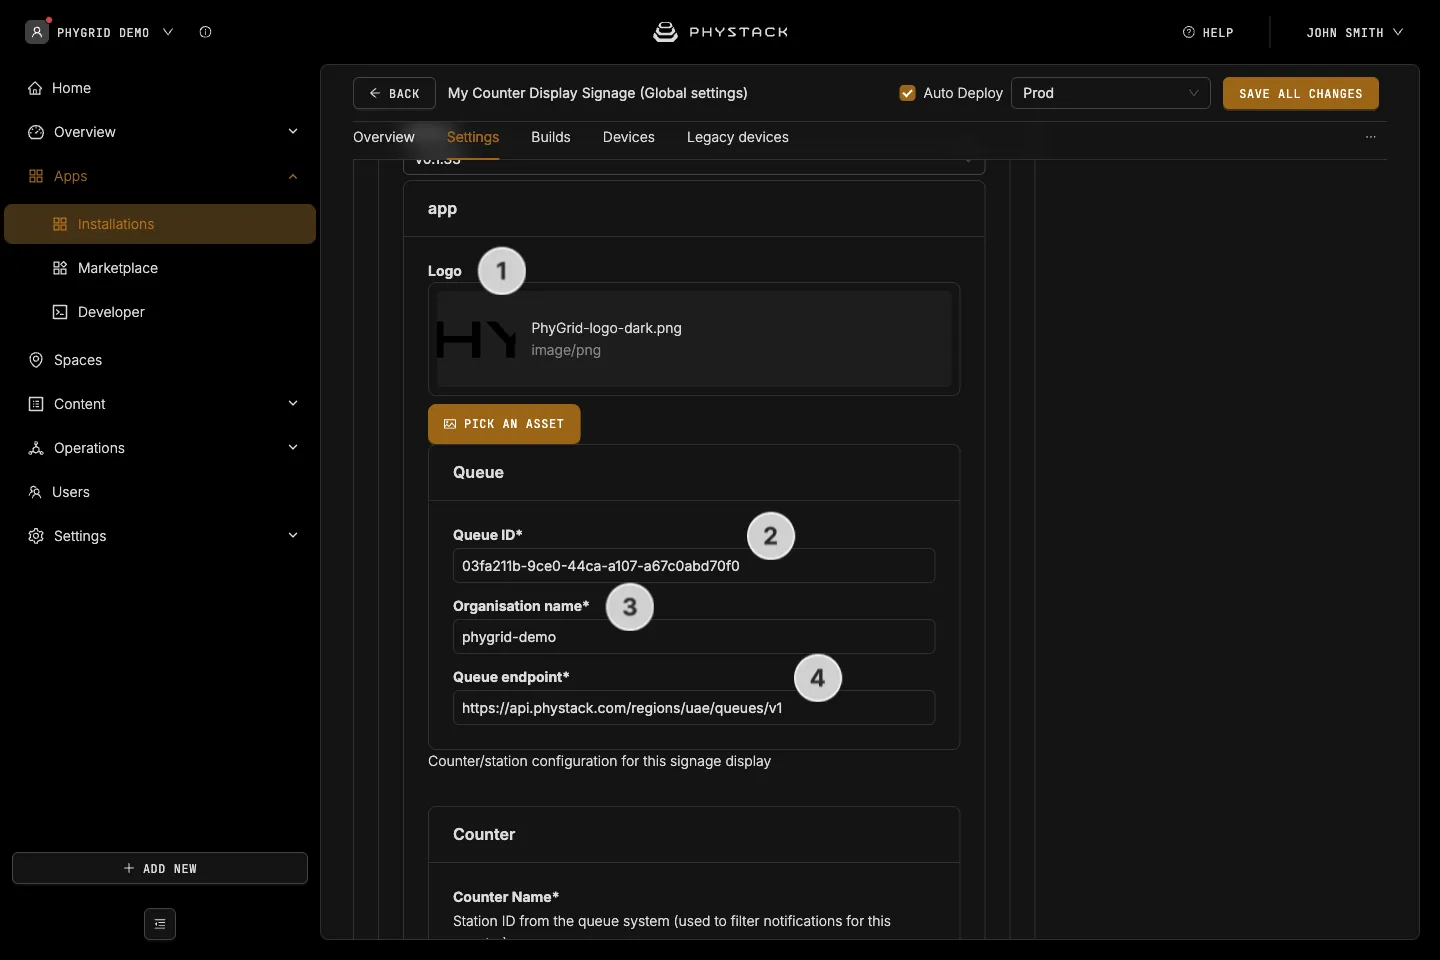
- Scroll down to the app settings and upload a Logo. It appears above the ticket number
- Under Queue, enter the Queue ID of your queue
- Enter the Organisation name: the part of the Queue manager link after the host
- Enter the Queue endpoint for your region, for example
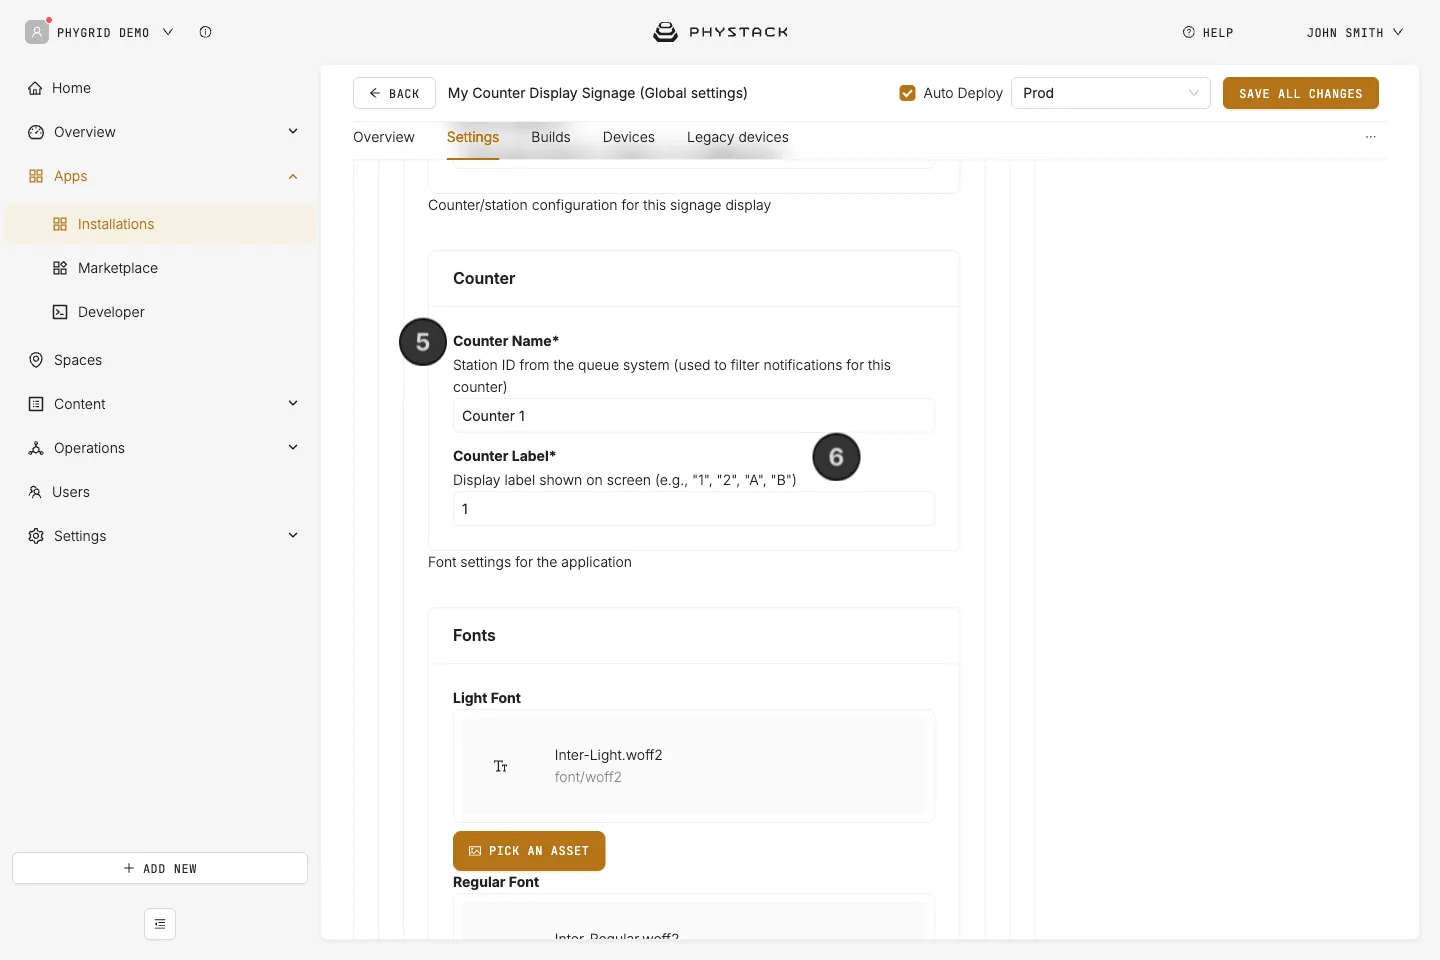
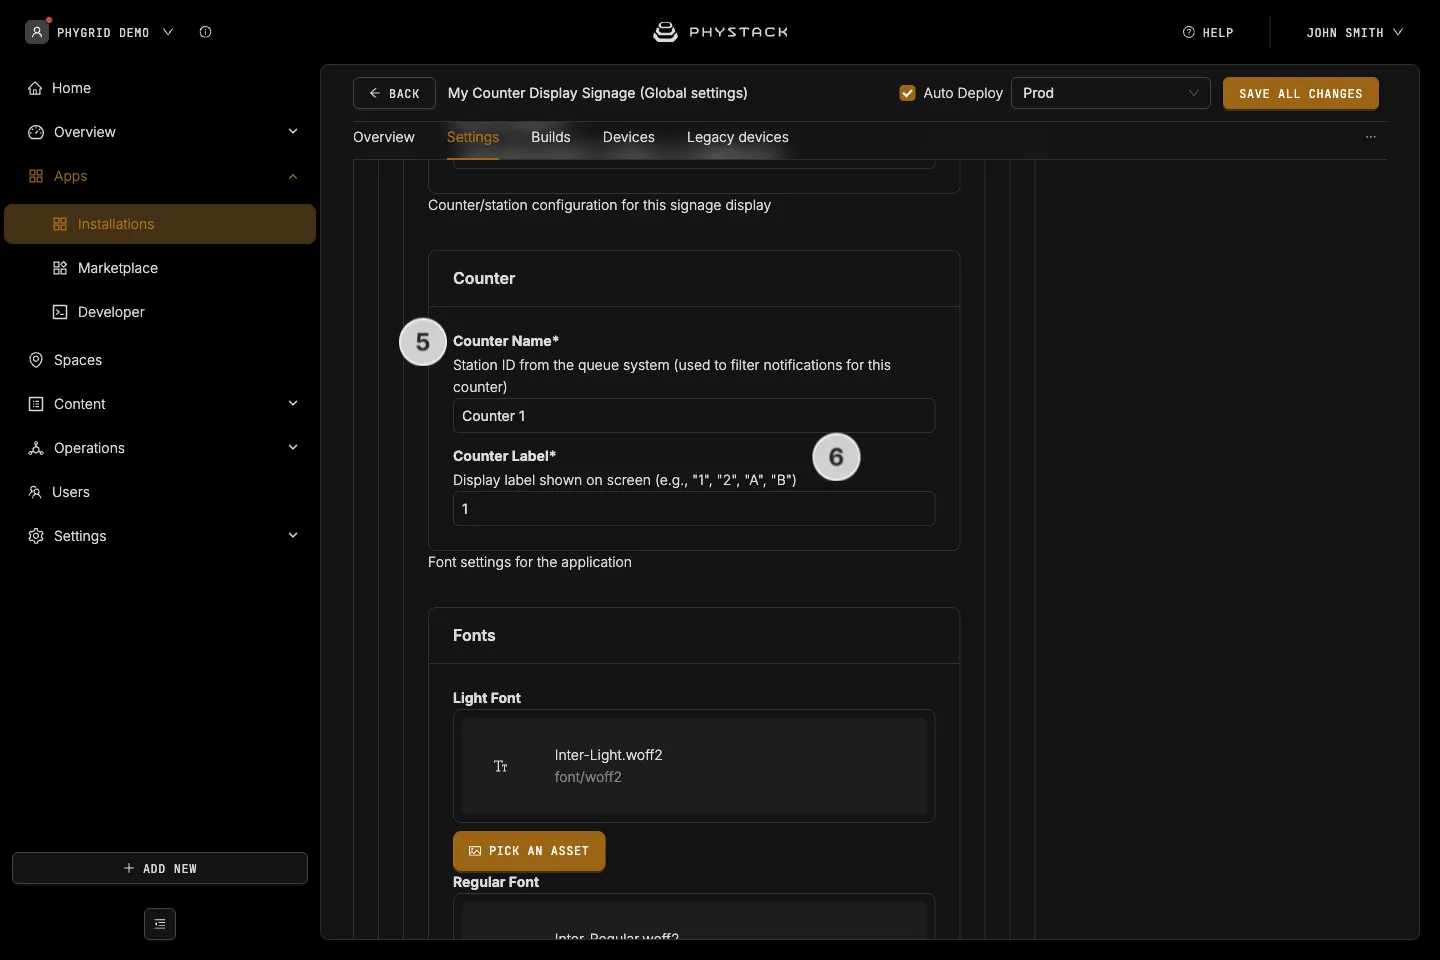
https://api.phystack.com/regions/eu/queues/v1. Useeu,us,uae,auorinto match your queue’s region (see the table in Set up Occupancy Signage) - Under Counter, enter the Counter Name: the station this screen belongs to. Write it exactly as in the Stations list of your queue settings, with the same capitals and spaces. The screen shows only tickets called to this station
- Enter the Counter Label: the counter number shown on the screen, for example “1”, “2”, “A” or “B”
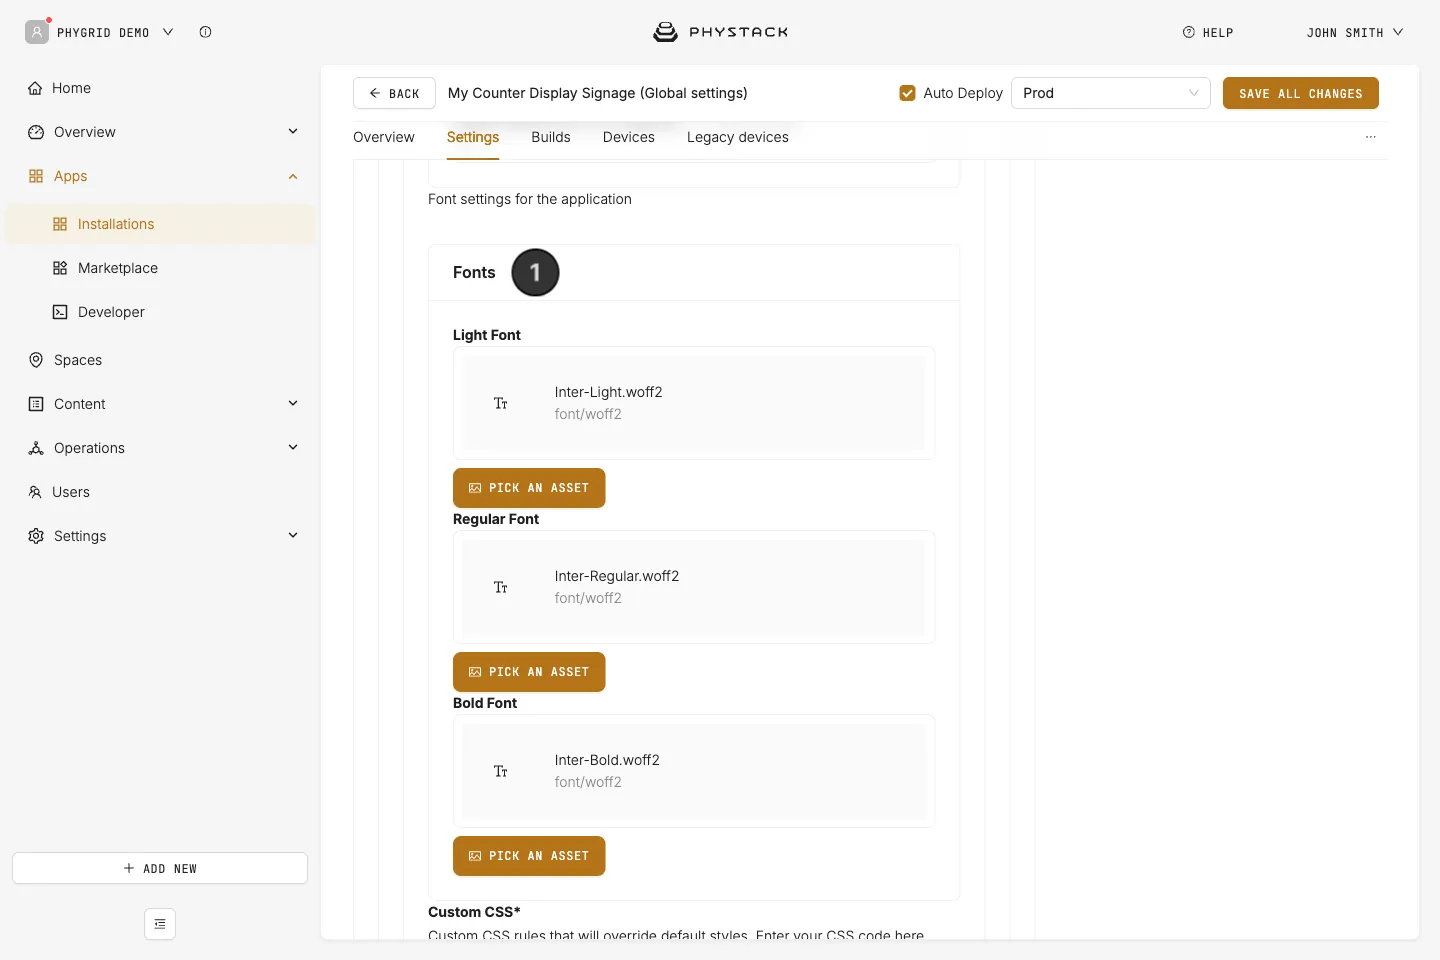
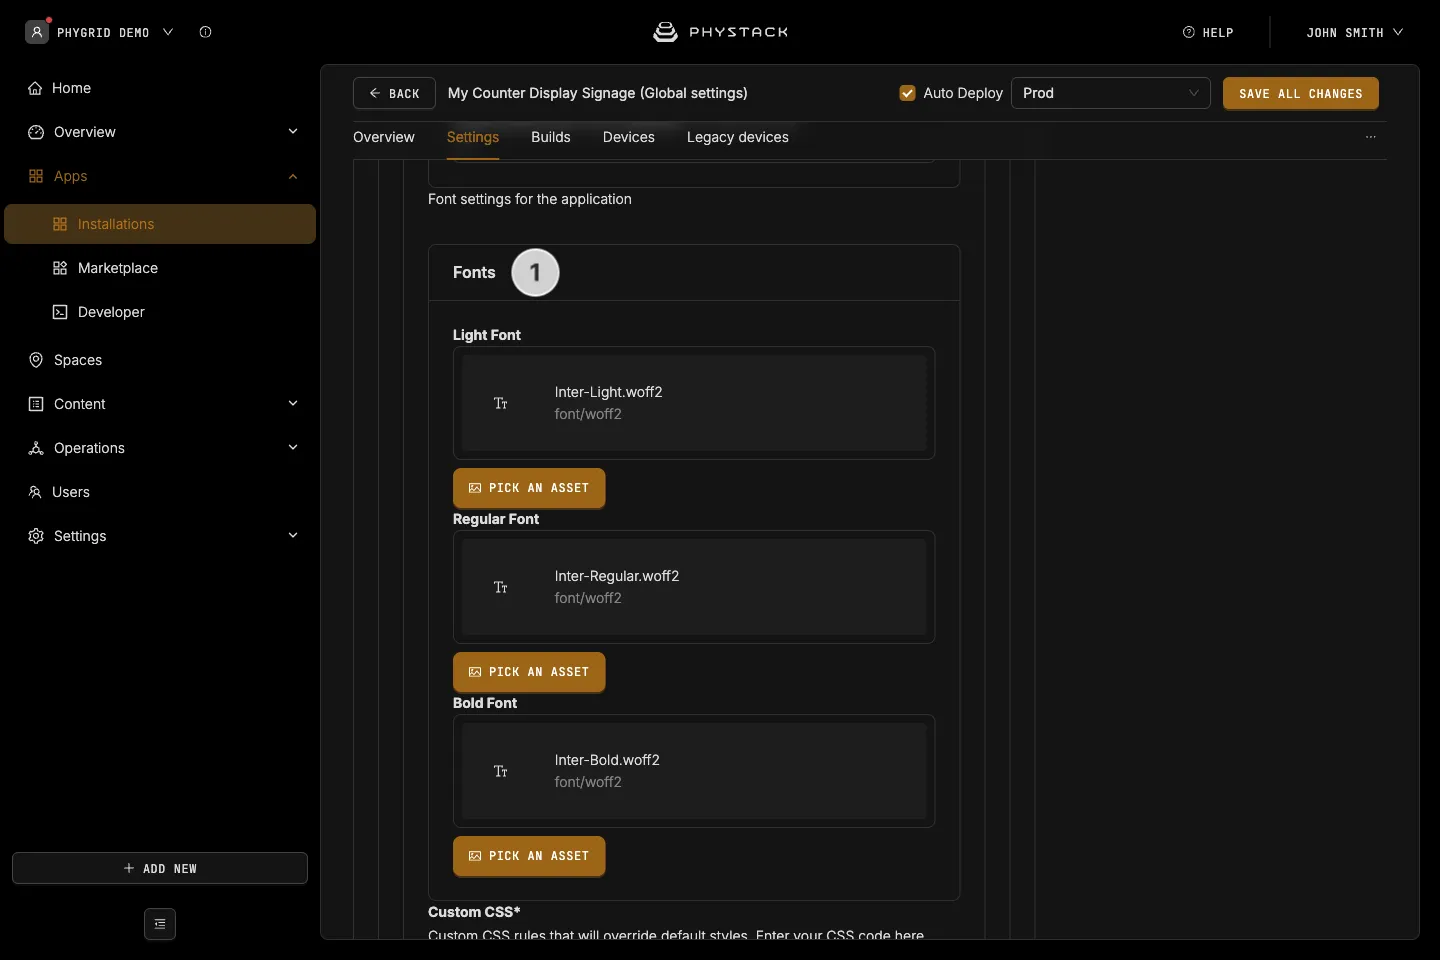
How to set the Counter Display Signage fonts
- Under Fonts, upload a Light Font, Regular Font and Bold Font. All three are required. Use WOFF2, TTF or OTF files
How to change the Counter Display Signage layout and colours
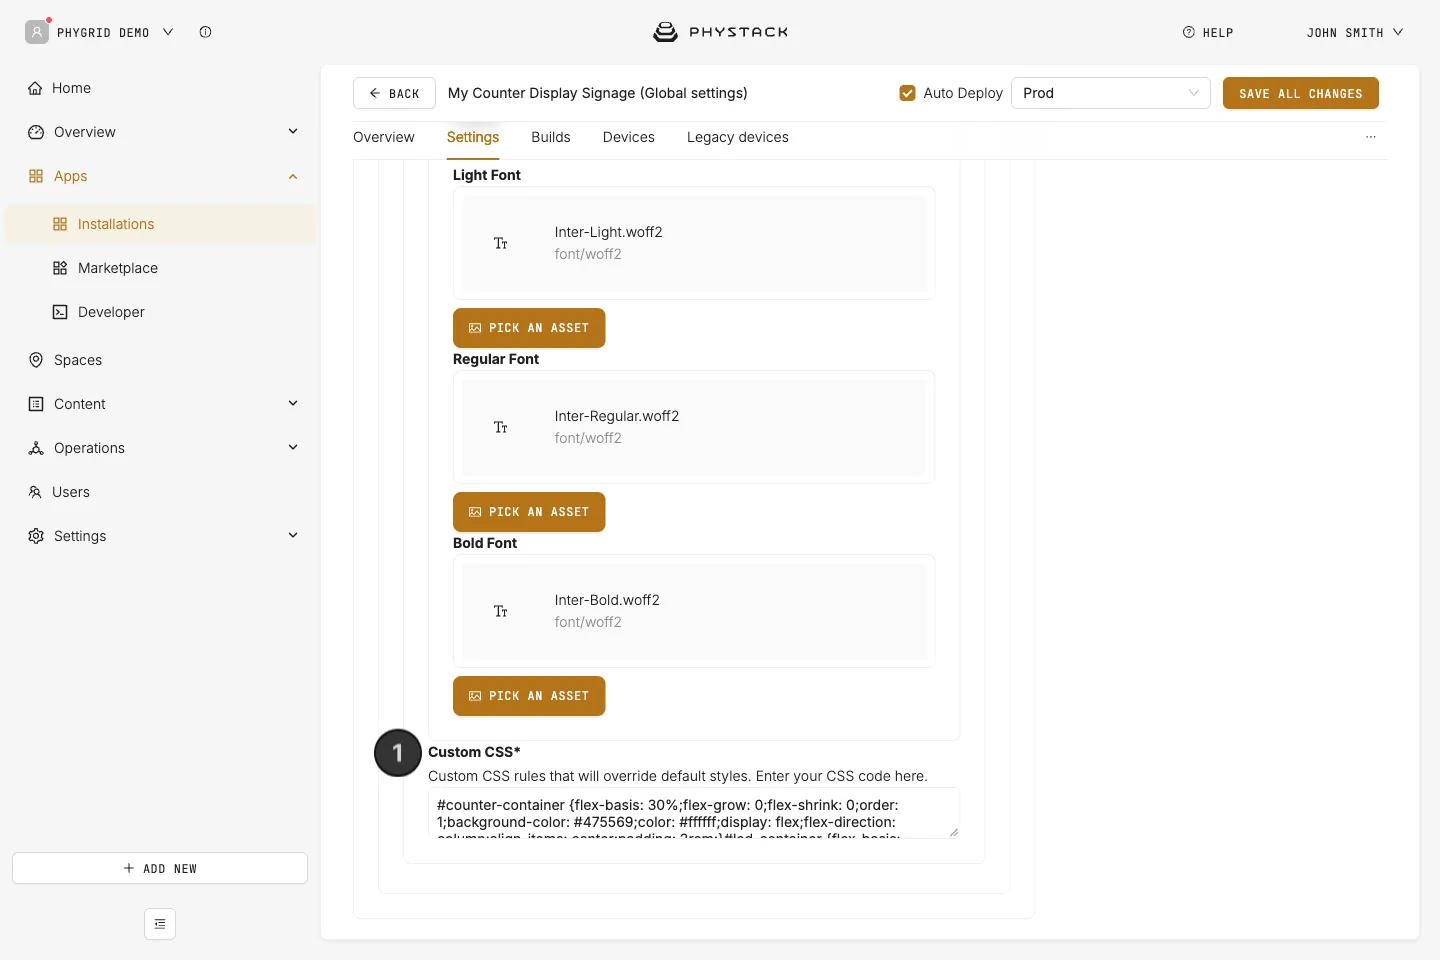
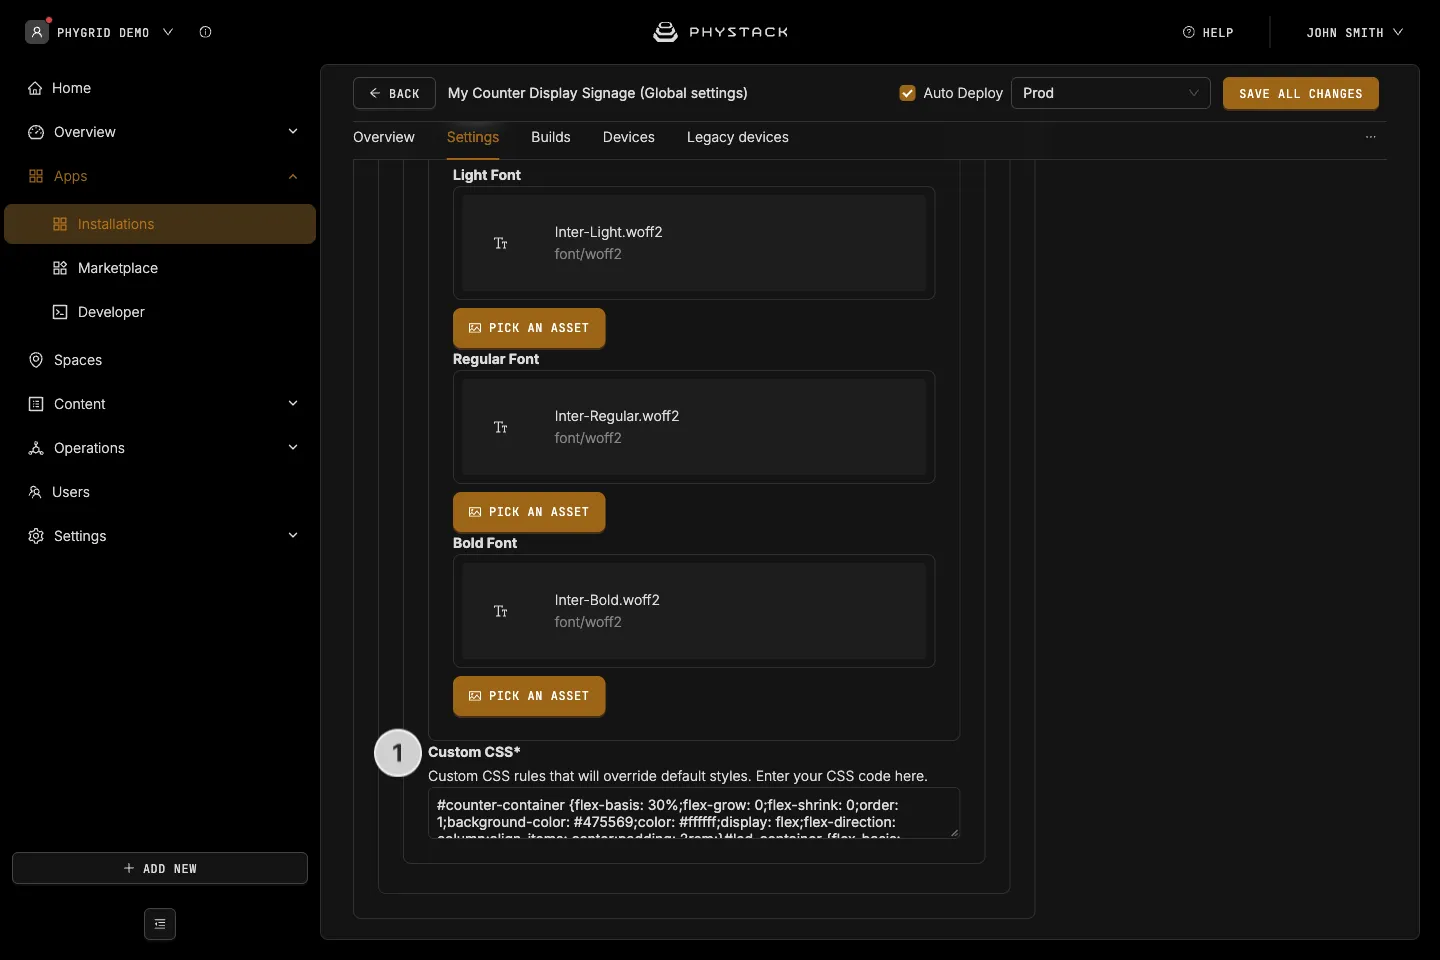
The screen has three sections side by side: the counter, the status strip and the ticket. Custom CSS sets their order, widths and colours. It is required and comes filled in with the default styles.
- In Custom CSS, edit the default rules for the three sections:
#counter-container: the counter section. Default width 30% (flex-basis), first (order: 1), background#475569, text#ffffff#led-container: the status strip. Default width 5%, second (order: 2)#ticket-container: the ticket section. Default width 65%, third (order: 3), background#1e293b, text#ffffff. It also takes up any width left over
- To change the order of the sections, change their
ordervalues. To change a width, changeflex-basis. To change colours, changebackground-colorandcolor
How to save your Counter Display Signage settings
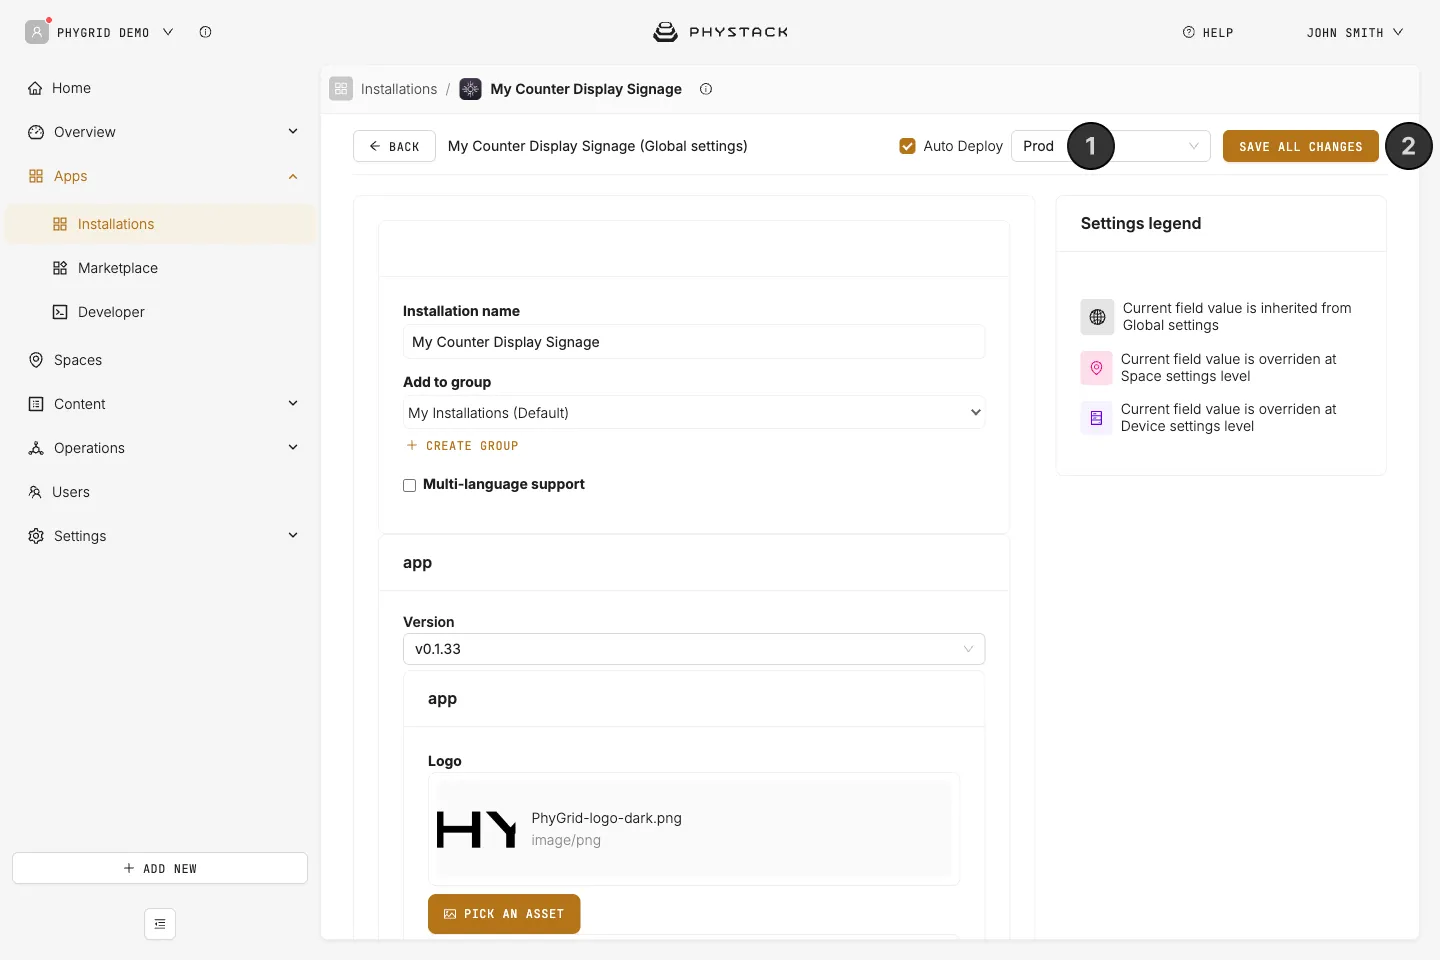
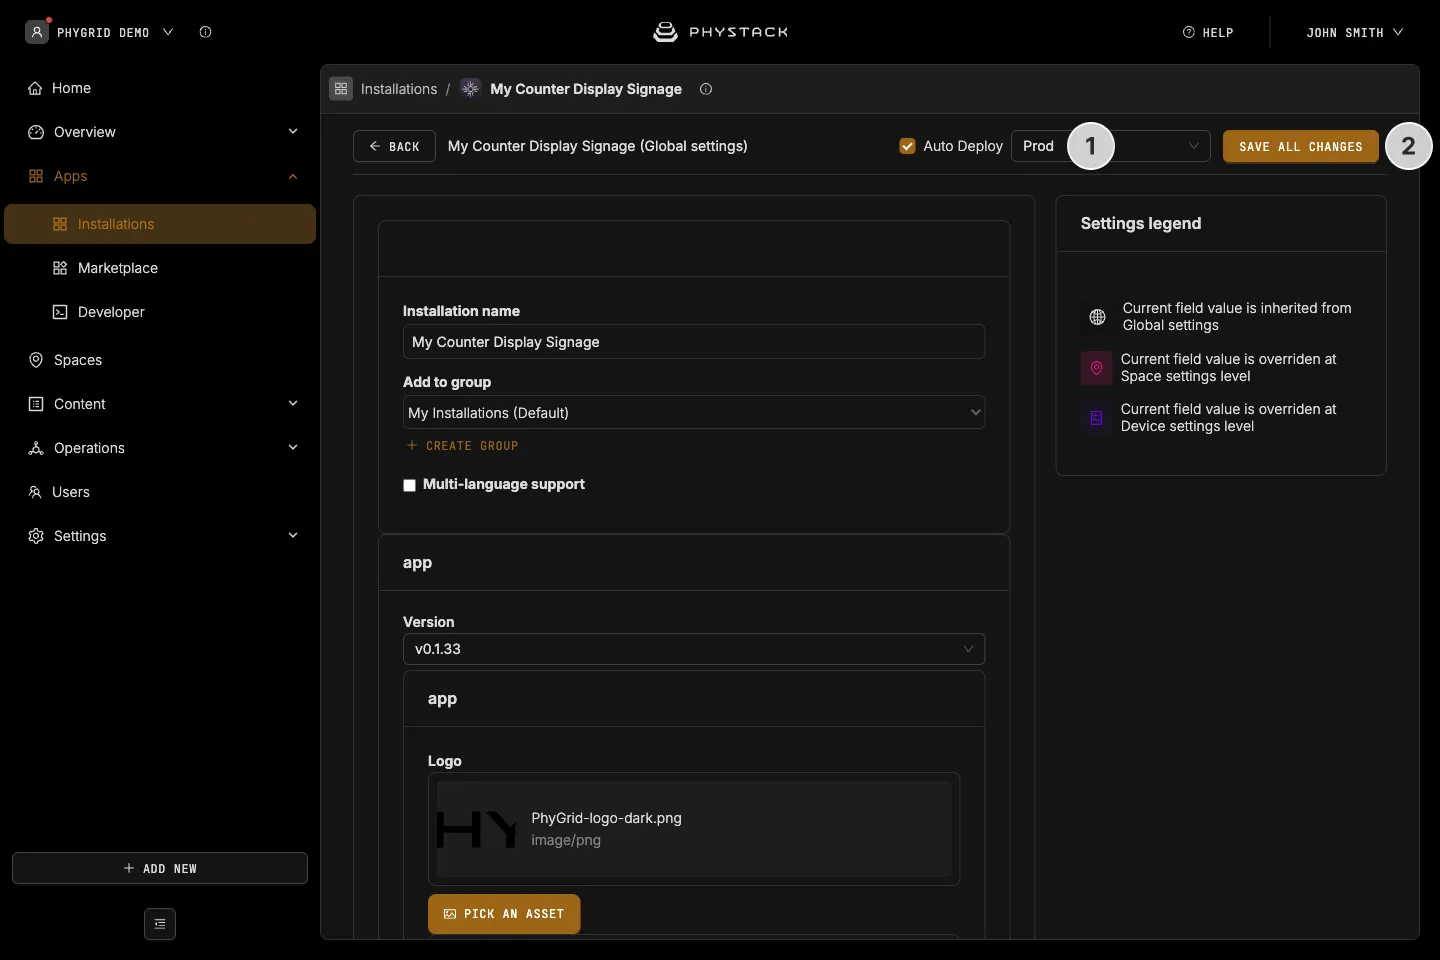
- Keep Auto Deploy ticked (see Glossary) and check the environment next to it. It defaults to the production environment
- Click Save all changes. With Auto Deploy ticked, saving deploys the new settings to that environment
How to connect a Counter Display Signage installation to a device
How to set up a screen for each counter
Each screen shows one counter, set by Counter Name and Counter Label. To run screens for several counters from one installation, give each device its own counter with a settings override:
- Connect all the counter screens to the installation
- In the Settings tab, add a settings override for one of the devices
- In the override, under Counter, enter the Counter Name and Counter Label of the counter where this device stands
- Click Save all changes
- Repeat for each counter screen
Everything else (logo, queue, fonts and CSS) comes from the global settings. Alternatively, create one installation per counter.