
How to choose the product list layout
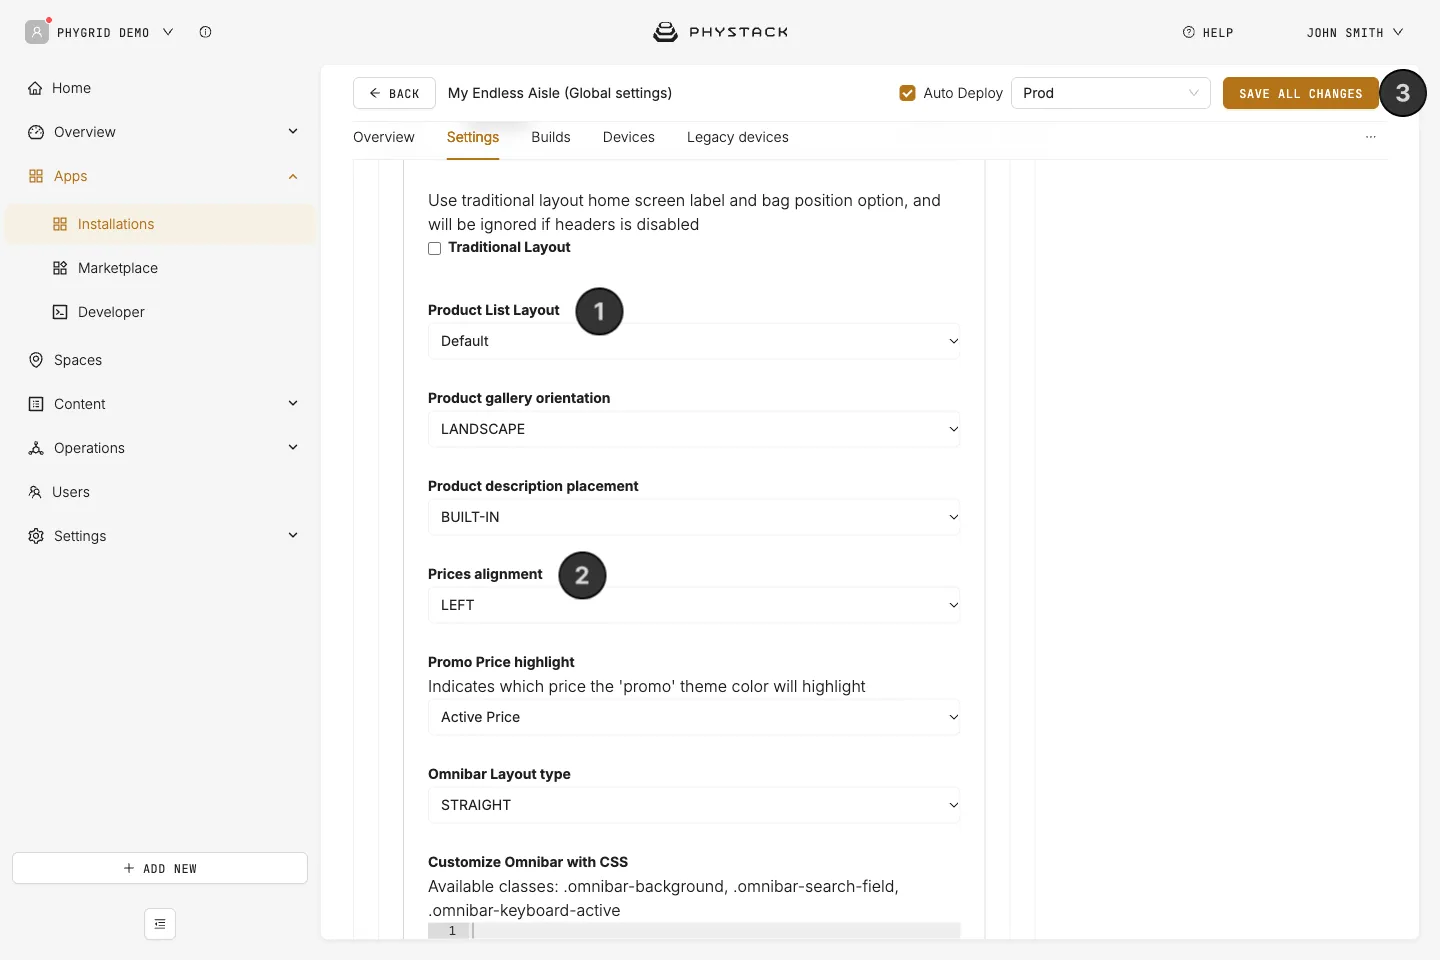
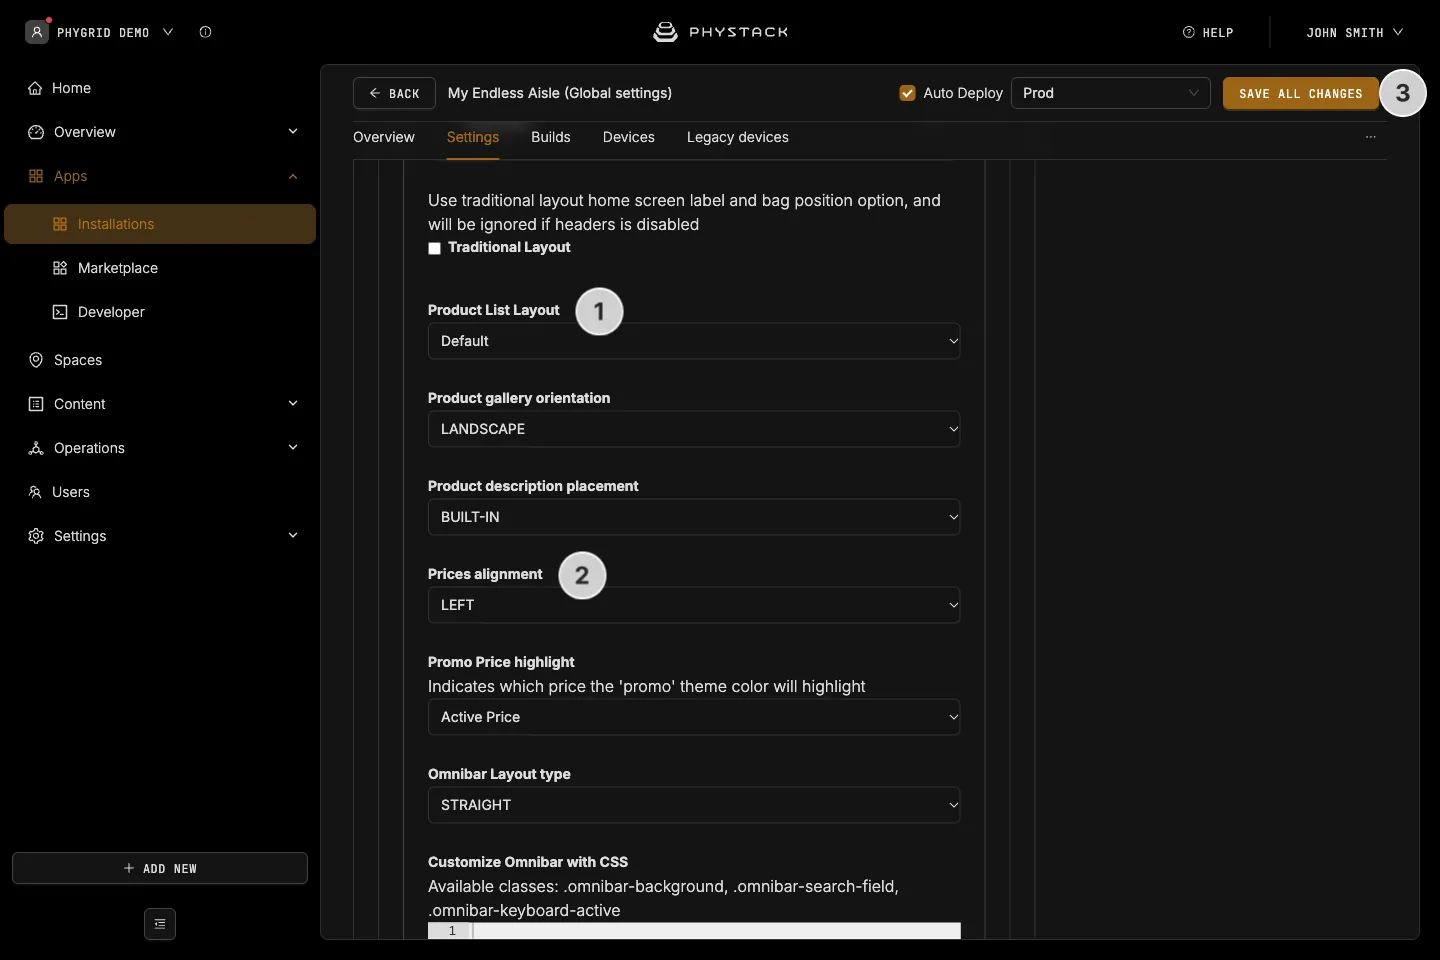
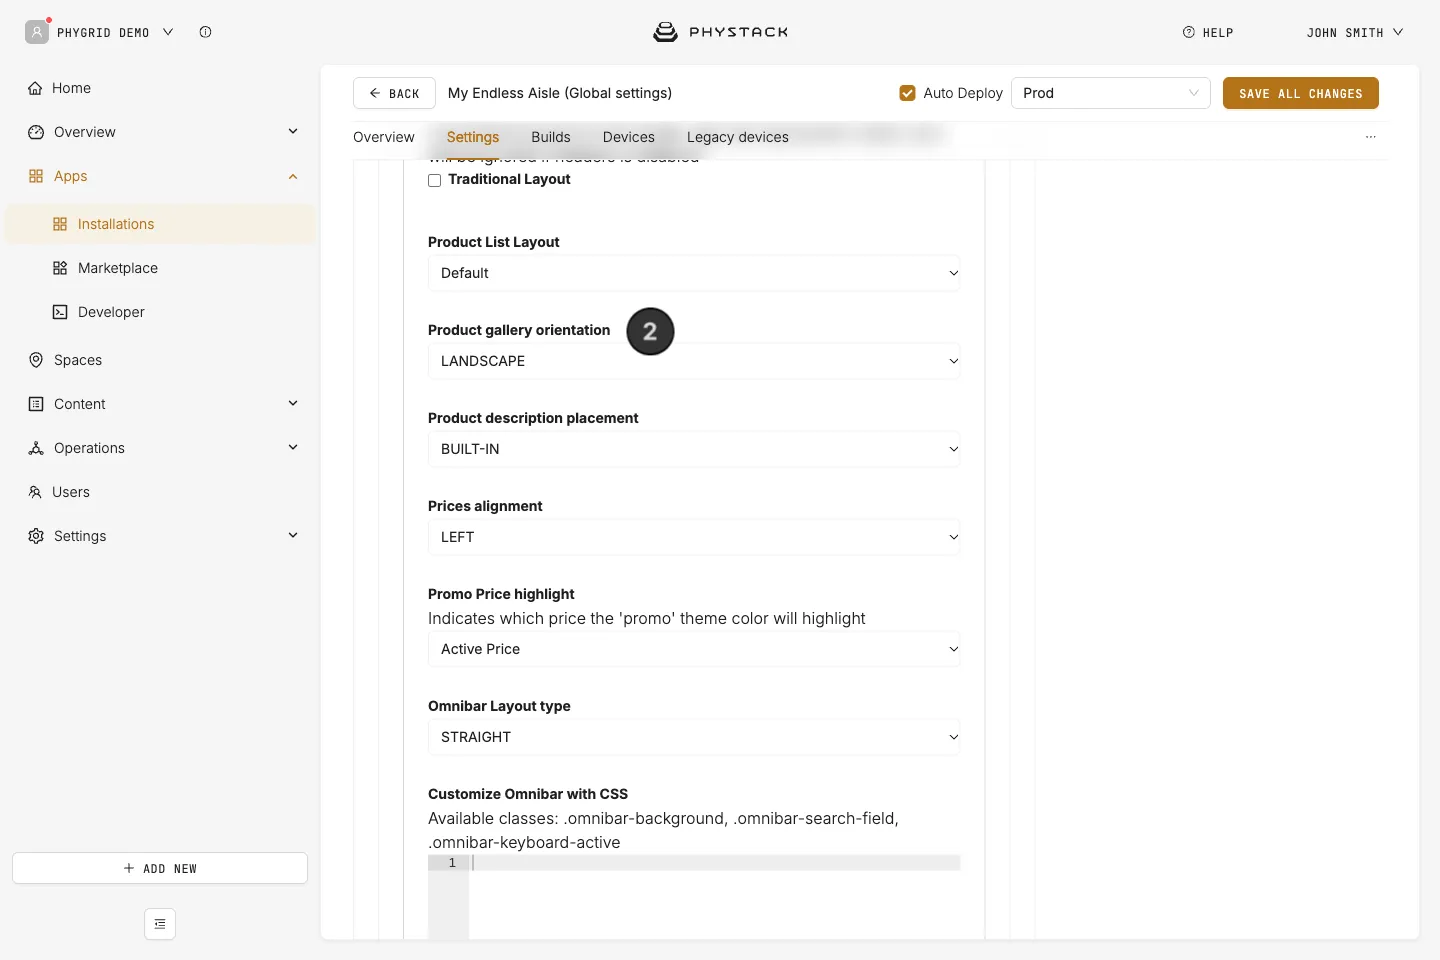
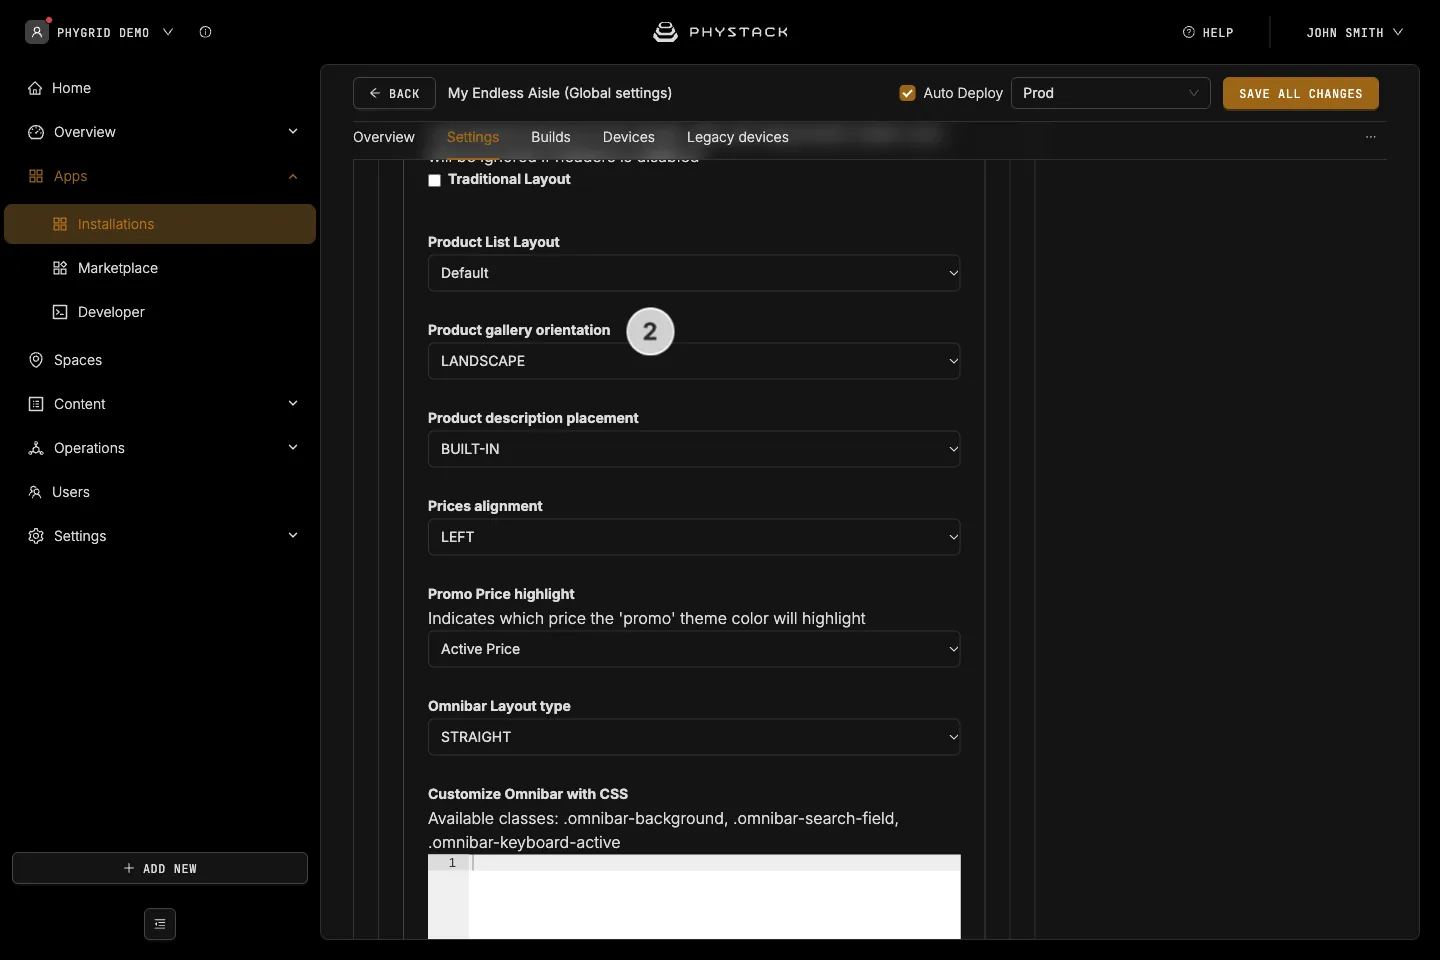
- Expand Layout and choose a Product List Layout:
- Default: a category menu and filter buttons above the products, with a sort menu
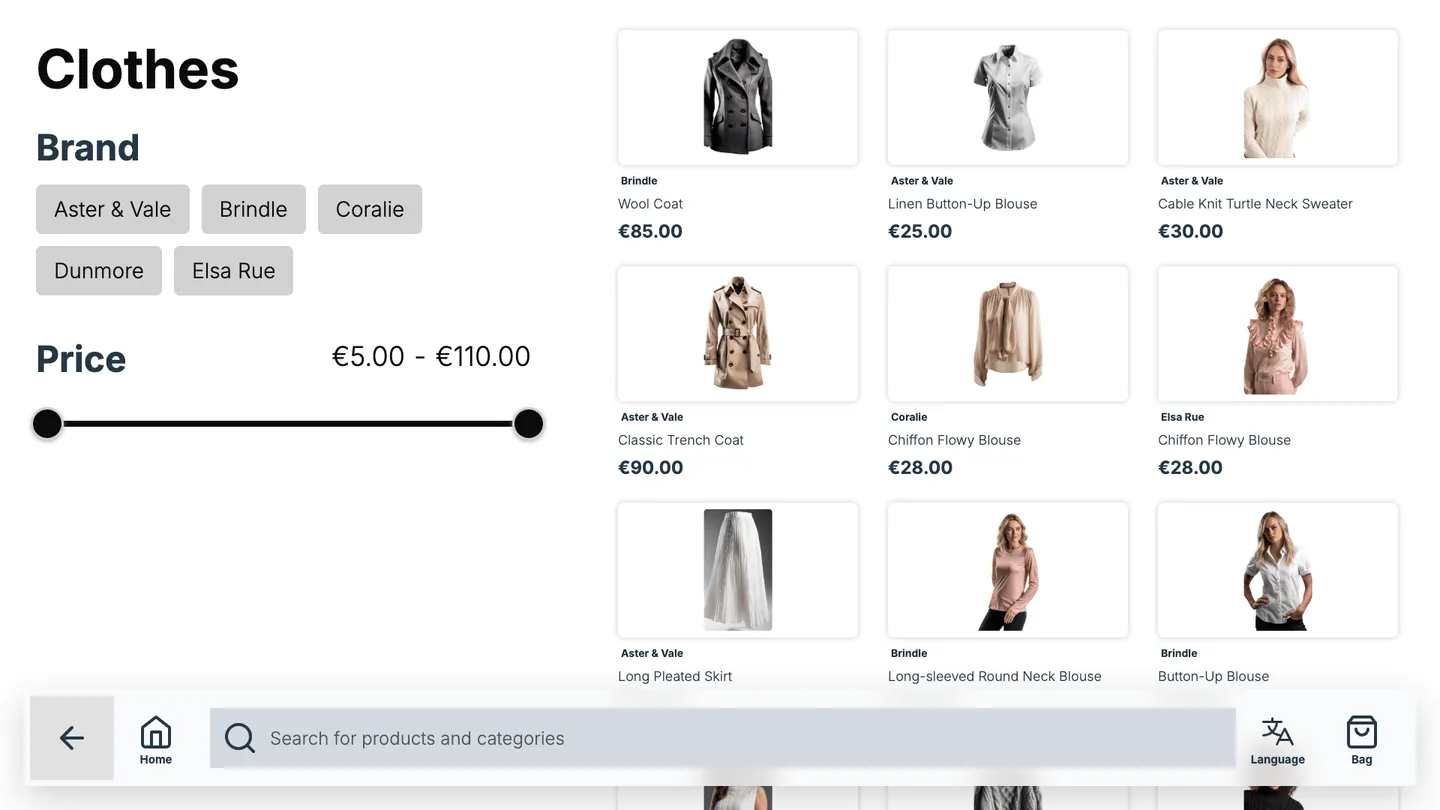
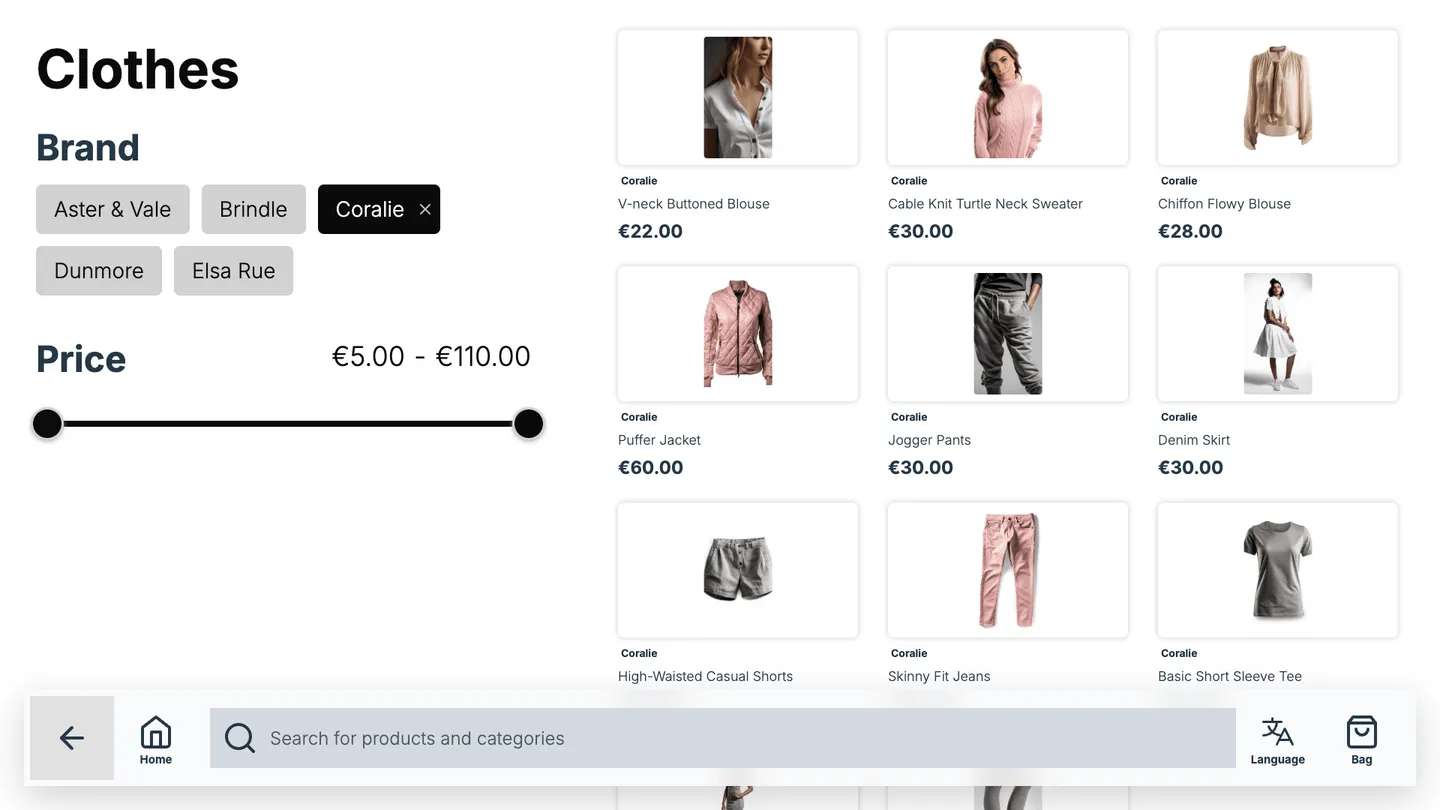
- Filter Focused: a filter panel on the left and the products on the right, always sorted by ranking
- Set Prices alignment and Promo Price highlight: whether the promotional colour highlights the active price or the struck-through price
- Click Save all changes
How to add filters
Filters use the product features in your catalogue, such as “Brand” or “Material”.
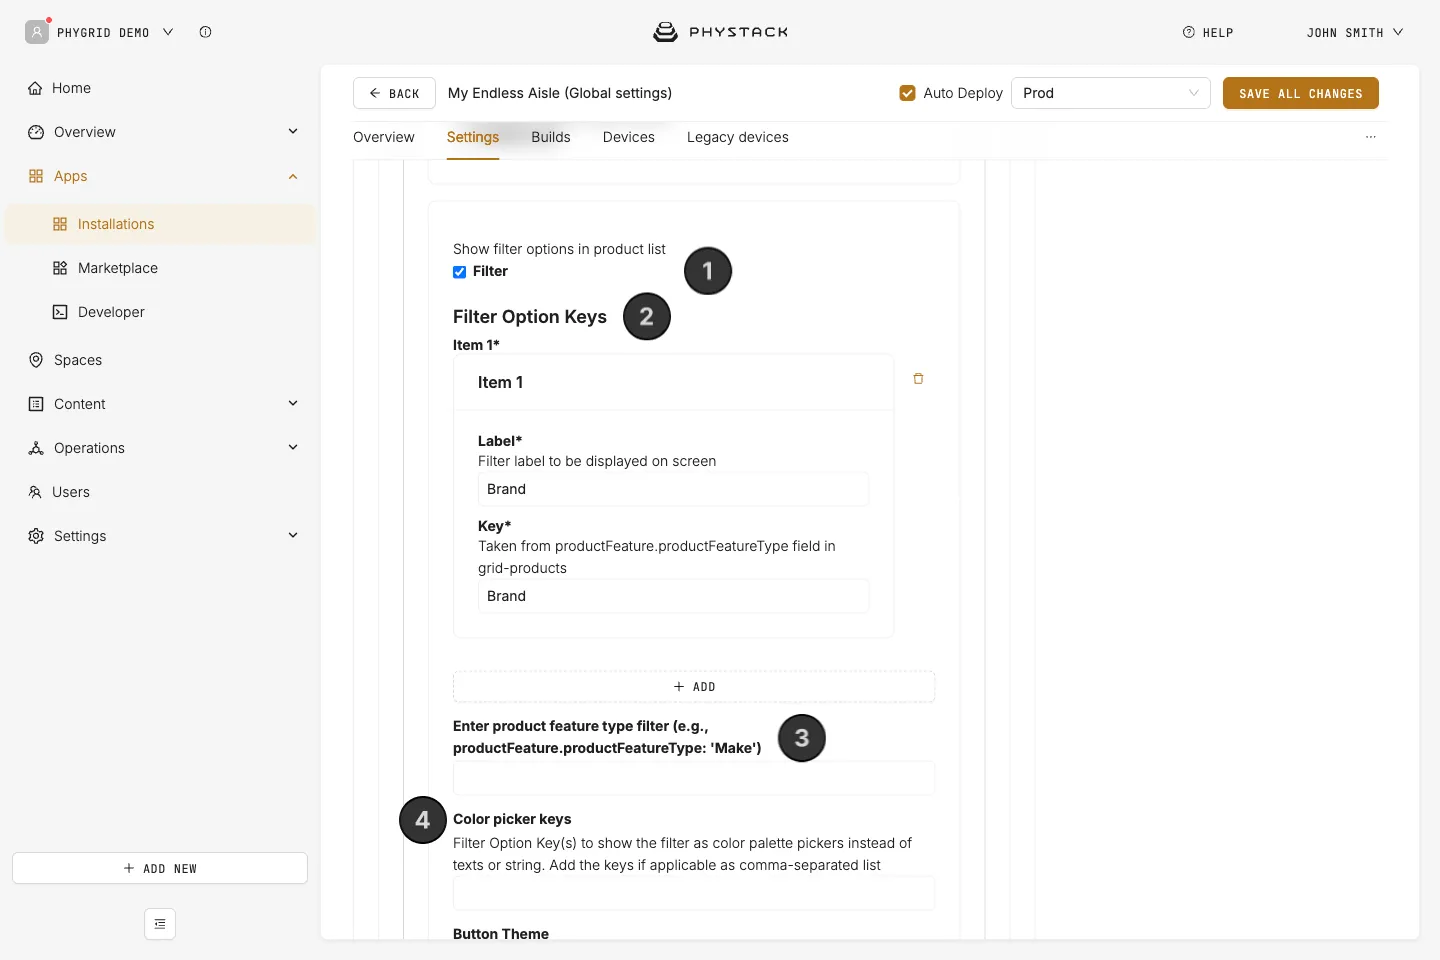
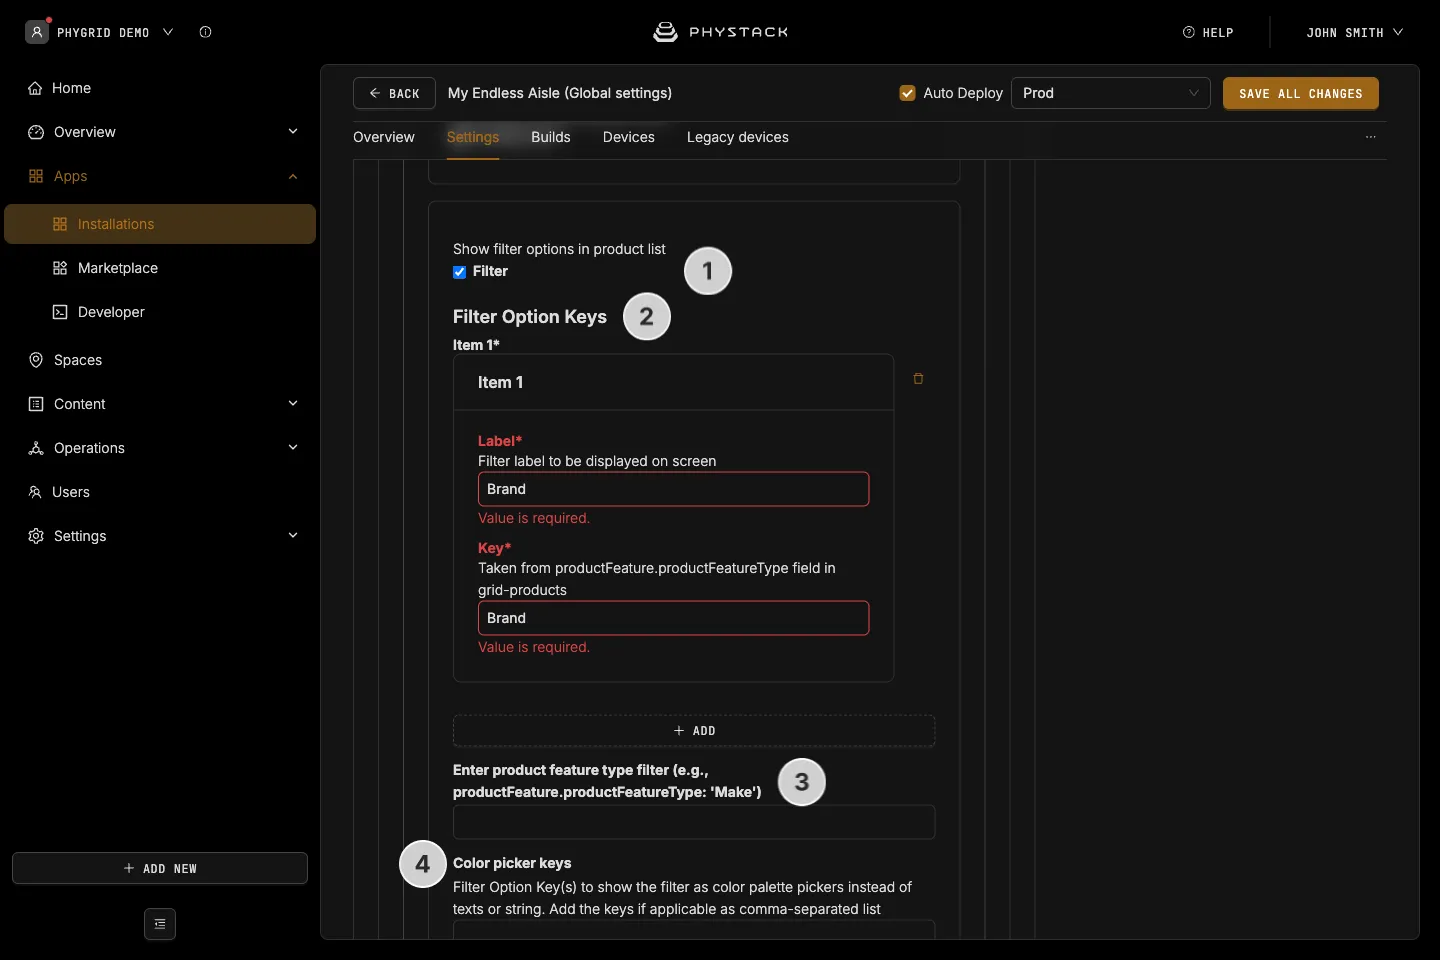
- Expand Features and turn on Filter
- Under Filter Option Keys, add one entry per filter:
- Label: the name customers see, for example “Brand”
- Key: the product feature type in your catalogue, for example
Brand
- Optionally, enter a feature type in Enter product feature type filter to make it a parent filter: choosing a value, such as a car make, narrows the other filters to matching products
- With the Filter Focused layout, add keys to Color picker keys to show those filters as colour swatches
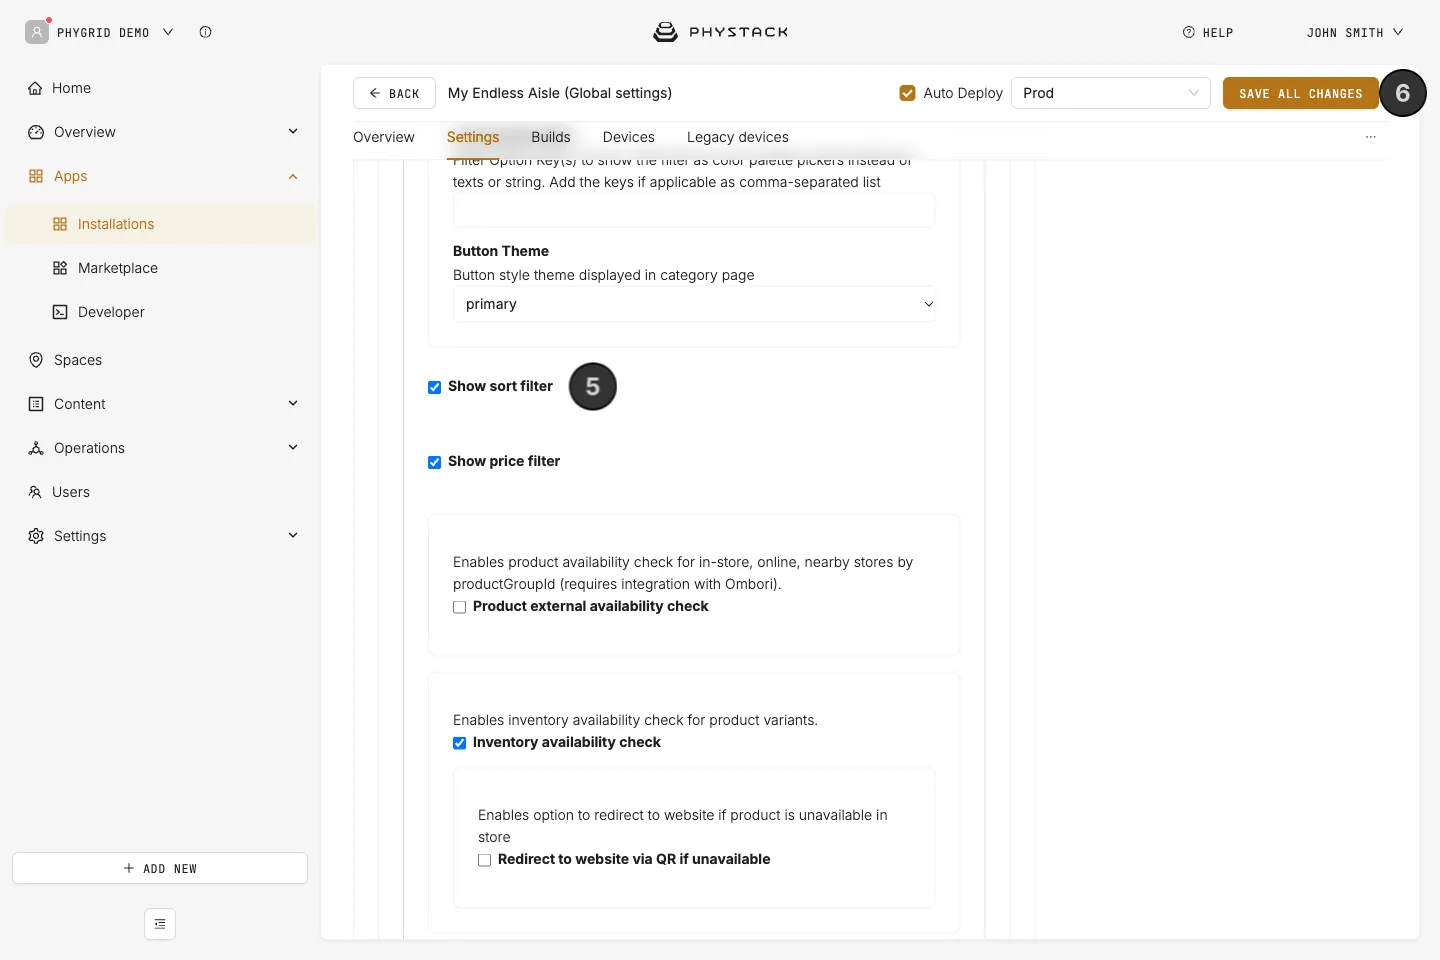
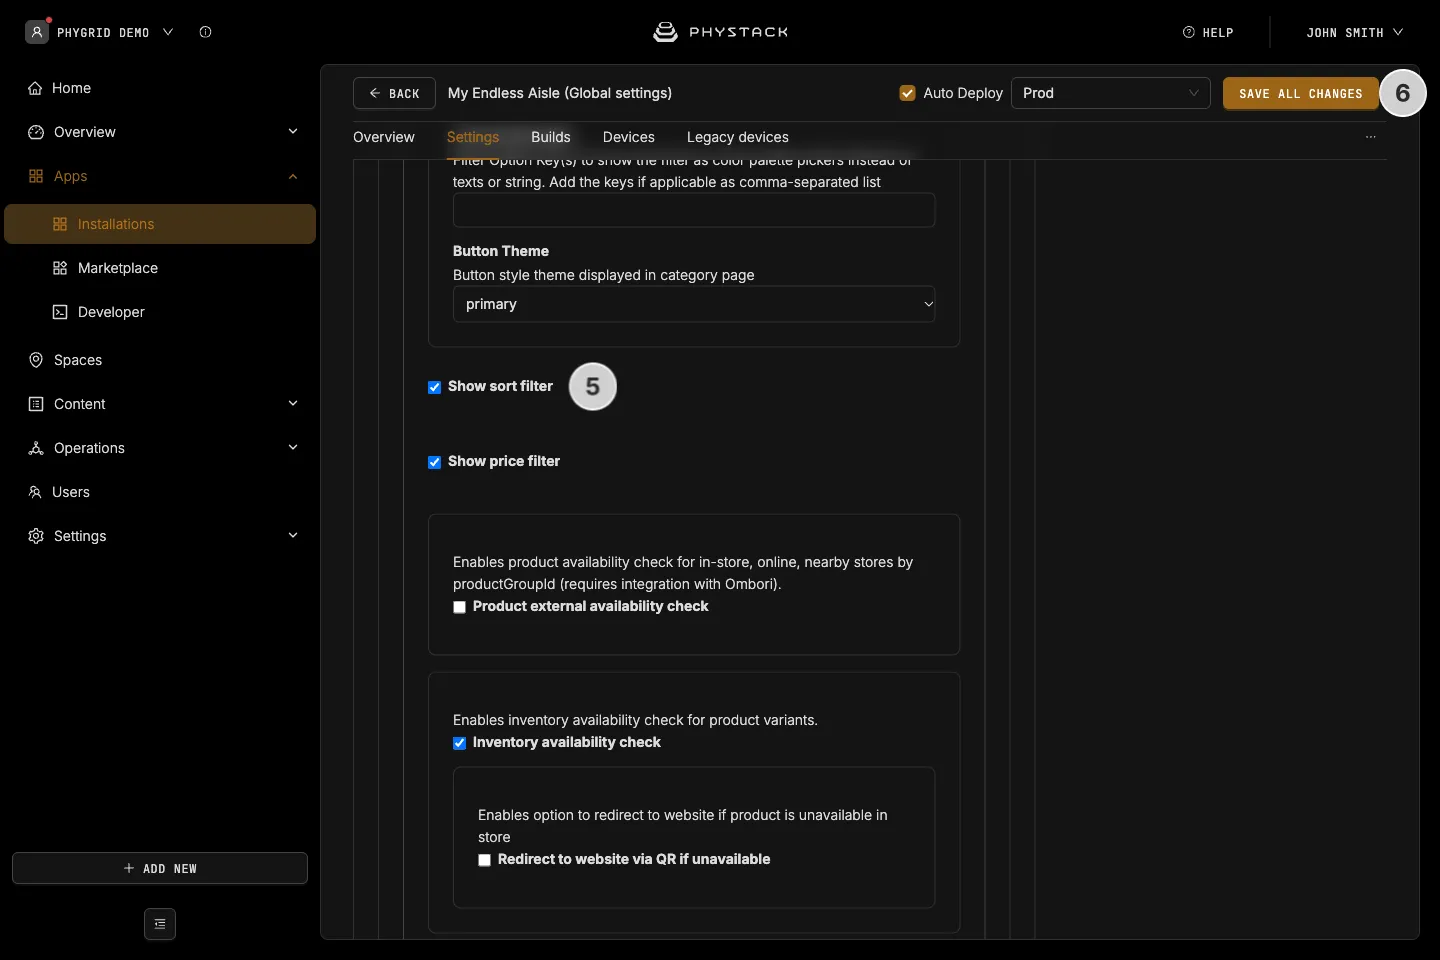
- Leave Show sort filter and Show price filter on to show the sort menu and a price range filter
- Click Save all changes
How to change the sort order
Products are sorted by name by default. To use your own order instead, give products a Ranking in Content → Products and then:
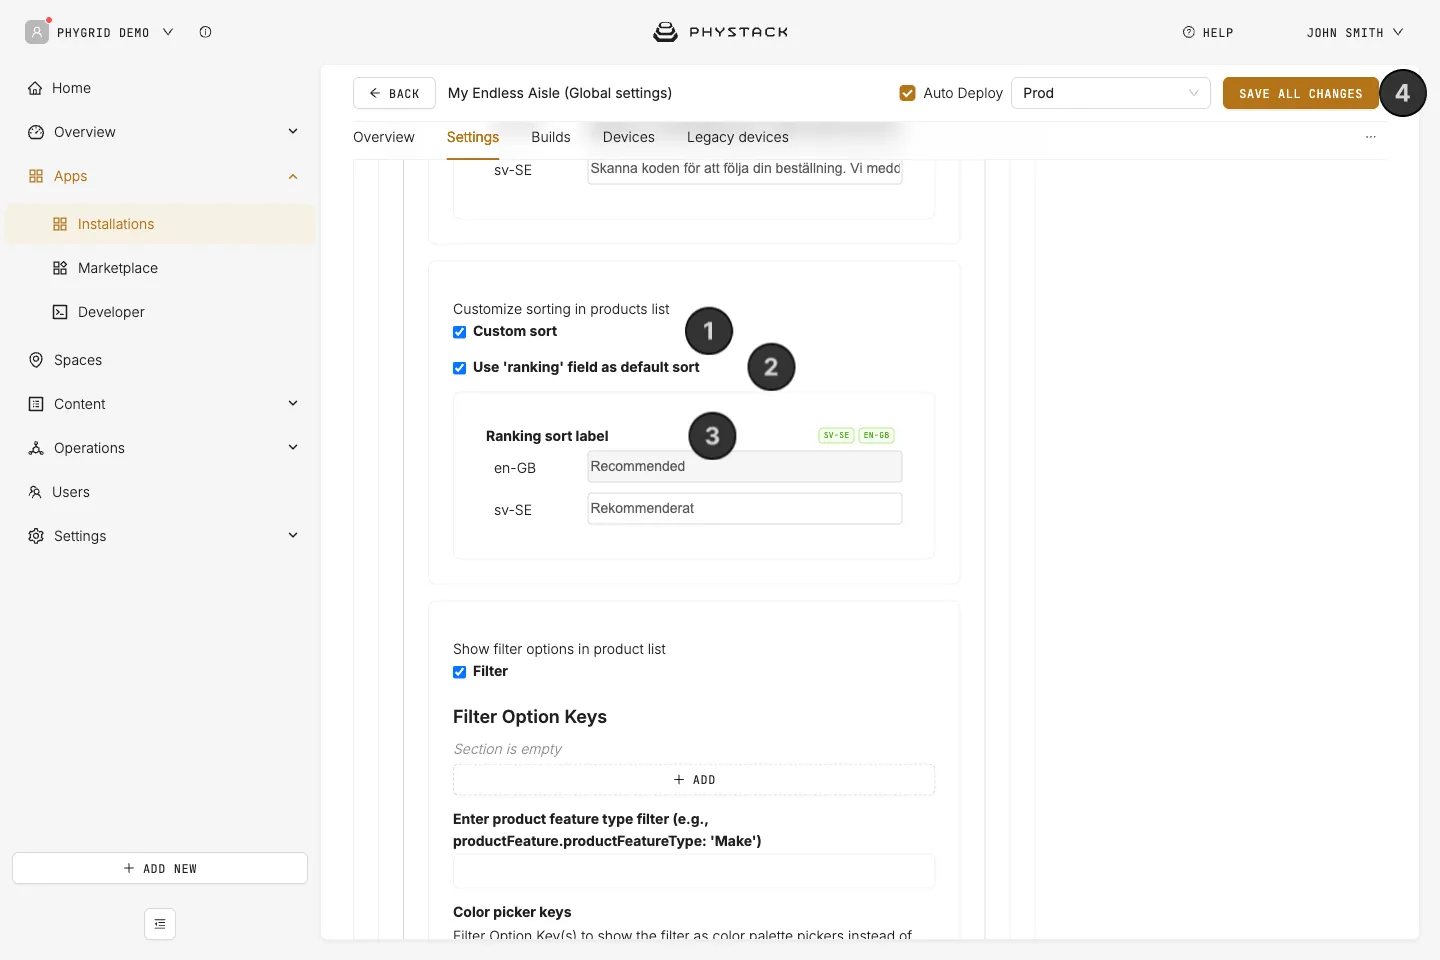
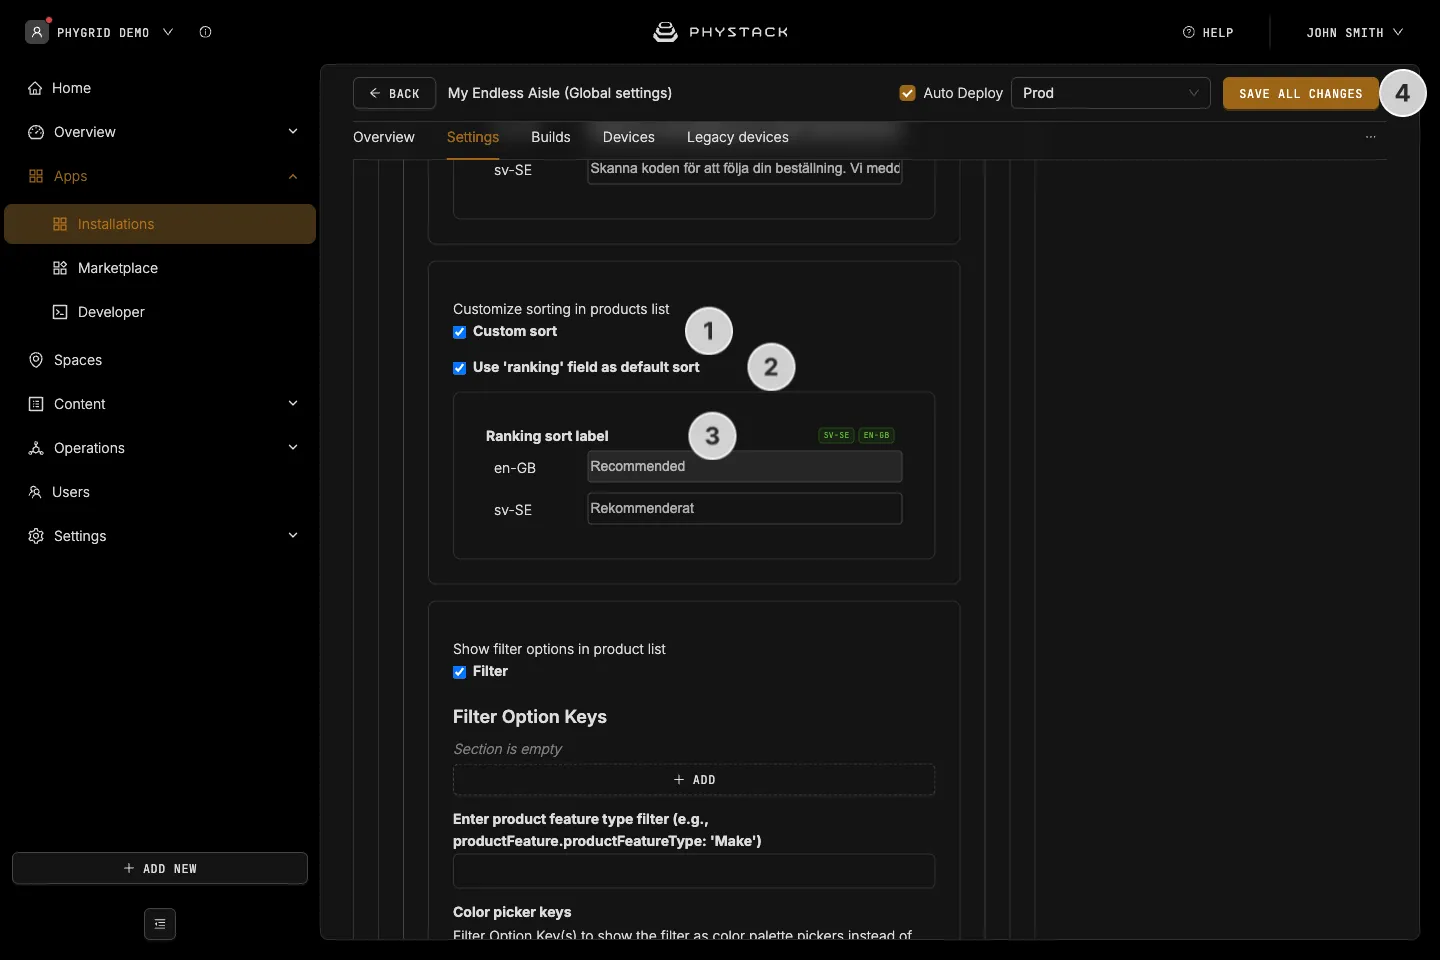
- Expand Features and turn on Custom sort
- Turn on Use ‘ranking’ field as default sort
- Optionally, set the Ranking sort label customers see in the sort menu, for example “Recommended”
- Click Save all changes
How to handle products that are out of stock
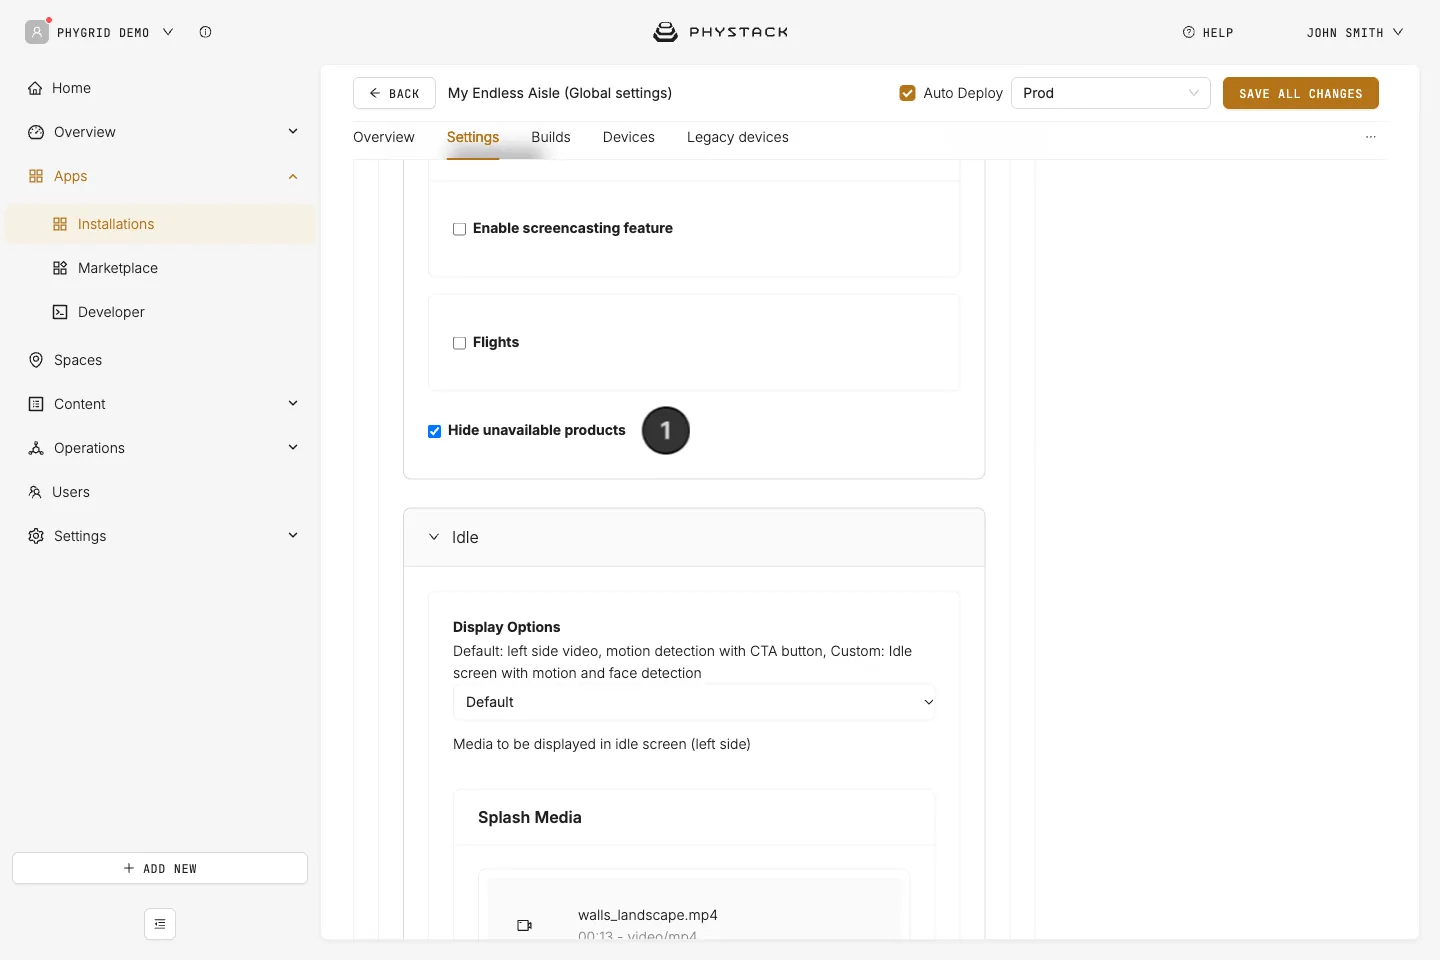
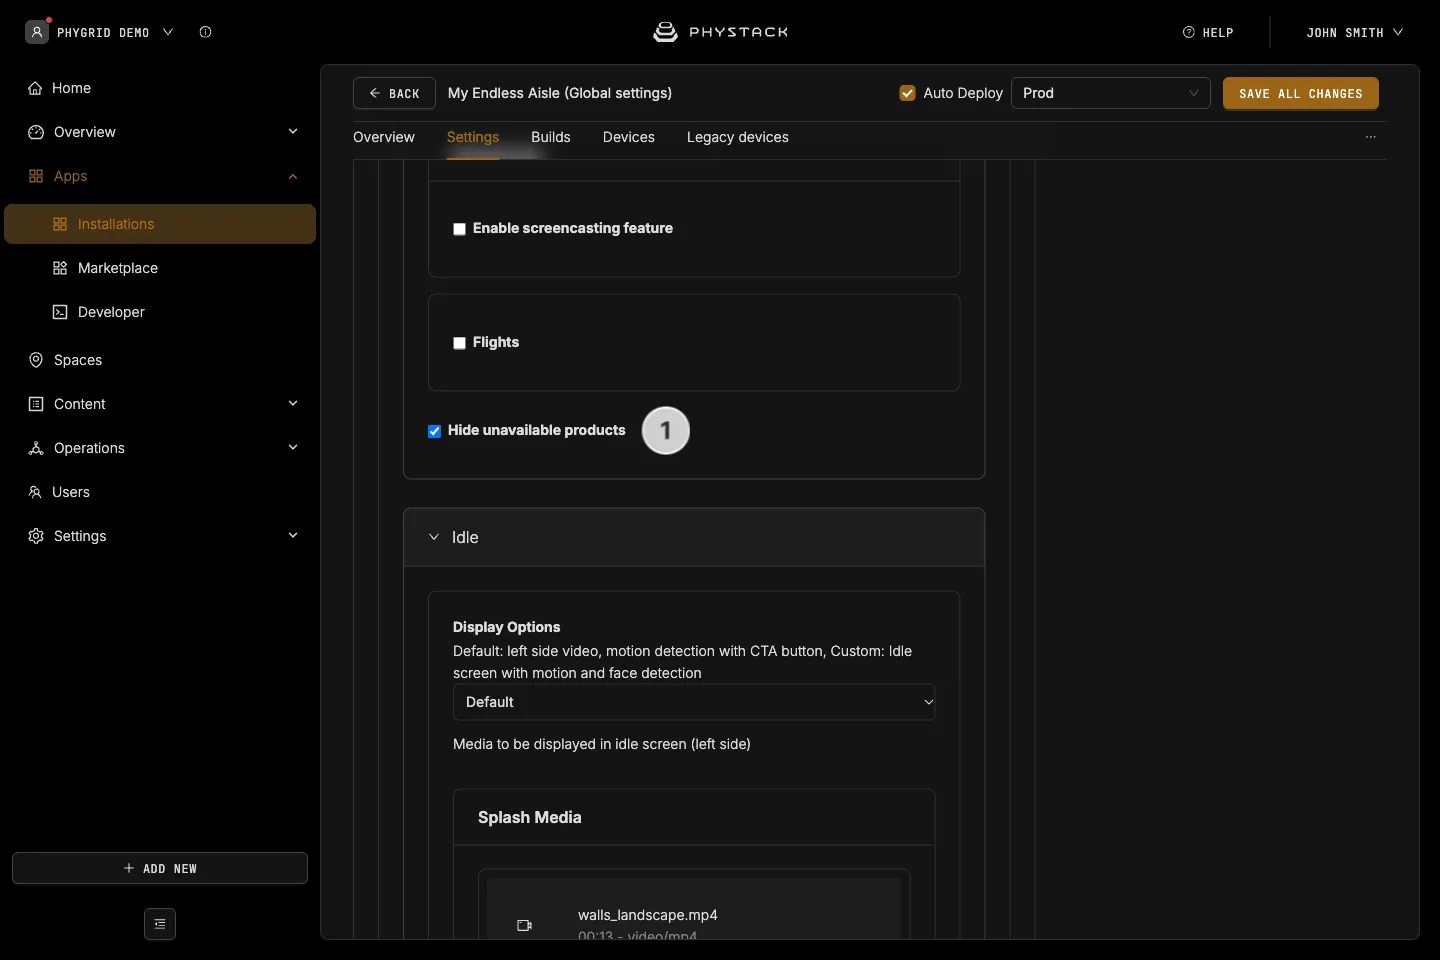
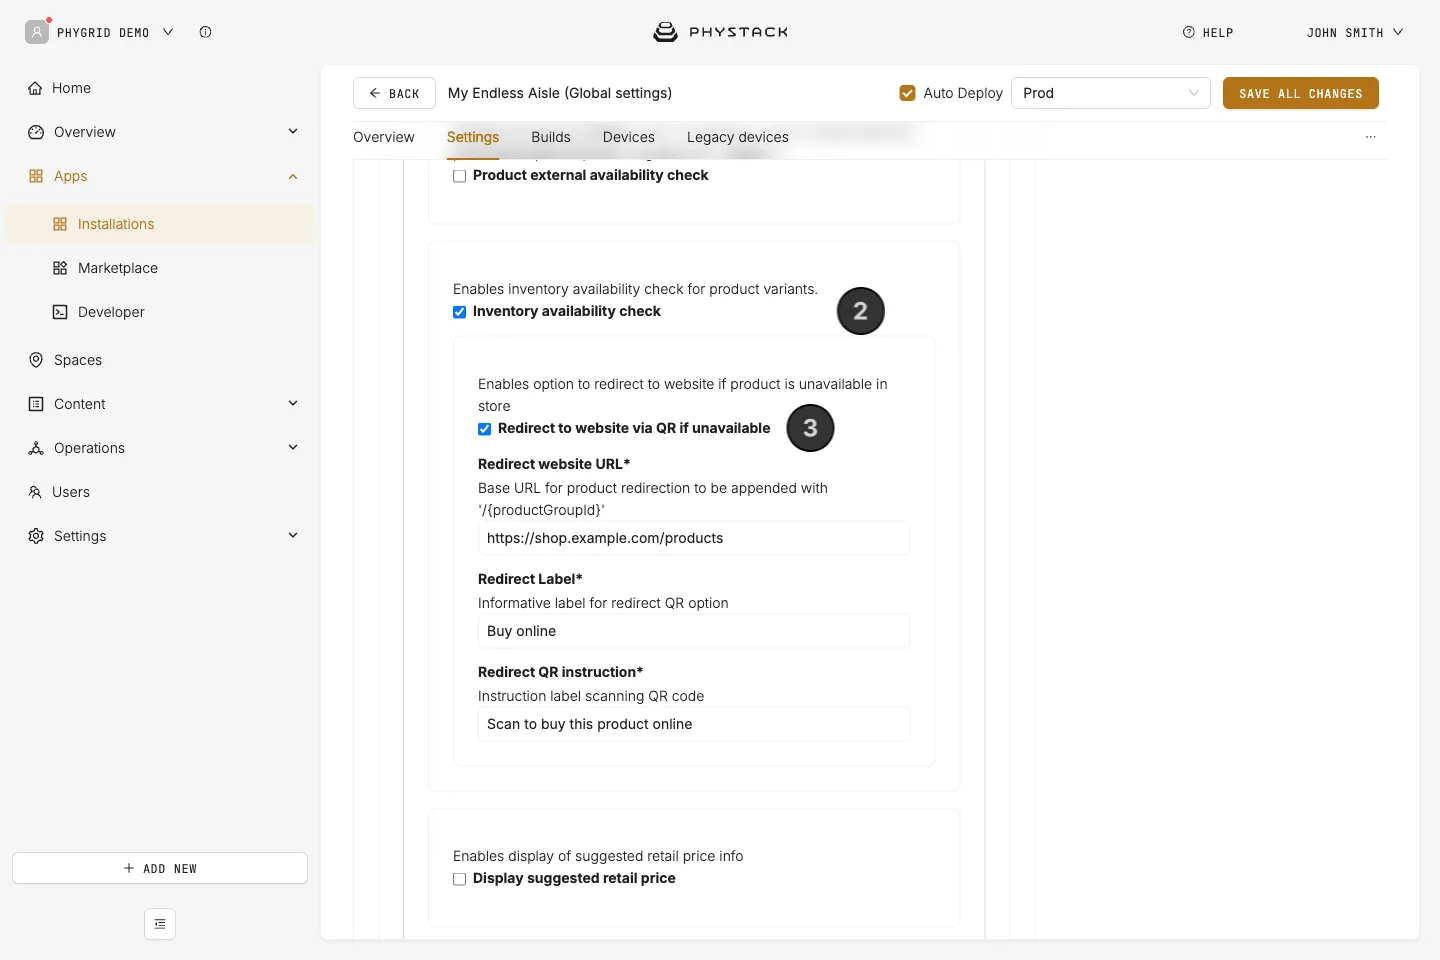
- Hide unavailable products (on by default): hides products with no stock in the kiosk’s space
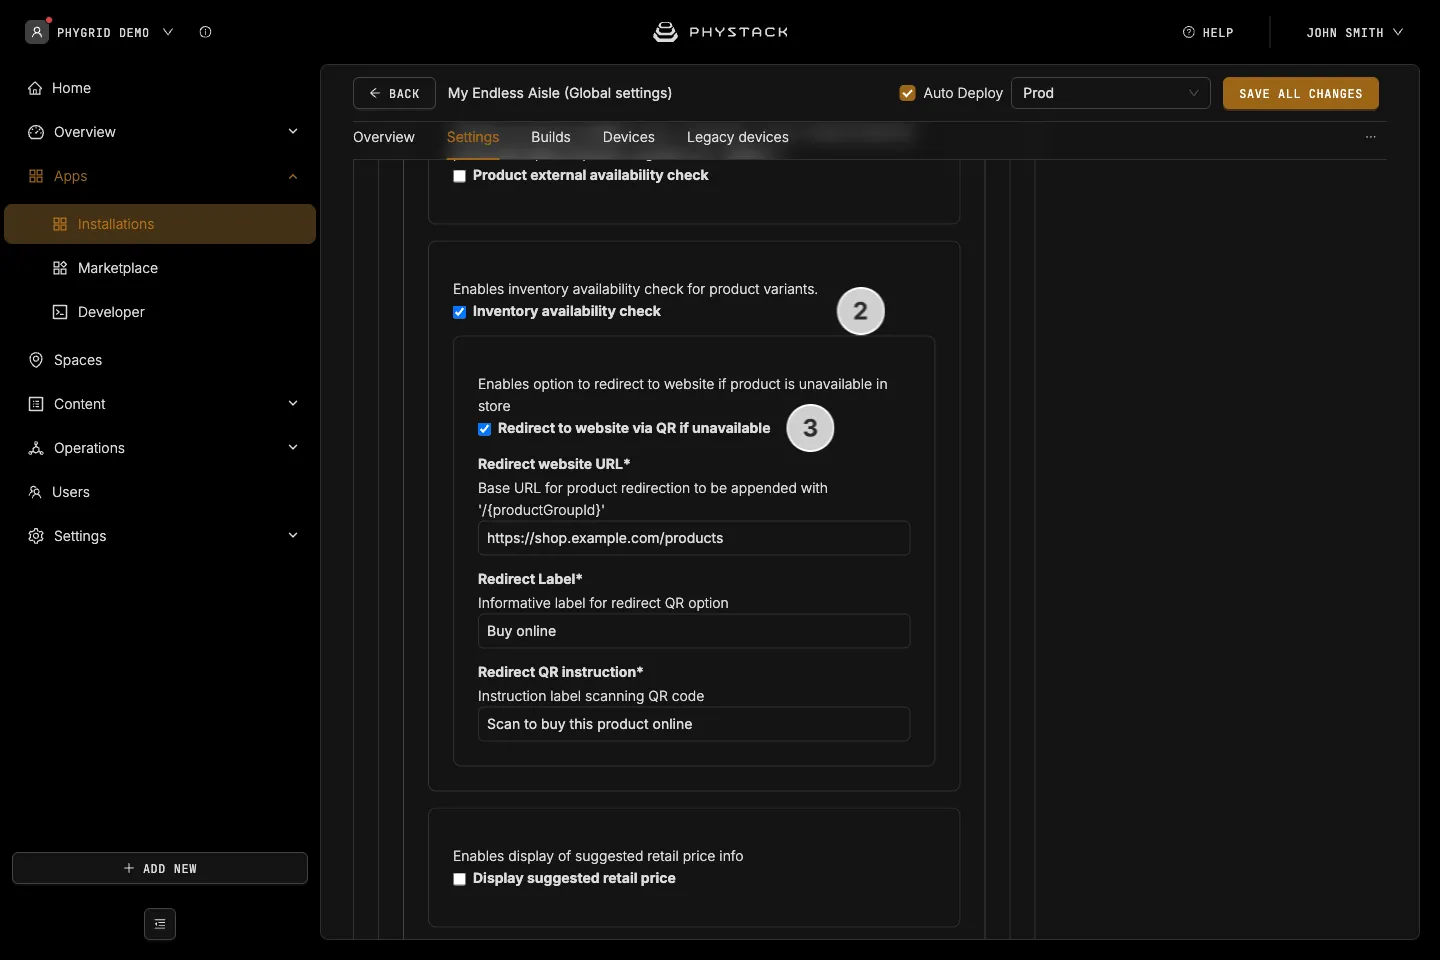
- Inventory availability check (on by default): marks variants without stock as out of stock, so they can’t be added to the bag
- Redirect to website via QR if unavailable: shows a QR code to your web shop next to out-of-stock products. Enter the Redirect website URL: the product’s ID is added to the end of it. Redirect Label and Redirect QR instruction, the texts shown with the QR code, are required too
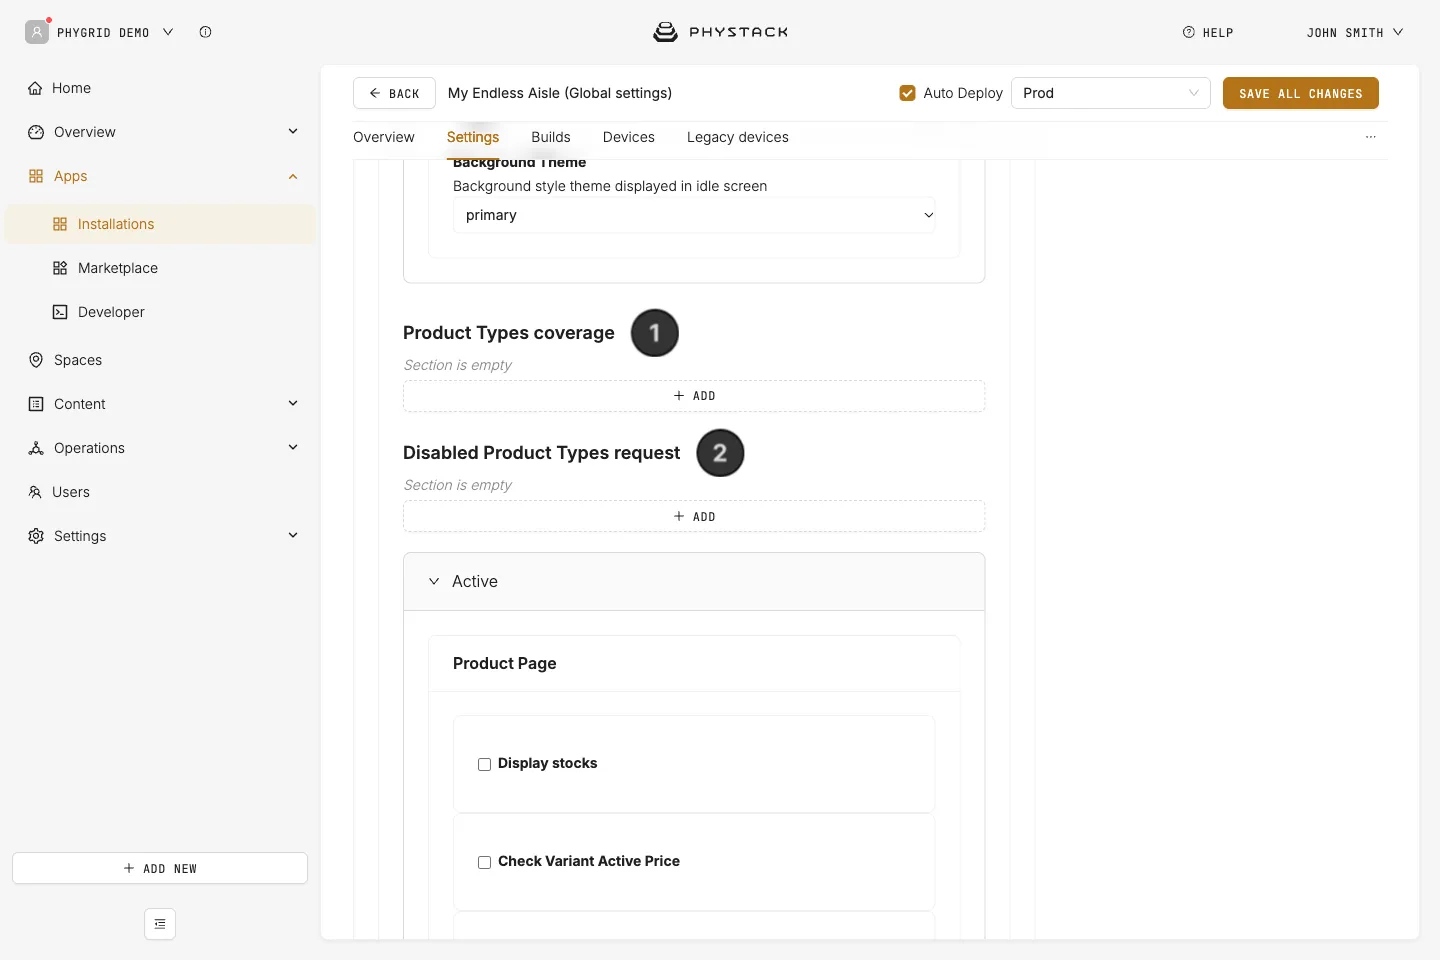
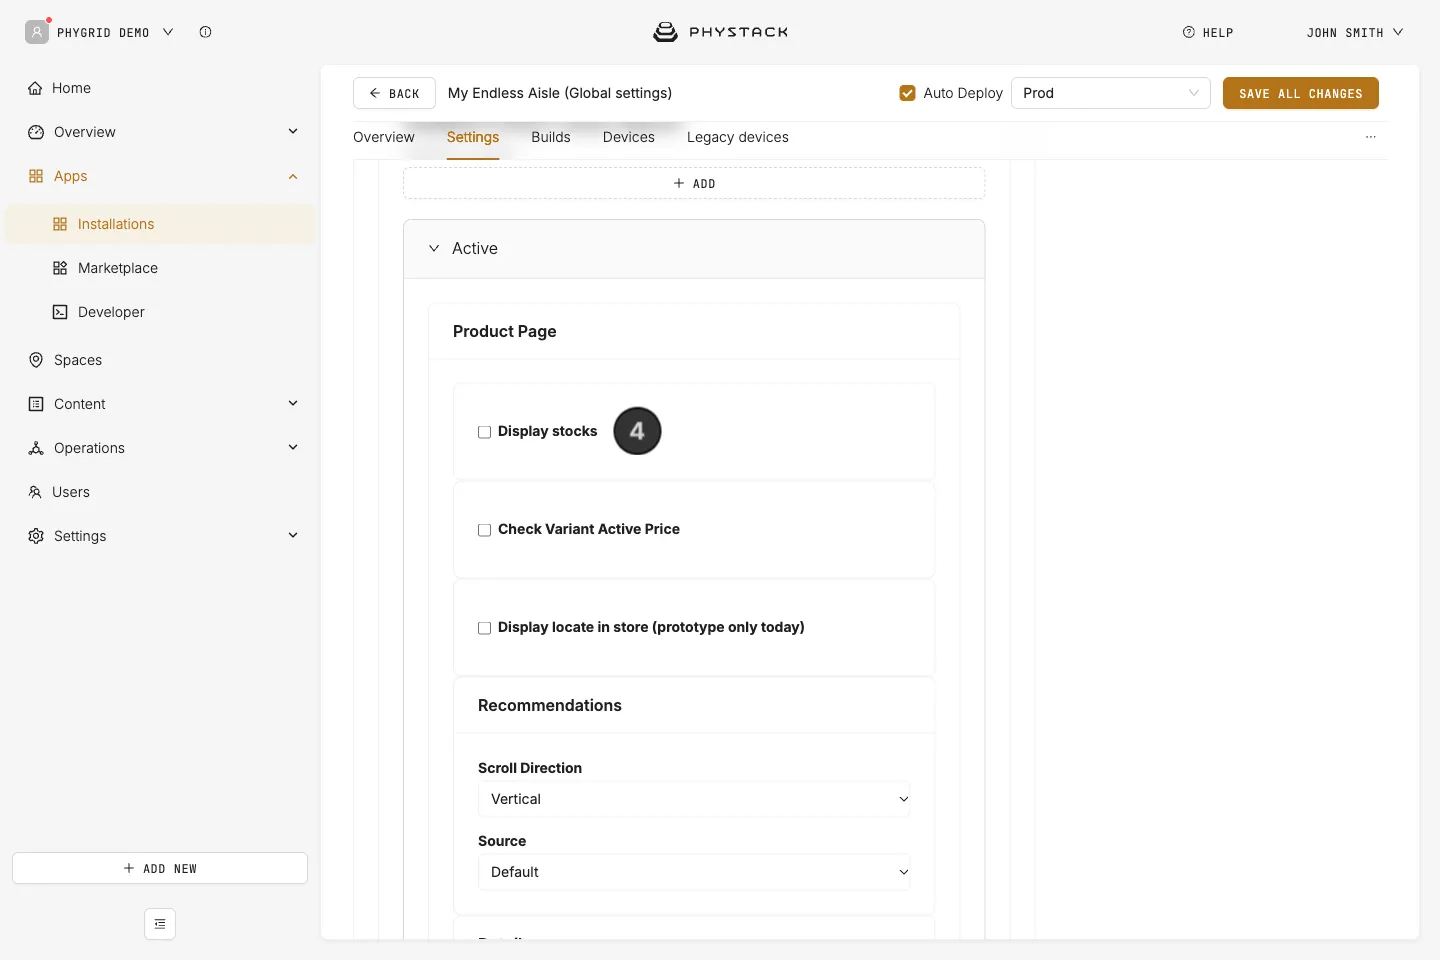
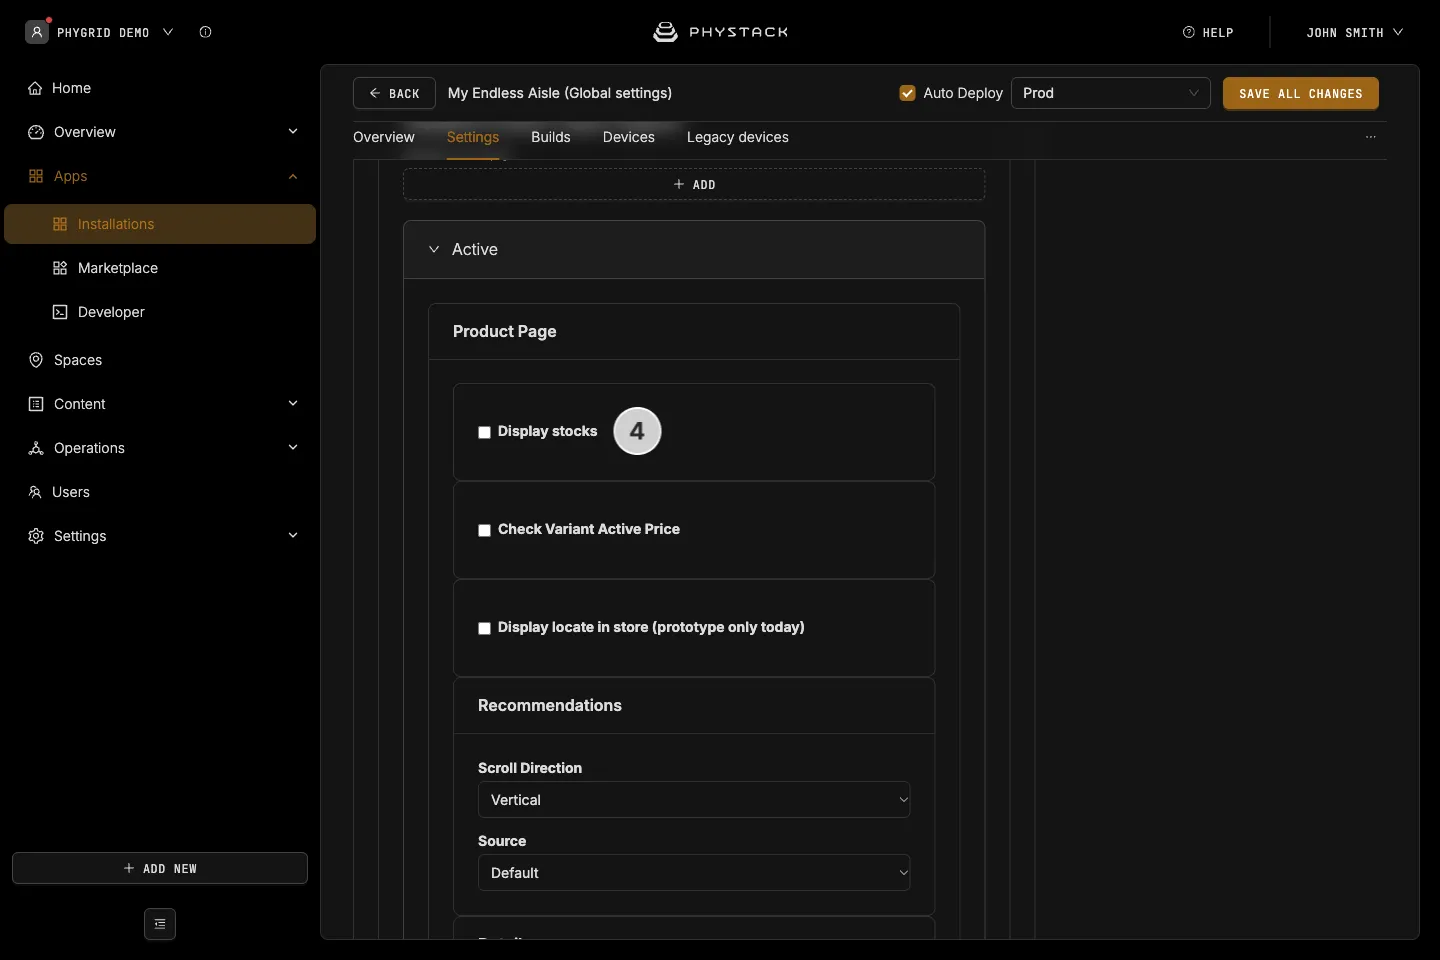
- Active → Product Page → Display stocks: shows the quantity in stock on the product page
If you don’t import stock levels, turn off both Hide unavailable products and Inventory availability check, or no products can be bought.
How to set up the product page
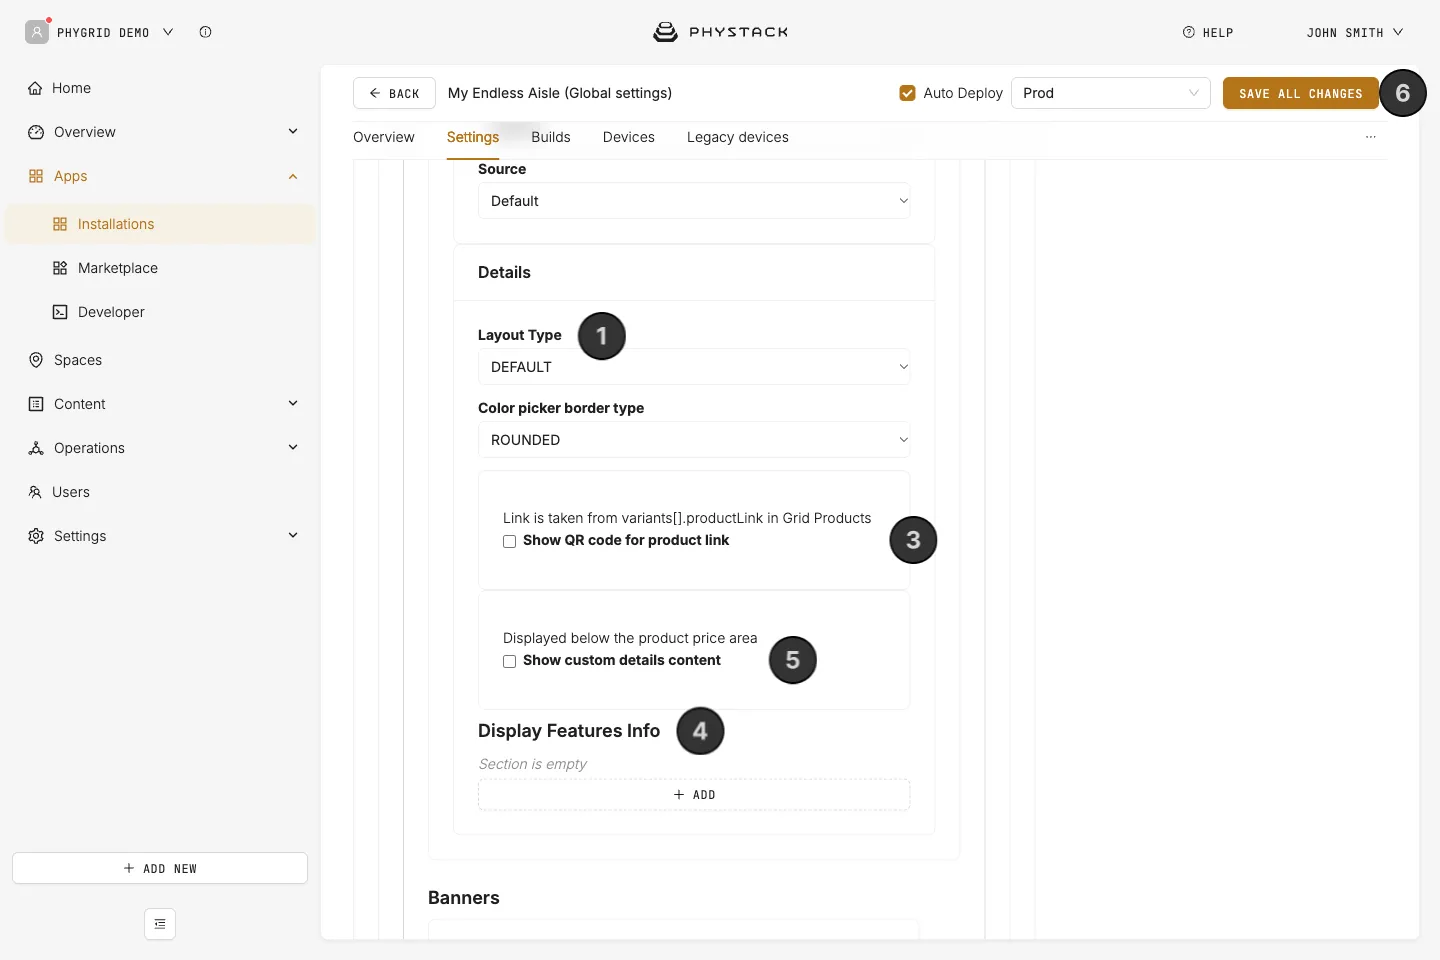
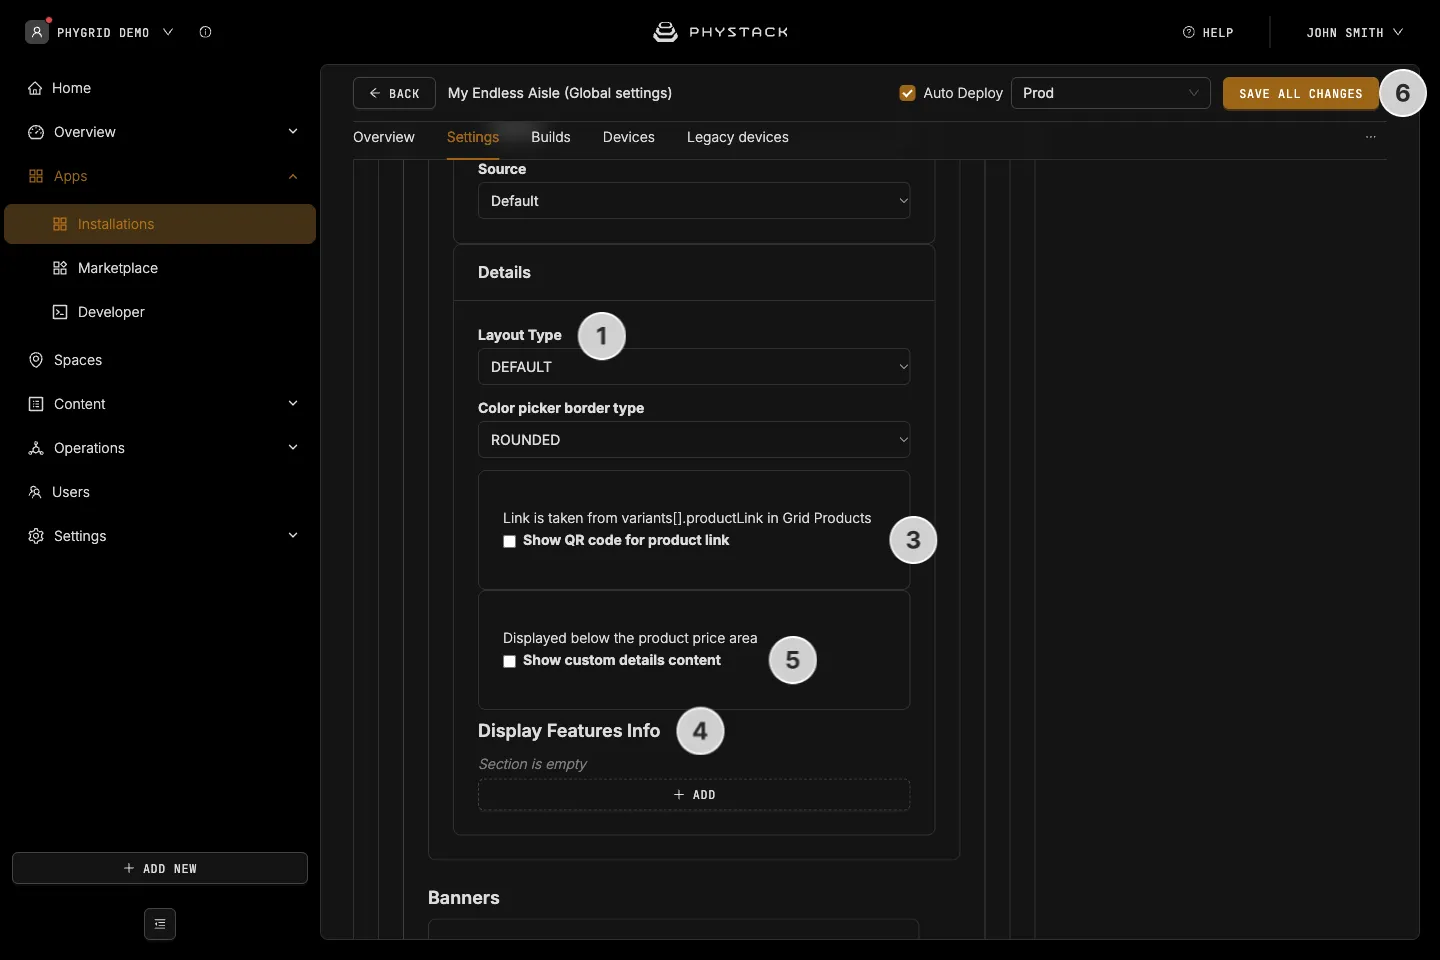
- Expand Active → Details and choose a Layout Type: DEFAULT or VERSION 1
- In Layout, set Product gallery orientation and, for the DEFAULT layout, Product description placement: in the page or in a panel that slides out
- Optionally, turn on Show QR code for product link so customers can open the product on their phone. It uses the Product Link of the product in your catalogue
- Optionally, add Display Features Info groups to show selected product features, such as dimensions, in their own tab
- Optionally, turn on Show custom details content to add your own HTML below the price, for example delivery information
- Click Save all changes
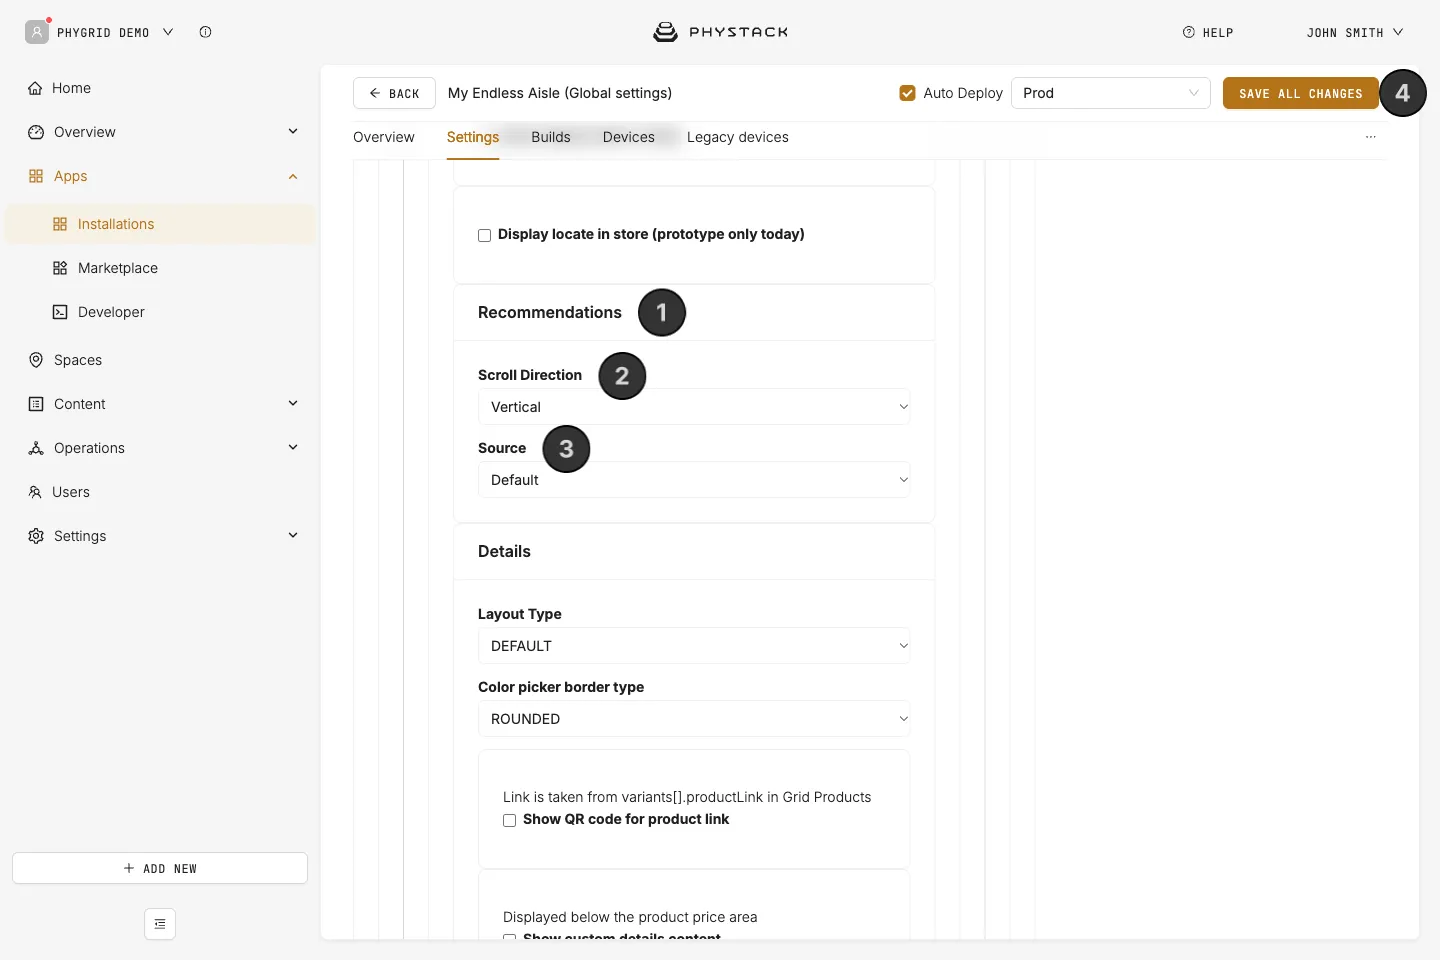
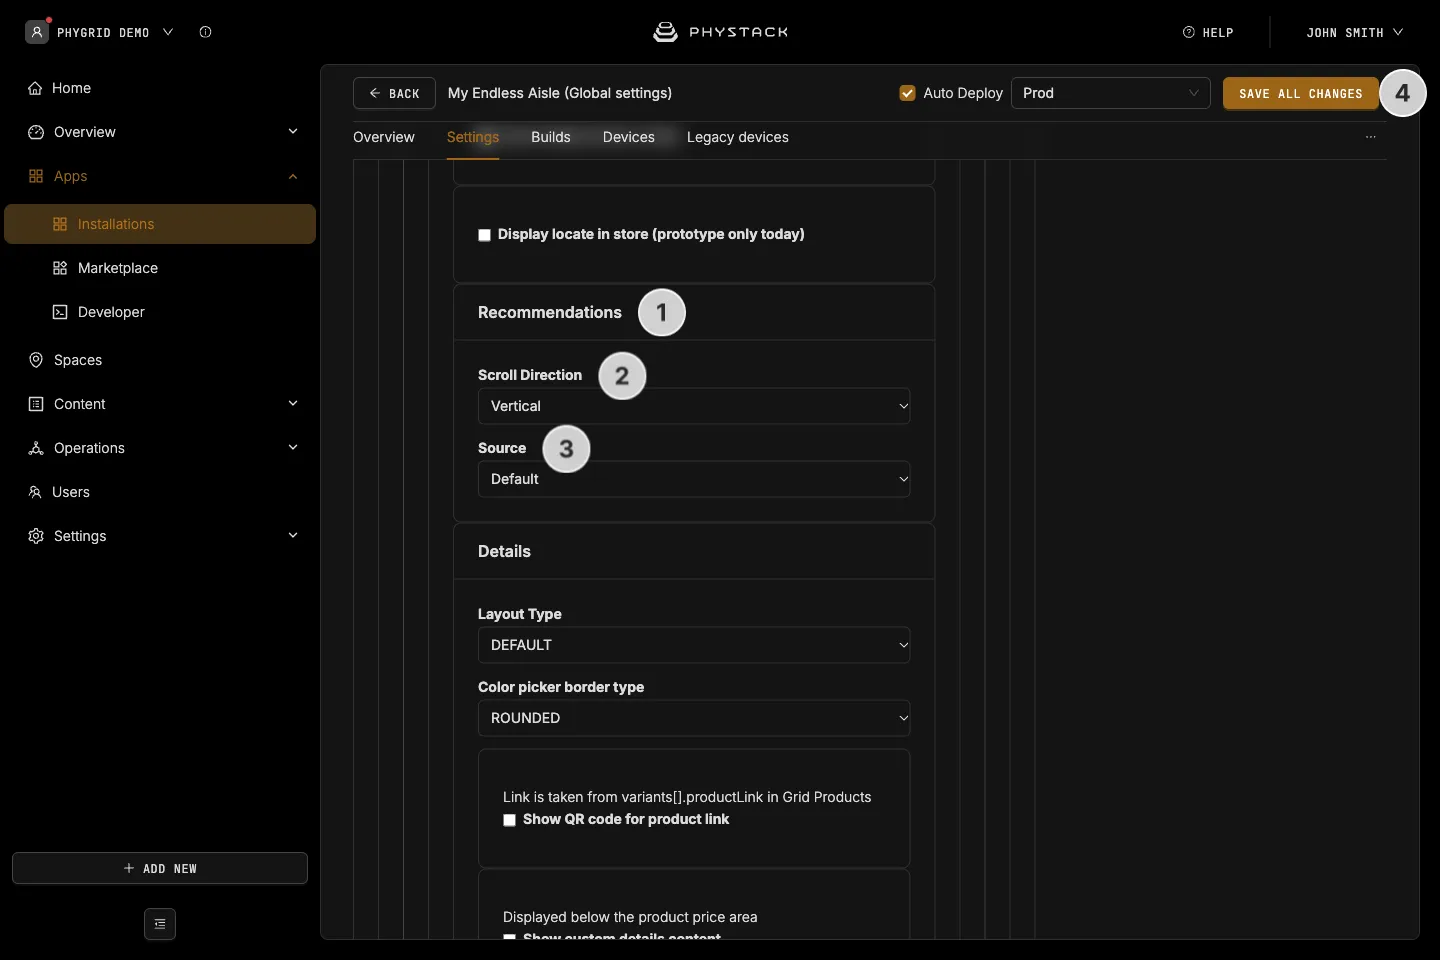
How to set up recommendations
The product page shows related products from your catalogue.
- Expand Active → Product Page → Recommendations
- Choose the Scroll Direction
- Leave Source on Default to use the related products in your catalogue. Streamoid and UNBXD need an integration set up with PhyGrid first
- Click Save all changes
How to show products from other spaces
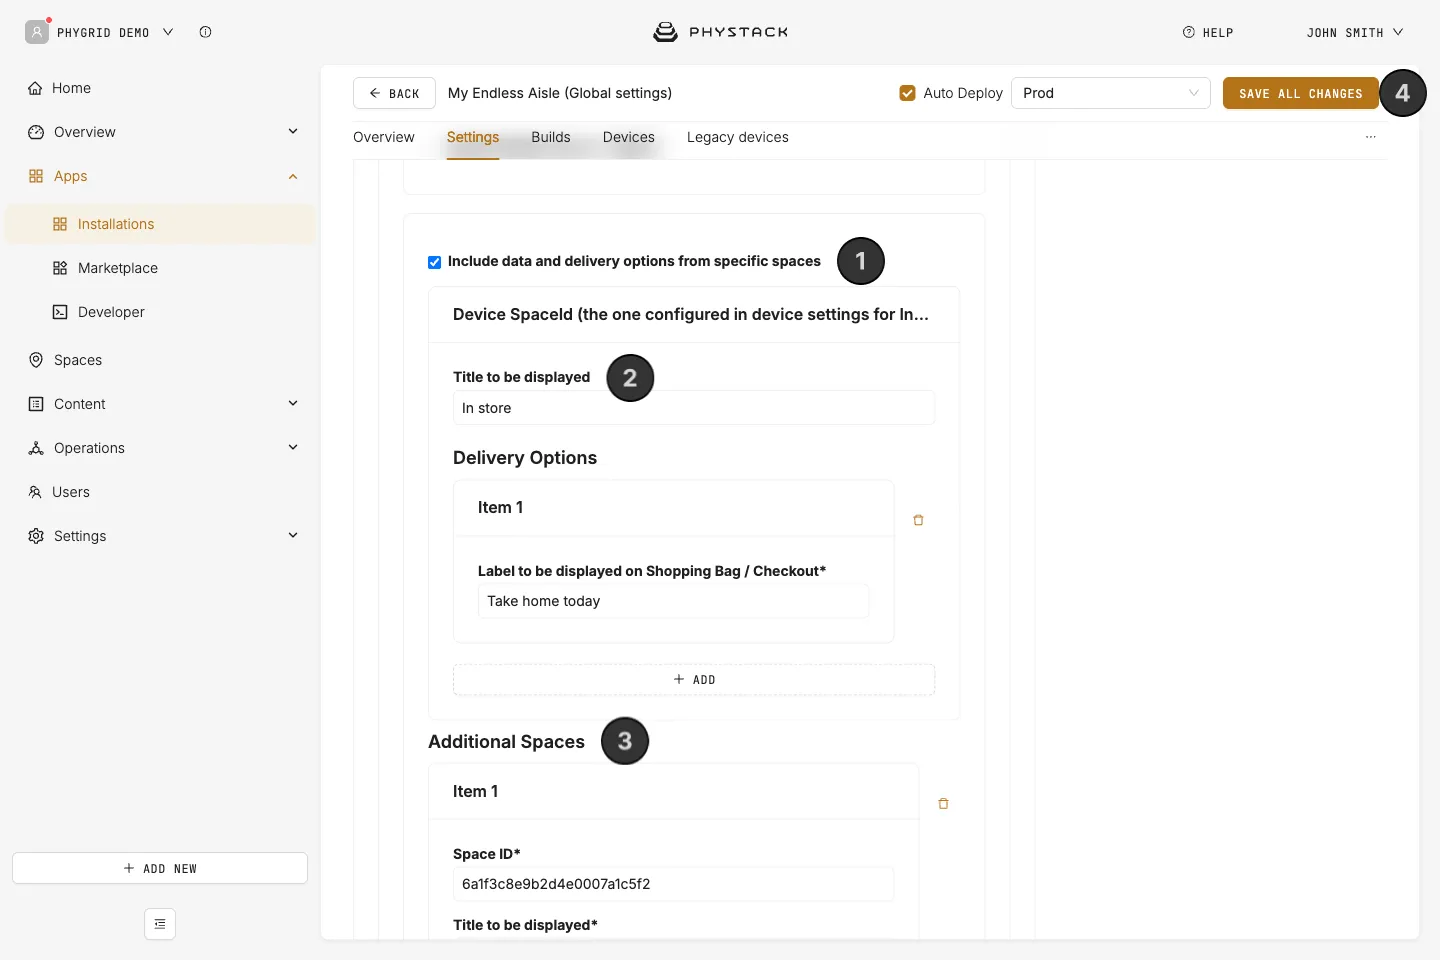
Use this to offer products the store doesn’t stock, for example from an online warehouse, with a different delivery option for each.
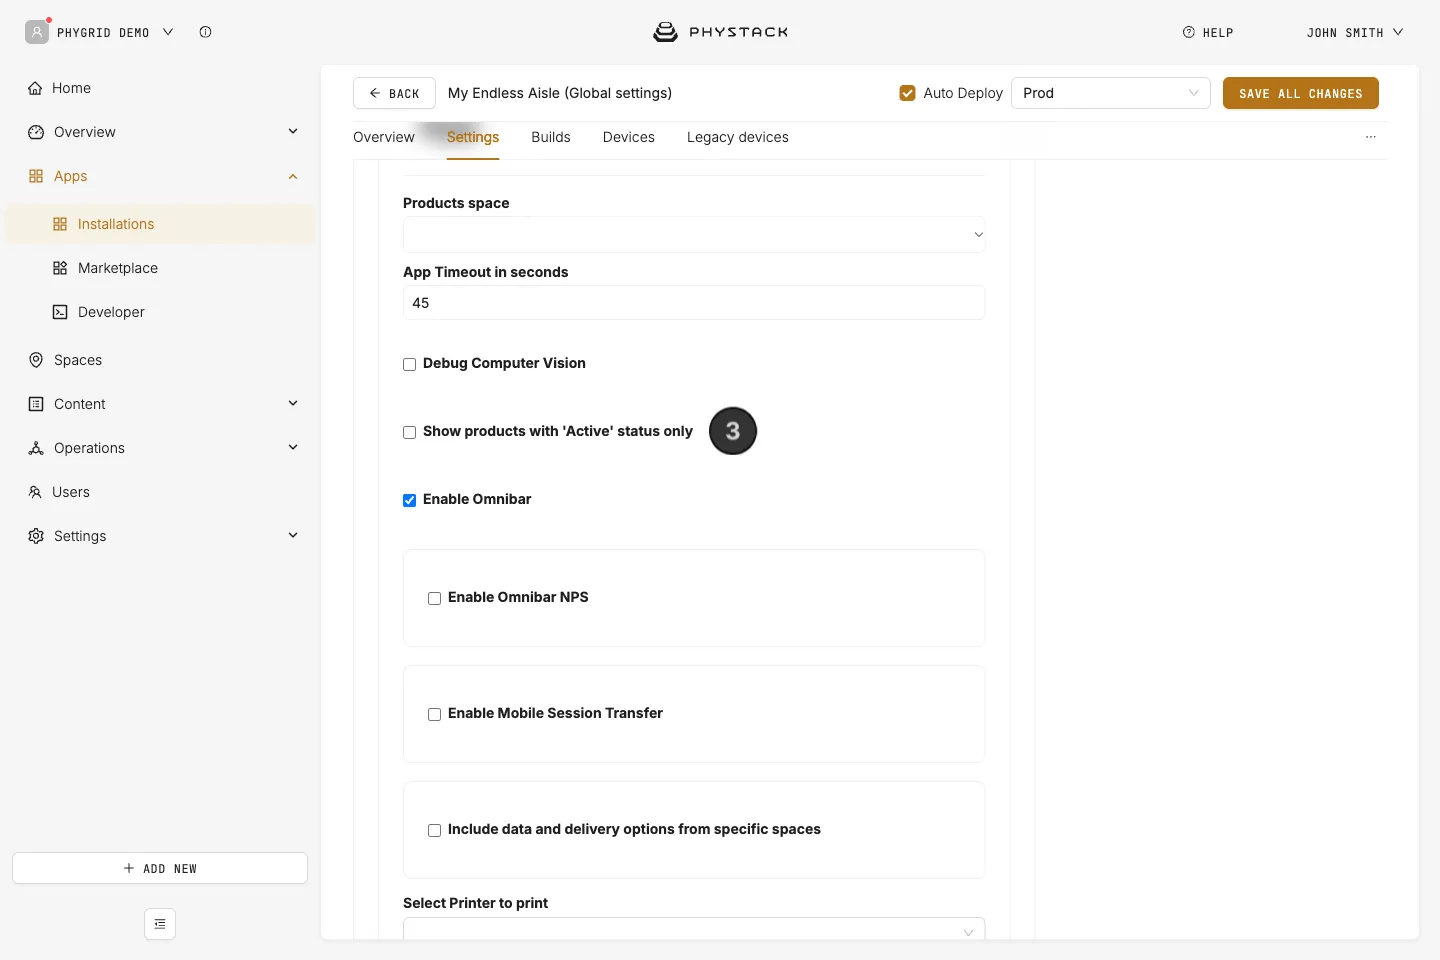
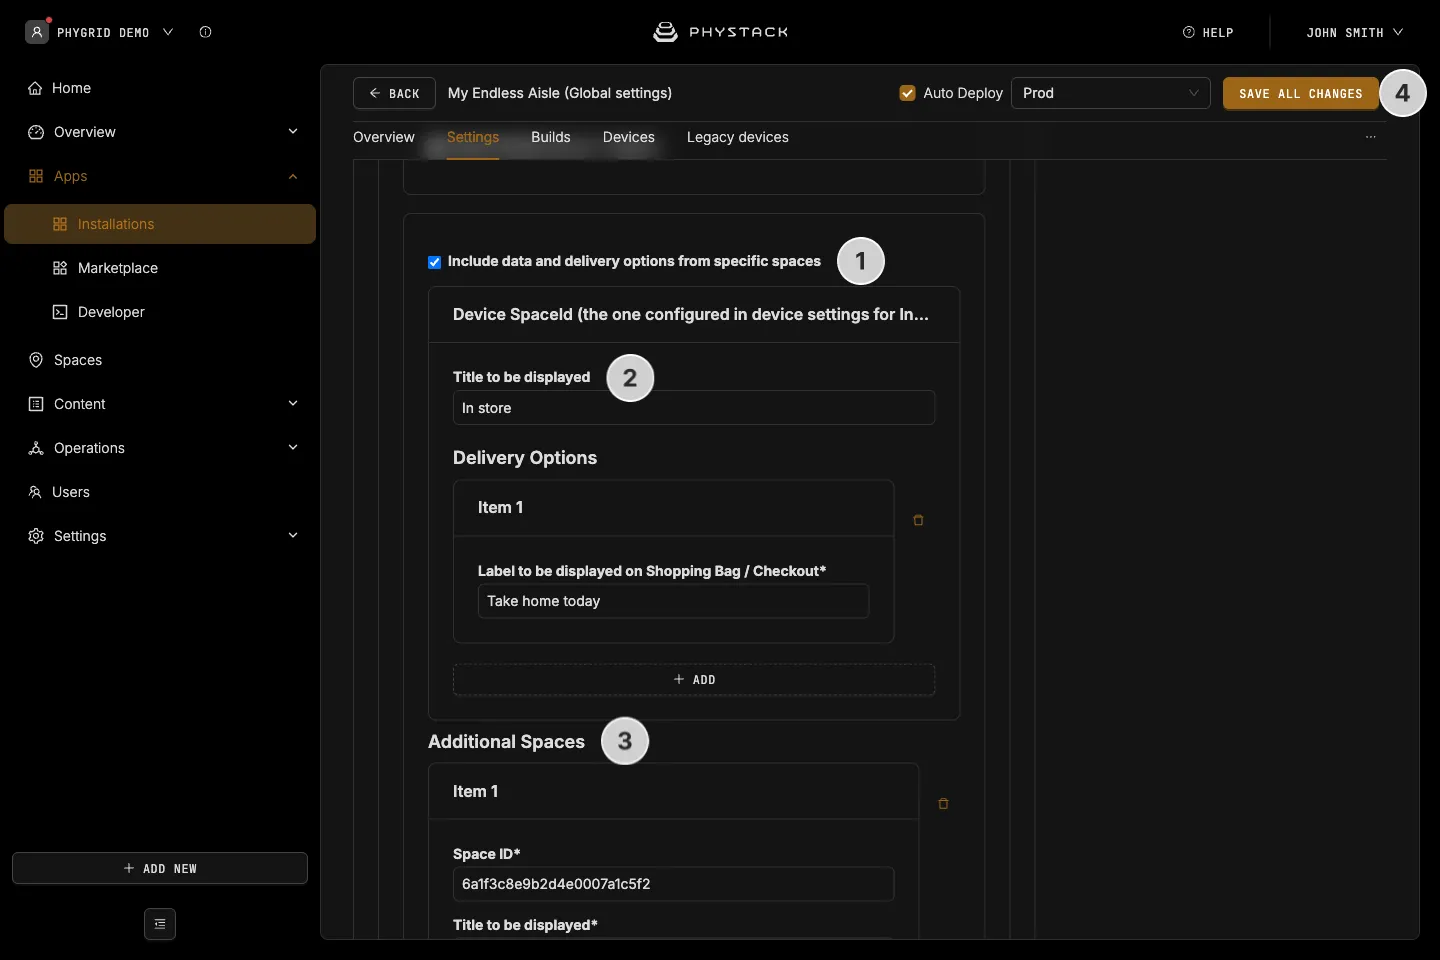
- Turn on Include data and delivery options from specific spaces
- Under Device SpaceId (the one configured in device settings for In-store), enter a Title to be displayed for the store, for example “In store”, and its Delivery Options, for example “Take home today”
- Under Additional Spaces, add each extra space with its Space ID, a Title to be displayed, and its Delivery Options, for example “Home delivery”
- Click Save all changes
The bag groups products by space and lets customers choose a delivery option for each product.
How to limit which products are shown
- Product Types coverage: limit the kiosk to some categories by adding their product type identifiers. Subcategories are included. Leave it empty to include all
- Disabled Product Types request: add category identifiers whose products customers can see but not add to the bag
- Show products with ‘Active’ status only: only show products whose status for the kiosk’s space is Active