Adding a device
To add a device in the Ombori Console you need to head over to the installation you want to add a device to. You can follow any of the guides in the docs, or install any product from the Marketplace to create an installation.
Make sure your hardware is supported by checking the Hardware Requirements page.
Adding a device to the console
Head over to the installation, go to the devices tab and press the connect a device button.

The connect device page opens up a screen with all the already connected devices in your organization. From here you could re-assign a device to the new installation, or you could set up a new device.
To set up a new device, you need to press the button Setup a new device on the top right.
 .
.
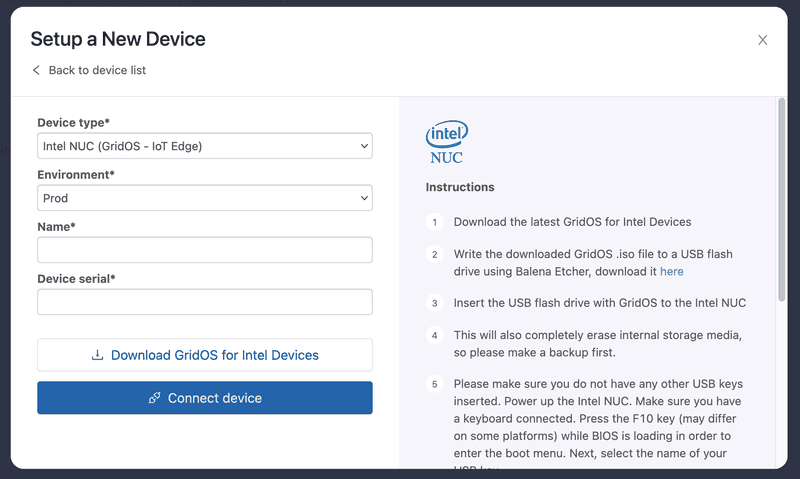
When you press the Setup a new device button you will be prompted with a configuration screen, which looks like this.

On the right of the screen, you will find instructions on how to configure the device type you've selected. Now is a good time to look at the device you want to connect.
For both the Intel devices and Raspberry Pi Devices we have GridOS. You can download GridOS from the Setup a new device window and also instructions how to install it on the device.
Connect GridOS device
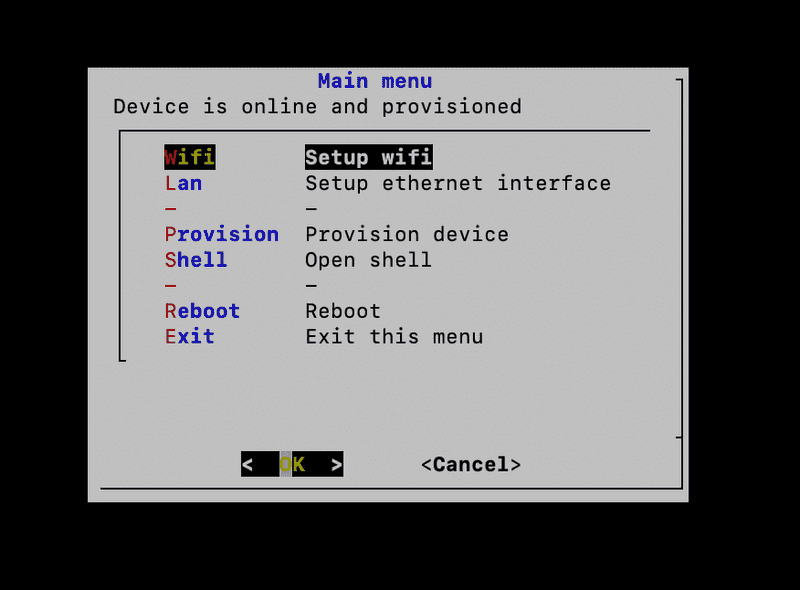
Once GridOS is installed and running on your device, you will see a screen with a QR code. If you don't have the device connected to Ethernet you will have to configure Wifi. You can do so by hitting the Return key on your keyboard connected to GridOS device. This will bring up the menu. From there you can configure Wifi.

Once you've connected the device to the internet, and you've copied the serial to the configuration screen you should have your device provisioned. It can take a minute to reflect this on the screen and in the console.