The Phygrid Content Management System provides comprehensive control over the timing, location, purpose, and method of delivering content across your devices and installations.
Our platform streamlines large-scale content management, offering central teams complete oversight and control while giving store managers the flexibility to choose their own content.
By using tags, scheduled and targeted content segments, and well-structured channels, Phygrid ensures that the right content consistently reaches your customers at the right time.
This guide will help you get started, see the Content Management section for more detailed information about our Content Management System.
Tags
Set the conditions for when content will play
- Environmental tags - like our existing triggers
- System tags - such as device orientation and language
- Custom tags - create and manage your own tags
Segments
- A single piece of content that is scheduled and targeted with tags
- A Segment can be media, or a grid app with settings
Channels
- Made up of segments
- A way to structure content
- Includes Access rights
Content player
- Distribute playback time between channels
- Play your scheduled and targeted content on GridApps and Solutions
Getting Started
If you just need a simple playlist, use the Trigger Playlist. It's a fast way to add content without diving into the advanced features of the Content Management System.
Having a well structured tenant makes everything easier, especially content management. For more help on our recommended tenant structure, please see our Spaces set-up guide.
Log in to your account at console.omborigrid.com and go to the content section in the sidebar. You should see your Library containing all of the files and folders for your tenant.
The Media page has moved and is now called Library, any existing files and folder structures are now here.
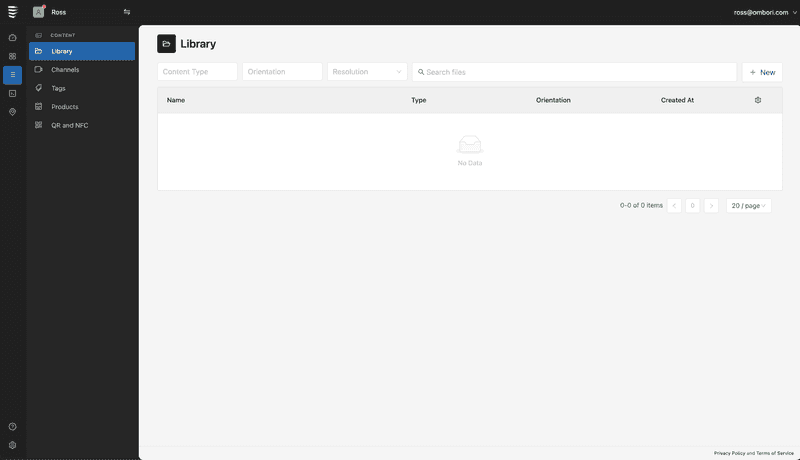
Library
This is where you upload any media or assets you want to make available on your tenant and any apps.
Adding Files
Drag and drop a supported file anywhere on the page or press the New button on the top right and choose “Upload File” from the dropdown.
Creating Folders
Press the New button on the top right and choose “Folder” from the dropdown.
Free high-quality stock photos
Press the New button on the top right and choose “Free High-quality Stock Photos” from the dropdown. A popup will appear where you can search our database of media.
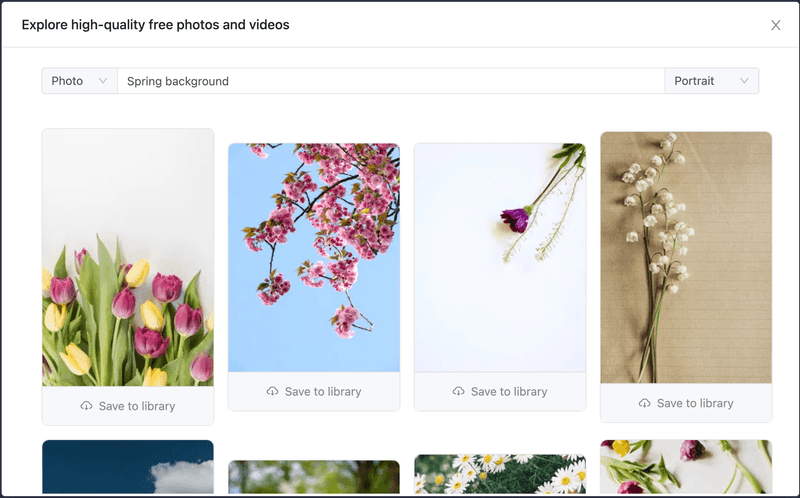
Stock media search options
- Media Type: Photo or Video
- Search term: Type what you are looking for
- Orientation: Portrait, Landscape, Square
Filtering Files

At the top of the Files table you can filter your assets by Content Type, Orientation, Resolution or start typing the file name you’re looking for.
Preview and Delete Files
To delete a file, press the three dots on the right of the row and press Delete.

You can preview and edit a file by pressing on the file name in the table.
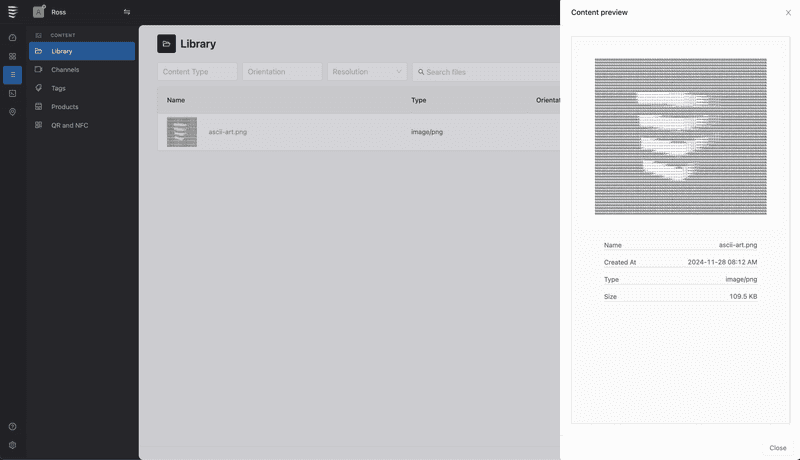
Channels
Channels help you organize and distribute content effectively. They are built from Segments—individual pieces of content that are scheduled and targeted using tags. Channels provide a framework for content management by enabling structure, access control, and distribution.
Creating a Channel
Follow these steps to create a new Channel:
-
Navigate to Content → Channels and press the Create Channel button on the top right
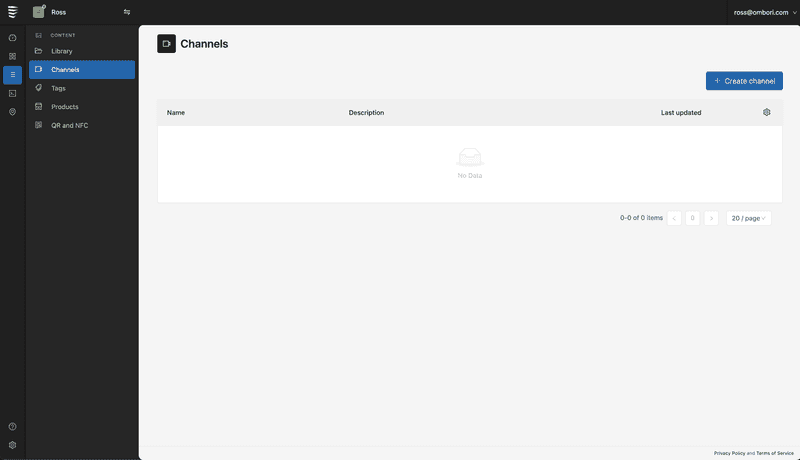
-
Fill in the details for your new Channel. Some fields are required, while others are optional
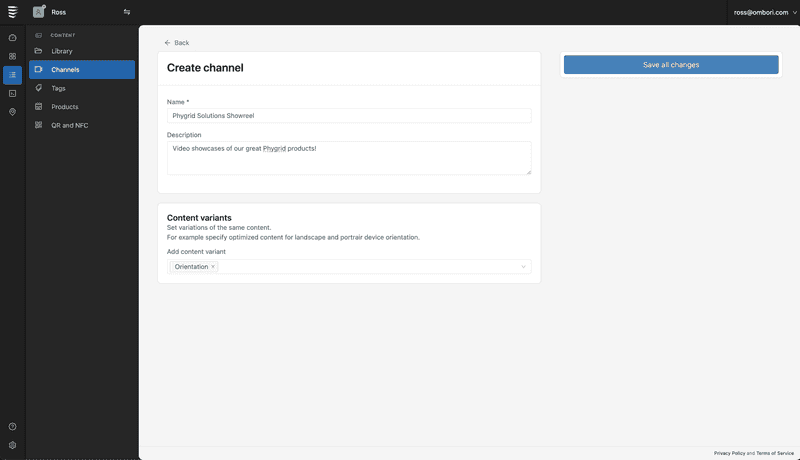 Required
- Name: a unique and descriptive name for your channel
Optional
- Description: Add more detail about your channel, eg the type of contet it will play
- Content Variants: Define tags to manage content variations for different contexts, such as device orientation or language. See below for more about Content Variants
-
Save all changes.
Content Variants
Content Variants allow you to tailor content for specific conditions or audiences, ensuring it fits different contexts. Variants are defined by tags—customized attributes like orientation or language.
Examples of Content Variants
Orientation Tag
Values: landscape, portrait
Example: A video displayed in a store might require both landscape and portrait versions to accommodate different screens.
Language Tag
Values: English, French, Spanish
Example: If your content is multilingual, you'll need variations for each language.
Stacked Variants
Combine multiple tags to handle more complex requirements.
Example: A store with devices in multiple orientations and languages would require content for every combination (e.g., landscape + English, portrait + French). By leveraging Content Variants, you ensure that your Channels deliver the right content, to the right audience, in the right format—every time.
Segments
We will shortly introduce an approval flow for segments. Admins will be able to approve and edit segments any time. Creators can edit segments only until they are approved.
Creating a Segment
Follow these steps to create a new Segment:
-
Navigate to Content → Channels and press on the name of the Channel where you will create the Segment.

-
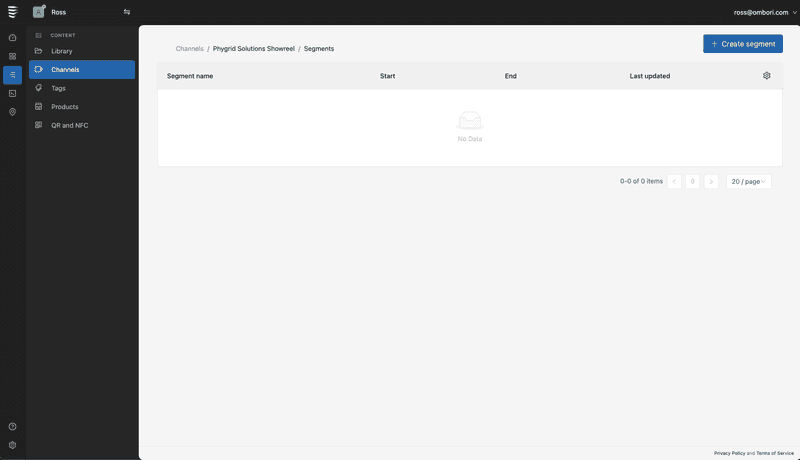
Press the Create Segment button on the top right
-
Fill in the details for your new Segment. Content Targeting is optional.
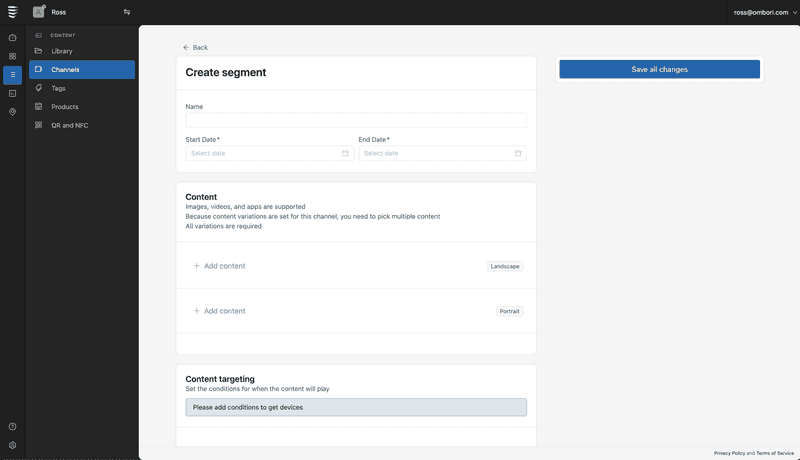 Required
- Name: a unique and descriptive name for your Segment
- Start Date: the date this segment will become active
- End Date: the date this segment will finish
- Content: the content that your segment will play. This can be videos, images and other media, or even apps. If you have set content variants on your channel you will need to add content for all tag combinations.
Optional
- Content Targeting: set the conditions for why content will play. For example only show this content on Devices in the
Showroomspace. Learn more about content targeting.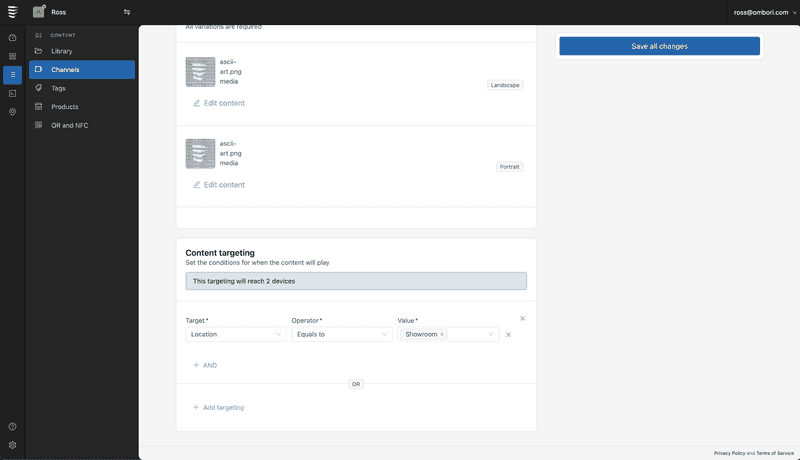
if a tag has been used for variants it is not available for targeting
-
Save all changes. And repeat with as many segments as you need.
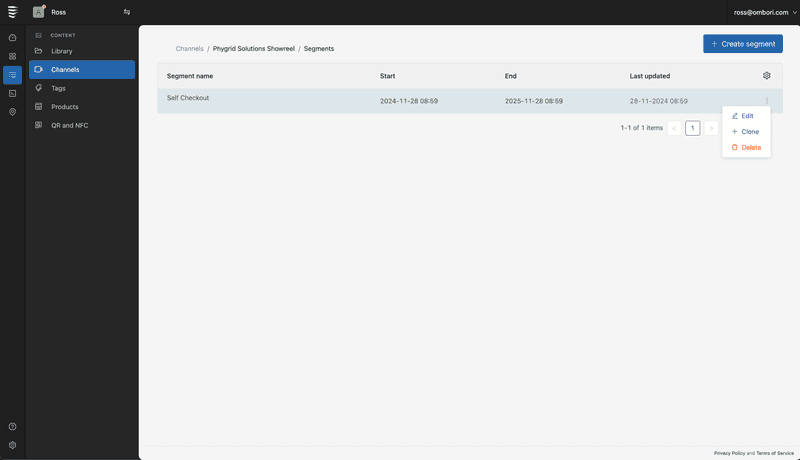
Edit, Clone, or Delete a segment
Once a segment is created you can edit, clone, or delete it using the More menu on the Channel overview.
Tags
When setting up your segments and devices, there are different types of tags you can use, and ways you can use them to help target your content.
System Tags
These tags are automatically created and applied by the Phygrid platform.
- Location (space/subspace)
- Region (space/subspace)
- Section (space/subspace)
- Floor (space/subspace)
- Orientation
The tags automatically applied to your devices depend on how the tenant is structured.
Content Tags
These tags are created by users to target content. You can create as many as you want and use them for either Content Variants or Content Targeting
Creating New Tags
-
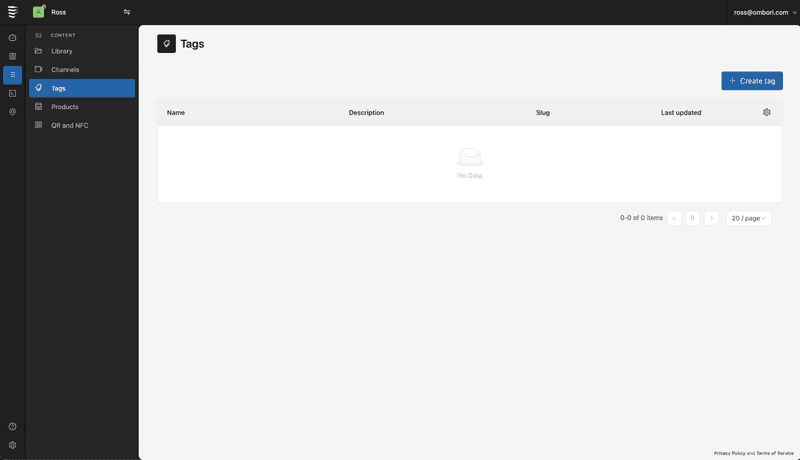
Navigate to Content → Tags and press the “Create Tag” button on the top right
-
You need to give your tag a name, and optionally add a description and a value.
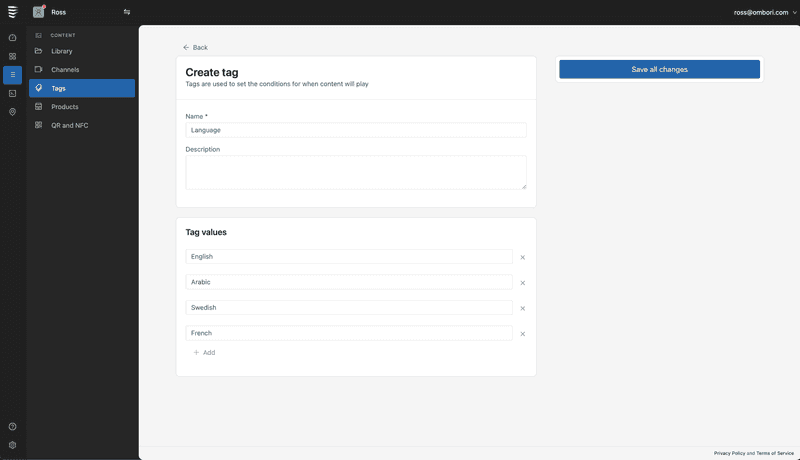
Required
- Name: a unique and descriptive name for your tag
Optional
- Description: Add more detail about your tag, eg where and why it is used
- Values: If you want to add options to your tag. For example the
Languagetag would contain the valuesEnglish,Arabic,French,Swedish, etc..
-
Save all changes.
Editing and Deleting Tags
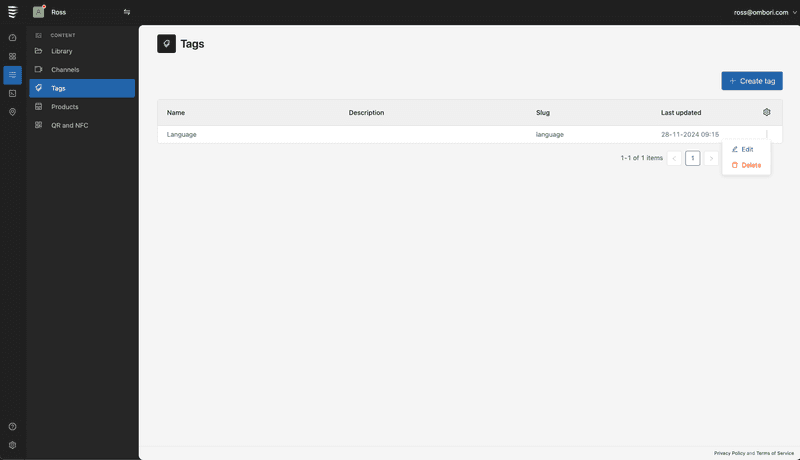
Once a tag is created you can edit or delete it using the More menu on the Tag overview.
Playing Your Content
The best way to play your content is with the Content Player app. It allows you to:
- Select one or more channels for playback.
- Distribute playback time between channels.
- Seamlessly play scheduled and targeted content on GridApps and Solutions.
Install Content Player
- Navigate to Apps → Marketplace → Apps and find the Content Player
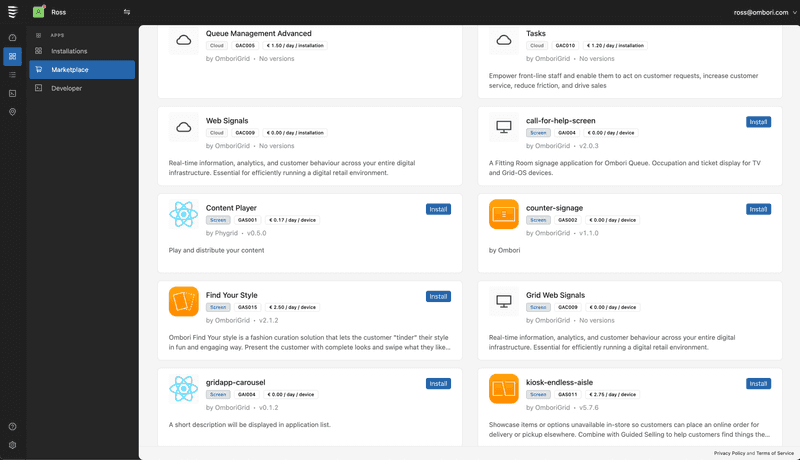
- You need to give your player a name, and optionally add it to a group.
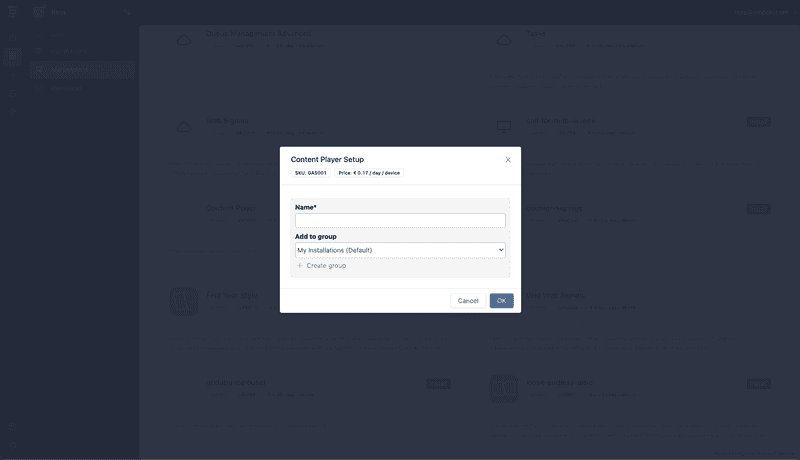
- Press OK
Configuring Content Player
Now that you've set up your channels—organized, targeted, and tailored to devices and orientations—the hard part is over. Configuring and using the Content Player is quick and effortless.
Adding Channels
- Under Item 1 in the Which Channels to play section use the dropdown menu to select a channel.
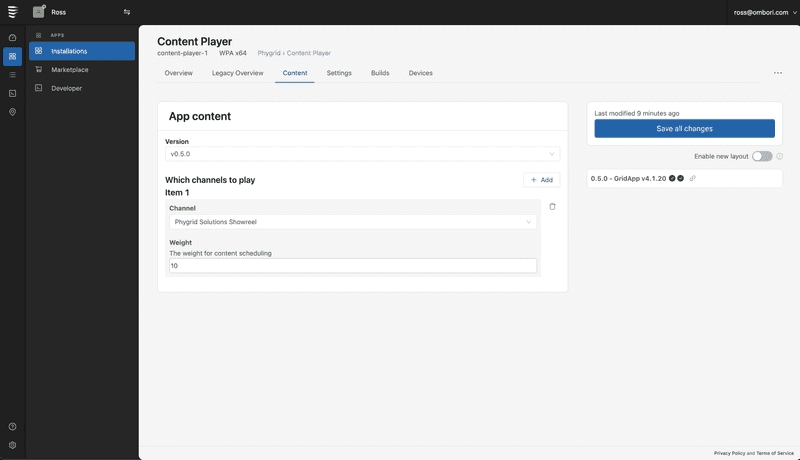
- If you want to play more than one channel press the Add button on the top right of the Which Channels to play section and repeat the process for Item 2.
Channel Distribution
You can control how much time each channel's content is played by setting a Weight for each one. The weights work on a normalized scale, so you can use simple numbers like 1 to 10 to distribute playback time.
Using Content Player
You can now use the Content Player in any of the Apps and Solutions that support media playback on the Phygrid platform.